
We love seeing multiple ways to use the same sets; it helps us spark creativity and step outside of our comfort zone and challenge ourselves to get the most of our products. Peep these two amazing card designs!
Hello, today we are introducing one of our new designers, Marla, who has created two wonderful projects for our crafting pleasure. This month our design team is sharing Birthday card inspiration. It’s one of the essential card styles that we as card makers always want to have on hand. We know you will love her cards that features our 36058-Watercolor Poppies Stamp. Marla is showcasing two different ways to use this simple, yet elegant stamp. Let’s breakdown her card designs.
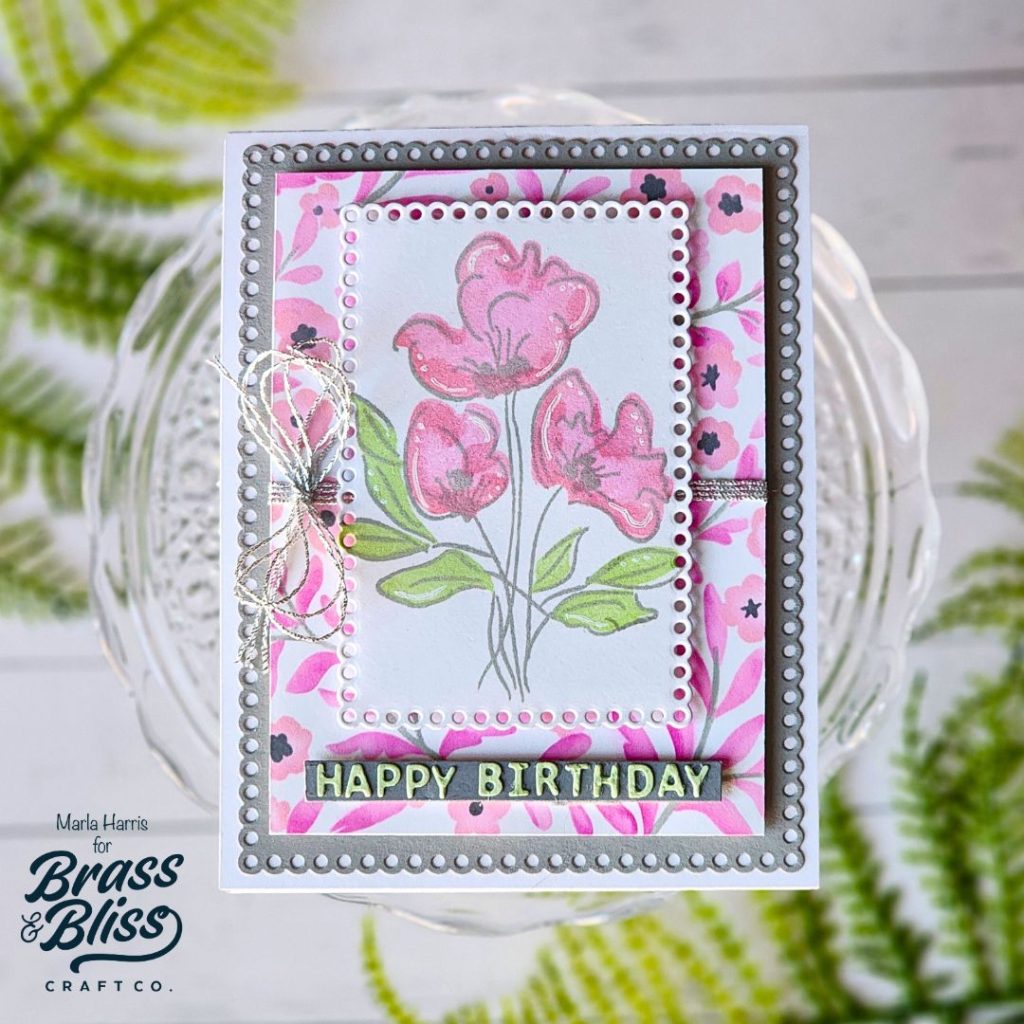
- Die cut two panels, one large and one small, using the 5719D-Small Scallops with Holes Nested Dies from both gray and white cardstock
- Stamp the poppy flower from 36058-Watercolor Poppies onto the smaller white die cut layer. Use Brass & Bliss ink in Silver for the outline, a touch of both Rose and Scarlet for the poppies and Moss for the leaves.
- Add white accents to the flowers and leaves with a gel pen. *This is optional.
- Adhere foam tape to the back of the panel.
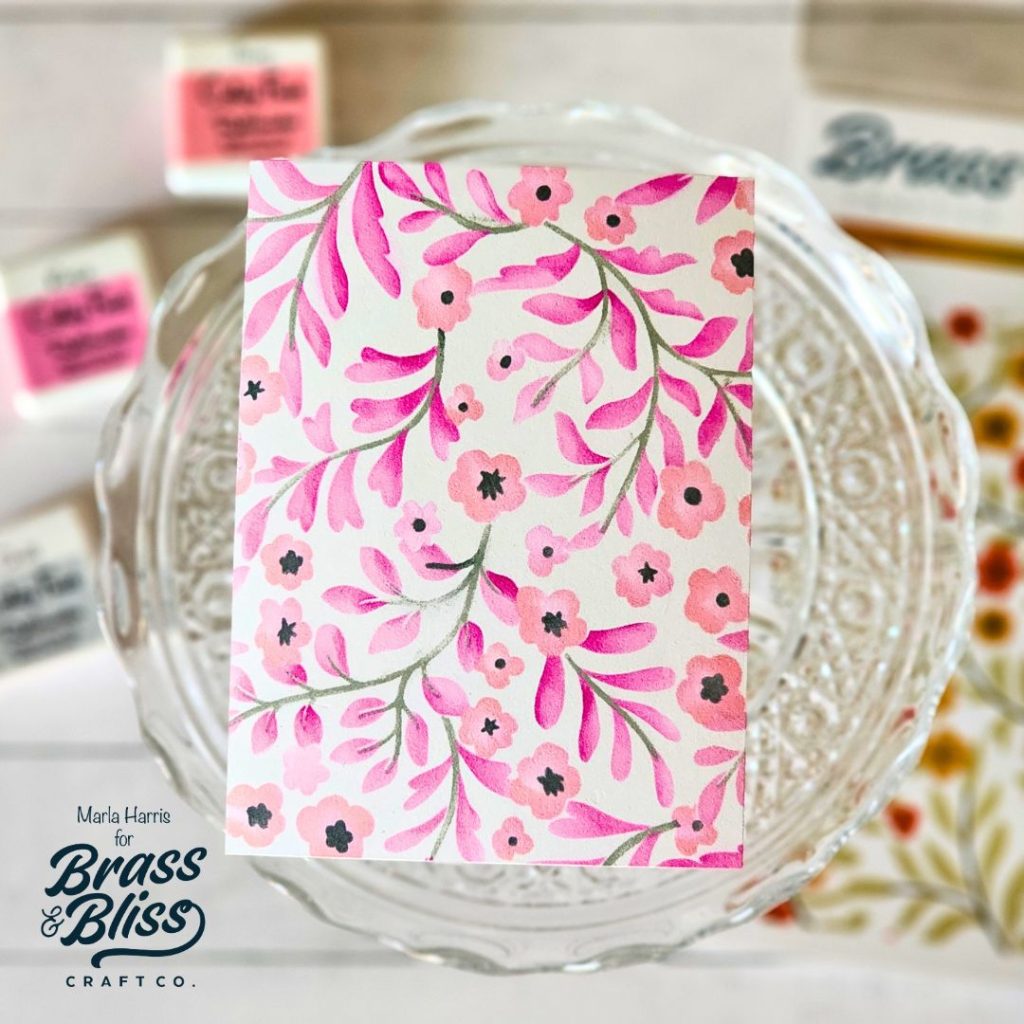
- Cut a white card panel to 3.75″ x 5″
- Stencil a pattern onto the cardstock using the 4306-Fall Floral 3-part layering stencil using our Rose, Fuchsia, Chill and Hearth inks.
- Wrap ribbon or thread around the panel and add a bow to the front.
- Adhere foam tape to the back of the finished panel.
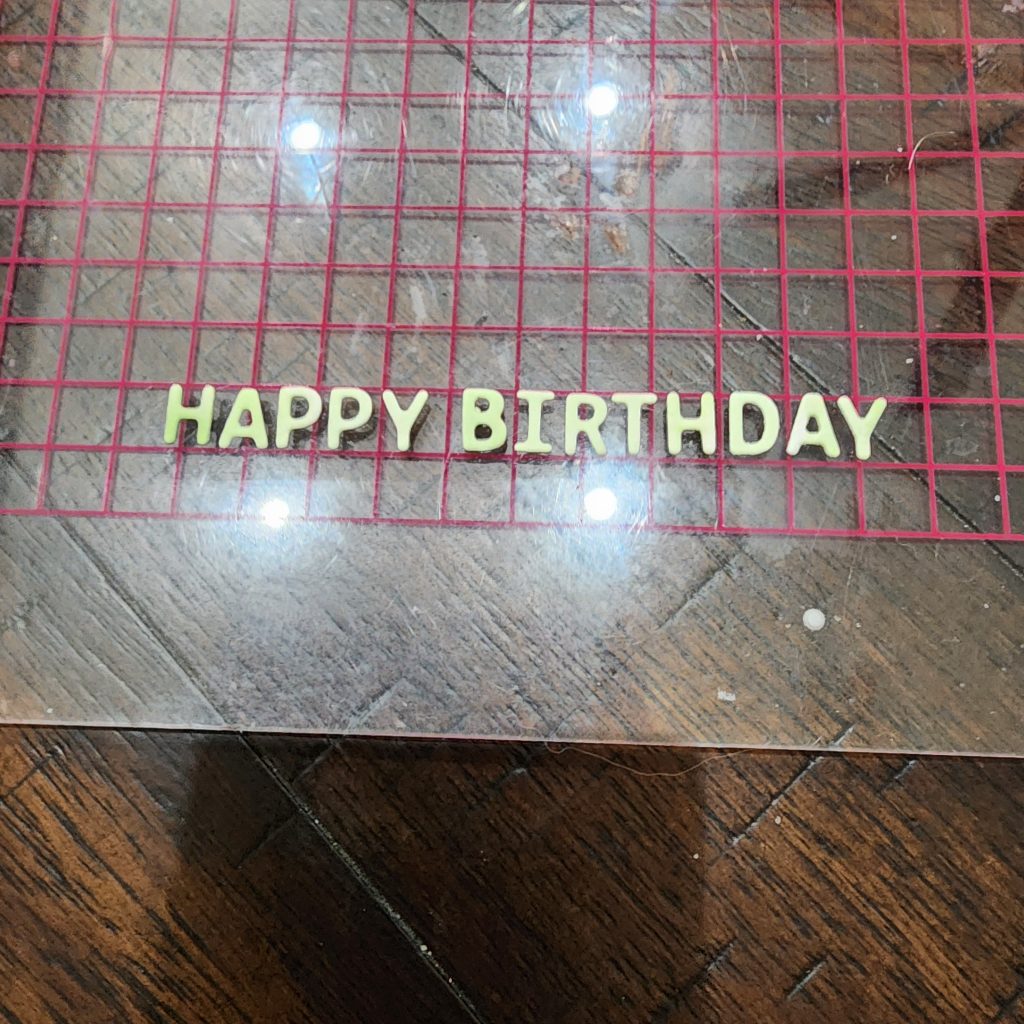
- Ink a scrap piece of white cardstock using our Mist ink.
- Die cut the letters for the Happy Birthday sentiment using the inked cardstock and our 5618-D Small Classic Alphabet Die.
- *Marla’s tip for a straight alignment of the letters is to use the grid on the door of a Misti. Then pick it up by carefully placing a strip of tape over the sentiment.
- Cut a strip of paper to fit your sentiment from gray card stock.
- Adhere the die cut sentiment to the gray strip of cardstock and add foam tape to the back of the strip.
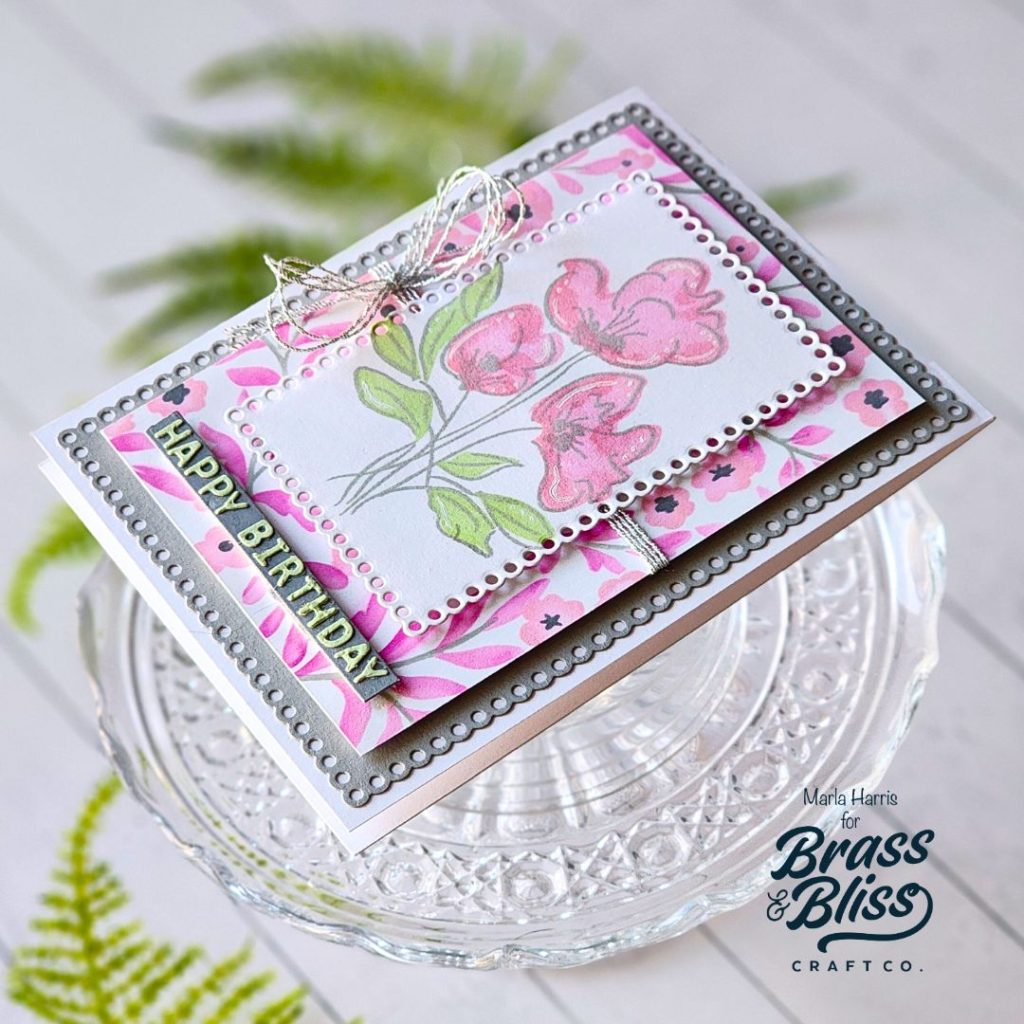
- Complete the card by adhering all of the layers to an A2 top folding card base.
We love the dimension and layers that Marla added to this card.
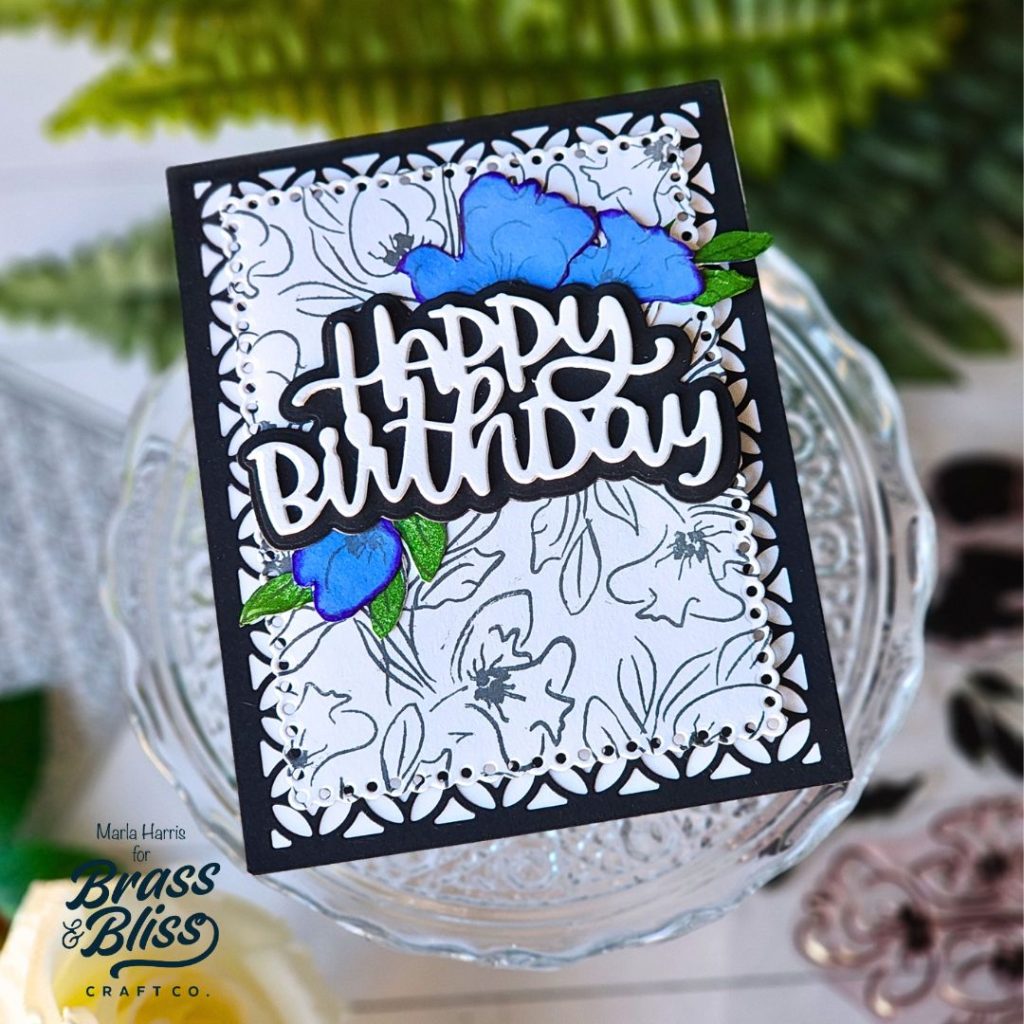
This next sample uses the 36058-Watercolor Poppies stamp to create a custom background. Marla chose an elegant black and white color palette and added a pop of blue for interest. Here’s how she created this second card.
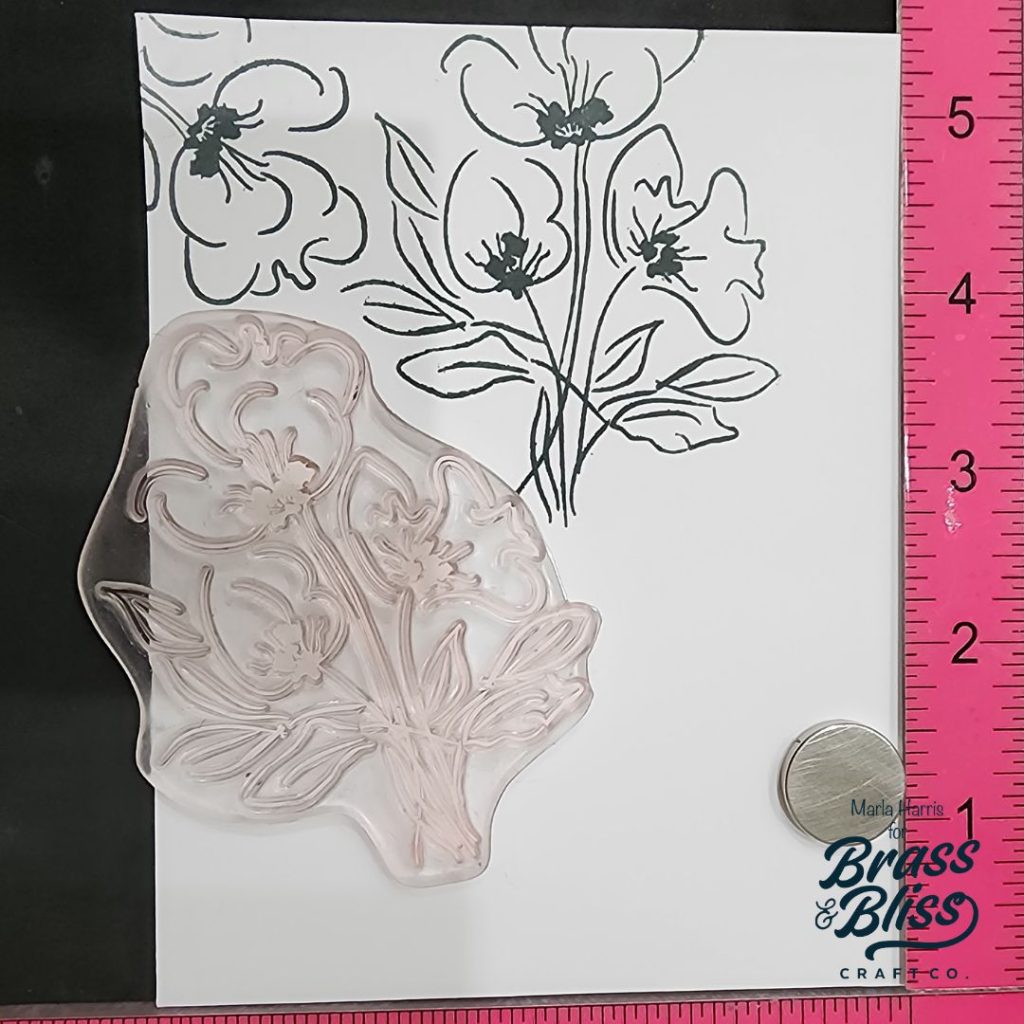
- Stamp the 36058-Watercolor Poppies outline image onto a white A2 card panel. Marla used our Hearth ink.
*Note, stamp off the edge of the panel and change the direction of the stamp each time you stamp.
- Cut the panel down using one of the 5719-D Small Scallop with Holes Nested Dies.
- Add foam tape to the back of the panel.
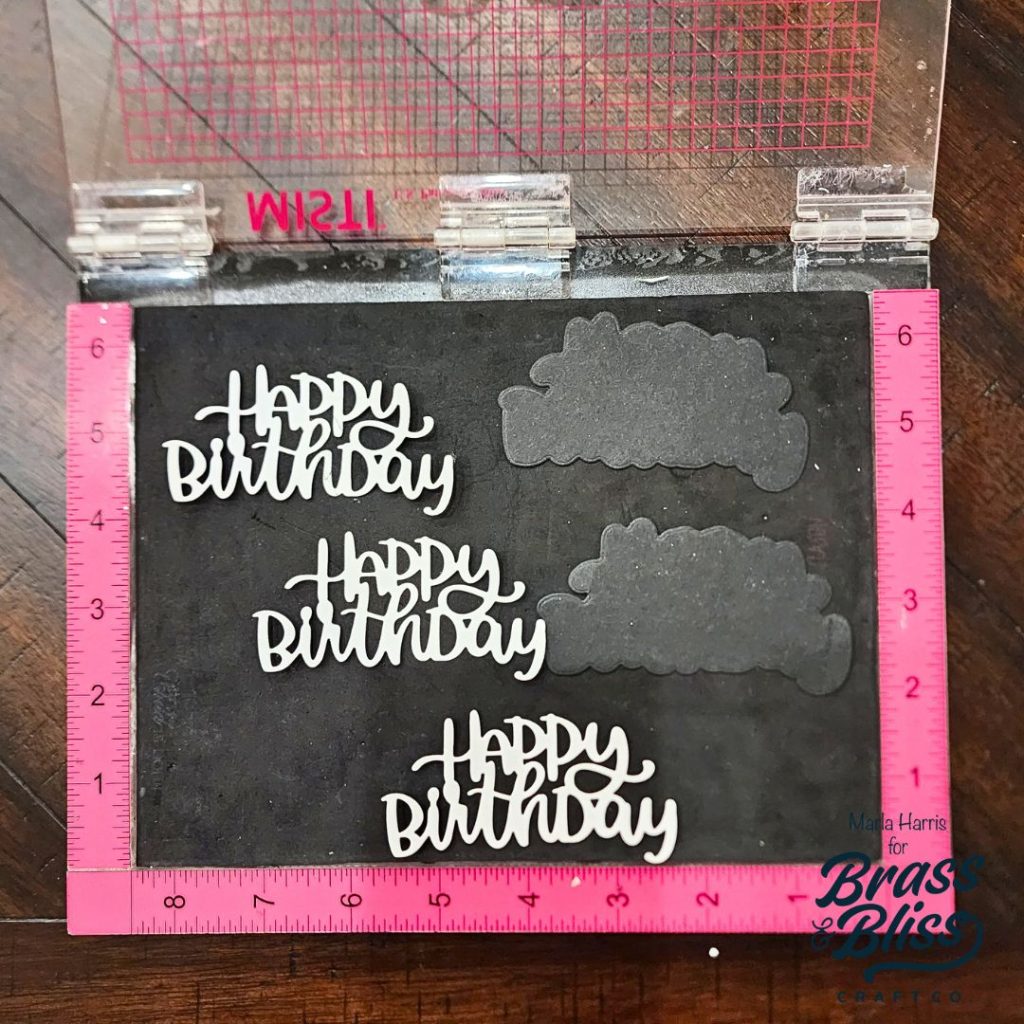
- Die cut the sentiment using the 5749-01D-Happy Birthday Die. Cut the shadow layer twice, from black card stock, and the sentiment three times, from white card stock, to add layers of dimension.
- Adhere all of the pieces together.
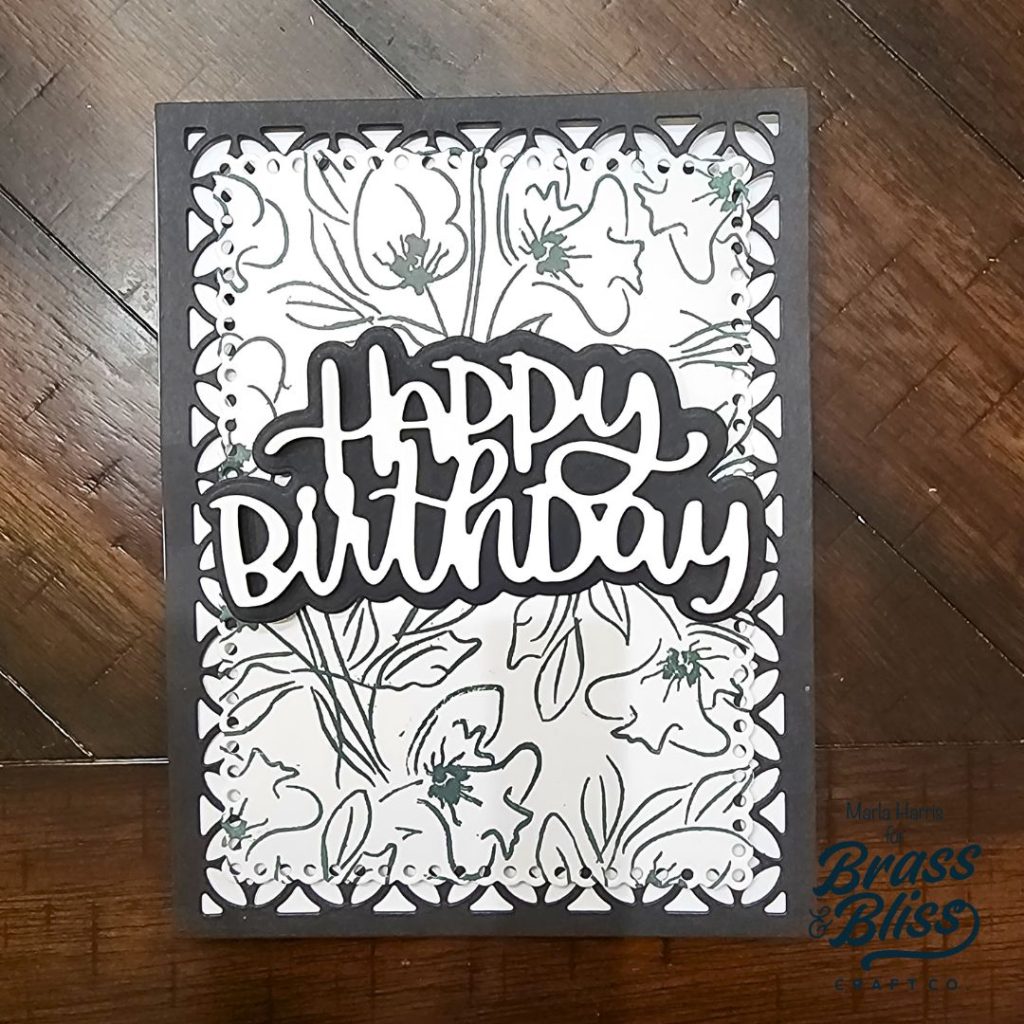
- Die cut a background panel using our 5735-D-Lattice Cover Die and black card stock.
- Adhere the lattice layer to a white A2 top folding card base.
- Stamp another poppy onto white cardstock and fussy cut the flowers and leaves. Marla used our Hearth, Odyessey, and Basil ink for her poppies.
- Add Azure ink to the poppies, using a blending brush, to conceal the white edges.
- Assemble the card tucking the fussy cut poppies around the sentiment.
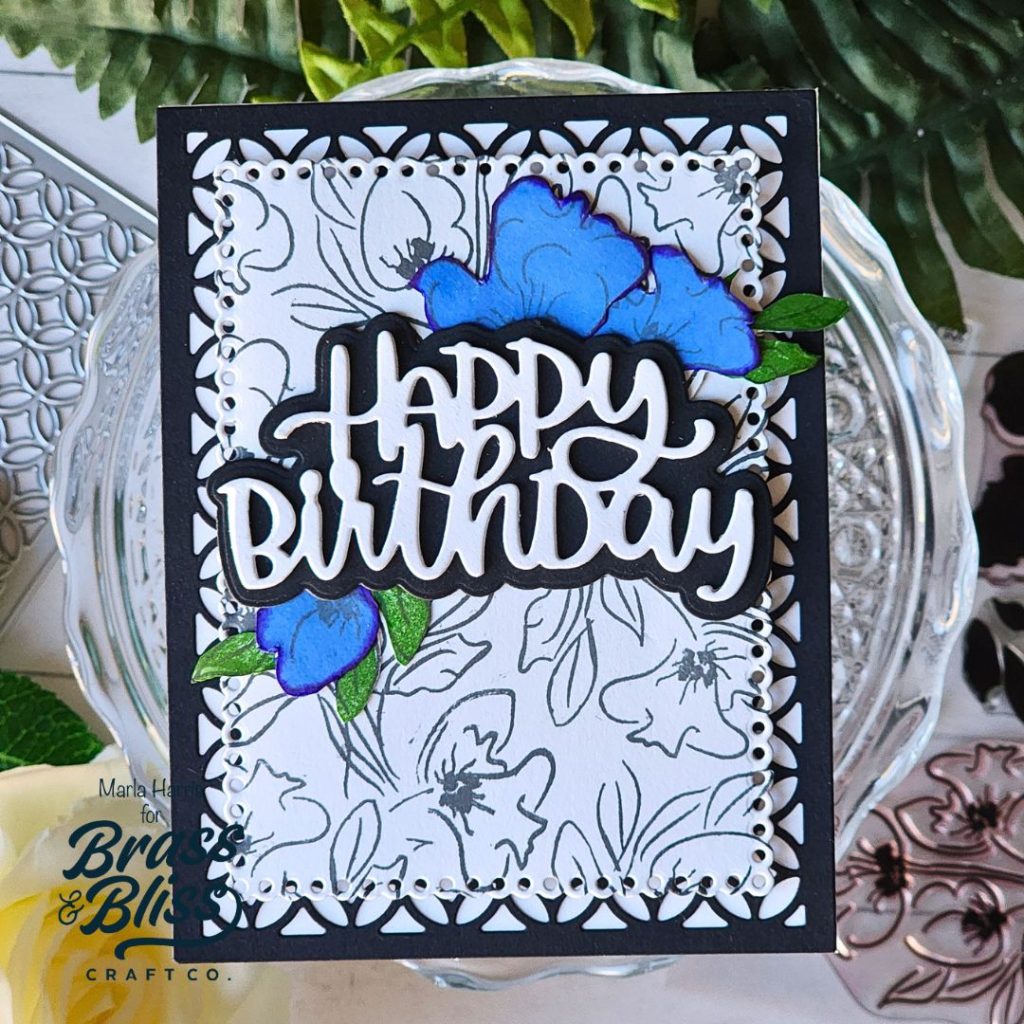
These are stunning card creations. The use of the Watercolor Poppies as the background is really a genius way to tie the entire card together! We really do love what Marla has done here and are so excited to be sharing these creations with you today. Be sure to follow us over on Instagram for more inspiration, and stay tuned as we post more Birthday Card creations throughout the month of January. Happy Crafting.