
Is pink your favorite color? Follow along and learn how to make this festive pink party card!
Our awesome designer, Marla, is up on the blog today sharing a sweet Congrats card that could be used for a graduation, baby shower or retirement. We love this example that shows how some of our products, which on the surface seem occasion specific, can be mixed and matched for multiple types of cards. Let’s see how she pulled this monochromatic card together.


- Swipe Rose ink onto a piece of acetate (you can use the acetate that comes with your stamps) and spritz with water. Lightly tap the ink onto a 4″ x 5.25″ piece of white card stock. Repeat the process until your happy with the coverage.
- Ink our 37006 Birthday Balloons Stamp using Bubble Gum ink and stamp onto the ink smooshed background.
- Adhere the background to a white A2 top folding card base.
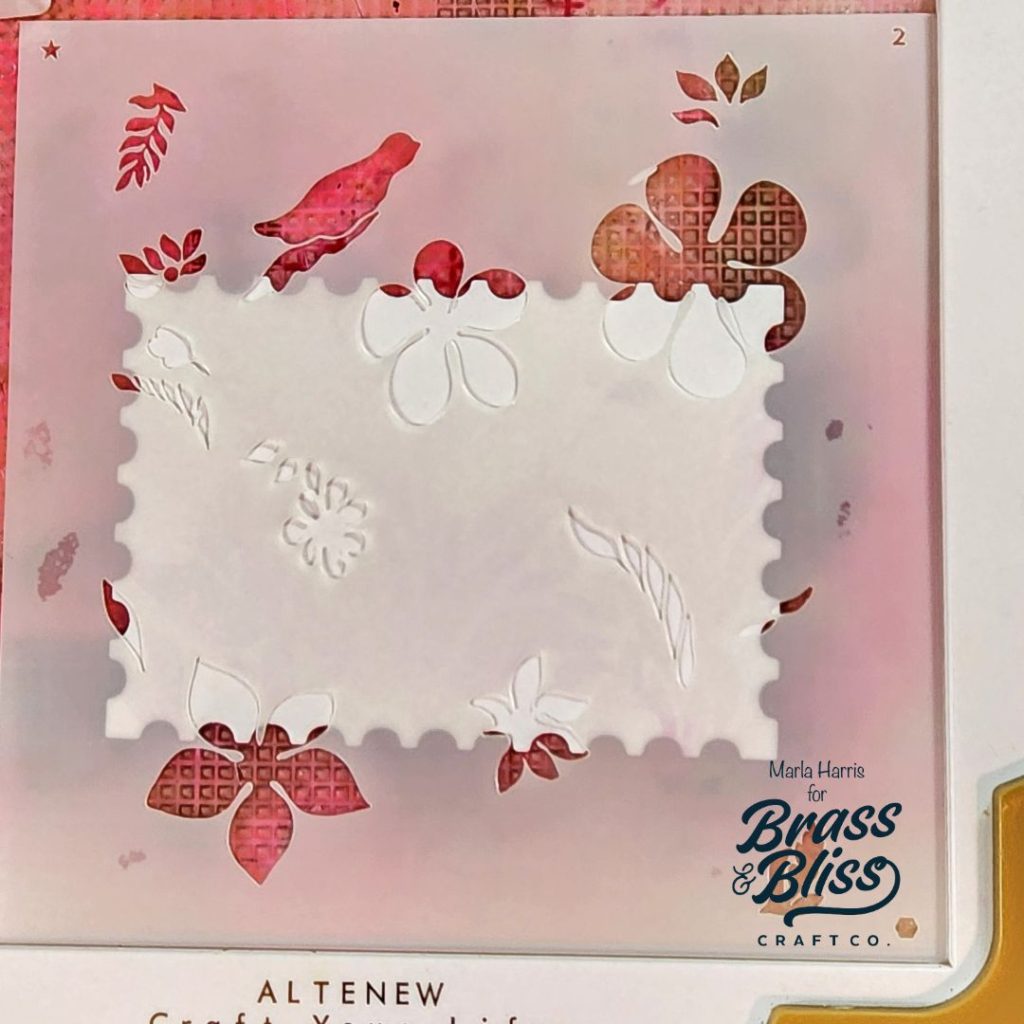
- Die cut a piece of white card stock using one of our medium 5806D Postage Stamp Nested dies.
- Stencil a pattern onto the postage stamp with a blending brush and our 4405 Floral Abstracts stencil. Using Rose ink, lightly stencil the first layer, add more pressure and color onto the second layer and finally, another light layer of ink to stencil 3 creating a monochromatic pattern.
**Notice how Marla used a stamp positioning tool with a sticky mat for this process. The sticky mat holds the paper in place. Then, she used the corner of the positioning tool to align her stencil. This allowed for perfect alignment of each stenciled layer.
- Add foam tape to the back of the stenciled panel.
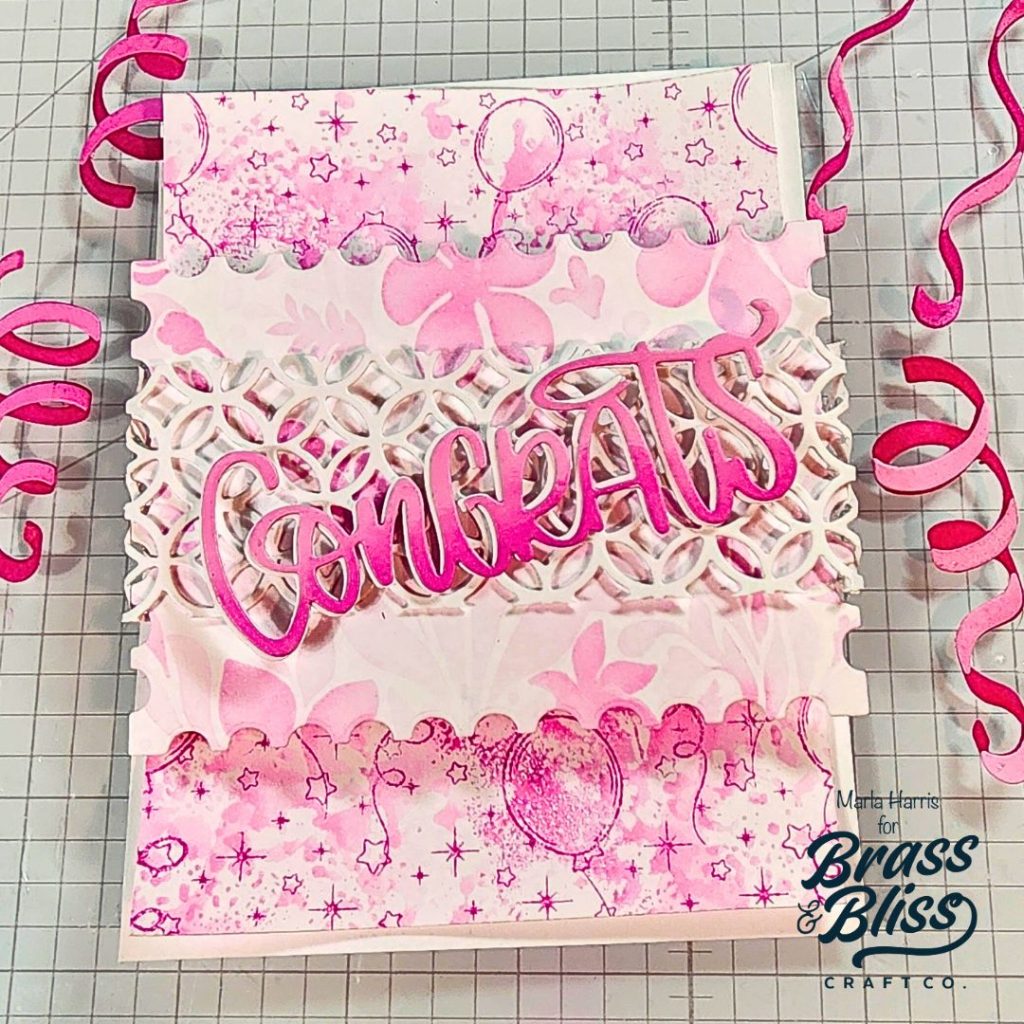
- Die cut the sentiment three times from white card stock using our 5749-03D Congrats die.
- Using a blending brush, ink one of the sentiments with our Raspberry Ink on the bottom then blend Bubble Gum ink onto the top half for an hombre appearance.
- Adhere all three layers together for dimension.
- Cut a strip of white card stock using your paper trimmer to 2″ x 5″
- Die cut the strip of cut card stock using our 5735D Lattice Cover die.
- Remove the release paper from the foam tap on the stenciled postage layer.
- Adhere the lattice strip to the center of the stenciled panel, using the sticky foam tape to keep the folded edges in place.
- Add the panel to your card front.
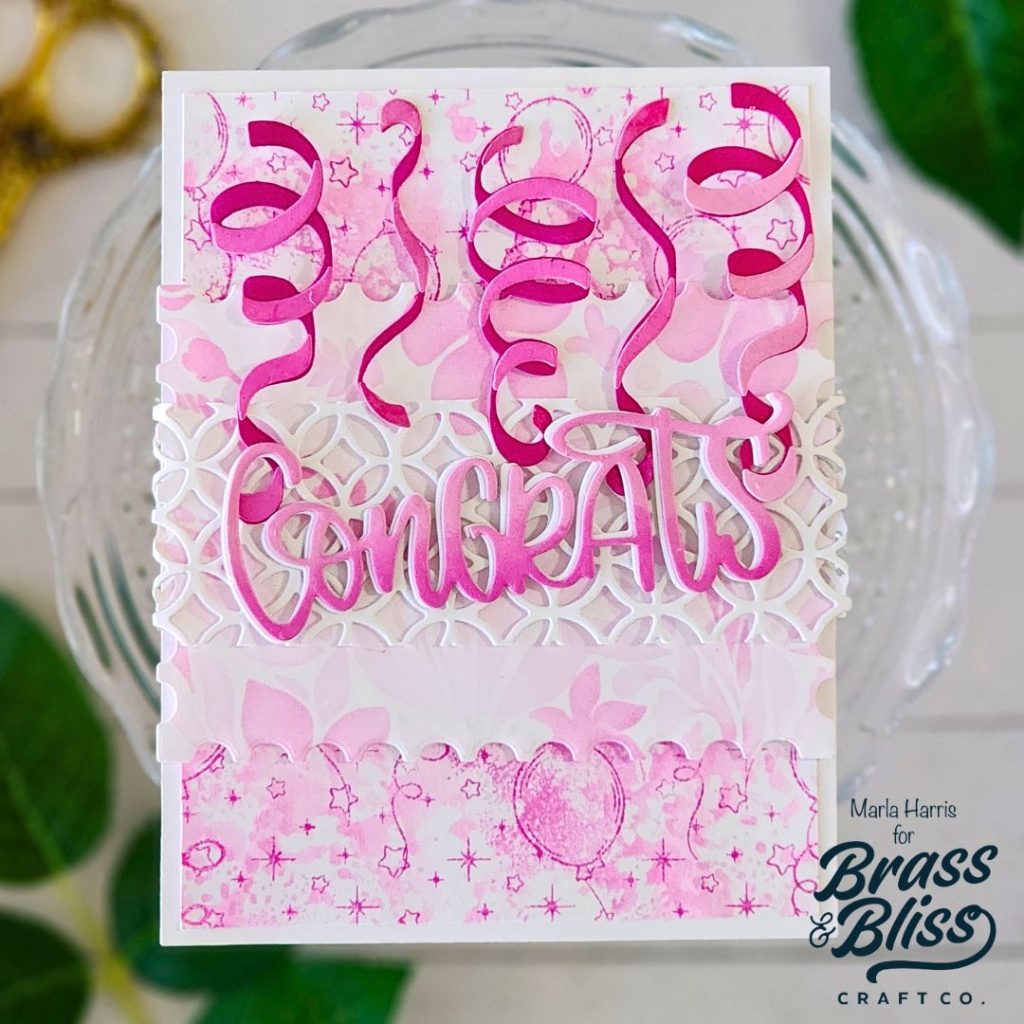
- Die cut the streamers using our 5804-03D Streamers die.
- Ink the bottom layer of all of the streamers using our Raspberry ink.
- Alternate inking the top layer of all the streamers using both Rose and Bubble Gum ink.
- Assemble the streamer layers
- Adhere the streamers to the top of the card front. Adding 1/8″ foam tape to the top of the streamers.
- Adhere the Congrats sentiment, at an angle, to complete the card.
Our goal is to bring you beautiful and versatile products that you can use for many occasions. This pretty congrats card is a great example of this concept. Marla’s unique use of our stamps, dies and inks showcase how easy it is to create a one-of-a-kind card with a lot of texture and interest. We hope this encourages you to think outside the box when using your Brass & Bliss products.