
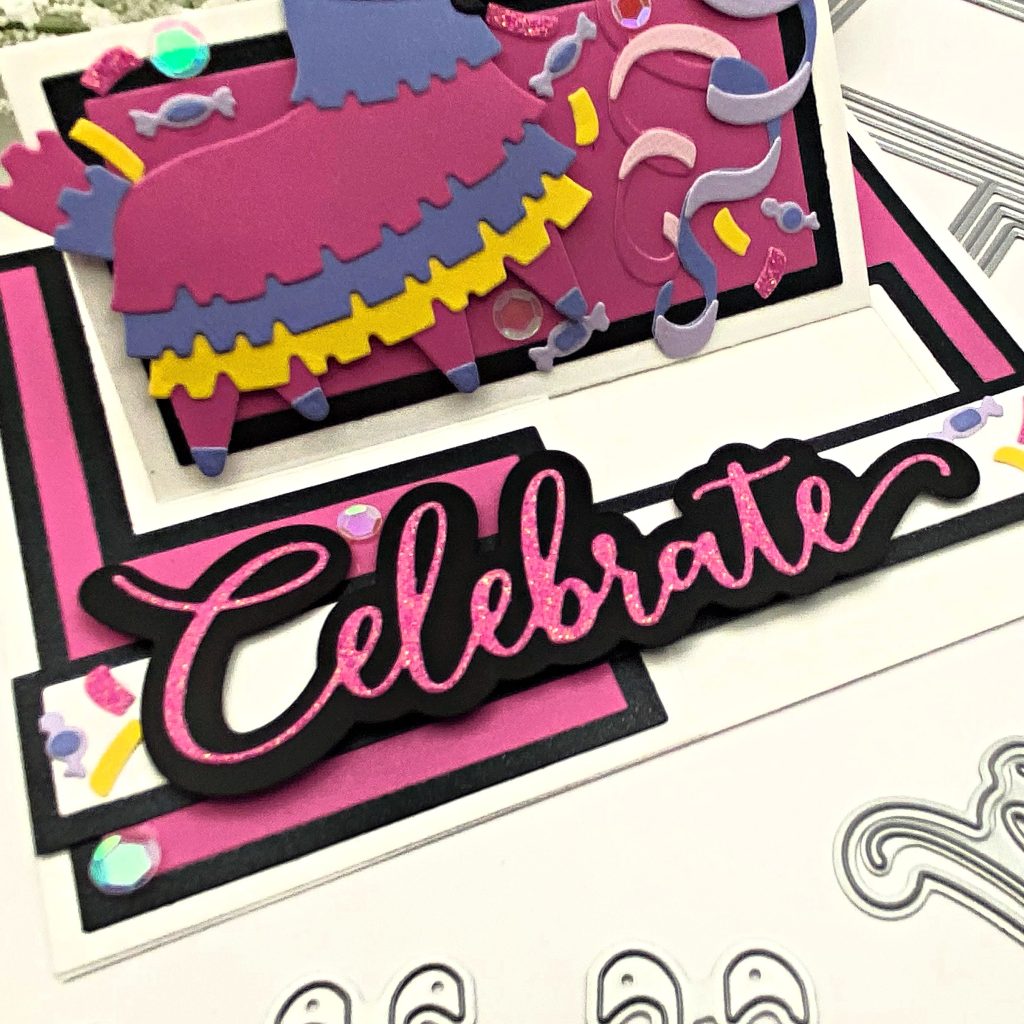
This party card has us ready to celebrate with its festive and fun design and intricate fold.
Todays awesome project is from our designer Lisa, who said, “I was excited to get the 5723d Impossible Fold Die but then I procrastinated using it because I thought it would take some time to figure it out. I finally decided it was time and guess what! It was so super easy and what a fun card to send for any occasion. Definitely NOT impossible!” If you are like Lisa, and have yet to try this intricate fold, made easy by our die, than you have to check out the steps for this project and snag this die for your stash! Follow along as she shows us how to make a festive piñata card using the ‘impossible fold’ die.

How to make this card:
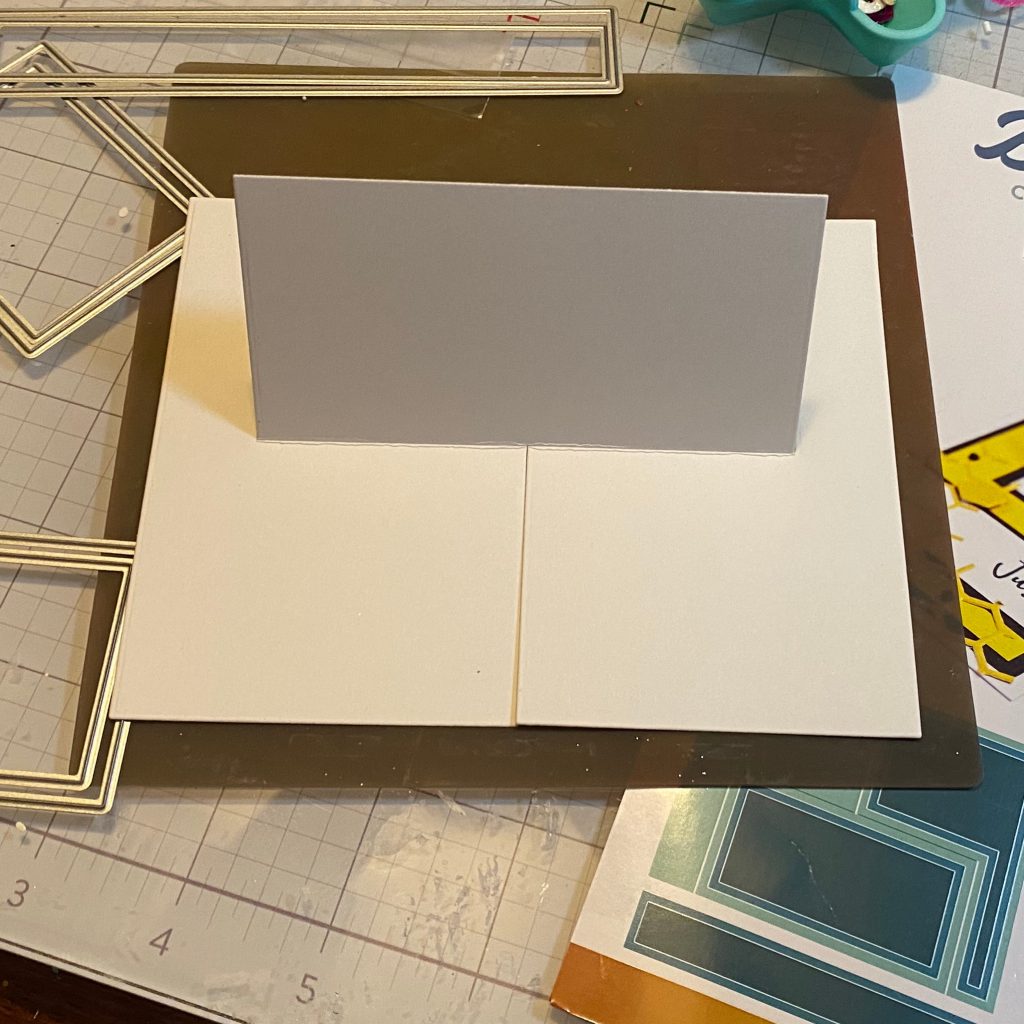
- I started by cutting the base die (the largest) from white cardstock and folded along the embossed lines.
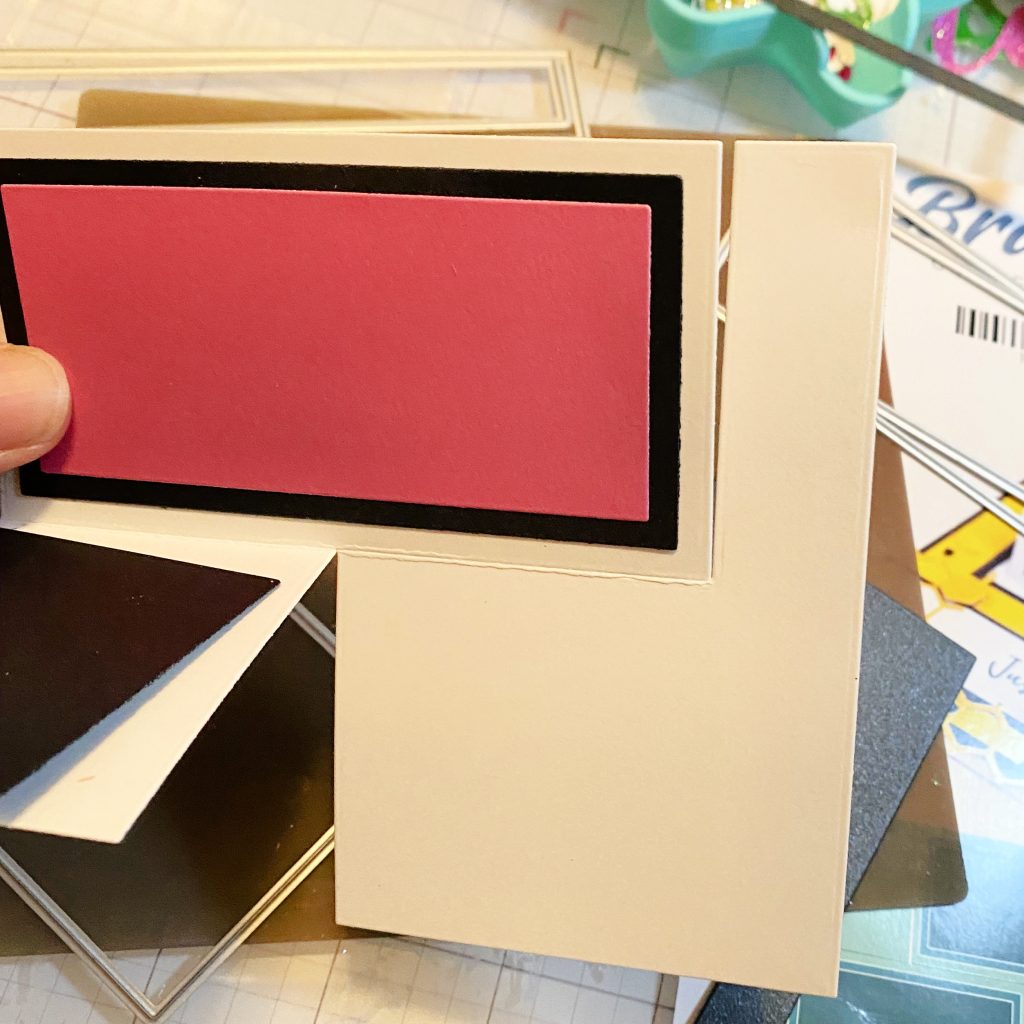
- Next I cut my layers … each section has two layers to cut your colored cardstock or design paper or both for fun layers.
- Don’t forget that the right side folds under and back making your “L” shaped layers fit both sides.
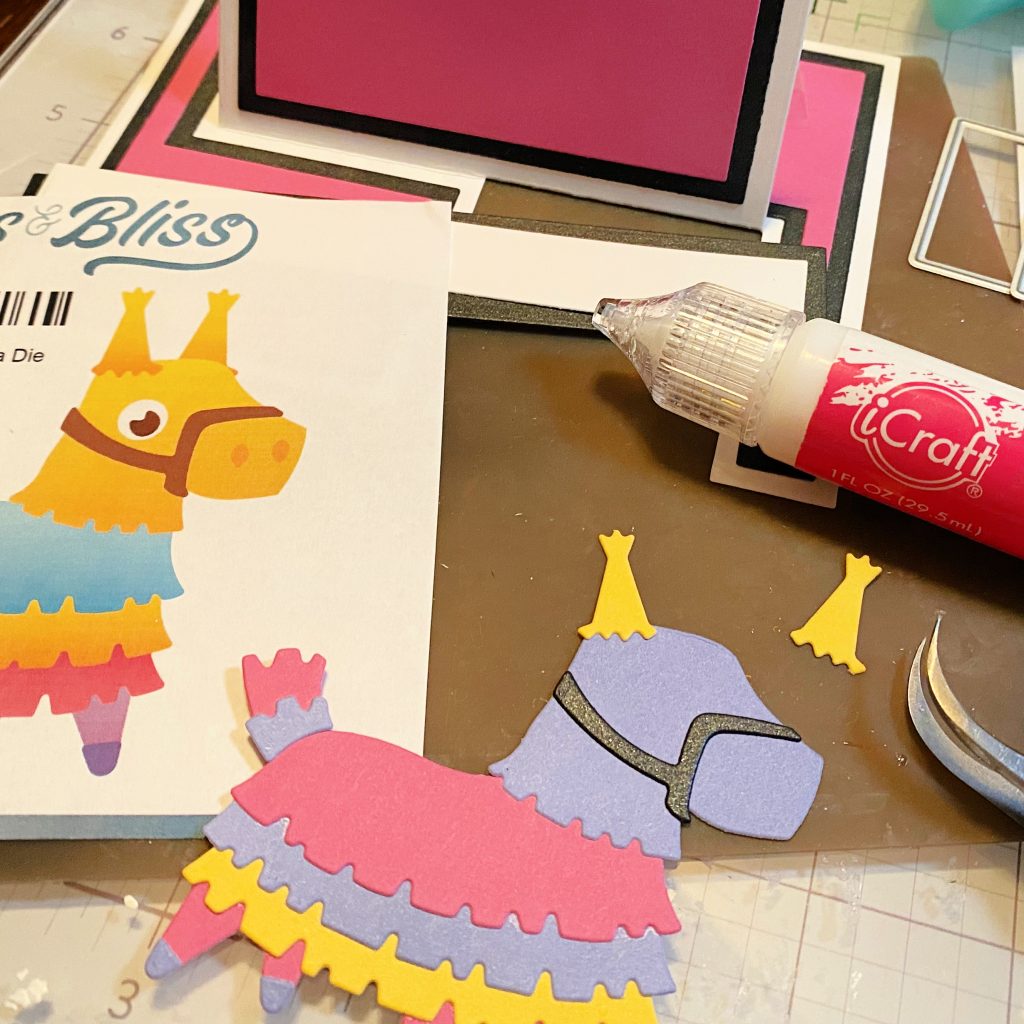
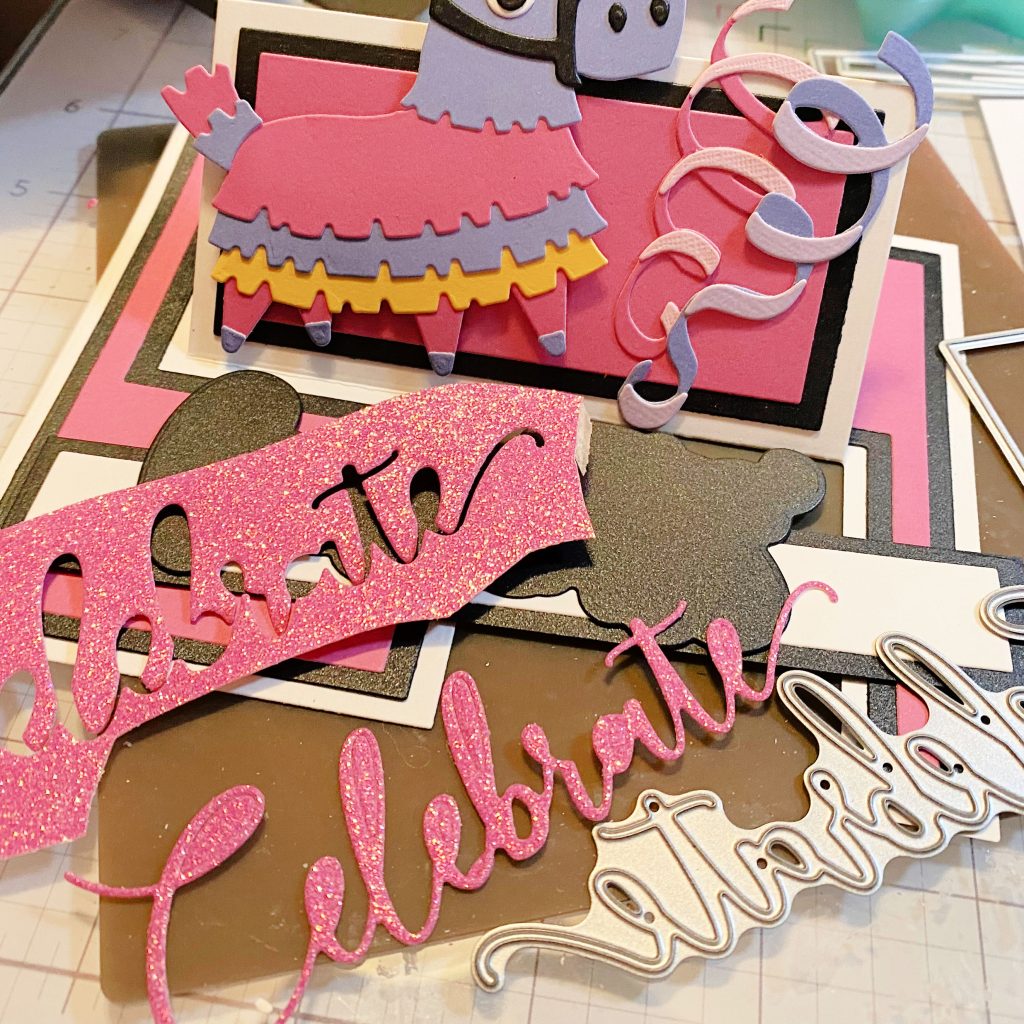
- Once I adhered all of the card base pieces which took no time at all, I started cutting the pieces for the 5804-02d Pinata Die It’s so handy to have the packaging picture to help assemble each of the pieces, but if I separate the packaging from my dies, I head over to the website and bring a picture up there.
- I popped the Pinata onto the card base making sure my adhesive didn’t show on the back.
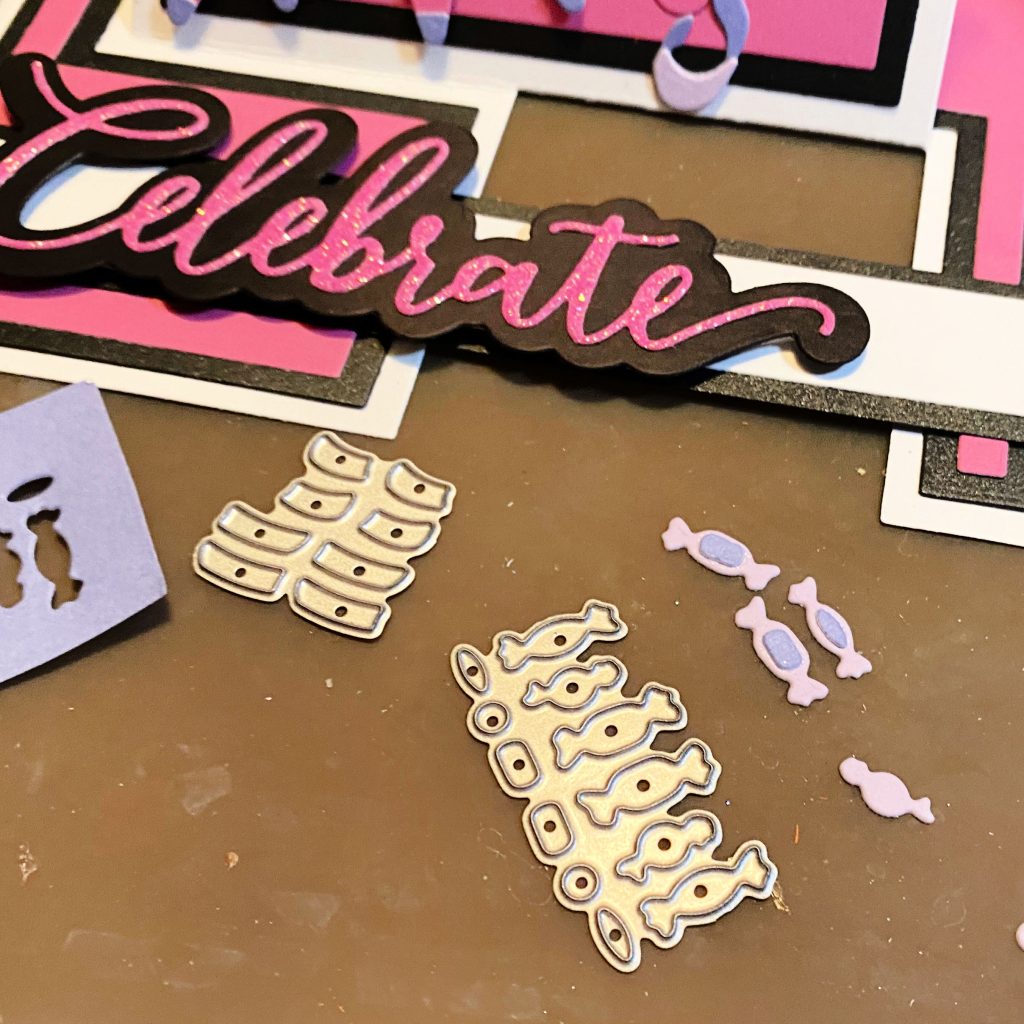
- Then the strip pieces were placed across the card base and the 5801-02d Celebrate With Shadow Die… the Celebrate word in pink glitter paper and the shadow in black and adhered to the strip with thin foam tape.
- Next I started on the confetti, candy (both included with the Pinata) and those lovely streamers from the 5804-03d Streamers Die I love that the streamers come with layers to give them more dimension. All of the pieces were cut from the same colors in the pinata except additional coordinating lighter colors were cut for the streamers for dimension. All the pieces were adhered to the card with liquid adhesive. Tweezers come in handy for those tiny candies but it is WORTH it!
- Finally I decided to add a 5 1/2″ x 4 1/4″ base for stability rather than leaving the opening. The card IS stable enough without it, but I think the extra bottom layer adds a little extra ease in sliding it in and out of the envelope and doesn’t impede the awesome design… that being said, leaving it open is pretty cool too! And for more help see the video accessible on the website at the product link!




We just love this project and can’t get enough of these intricate folds. Check out more fun projects here that are folded in new fun ways!