
Looking for some gorgeous floral inspiration for your upcoming Spring Cards? Check out these two amazing projects!
Welcome back, friends. We have a treat for you today as our designer, Marla has created two stunning floral cards. In this tutorial she is sharing two ways to add color to a trio of our beautiful flower dies to achieve completely different looks. Let’s talk about this inky concept and her pair of striking floral cards.
How to Make Card #1:
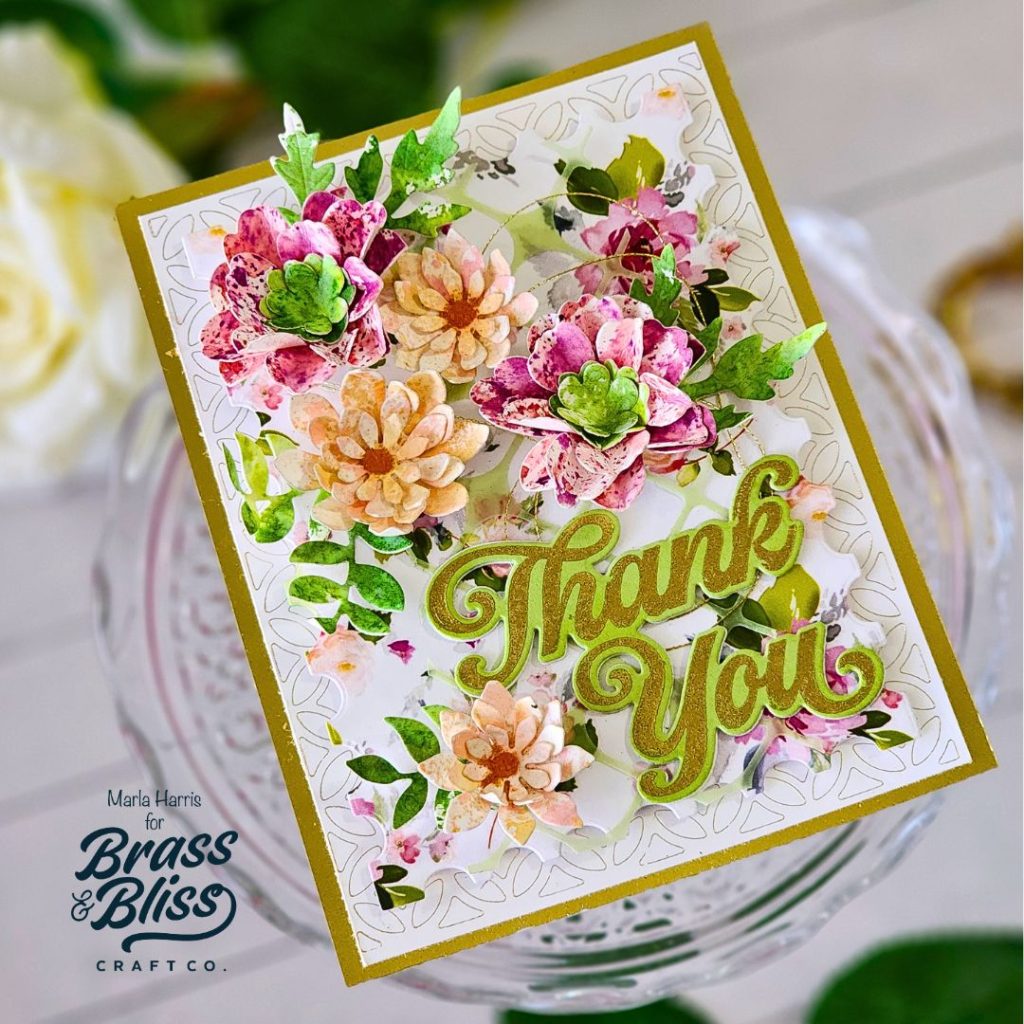
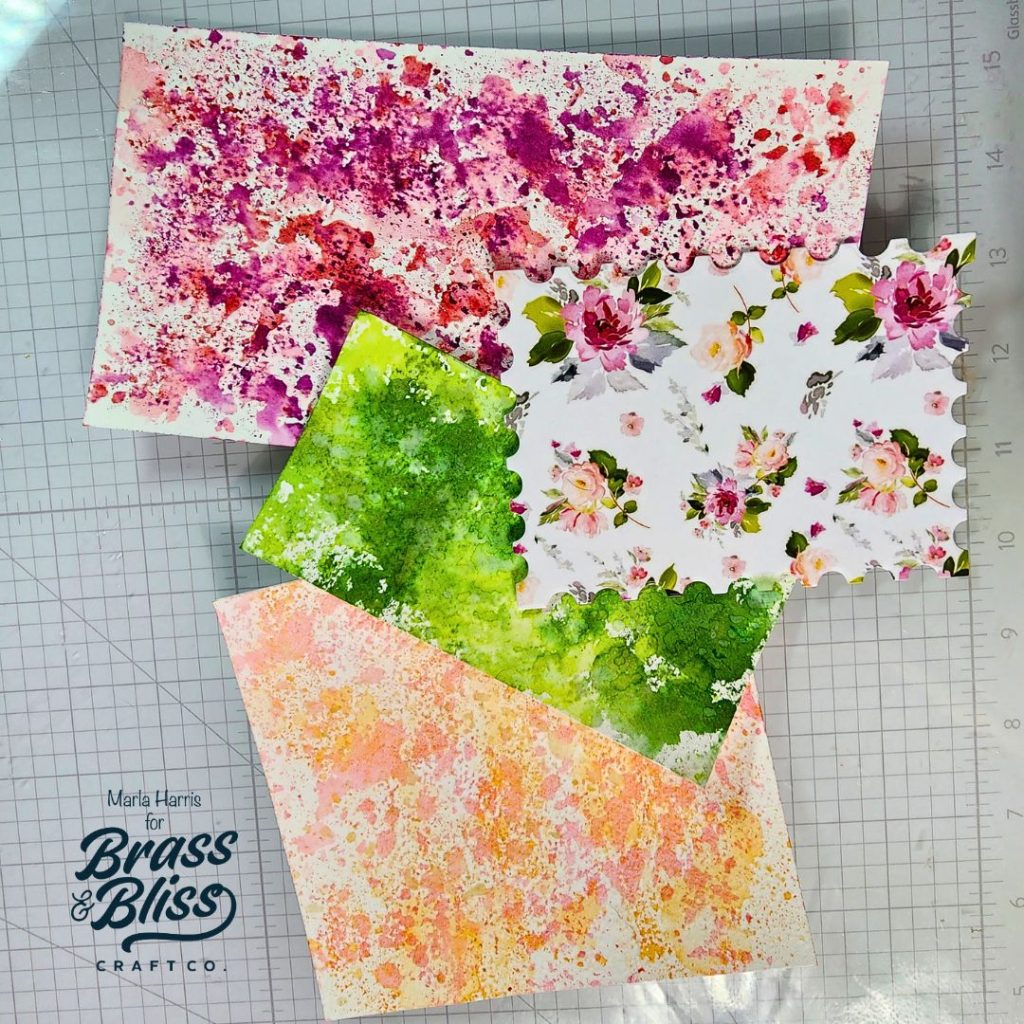
- Cut a postage stamp panel using our 5806 Postage Stamp Nested die and our Welcome Spring paper pad. Add foam tape to the back of the panel. *Marla used the third from the largest Postage Stamp die on this card.
- Using watercolor or multimedia cardstock create three different colored panels using the following Distress Ink combinations: Saltwater Taffy, Mustard Seed and Dried Marigold. Mowed Lawn, Twisted Citron and Rustic Wilderness. Worn Lipstick, Seedless Preserves and Picked Raspberry. **Pro Tip: Create texture by adding ink, spritzed with water to a glass mat and tap each piece of watercolor card stock, that had been previously spritzed with water, into the ink. Rotating the paper and drying between each color layer. Repeat the process with each ink color.
- Die cut the flowers using the following dies 5109D Mixable Flower Stack Die, 5709-02D Spring Flower Die and 5508-04D Stackable flower/leaves #4 die.
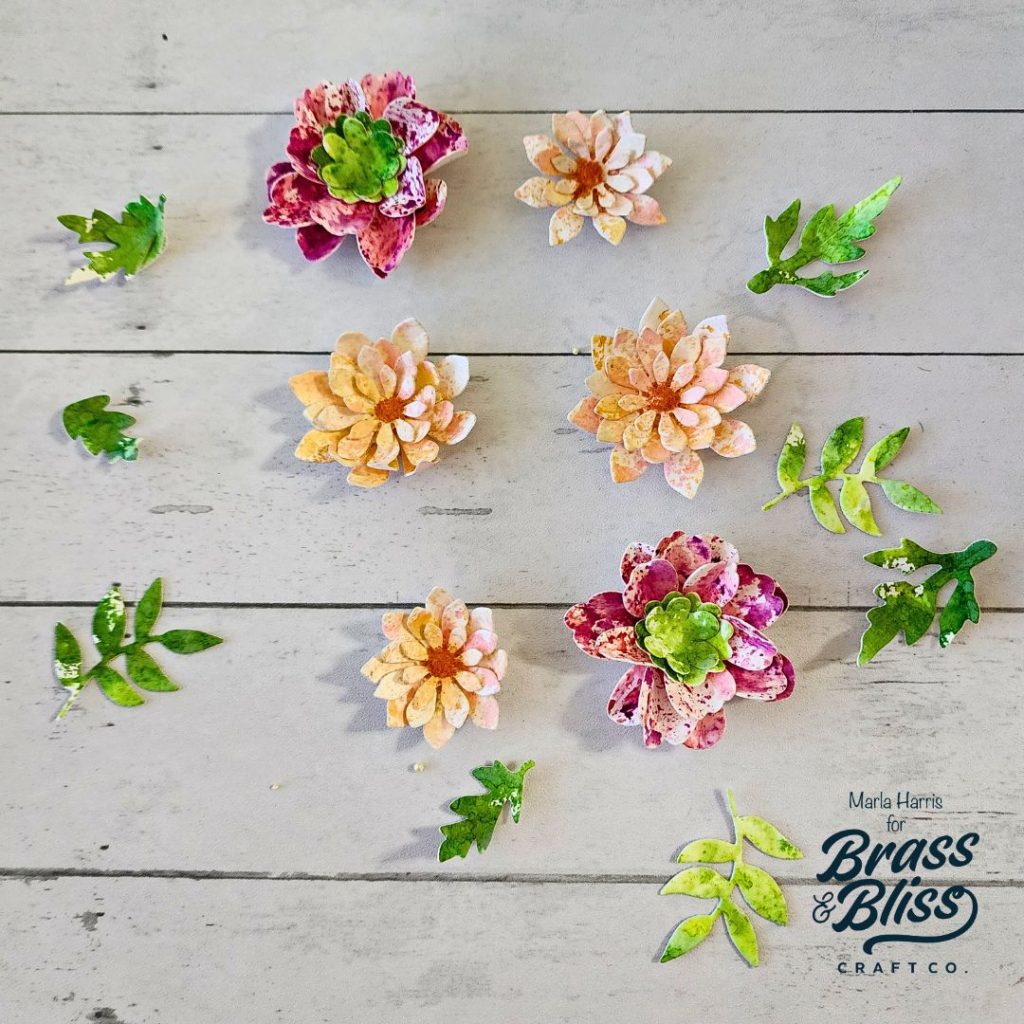
- Using a stylus and foam mat, mist each layer with water and run a stylus from the tip of each petal or leaf in towards the center. *For the pink flower, Marla shaped the petals and then pinched the petals in half.
- Assemble the flowers by offsetting each layer of petals, adding adhesive to the center of each flower layers. ** Marla added Prills to the center of the peach flowers.

- Stamp the sentiment using our 36057 Thank You stamp with Versamark Ink.
- Sprinkle with gold embossing powder and heat set.
- Use our 36057D Thank you coordinating die to cut out the sentiment and cut three more outlines.
- Adhere all of the layers of the sentiment together.
- Cut a piece of gold foil card stock to 4.25″ x 5.5″.
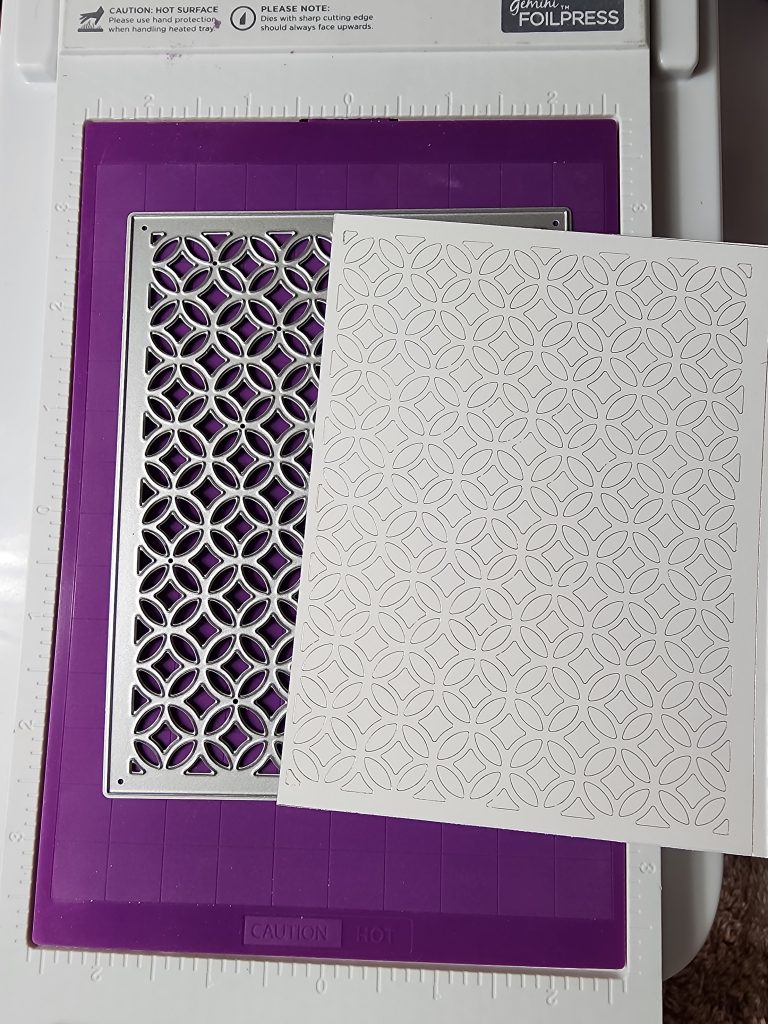
- On a 4.25″ x 5.5″ piece of white Hammermill card stock, hot foil a background using our 5735D Lattice Cover die and gold foil.
- Trim the panel down to 4″ x 5.25″.
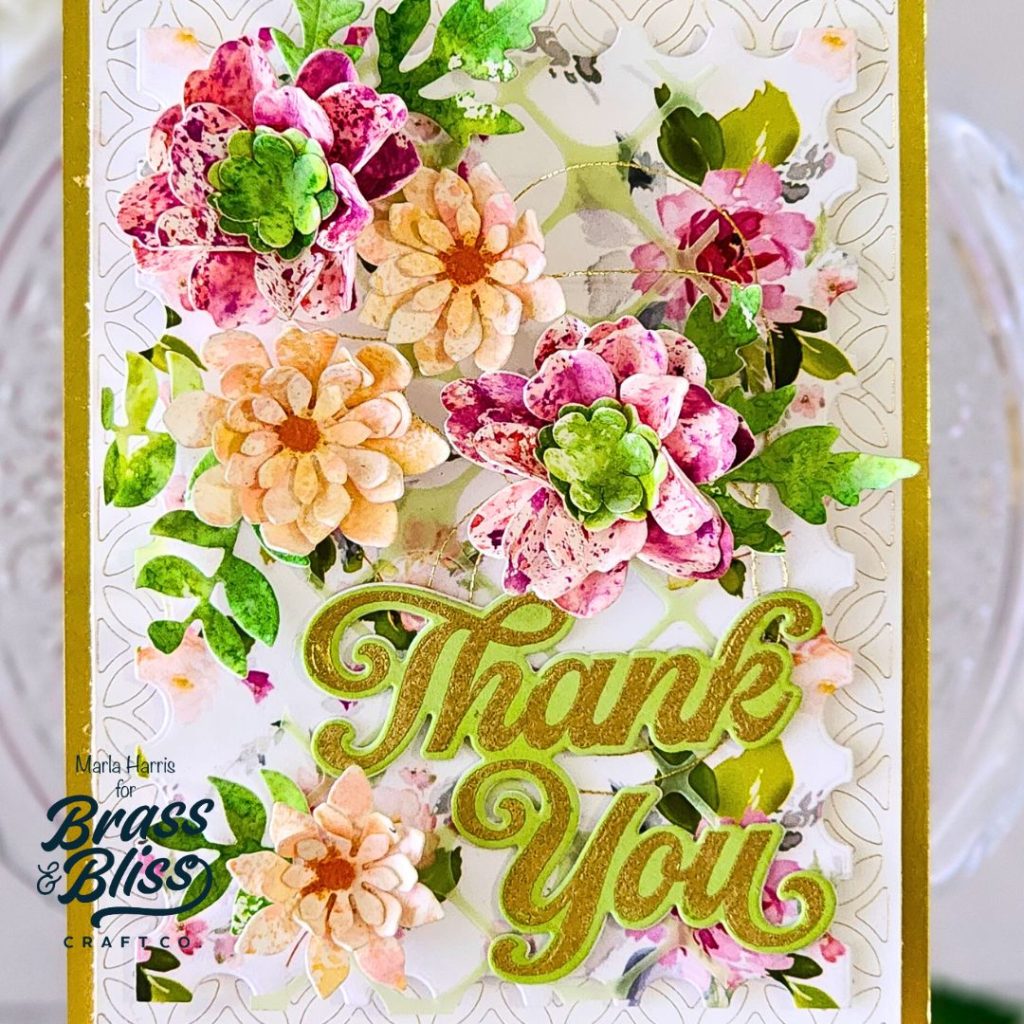
- Cut another background layer using colored velum and our 5713D Round Petal Cover die.
- Assemble the card, adding gold thread behind the sentiment and flowers.
How to Make Card #2
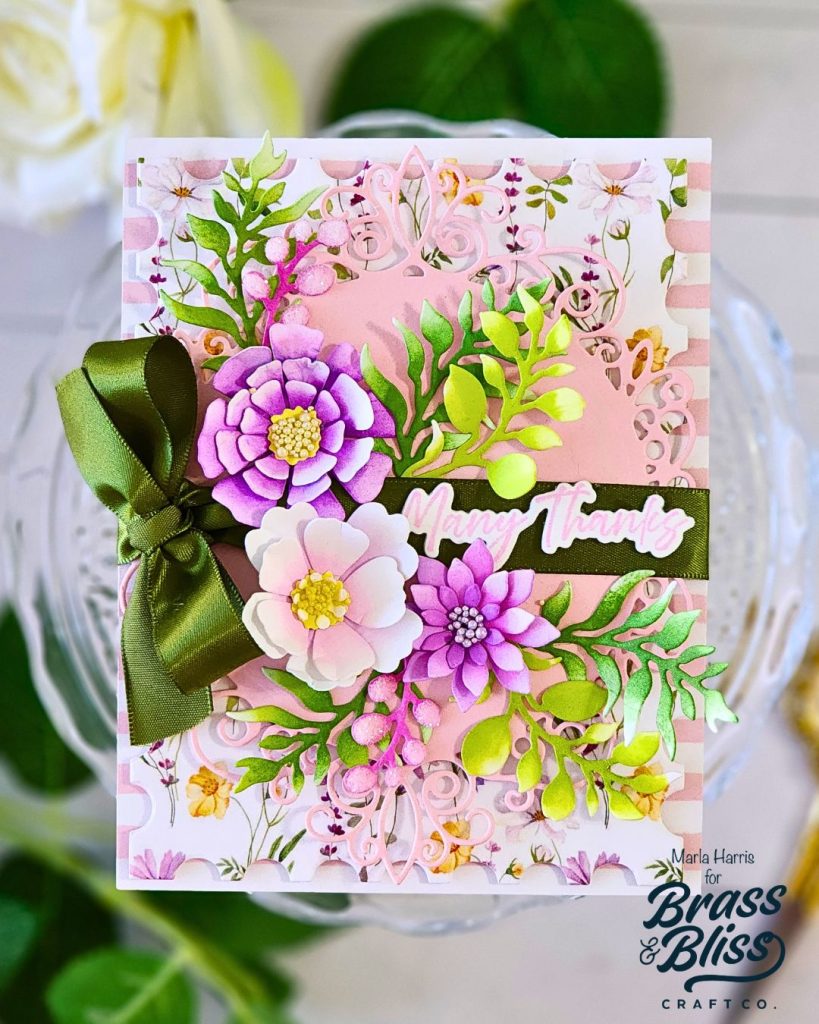
Our second card features several of the same products used on the first with a softer appearance.
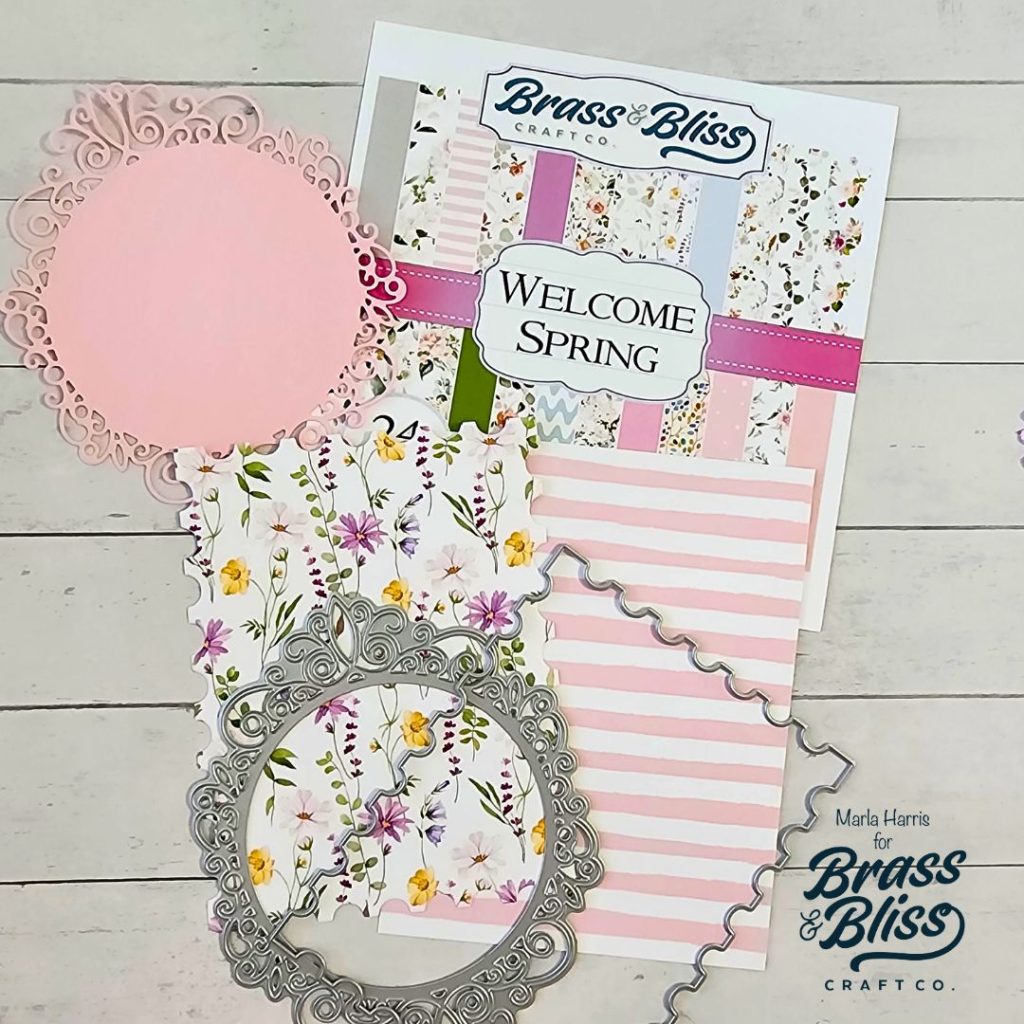
- Cut a 4.25″ x 5.5″ background using pattern paper from our Welcome Spring paper pad.
- Again, cut another piece of the Welcome Spring paper pad using our 5806D Postage Stamp Nested Die. Add foam tape to the back of the panel. *Marla used the second largest die.
- Cut a circle from coordinating color cardstock using our 5600-01D Decorative Floral Circle die.
- Adhere all of the pieces together adding a ribbon around the layers before adhering to an A2 top folding card base.
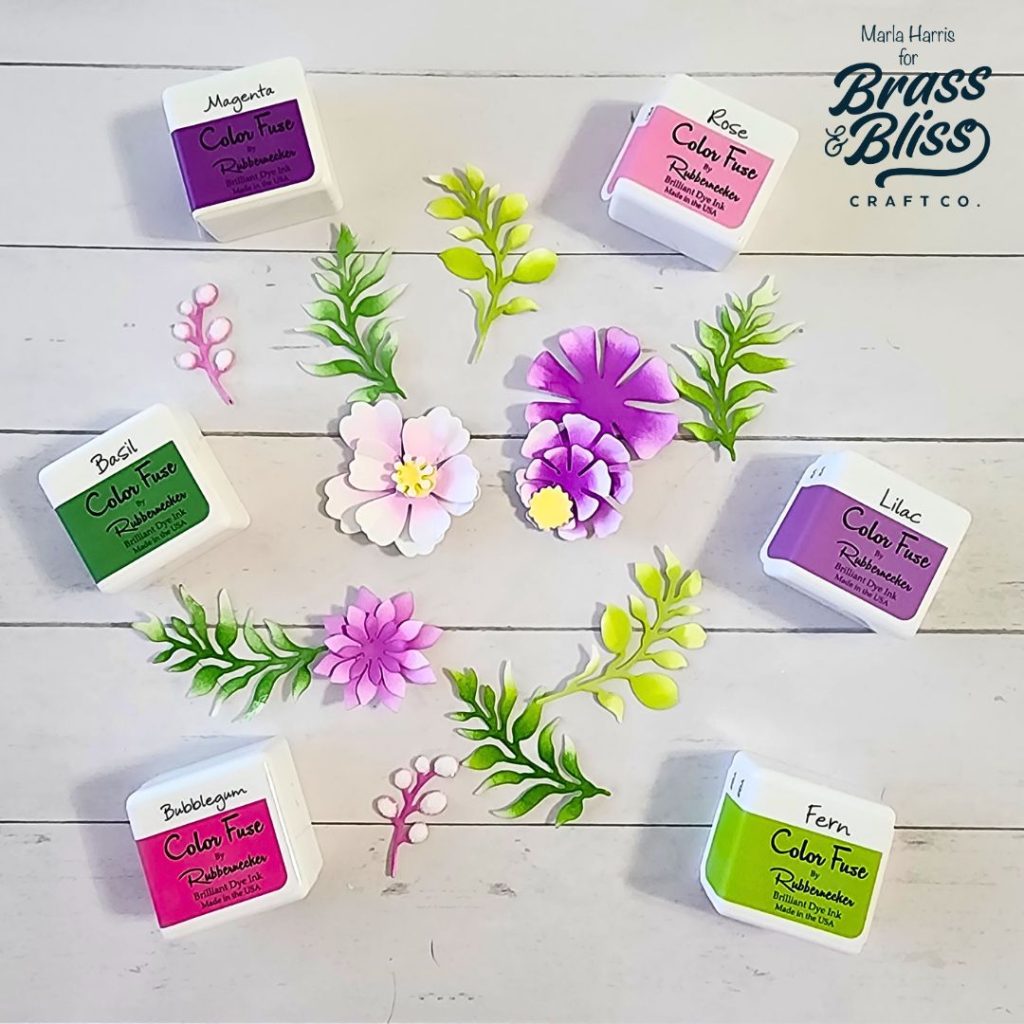
- Die cut several leaves using our 5404D Branches and Leaves die.
- Die cut flower layers using our 5508-04D Stackable flowers/leaves #4, 5709-02D Spring Flowers die and 5109-D Mixable Flower Stack die.
- Ink the flowers and foliage. Marla began with a light layer of ink on the entire petal of each flower and then added a second layer in the center with more intensity.
- Repeat the process for the foliage. ** Ink colors used” Bubblegum, Rose, Magenta, Lilac, Fern, Basil and Squeezed Lemonade Distress ink for the flower centers.
- Shape your flowers. *Again, Marla used a stylus to shape the flowers. Instead of curving the petals, she pressed the stylus into the center of each layer for dimension.
- Assemble the flowers, offsetting the petals for each layer. *Again, Marla added Prills to the flower centers and a touch of Nuvo Morning Dew to the pink foliage.
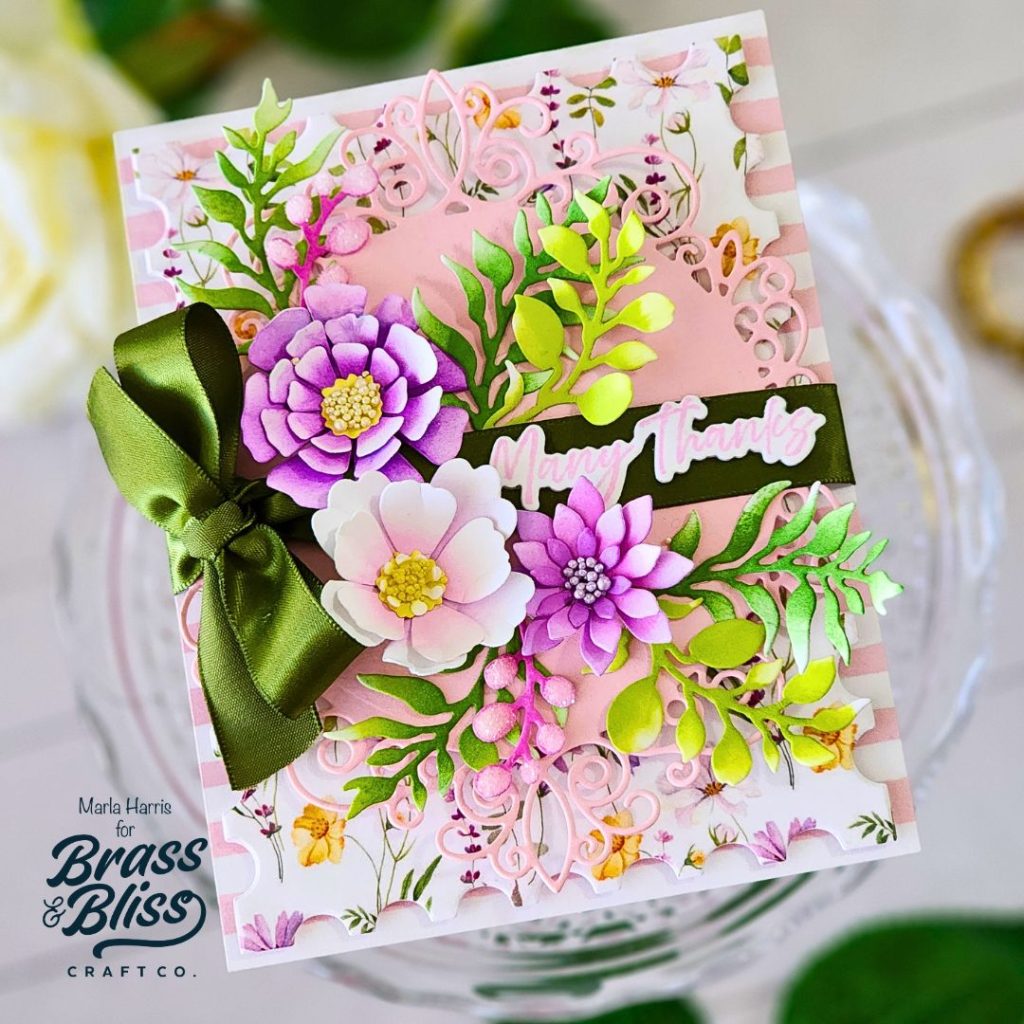
- Stamp the sentiment using our 36057 Thank You stamp and Rose ink.
- Die cut the sentiment using the 36057D Thank You coordinating die. * Cut two additional outlines from white cardstock.
- Adhere all three sentiment layers together.
- Assemble the card.
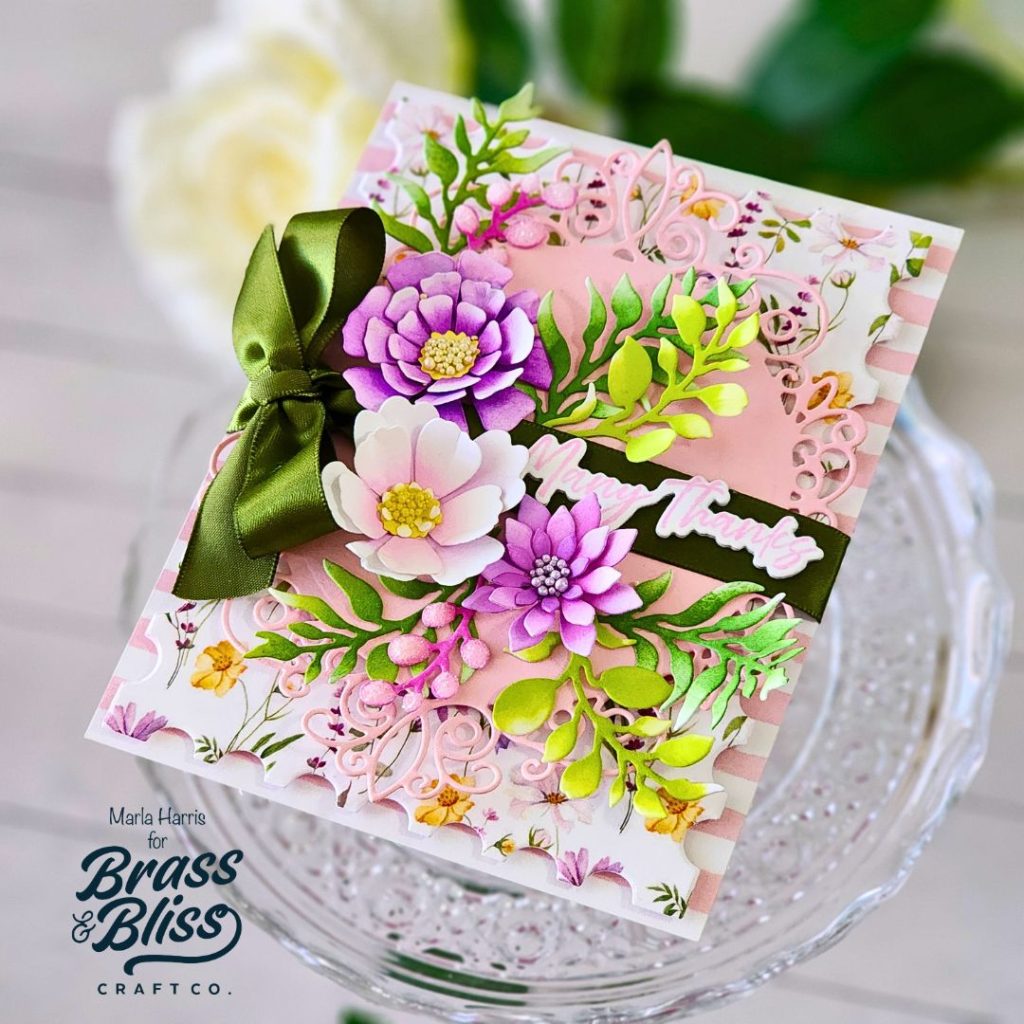
We are so smitten with these cards. Do you have a favorite? We’d love for you to let us know which technique or style you like best.
Marla your bouquet has made my day, it is very hot here down under and the stunning look of these flowers are glorious to view. Thanks you so much for sharing your beauty and work xx
Thank you so much, Annie, for your kindness.
Thanks for sharing the tutorials as to how to make these cards – much appreciated
Thank you. We are so happy you stopped by and look forward to seeing you back again soon.