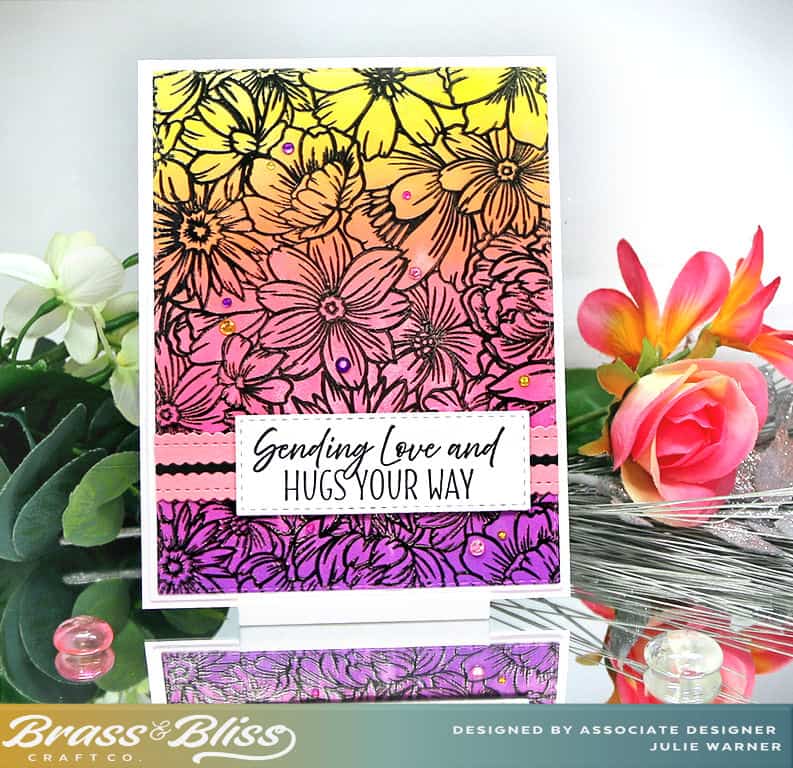
Looking for ways to make a stunning card with little effort? Check out the new Floral Background that is sure to become a craft room favorite.
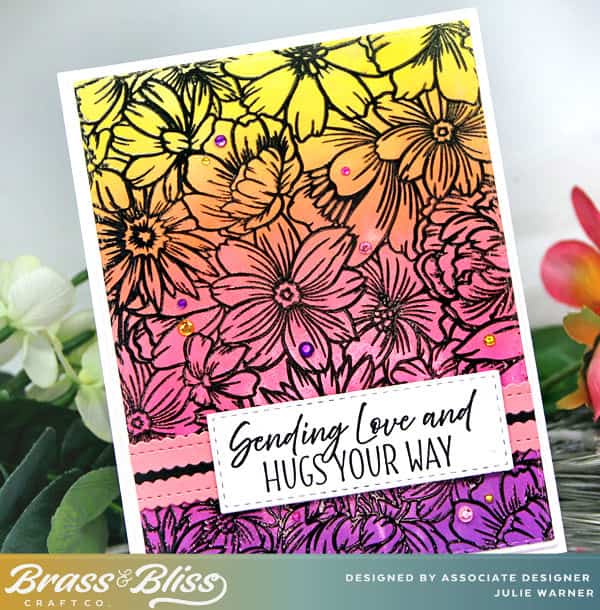
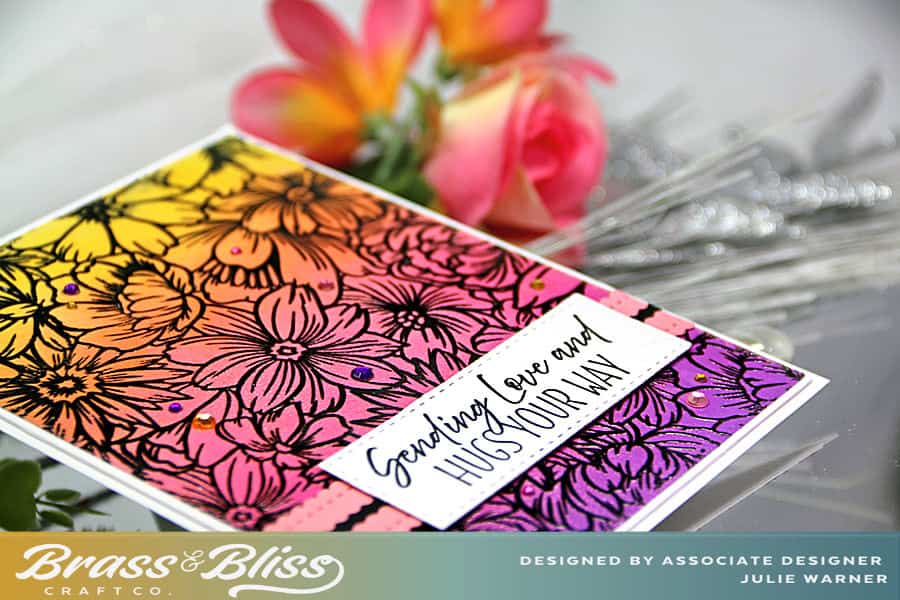
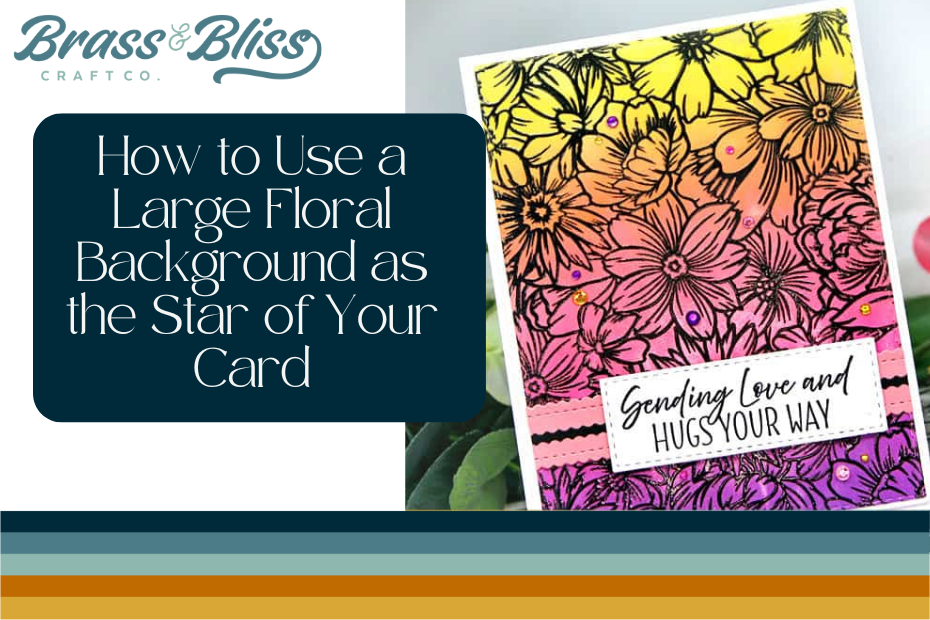
Today, Julie has a large, floral background set from our NEW ‘Sensational Spring’ Release that came out yesterday! This image would be awesome if the flowers were individually colored, but she kept her design clean & simple by creating a brayered background to add color. You could also try it over any leftover backgrounds you have or do a black & white. Endless choices for this lovely stamped image. Follow along as Julie shows us how to use a large floral background as the star of your card.
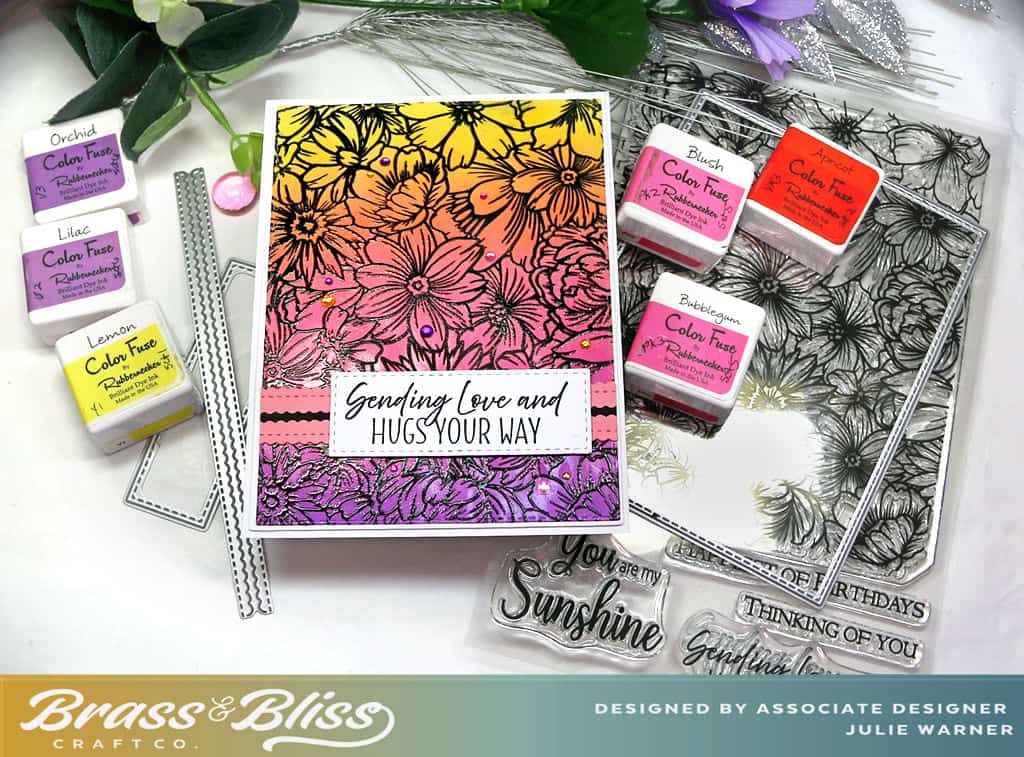
How to make this card:
- To make my background, I used a piece of glossy card, a little brayer & a selection of Color Fuse inks.
- I started w/ the yellow at the top & brayered it about 1/3 of the way down. Then added a little of the apricot on top of the lower part of the yellow.
- Then the 2 bright pinks, followed by the purple at the bottom.
- Since it’s glossy, you just have roll over it a few time to get good coverage & remove any streaks.
- I let it dry for a few minutes, then used the embossing buddy over it before putting it into my Misti & stamping w/ Versaclair nocturne. Since it’s a big image, I repeated this in any areas that didn’t look dark enough.
- I knew the Versaclair would not dry totally on the glossy, so I heat embossed it w/ clear powder. (Pigment ink will not dry on coated paper.)
- It was die cut w/ the largest stitched rectangle & to make sure the embossing didn’t flake off the edges, I used the heat tool around where it was cut.
- The greeting was stamped, die cut & I added a peach colored band behind it that I used an edger die on, & put the cutaway portion of one but in black, down the center.
- A few rhinestones were added here & there.