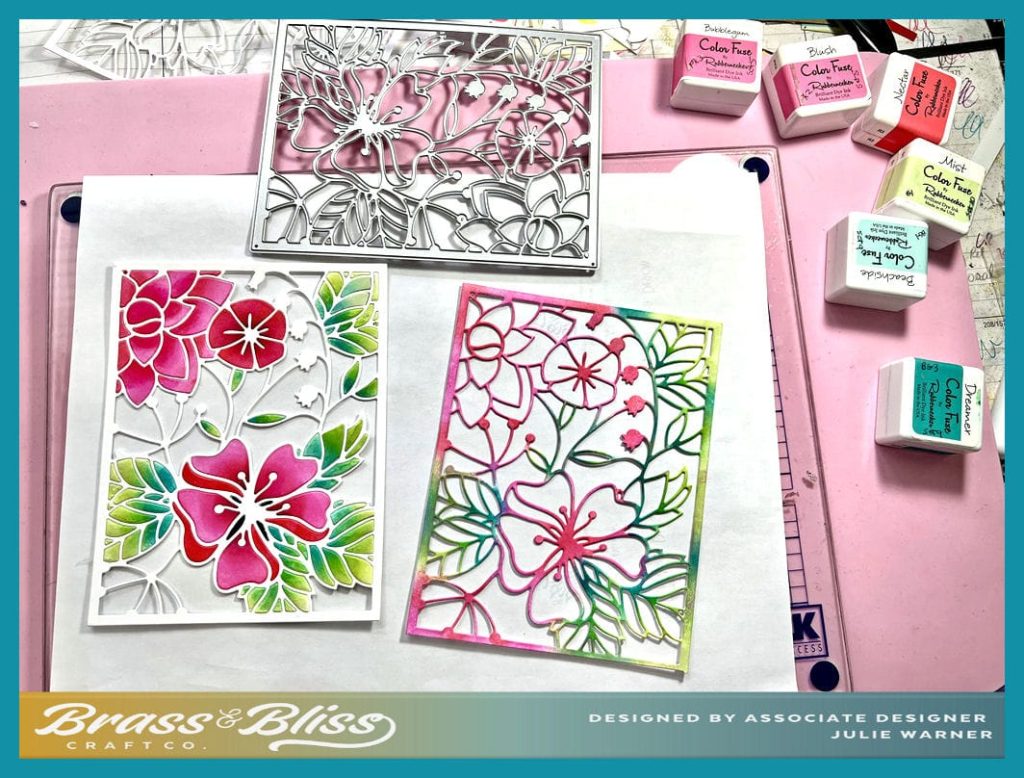
Check out this stunning Floral Cover Die that is the perfect addition to your card making supplies.
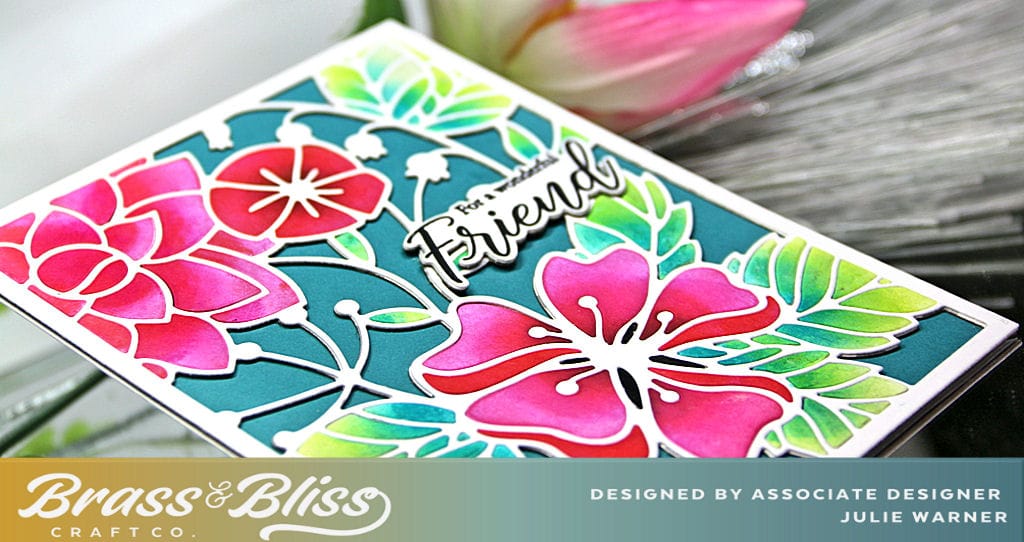
This new flower cover die is so beautiful! Our designer, Julie said she couldn’t wait to use it. Julie said that her tip for paper piecing this card together, was to emboss the pieces so they fit back into the cover die easily. Genius! This card design is great for a lot of different occasions with a quick change out of the greeting and/or the colors to suit your needs. We hope this project inspires you and that this awesome Floral Cover die 5748-02D is added to your craft room collection for future card projects!
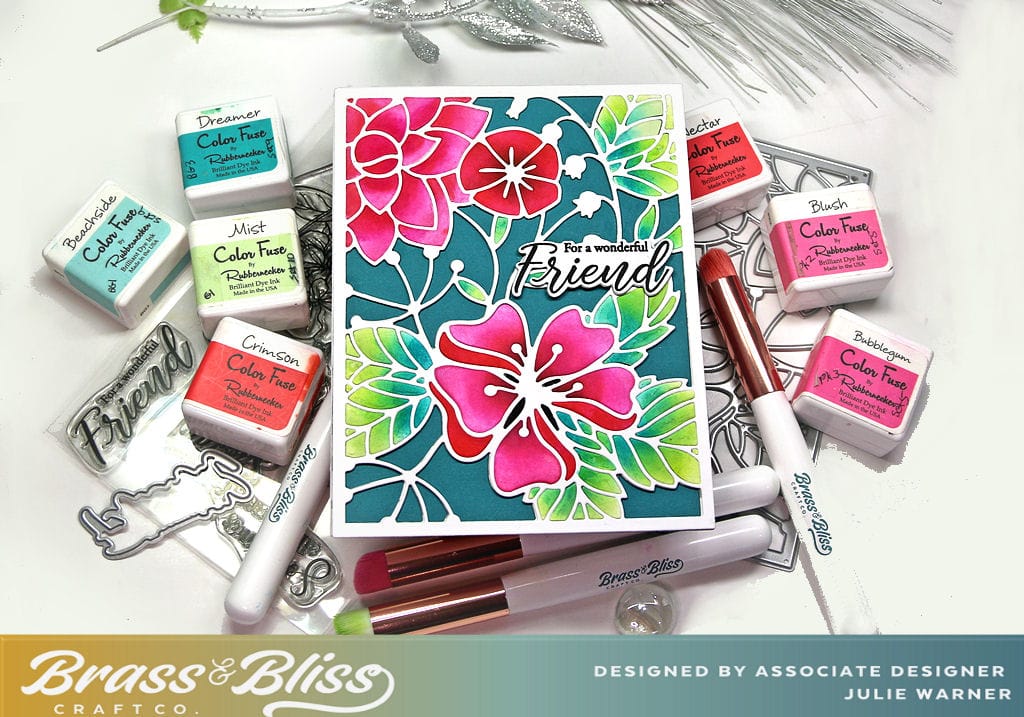
- To make my card, I die cut the floral cover once out of heavy white card & once out of cardboard & glued the two frames together.
- Here’s my tip for making the coloring & paper piecing. I took another piece of heavy white card, placed the cover die on top then embossed it only, but did not cut it.
- This embossed version is easy to see the pieces I want to color. I used the detail set of blending brushes & several reds, pink, greens & teals ink. I should have taken a pic when I did this, but I forgot.
- When finished w/ the color blending, I put the die back on top & cut it, but didn’t take it all apart.
- Then I picked the individual pieces from the colored version & placed them inside the white frame.
- Then I picked out a greeting & popped it up just a bit.
- The pieced cover was attached to a teal background.
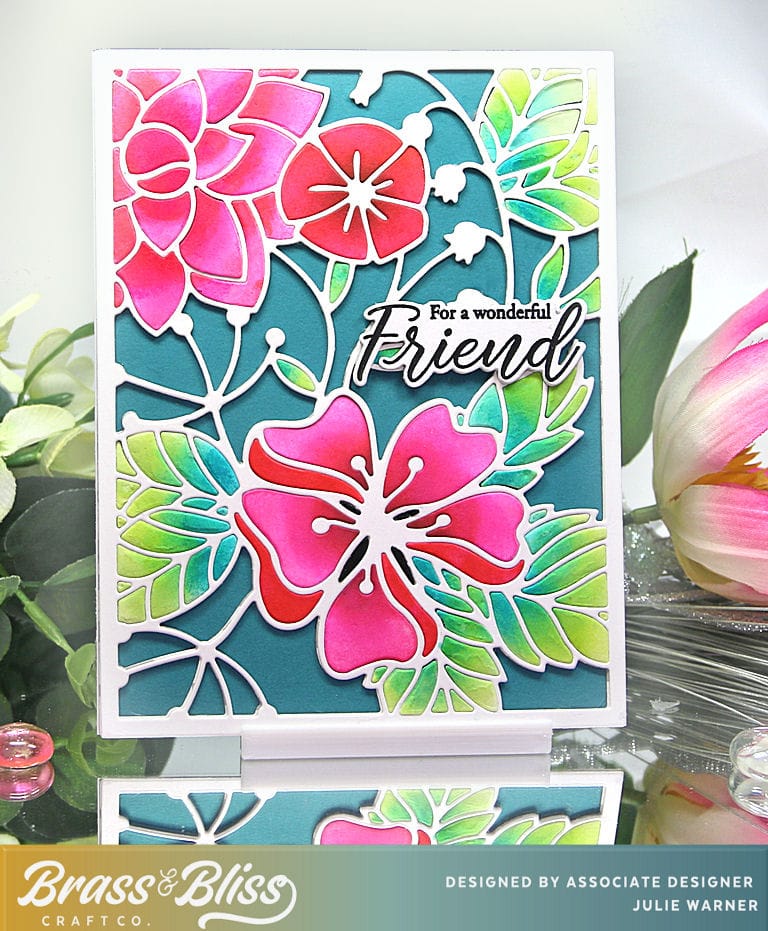
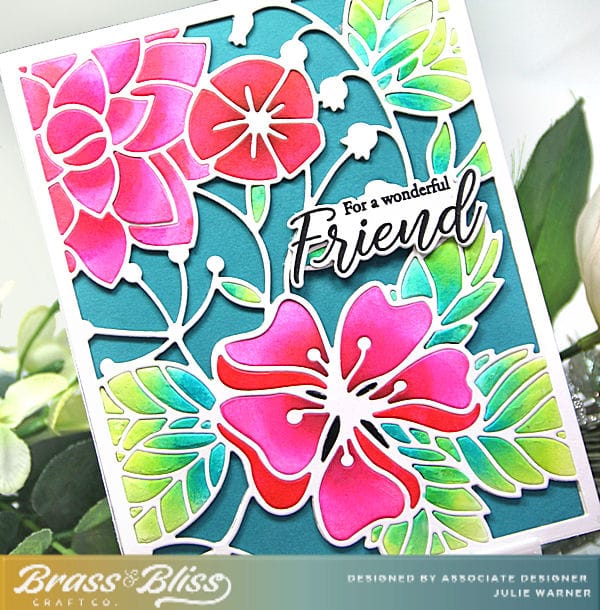
- Here’s a picture of the two when I finished the piecing. I’ll save the colored frame for another card.