
Add some soft florals to your next birthday card creations and bring the Spring vibes to your craft room!
Hello there crafty friends! Today’s amazing card creation is from our designer, Dominique, who said, “Here in western PA, the weather is getting warmer and the plants are in full bloom! I love all the colors of the spring because to me it’s a sign of life and new beginnings. To honor spring in her full glory, I created this arched floral card.” We love her color choices and that shiny gold background. Follow along to create your own!

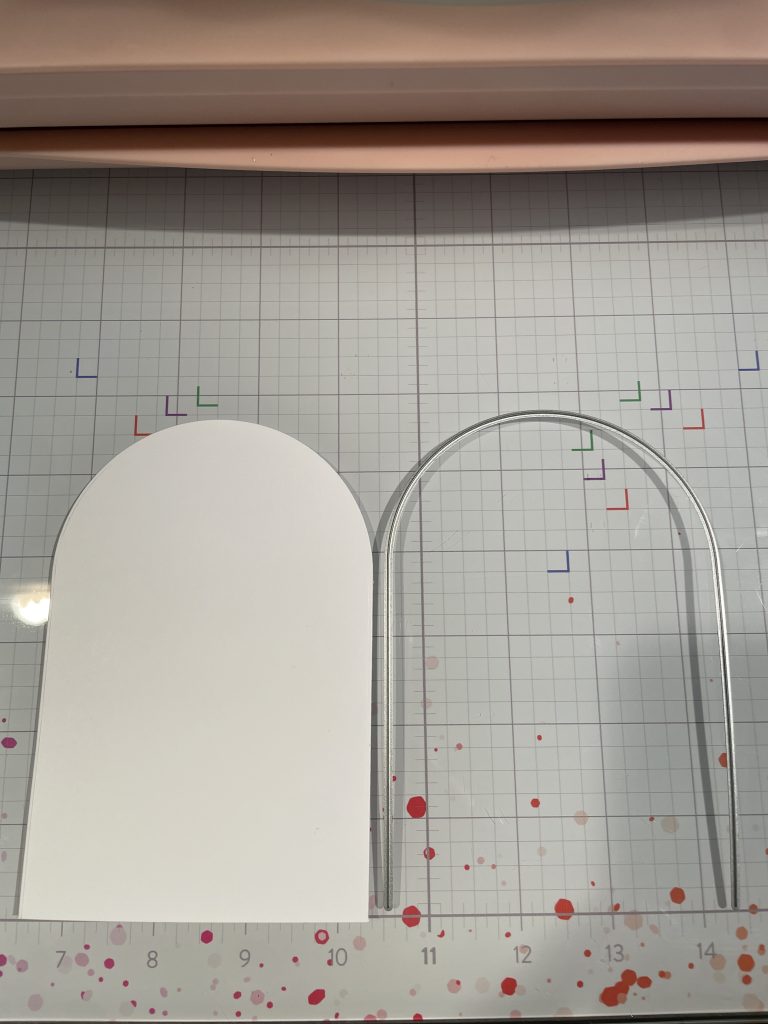
- Let’s start by using the largest arch die from 5715D Stacked Arches Die set. Die cut sheet of white card stock and set aside.
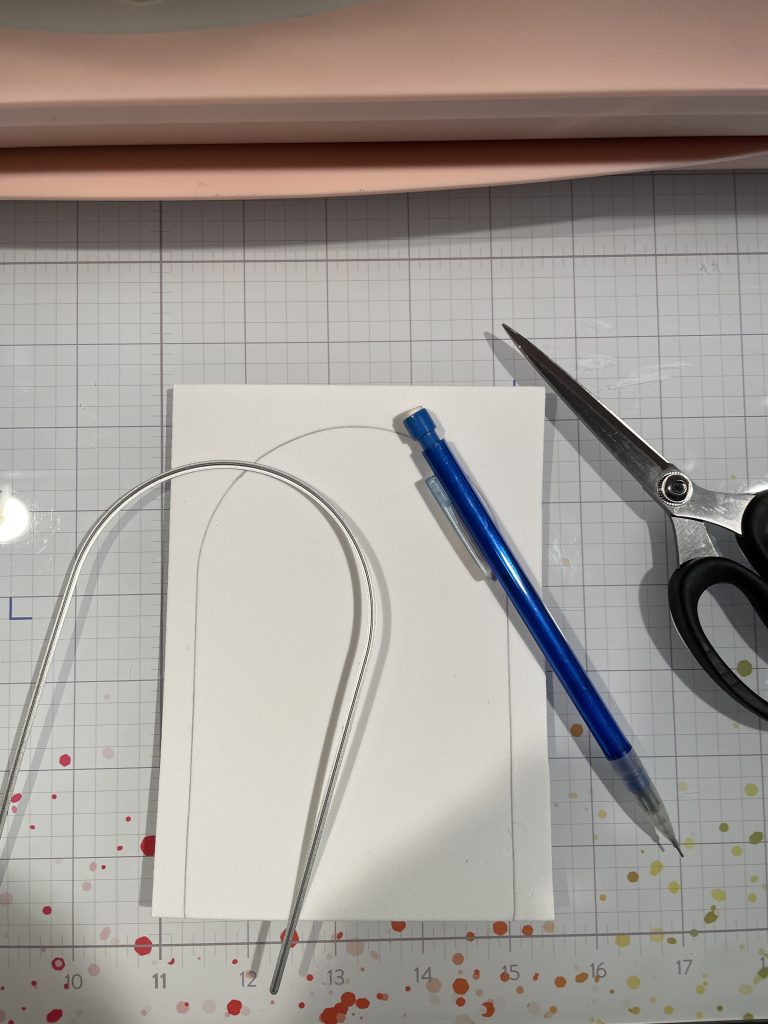
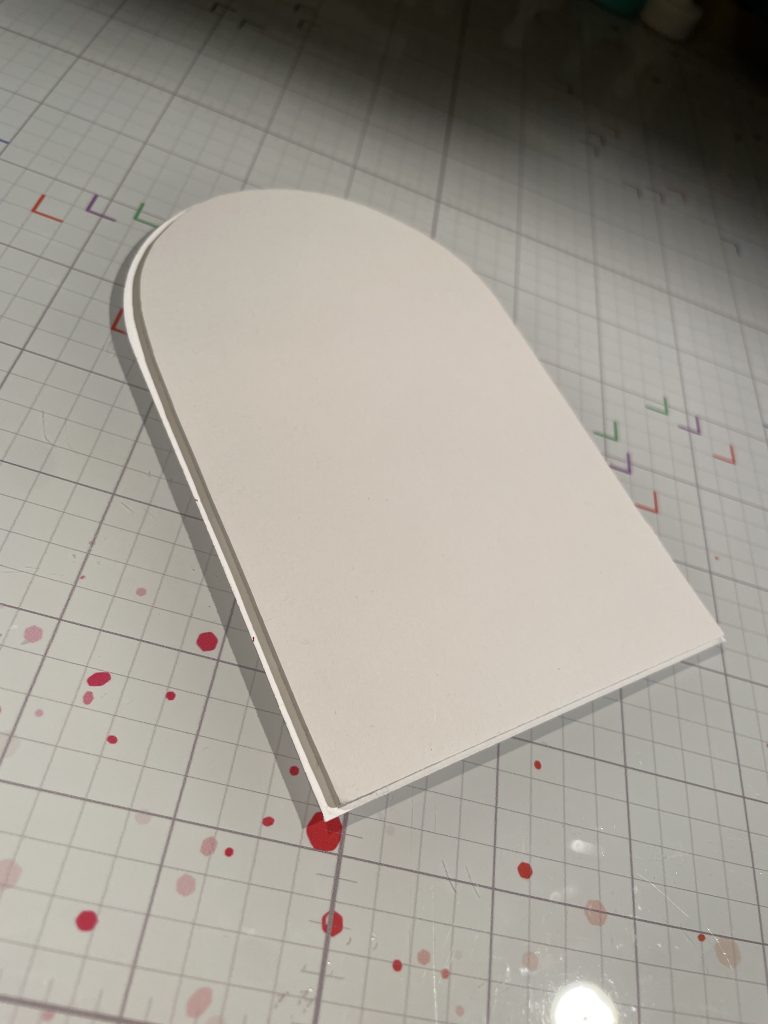
- Next, you will need a sheet of fun foam. Use the second to largest arch die from the 5715D Stacked Arches Die set and trace the outline of the die onto the piece of foam sheet using a pencil. We will use this traced line to cut out the arch by hand. I prefer to manually cut foam sheets vs using a die to cut them, because when I run fun foam through the die cut machine the foam flattens out a bit and it takes on every impression thats left in my cutting plates.
- Cut out the foam arch then add double sided adhesive to each side of and set aside.
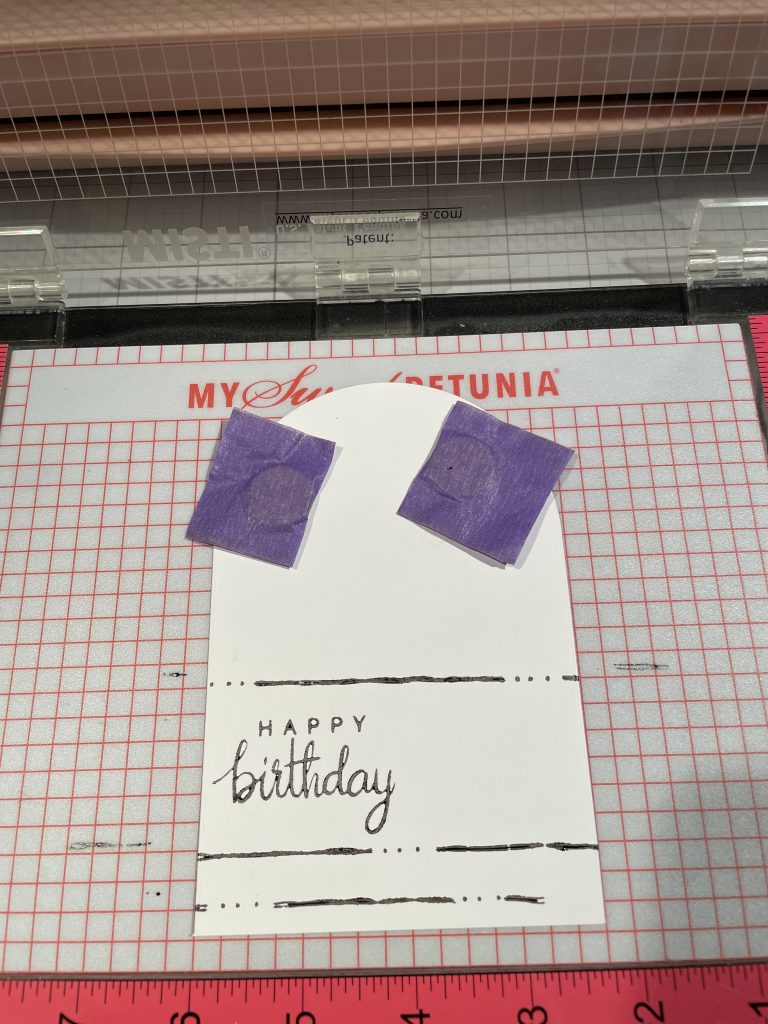
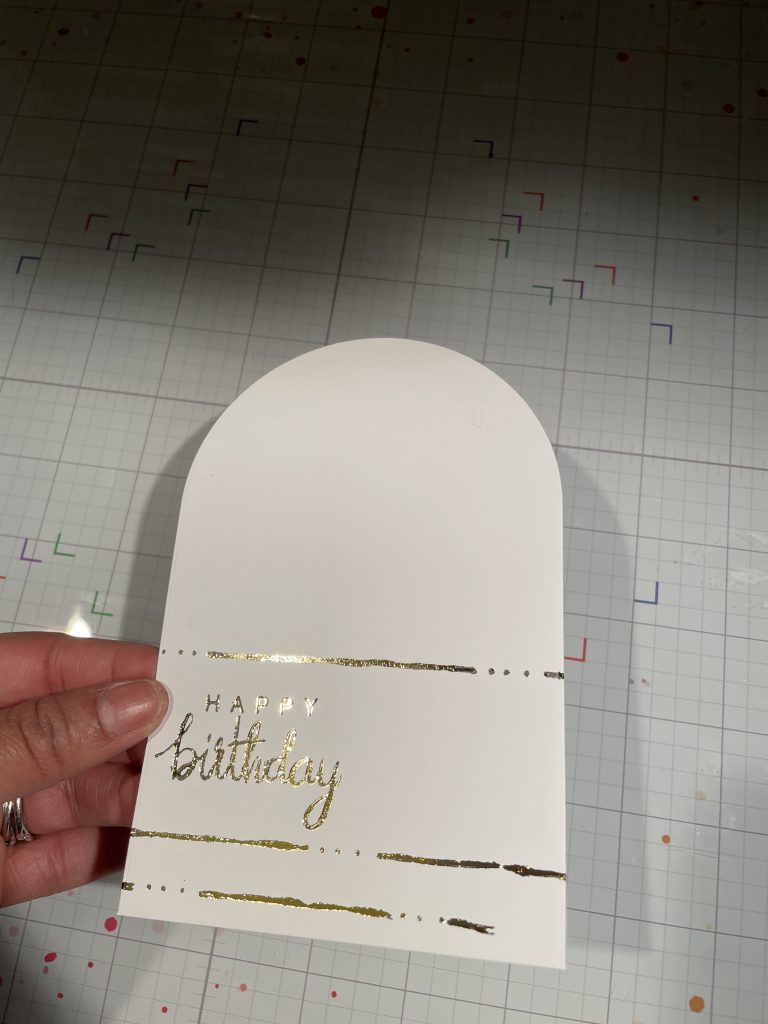
- For this next step I decided to try the Heidi Swapp toner ink and some heat foiling. Heat transfer foil will adhere to toner ink when heat is applied. Using my Misti and the toner ink, I stamped the Happy Birthday greeting from the 37006 Birthday Balloons stamp set.
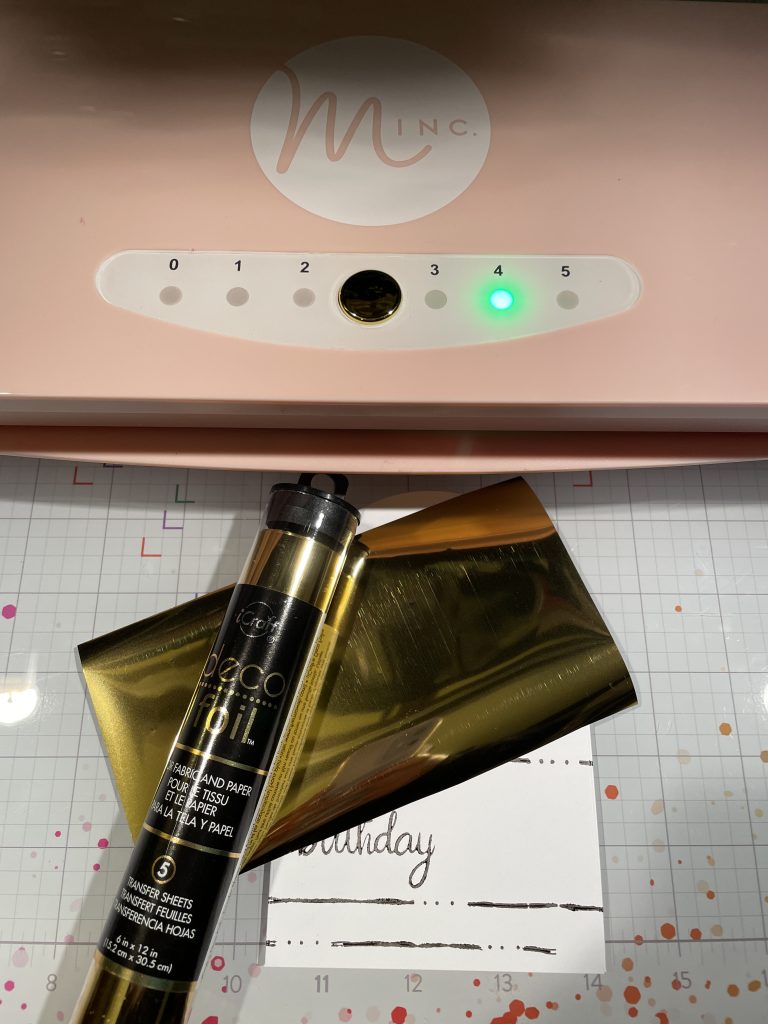
- Once dry, covered it with heat transfer foil, pretty side up, and run it through Minc Machine (something I picked up heavily discounted a Joanns liquidation sale). You can also use a laminator if you don’t have a Minc machine. If you don’t have toner ink, you can use gold embossing powder and a heat gun instead.
- Next, adhere the foam sheet to the back of the stamped arch cutout. Set aside
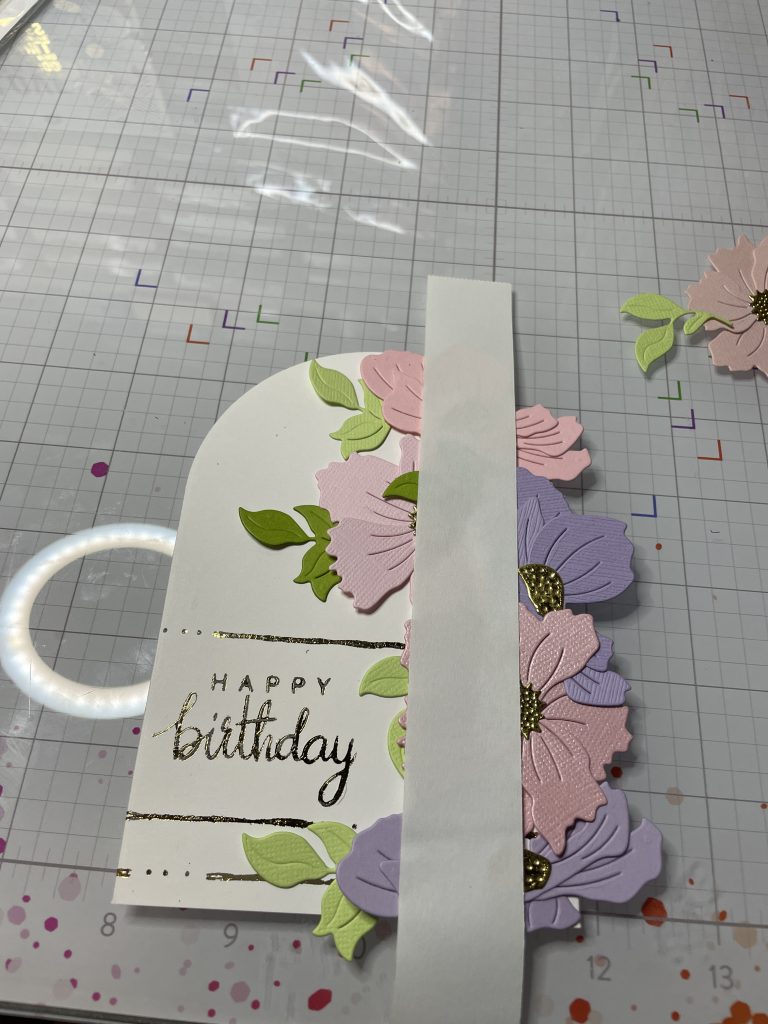
- Moving on to the florals. Using the floral dies from 5808-01D Build a Bloom Anemones Die, die cut several flowers in various coordinating colors. I used a combo of textured and non-textured card stock (another goodie I picked up at the liquidation sale). For the floral centers used foiled card stock that matched my Happy Birthday sentiment.
- Assemble all your florals and arrange them on your arched card front to your liking. Then adhere them down with some liquid glue.
- Lastly, adhere your card front to a 4 1/4 x 5 1/2 gold foiled sheet. Then adhere that to a 4 1/4 x 5 1/2 card base.
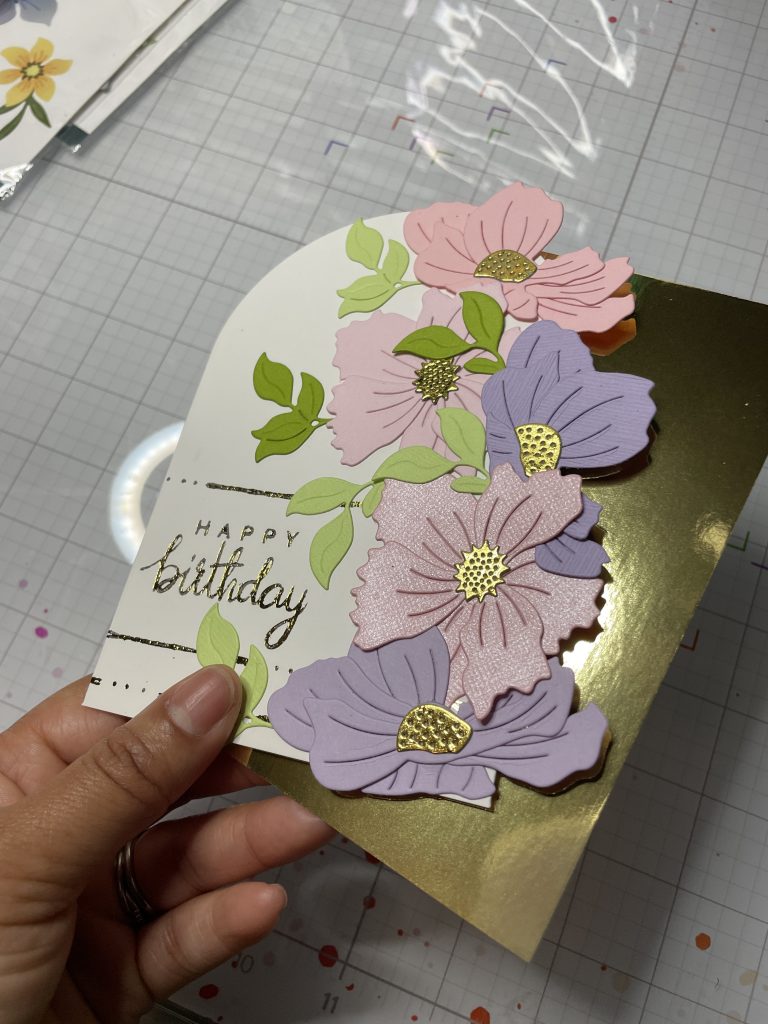
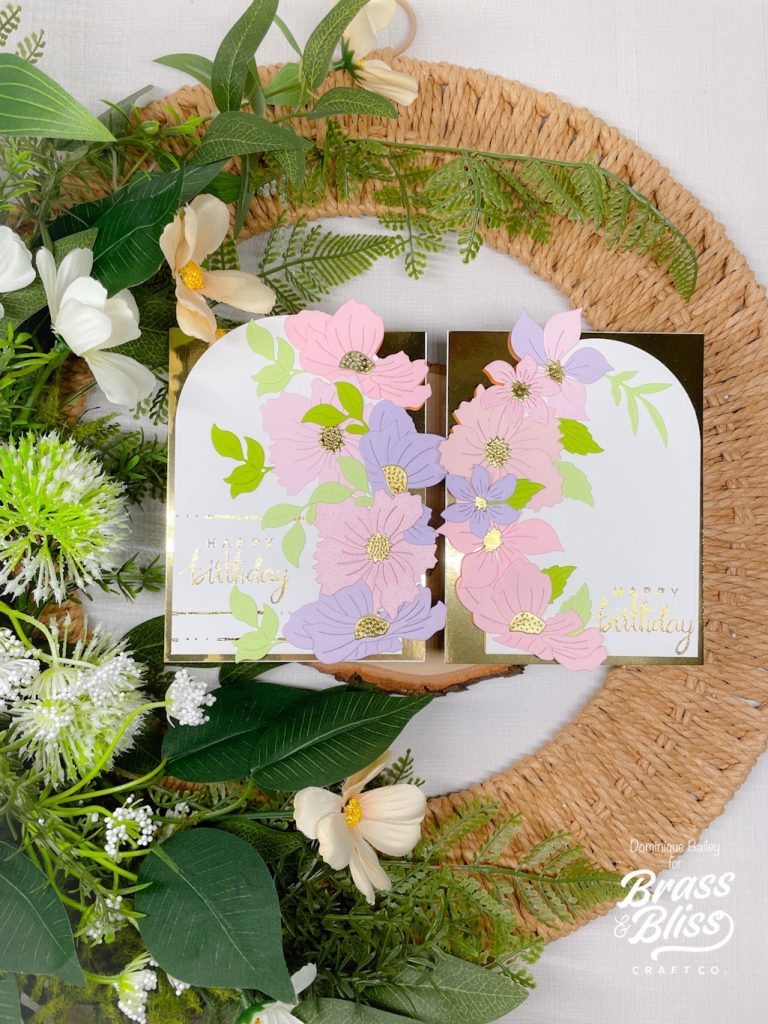
There you have it! A floral beauty that you can easily adapt the color for various seasons throughout the year. You can also mix in other florals from the 5808-02D Build a Bloom Clematis Die set to create more interest. I hope you all enjoyed todays card. Have a great day crafting!