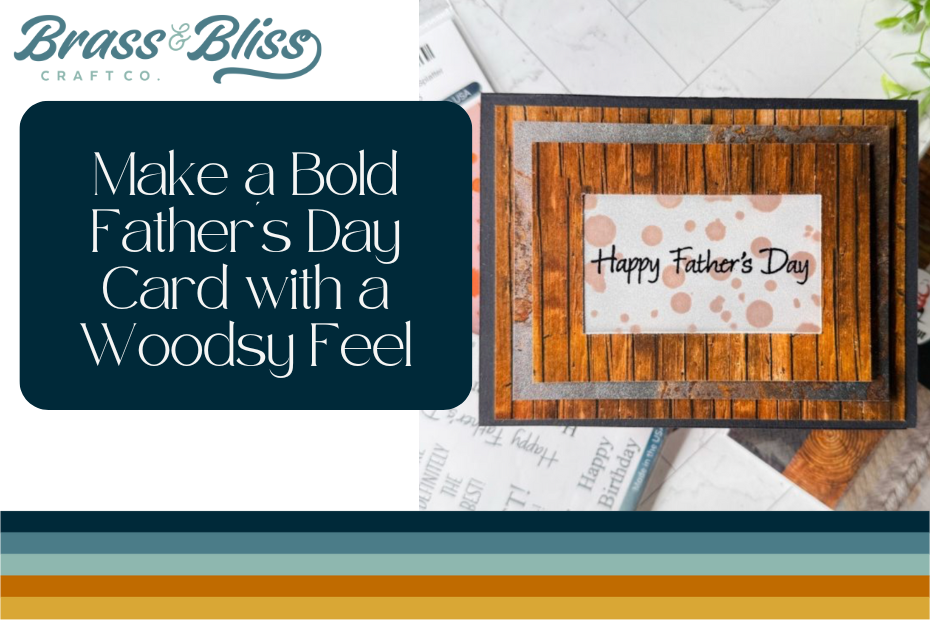
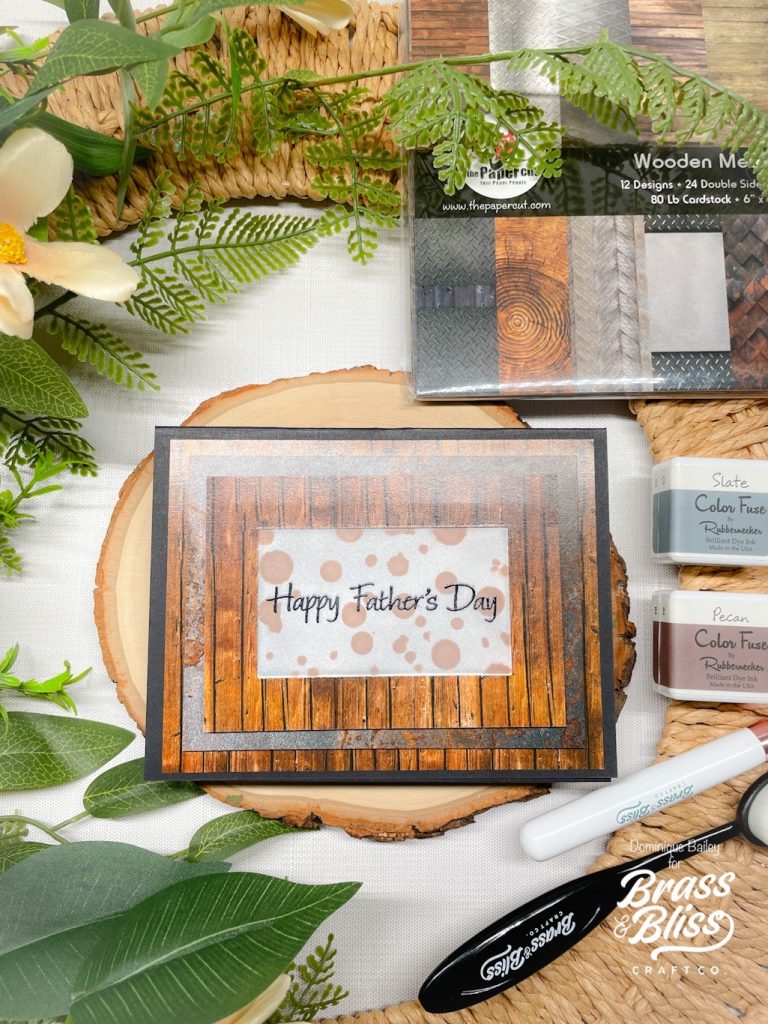
Looking for your next Quick and Easy Father’s Day Card Inspo? Check out this simple design with a masculine paper choice.
Today’s design comes from Dominique who has layered up this great masculine look for Father’s Day. We love the new paper pads from our friends at The Paper Cut, and the bold patterns they have included. Check out Dominiques card and see how to make this Bold Father’s Day card with a woodsy feel.
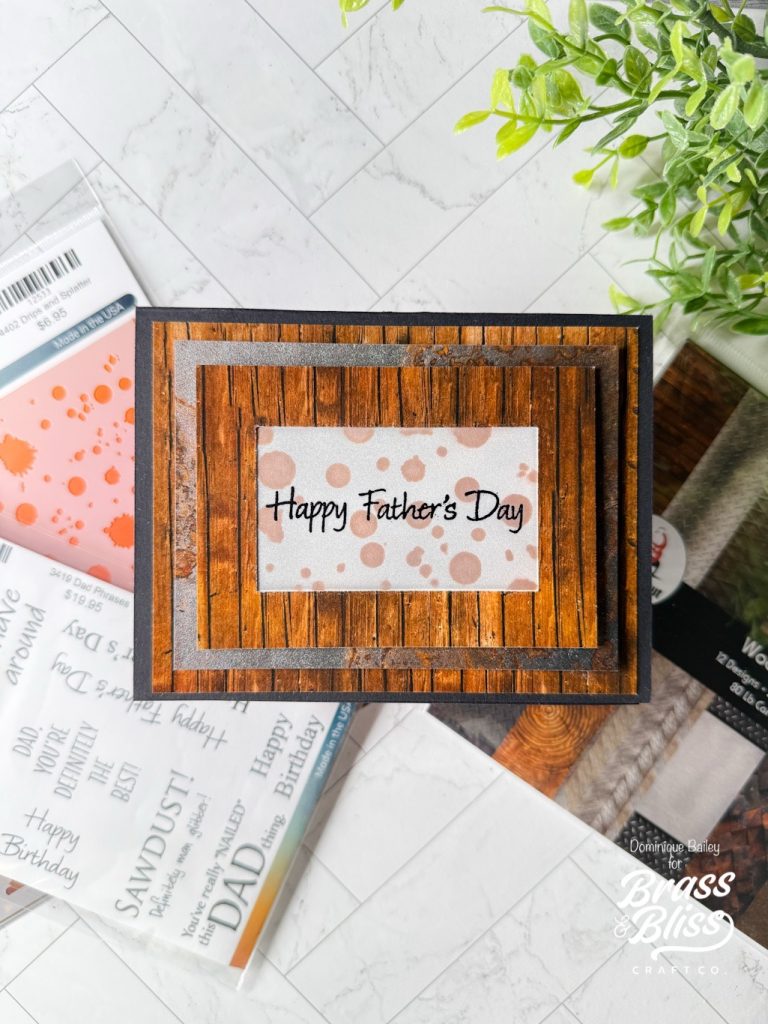
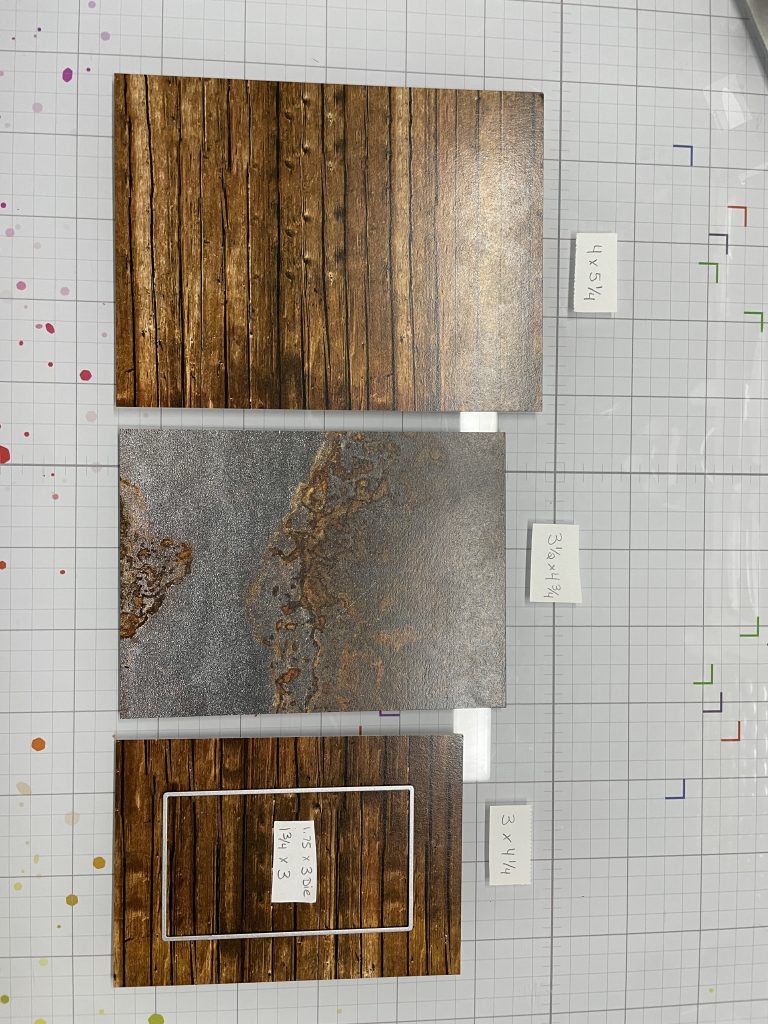
- Select three sheets of coordinating paper from the Wooden Metallic paper pack by The PaperCut. I used the wood plank and rusted metal sheets.
- Cut three panels to the following sizes:
- Largest panel: 4 x 5 1/2 in
- Middle panel: 3 1/2 x 4 3/4 in
- Smallest panel: 3 x 4 1/4 in
- Select the 1 3/4 x 3 in die from the 5003D Classic Nested Rectangle Dies set and set it aside.
- Cut a 1 3/4 x 3 in panel from white cardstock.
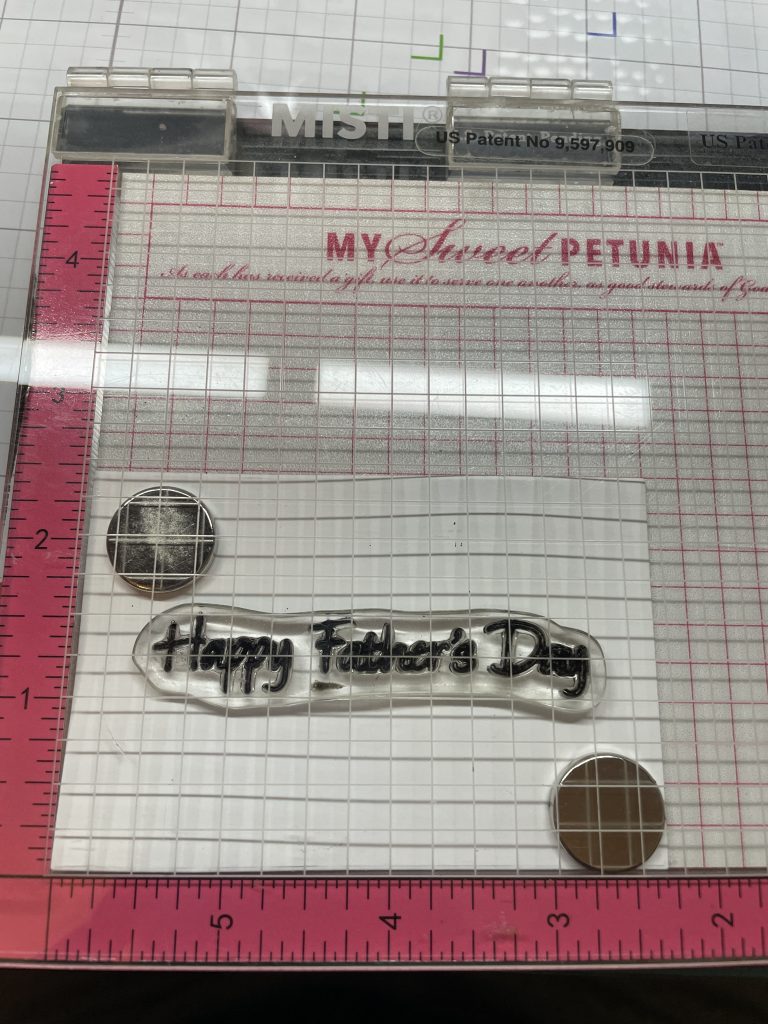
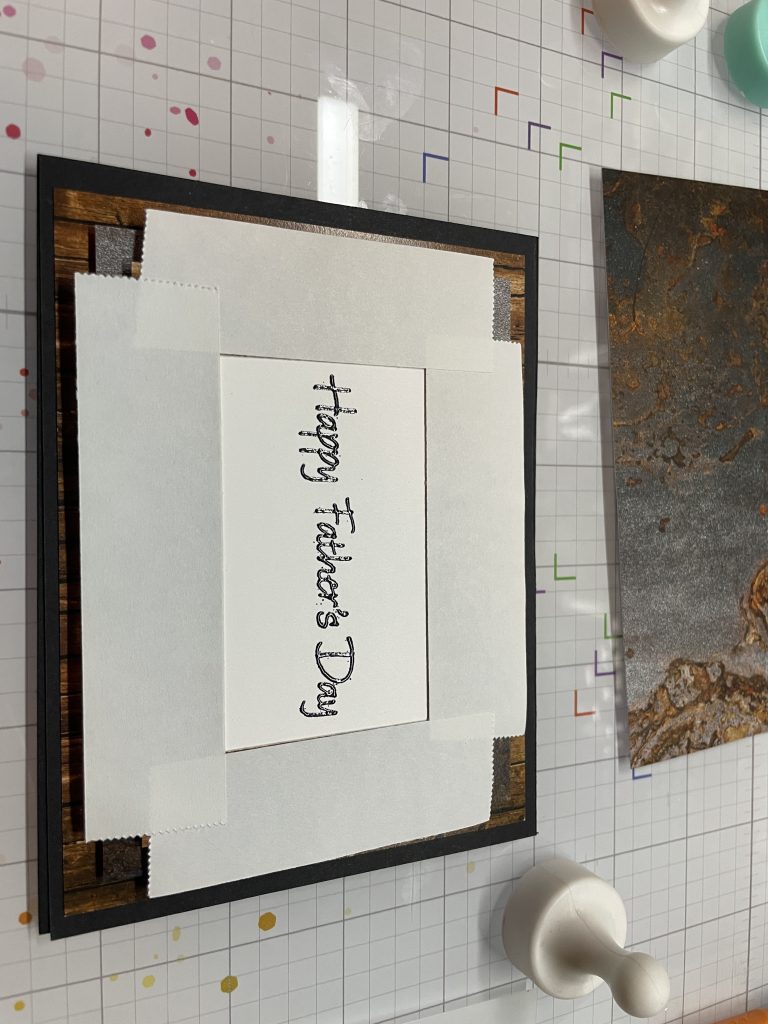
- Place the panel into your stamp repositioning tool. Since we’ll be heat embossing the sentiment, treat the panel with anti-static powder.
- Center your stamp on the panel and stamp the Happy Father’s Day sentiment from the 3419 Dad Phrases stamp set. Be sure to use pigment ink.
- Remove the panel from the repositioning tool, then sprinkle black embossing powder over the stamped sentiment.
- Heat-set the powder to complete the embossing process.
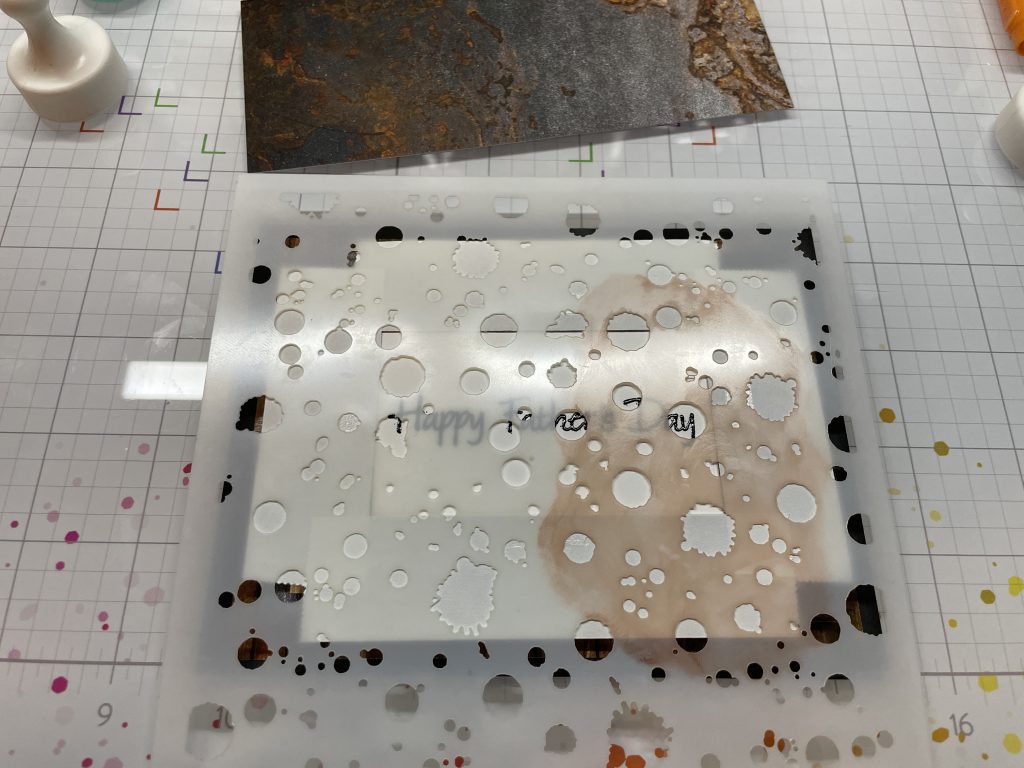
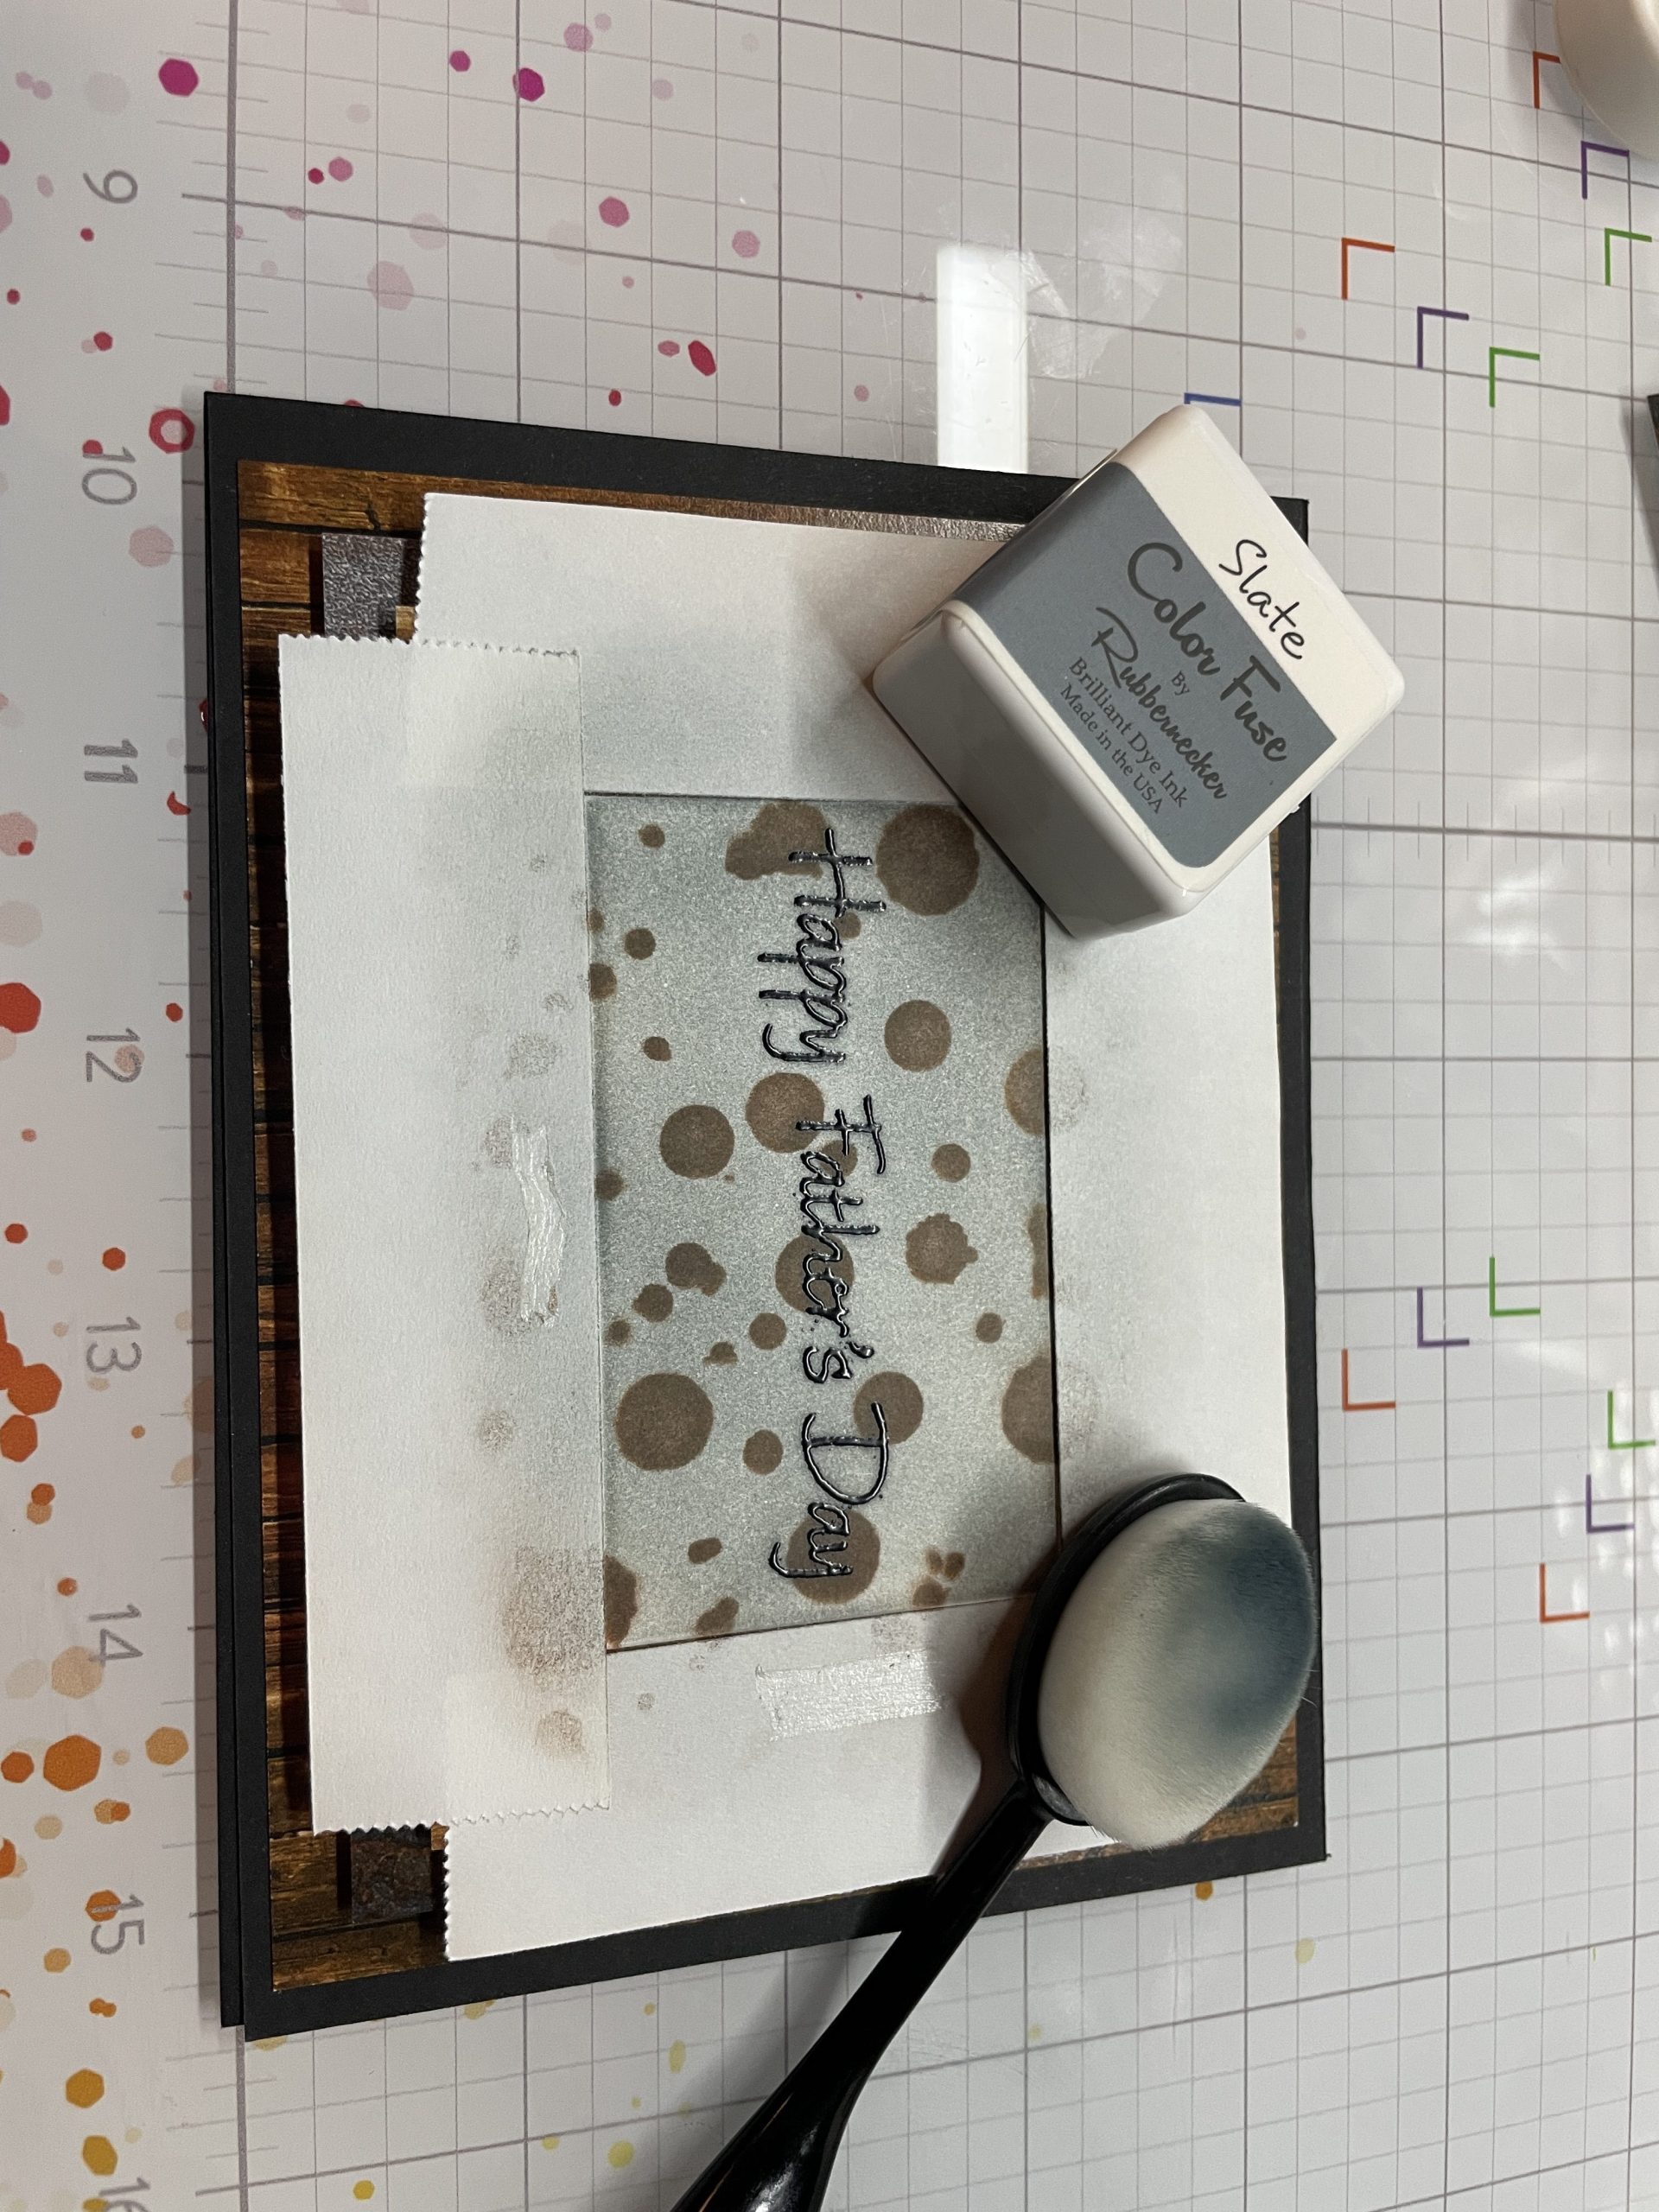
- Now for stenciling! You’ll notice in my photos that I initially completed these steps in a different order, but I recommend following them in this sequence for a smoother process:
- Place the 4402 Drips and Splatter stencil over the embossed white panel and use a blending brush with Pecan ink to add texture.
- Remove the stencil and blend Slate ink over the entire background. The ink may appear dark at first, but it will lighten as it dries.
- Assemble the card:
- Apply flat double-sided adhesive to the back of the largest panel and adhere it to a 4 1/4 x 5 1/2 in black card base.
- Add foam adhesive tape to the back of the middle-sized panel and adhere it to the large panel.
- Apply foam tape to the back of the smallest (gray) panel and attach it to the middle panel.
- Finally, use flat double-sided adhesive to secure the framed sentiment panel to the gray panel.
I hope you all enjoyed today’s card. Have a a great day crafting!