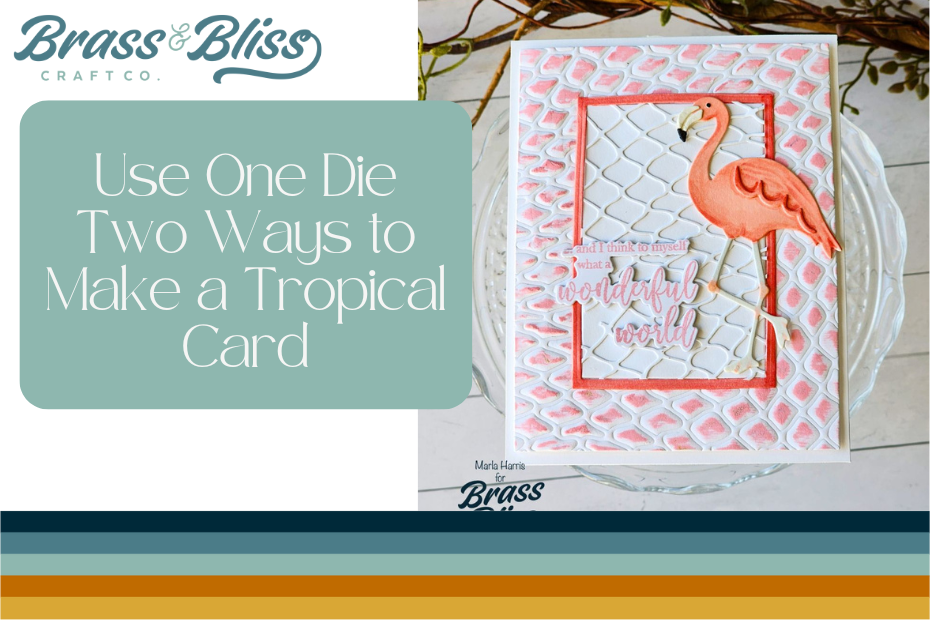
Come and see a cool way to use the Netting Die in two different ways for a cohesive look that brings all the tropical vibes.
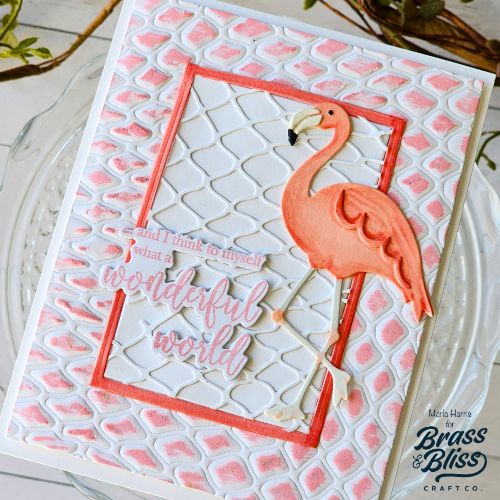
Today we have a great card design from Marla, who created this cute flamingo card that feels easy and bright. We love the pop of color that she paired with layers and texture she used to create this delightful summer themed card. Marla is going to show us how to use one die two ways to make a tropical card, and we are in love with the result.
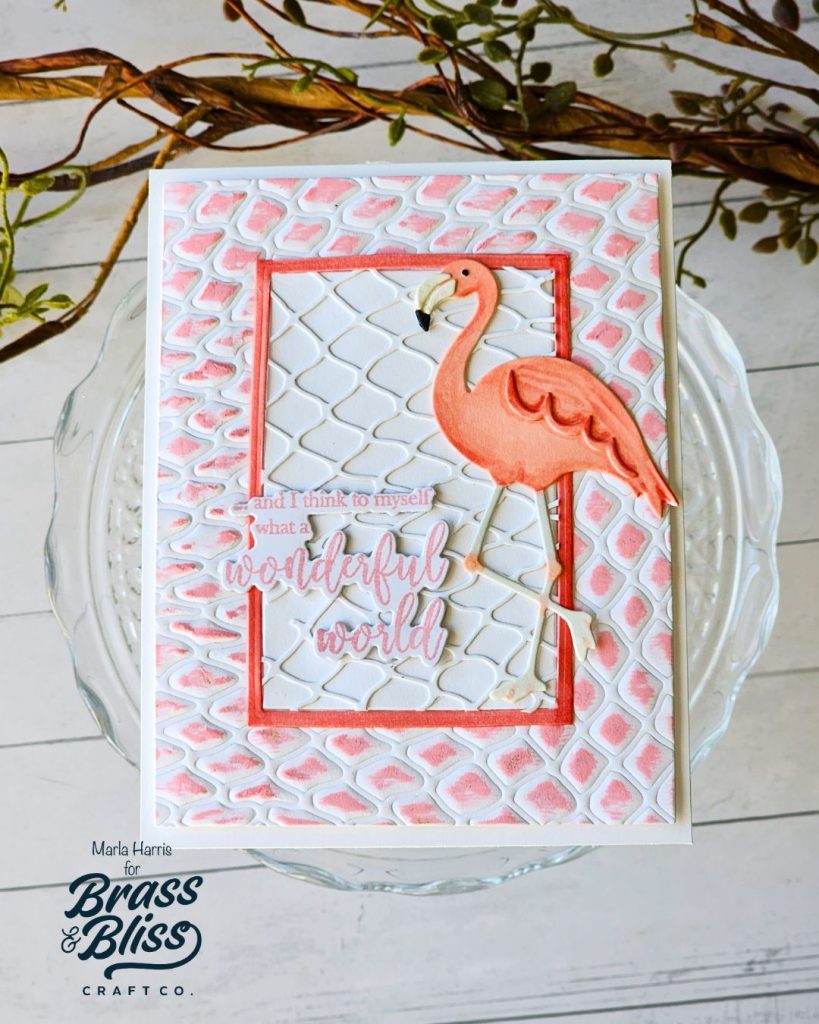
We’ll quickly run through the products and process of this card in a moment, but let’s take a closer look at the way Marla used our 5816-01D Netting die. First, she used it as a die to add an additional textured layer to the background of the frame. Then she used the same die to dry emboss the background layer. Finally, she added a pop of color to the embossed background with a quick swipe of an ink pad. Don’t you love the unique pattern the dry embossed die gave to this project? You would never guess that both the die cut, and embossed background used the same die.
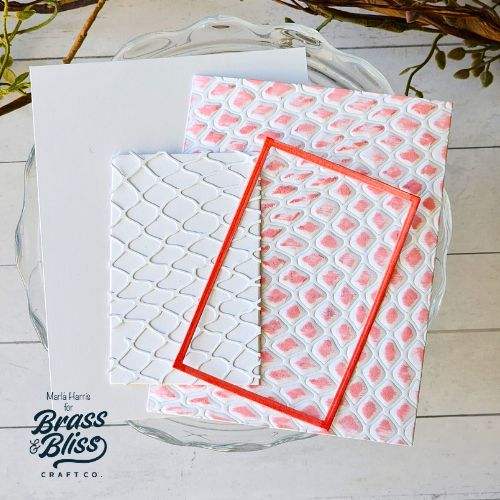
- Die cut a frame using two of our 5003D Nested Rectangles die and white cardstock.
- Die cut the fish net layer using our 5816-01D Netting die and white cardstock.
- Die cut the fish net using the smaller of the two rectangles used to cut the frame.
- Color the frame using ink or markers.
- Adhere the fish net layer to the solid piece of cardstock that came out of the die cut frame.
- Cut a piece of white cardstock to 4″ x 5.25″.
- Dry emboss the cardstock using our 5816-01D Netting die.
- Gently swipe color over the embossed cardstock using our Posey ink.
- Add foam tape the embossed background.
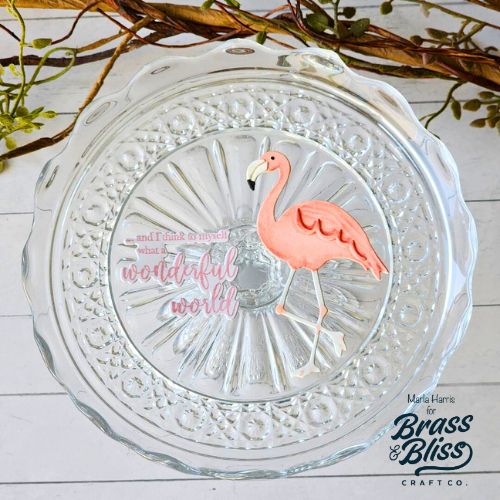
- Die cut the flamingo from white cardstock using our 5817-01D Tropical Birds and Leaves die.
- Color the flamingo using markers
- Assemble the flamingo with glue.
- Stamp the sentiment using our 37014 Hellebore Floral stamp and Posey ink.
- Die cut the sentiment using our coordinating 37014D Hellebore Floral die.
- Cut the sentiment two more times from white cardstock
- Adhere all three of the sentiment layers together for dimension.
- Assemble the card layering the pieces onto an A2 top folding card base.
Thank you for stopping by today. We hope you are enjoying our summer release and all of the inspiration from our design team. Be sure to subscribe to our blog so you don’t miss any of our card tutorials.