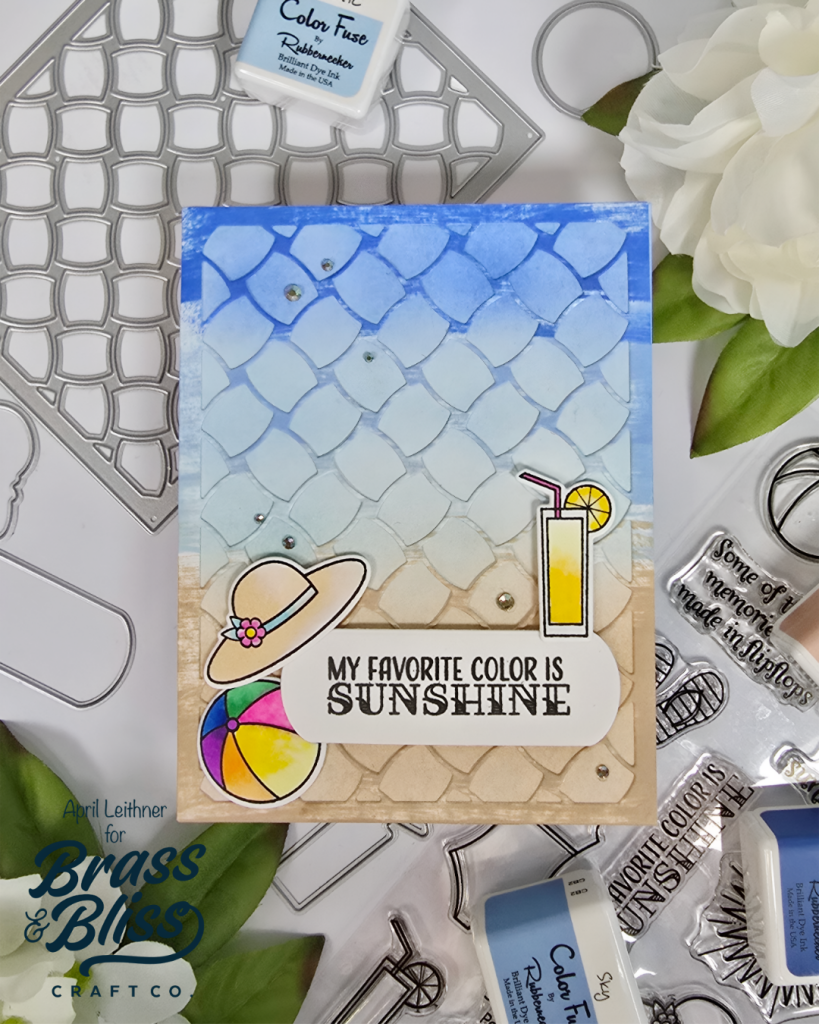
Looking to add some depth to your projects? Ink blend your Cover Die to match your background for a some fun dimension.
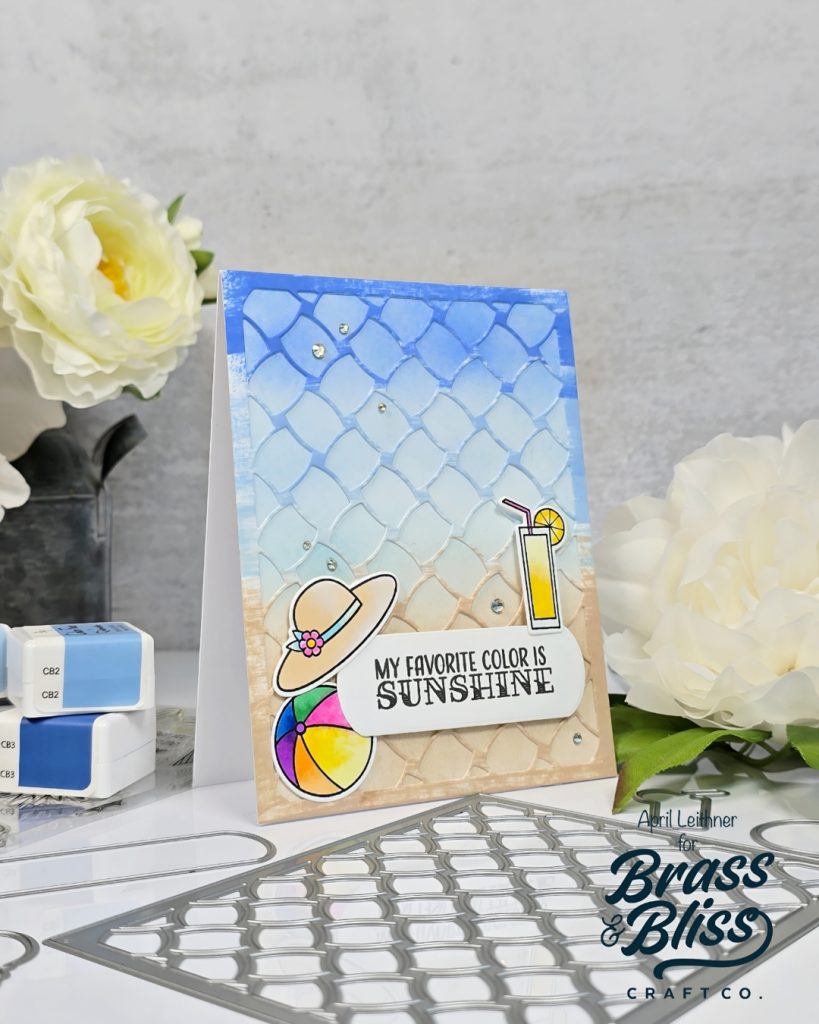
Today’s project is from April, who said, “I am holding on to summer as long as I can. I used a cover die to create movement over an ink blended background adding to the beachy feel to my card.” We love seeing how our designers are using their cover dies this month and hope you feel inspired to add more cover dies into your projects. Follow along as April shows us how to send summer vibes with this beach cover die card.
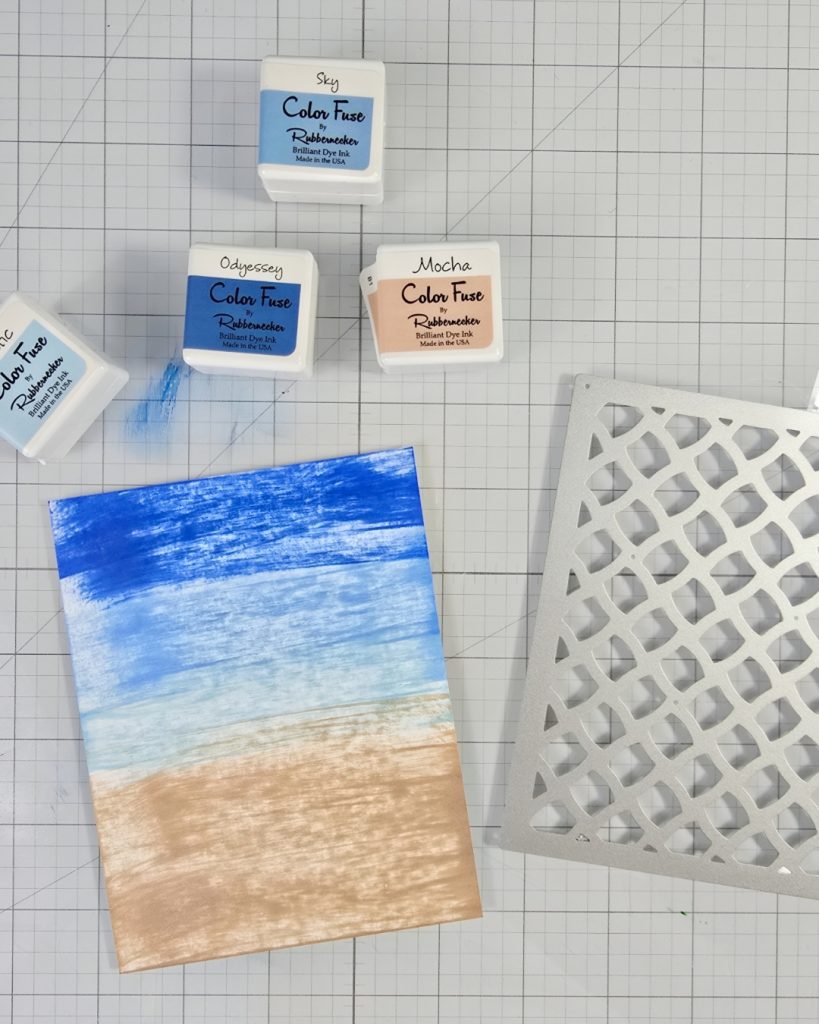
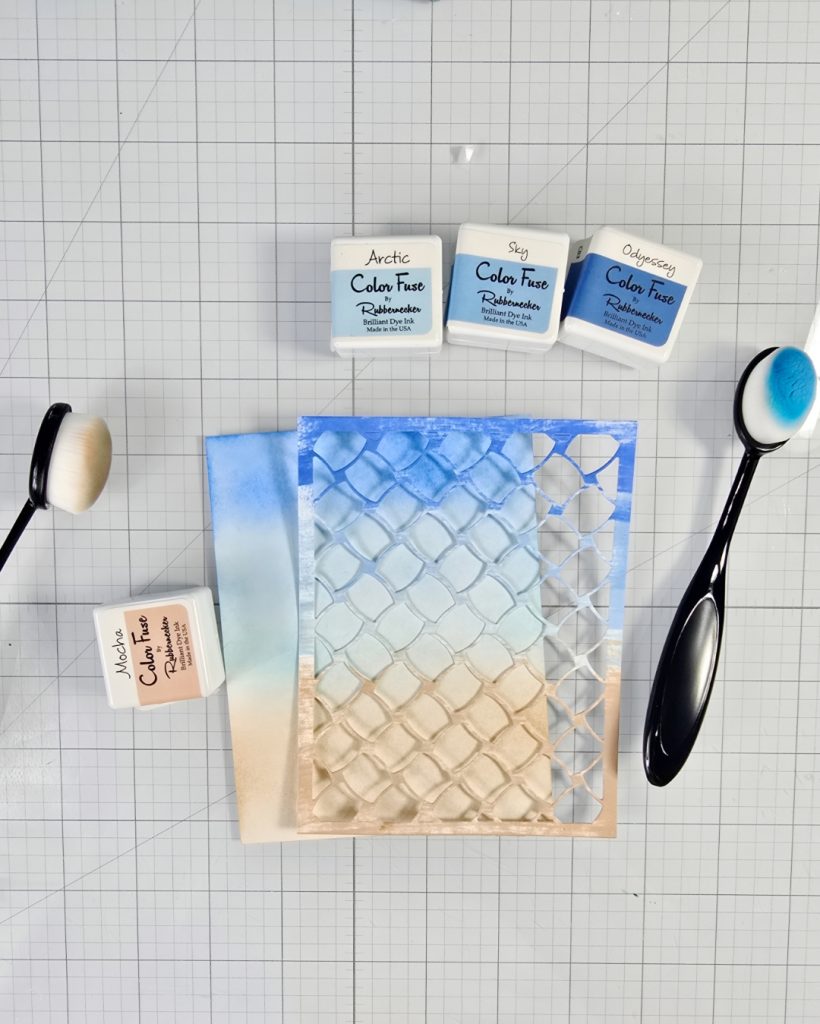
- Go direct to paper with Color Fuse #3 Mocha, #7 Artic, Sky and Odyssey on an A2 white panel. Use light pressure and do not cover the entire panel. This will add texture to the panel when die cut.
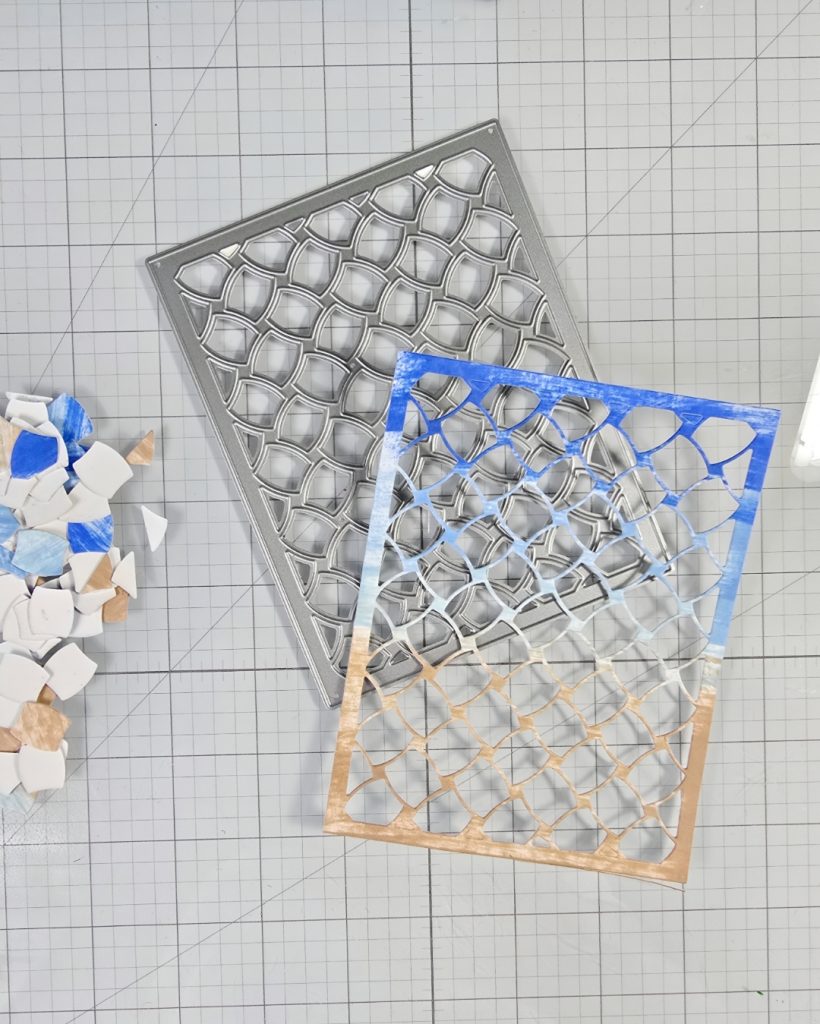
- Die cut this panel using the Woven Cover Die.
- Use Large Blending Brushes to ink blend another A2 white panel. Use Color Fuse #3 Mocha and #7 Artic, Sky and Odyssey. Use the die cut Woven panel to guide where you add each color.
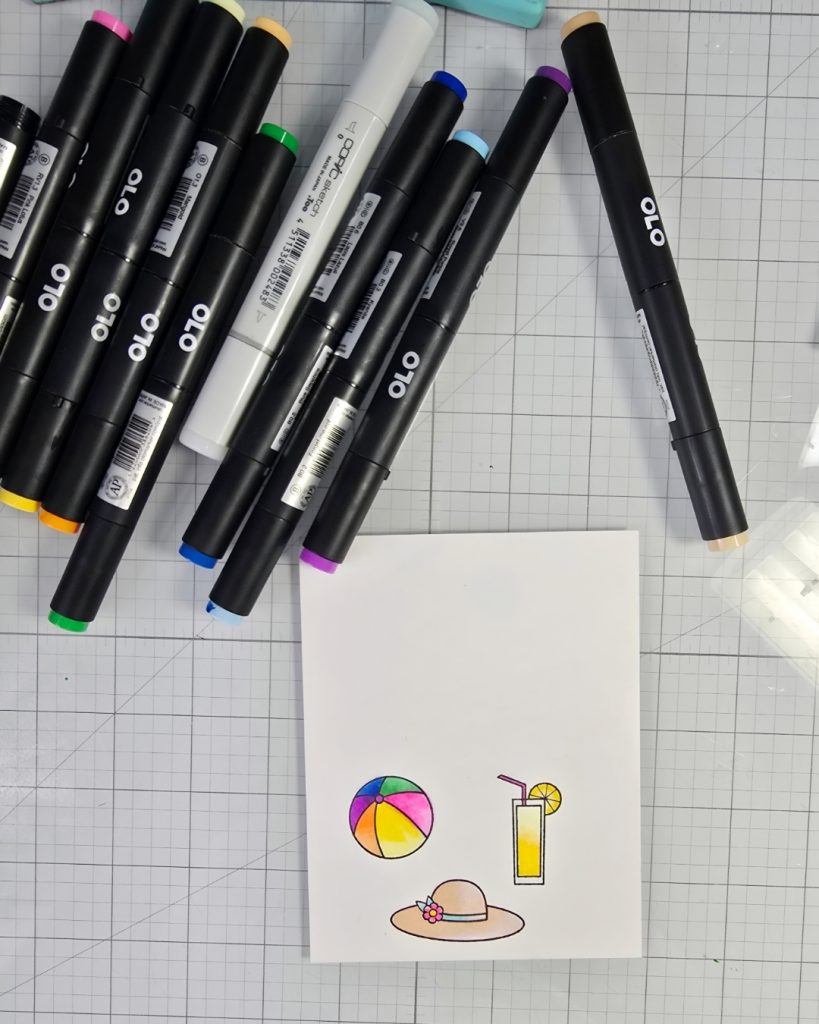
- Stamp images from Hello Summer Stamp Set with alcohol marker friendly ink on white cardstock. Color images using alcohol markers, I used Olo Markers.
- Die cut images using coordinating Hello Summer Die Set.
- Stamp sentiment from Hello Summer Stamp Set using Color Fuse #12 Hearth Ink on white cardstock.
- Die cut sentiment using Swanky Ovals Die Set.
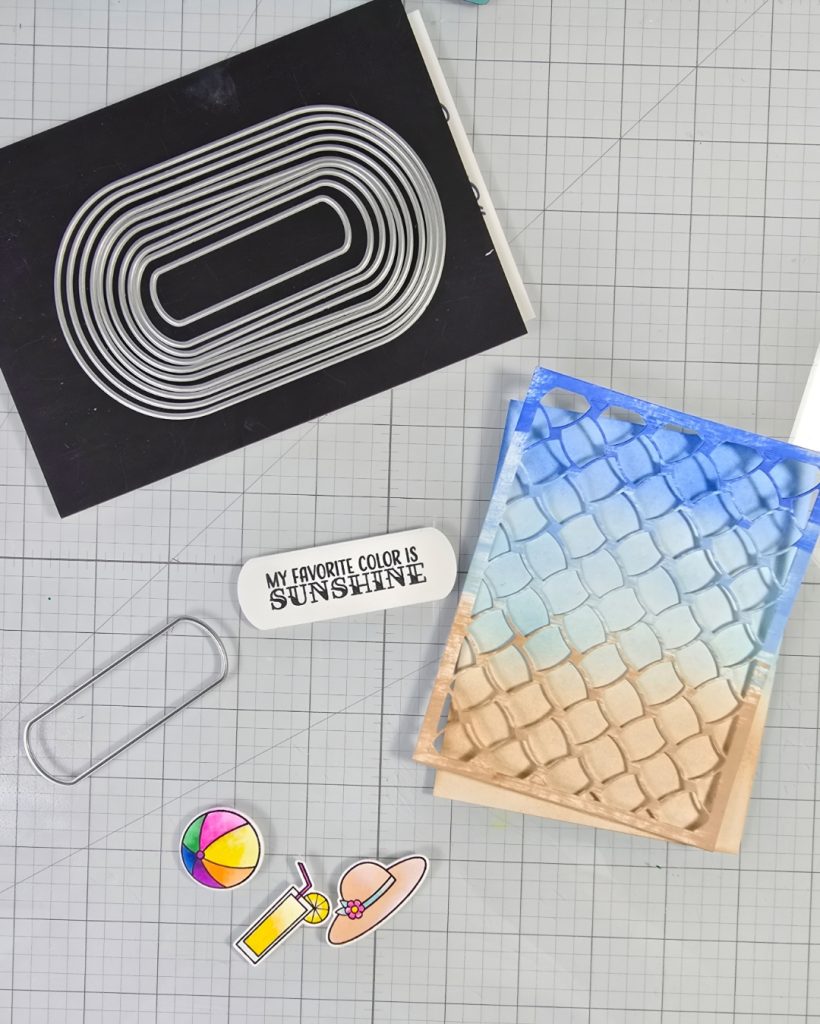
- Adhere Woven panel to ink blended panel.
- Pop up sentiment with foam tape.
- Pop up lemonade and hat with foam tape around sentiment while adhering beach ball directly to background tucked under sentiment.
- Add a few gems for some sparkle.
- Adhere entire panel to top folding heavy weight card base.
SUPPLIES: