
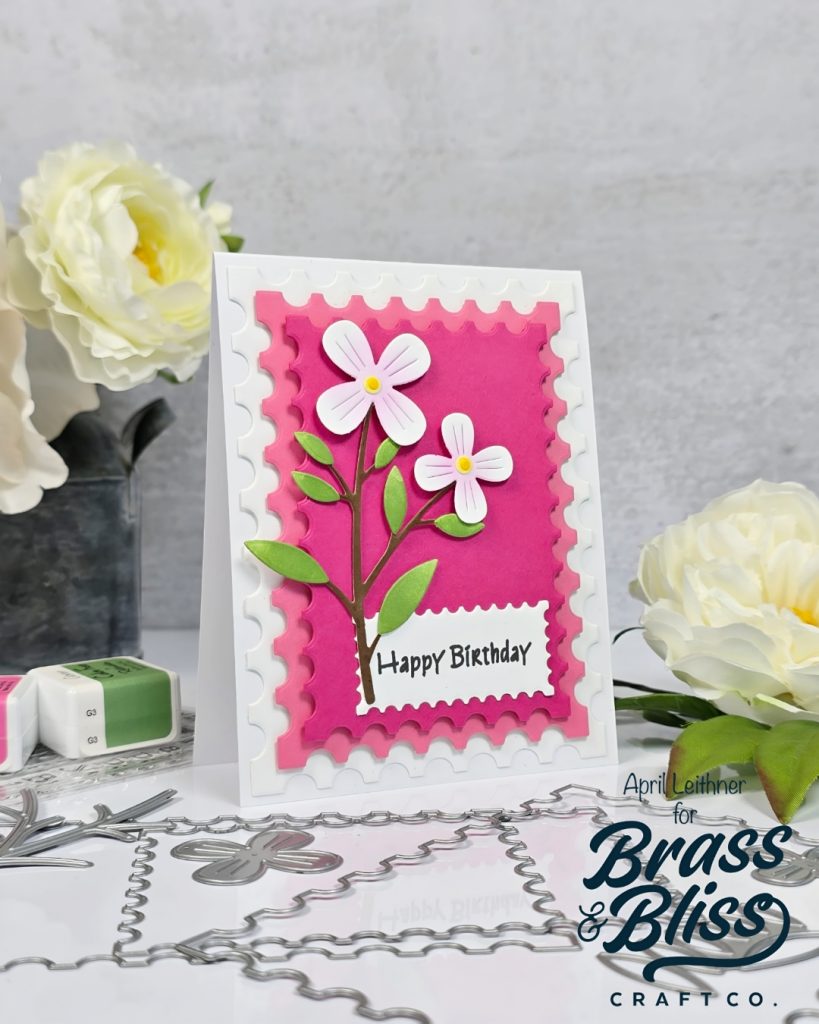
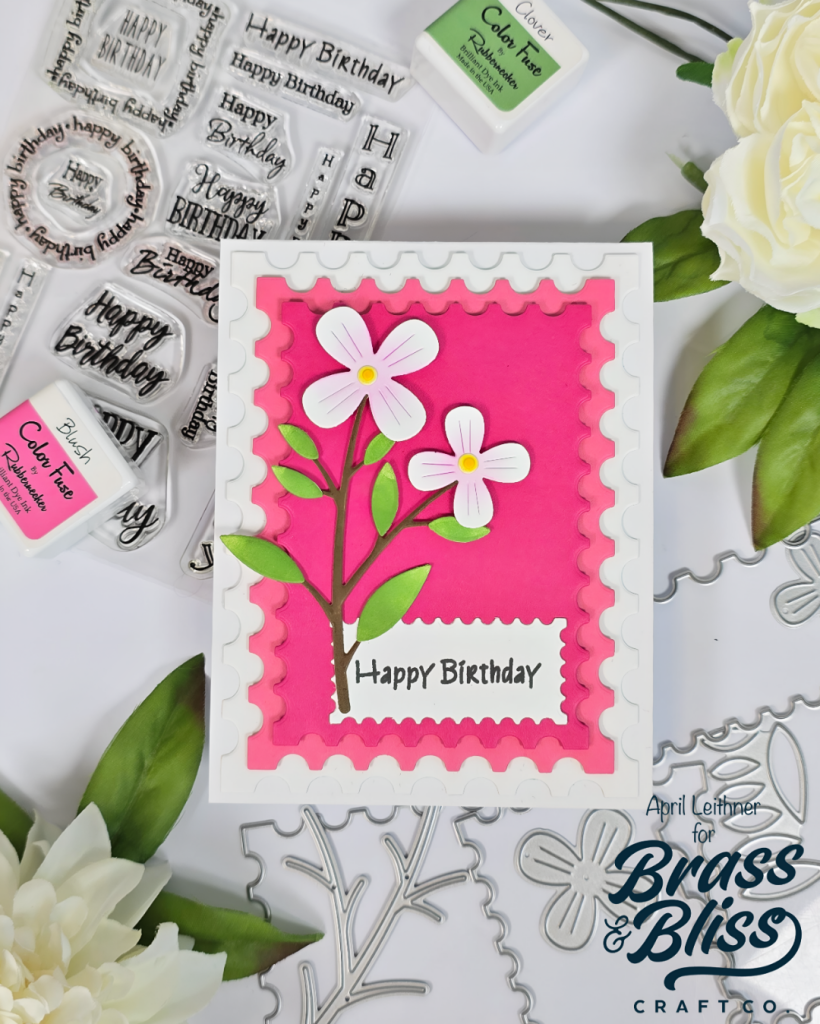
Need some fresh birthday card ideas that come with layers of personality? Peep this pink postage stamp die cut layer card and be inspired.
Bring on the layers with today’s birthday card inspiration from April. We are loving this design and agree with April when she says, “I love that nesting dies add a ton of dimension to a card. The Postage Stamp Nested Dies are my current favorite and I thought they would create the perfect backdrop for a flower.” Check out this sweet project and learn how to make a postage stamp layered birthday card.
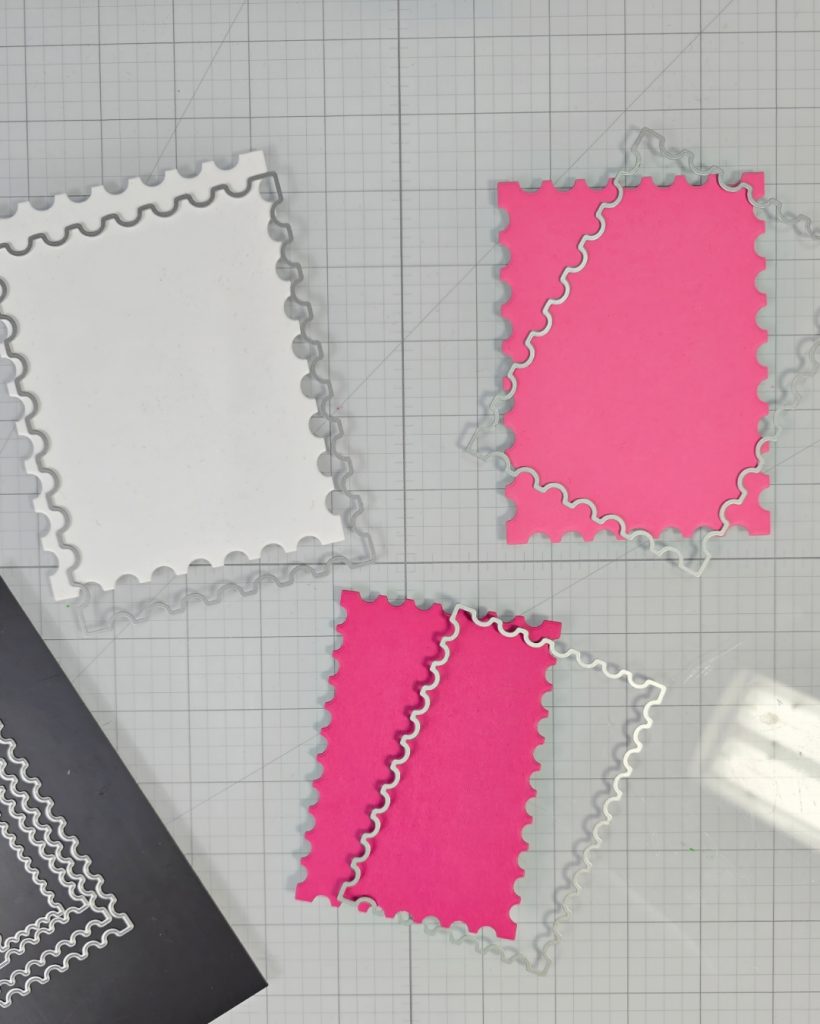
- Die cut a piece of white cardstock using the largest die in the Postage Stamp Nesting Die Set, a pink piece of cardstock using the second largest die and a dark pink piece using the third largest die in this set.
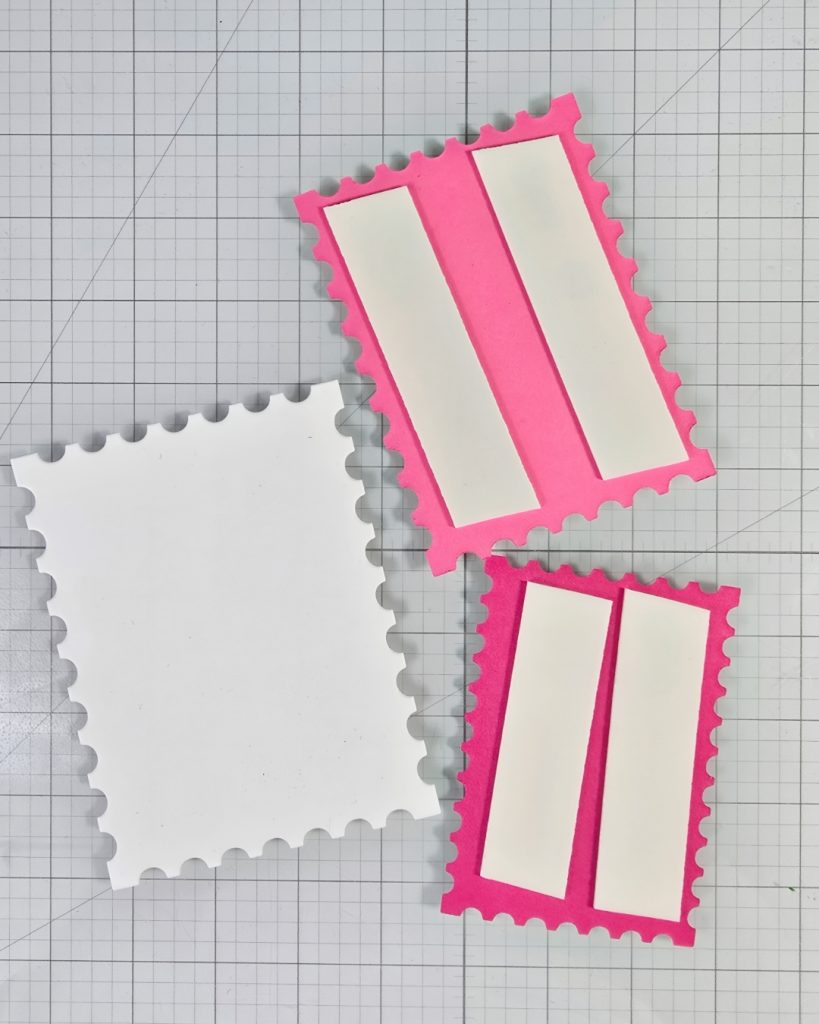
- Add thin foam tape to the back of the two pink panels and stack on top of the white panel. Tip: Add liquid adhesive to the foam tape so you can wiggle your panel around to get them placed right.
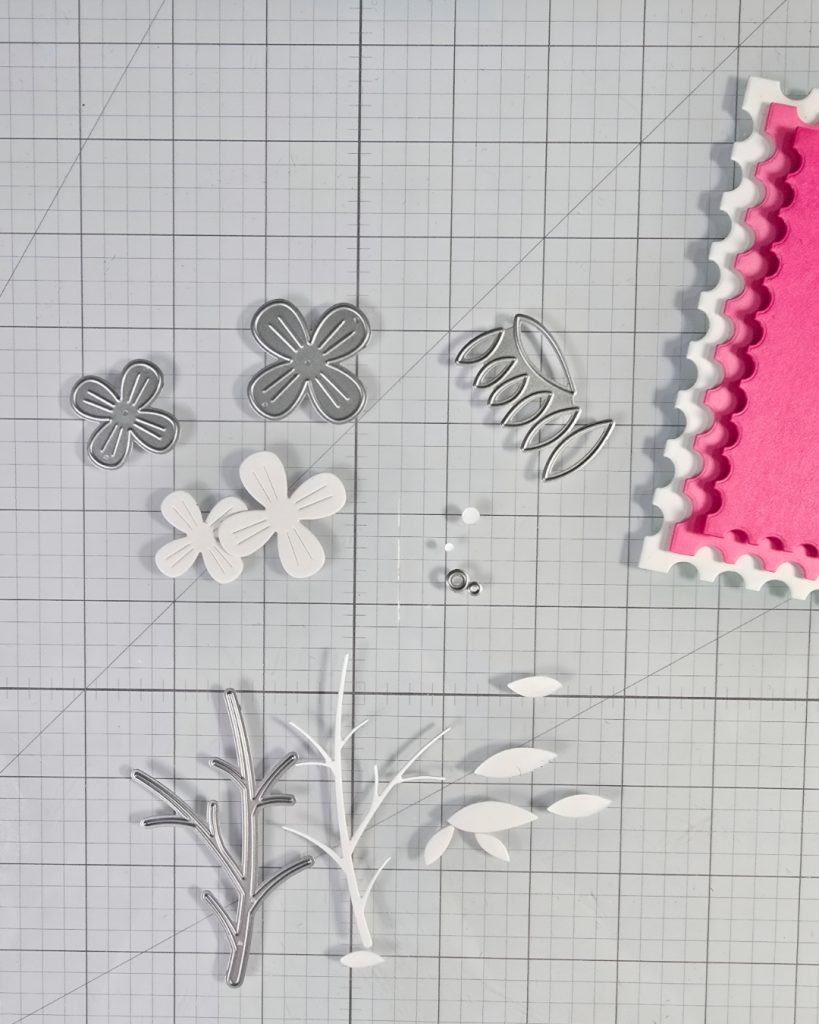
- Die cut the pieces from the Whisper Blossom Die Set with white cardstock.
- Use Detail Blending Brushes to color all the pieces from the Whisper Blossom Die Set. Use Color Fuse #5 Blush lightly to the centers of the two flowers, stem Color Fuse #3 Pecan, flower centers Color Fuse #1 Lemon and Autumn, leaves Color Fuse #10 Clover.
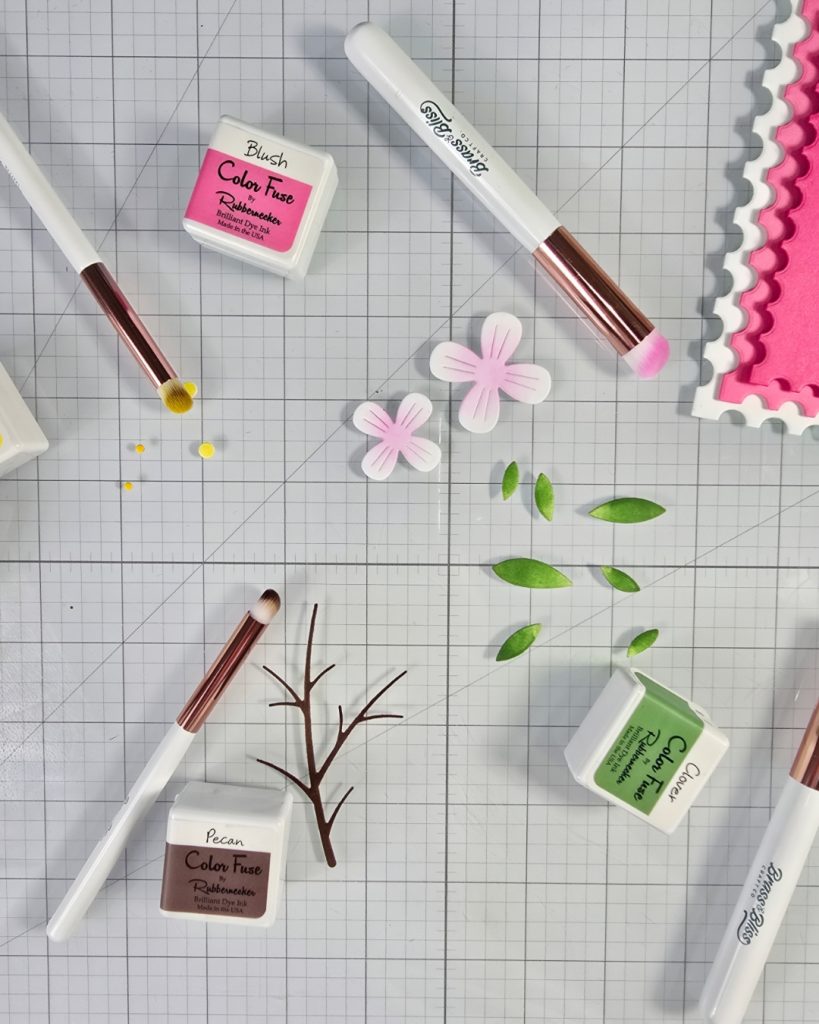
- Adhere flower pieces together.
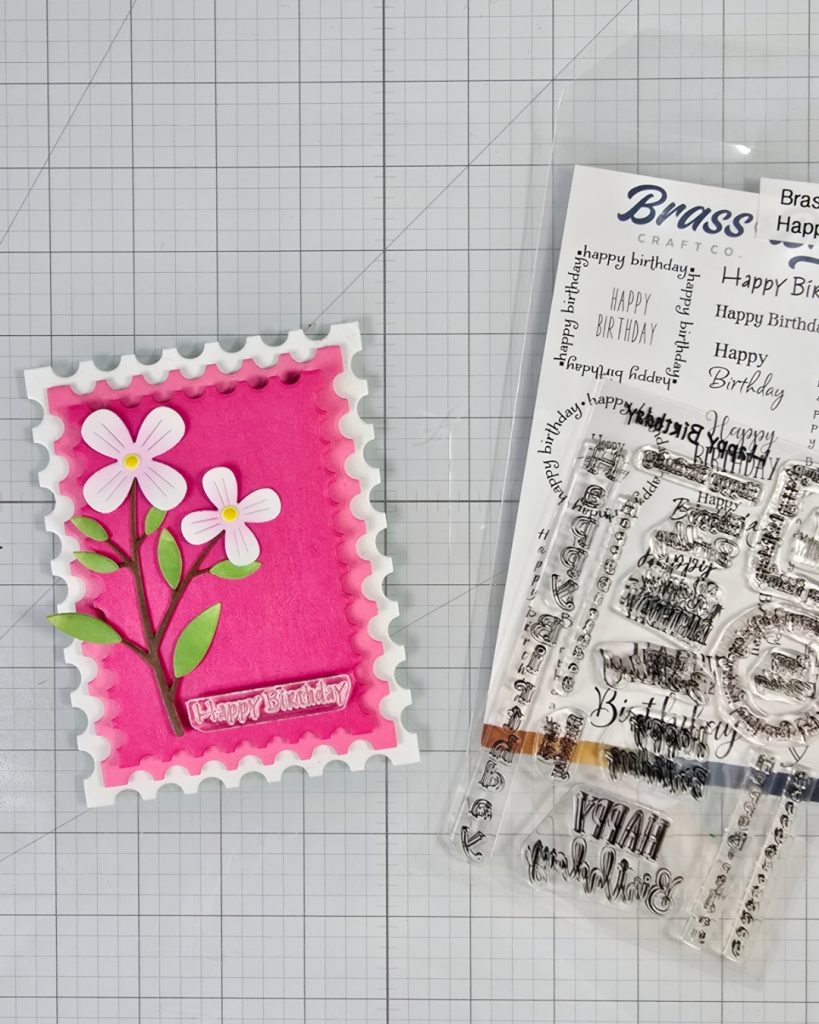
- Stamp Sentiment from Happy Birthday Stamp Set on white cardstock with Color Fuse #12 Hearth Ink.
- Die cut sentiment using smallest die from the Postage Stamp Nesting Die Set.
- Adhere sentiment directly to top pink panel in lower right corner.
- Pop up the flowers with foam squares and adhere stem directly to card front.
- Adhere panel to top folding heavy weight card base.
SUPPLIES: