
Check out this underwater scene using a beautiful die/stencil combo that really wows!
Today’s fun card creation is from our designer, Dominique, who said, “I love dies, especially background dies! Background dies can give your card effortless details that can really add a wow factor to your design. If you are ready to dive into something creative I have a treat for you! Today I will be showing you how to create an underwater-themed card using a cover die.” We adore her creation- this card has layered details and vibrant colors. Follow along to create your own!
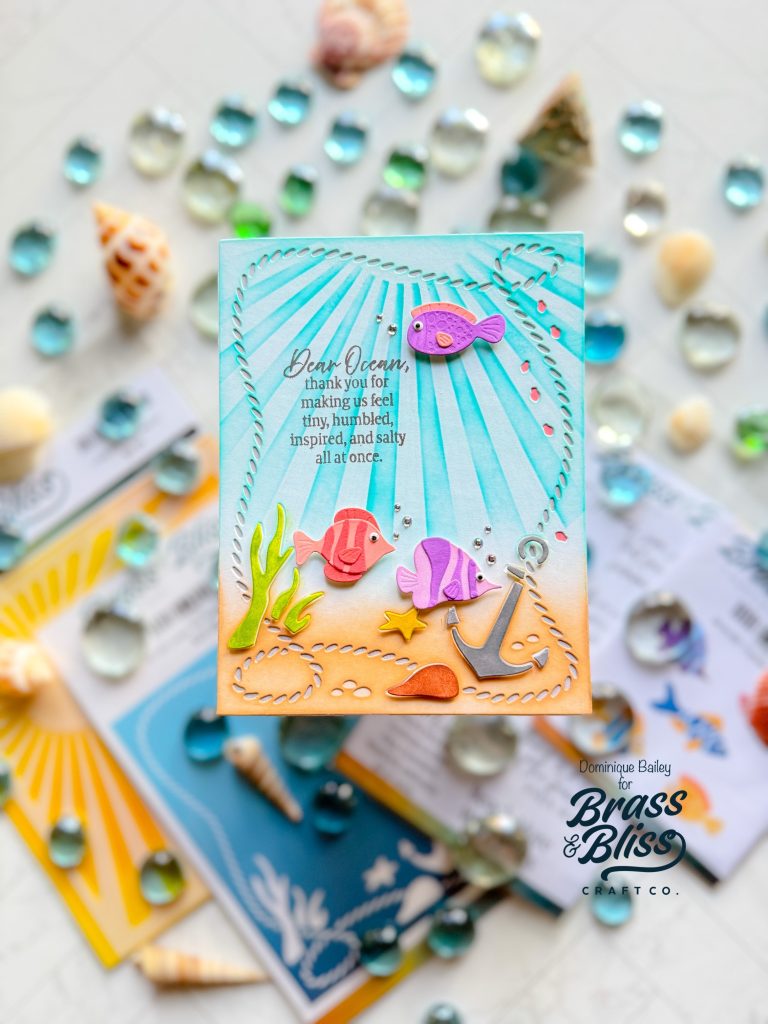
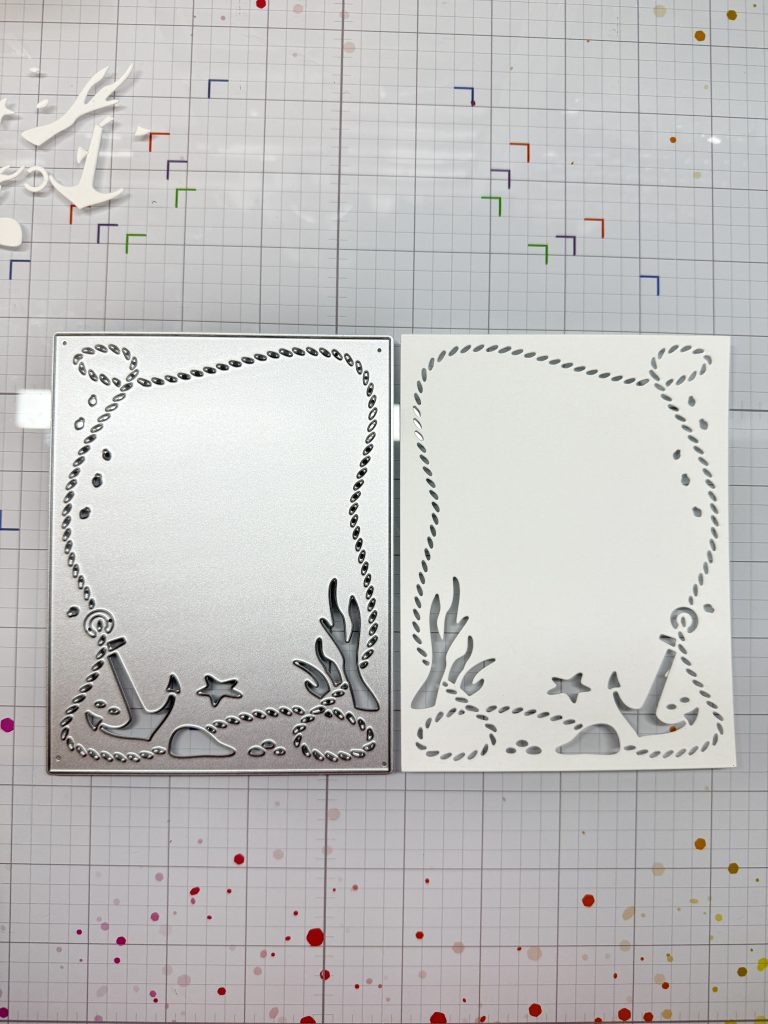
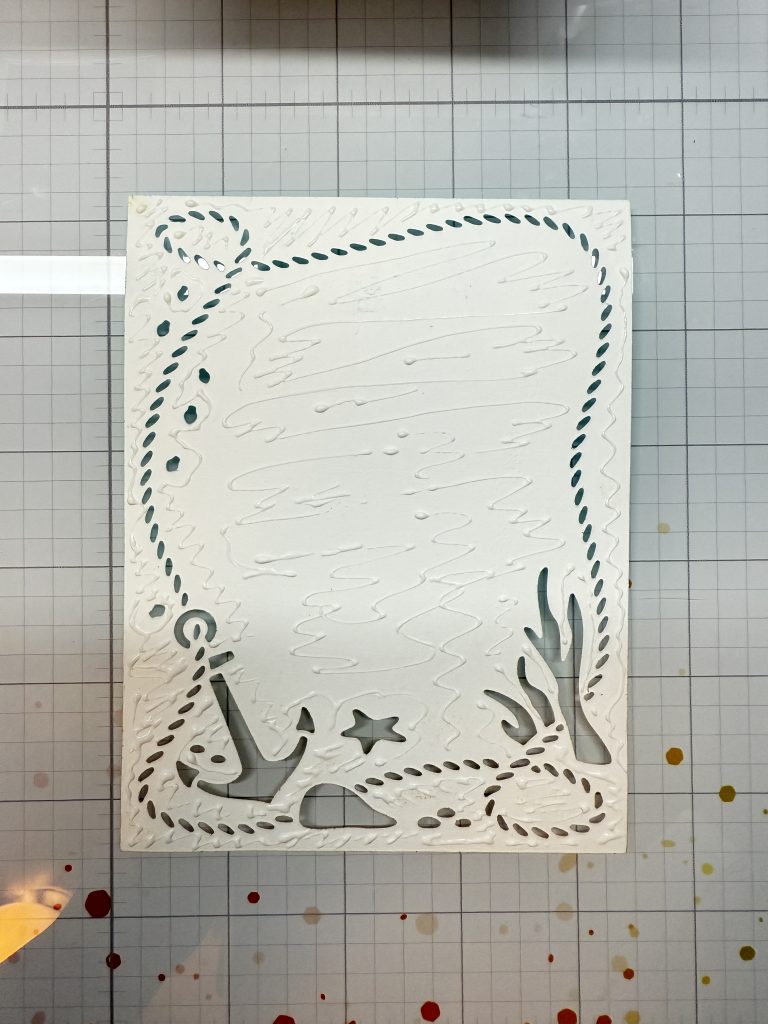
- Select your cover die. I chose the 5714D Under The Sea Cover Die. I like how this die offers intricate detail towards the bottom, but there is still plenty of space in the middle to add more elements. Die cut the cover using white cardstock, and set aside the larger negative pieces—like the anchor, rock, star, and seaweed—we’ll reuse those later.
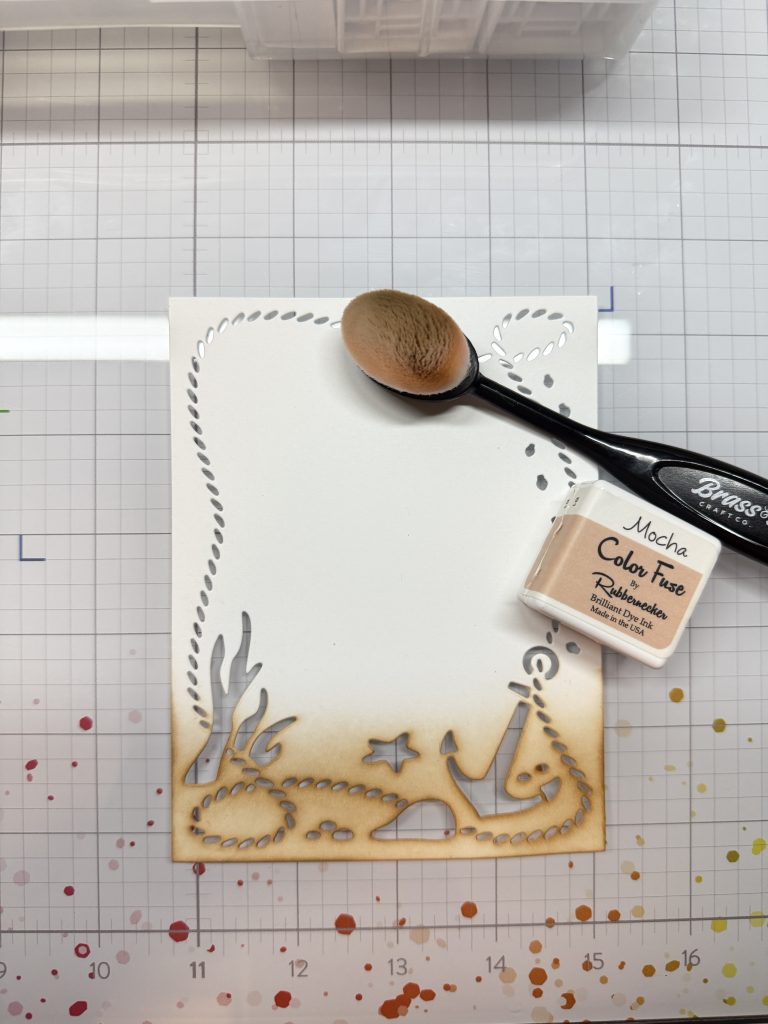
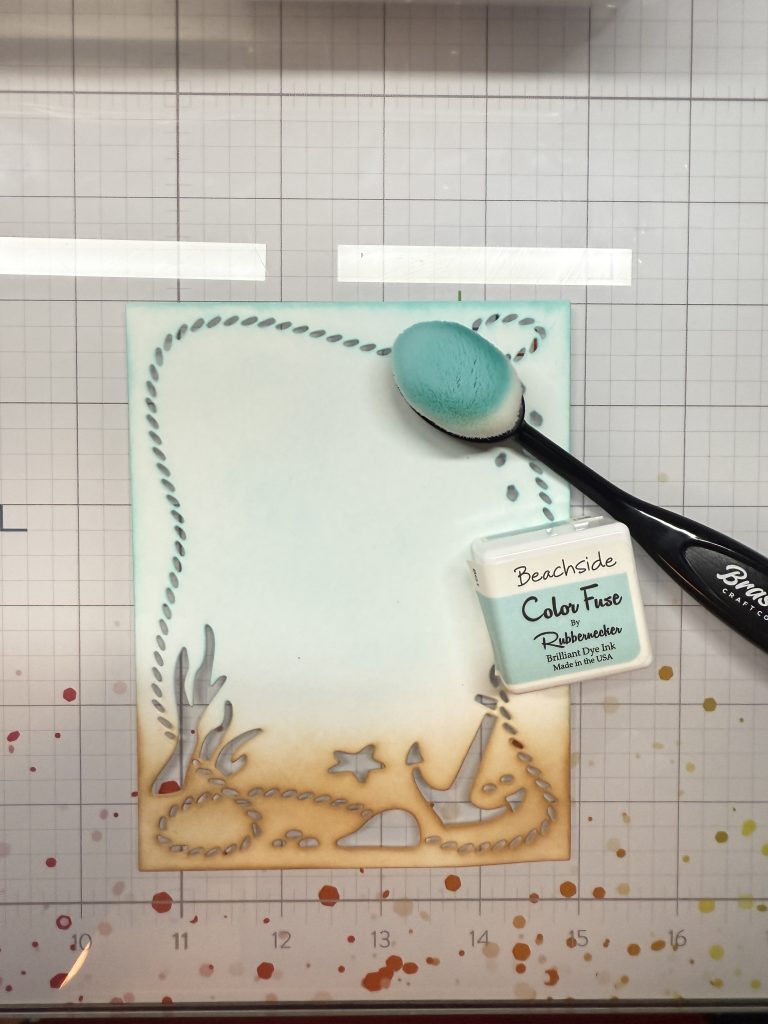
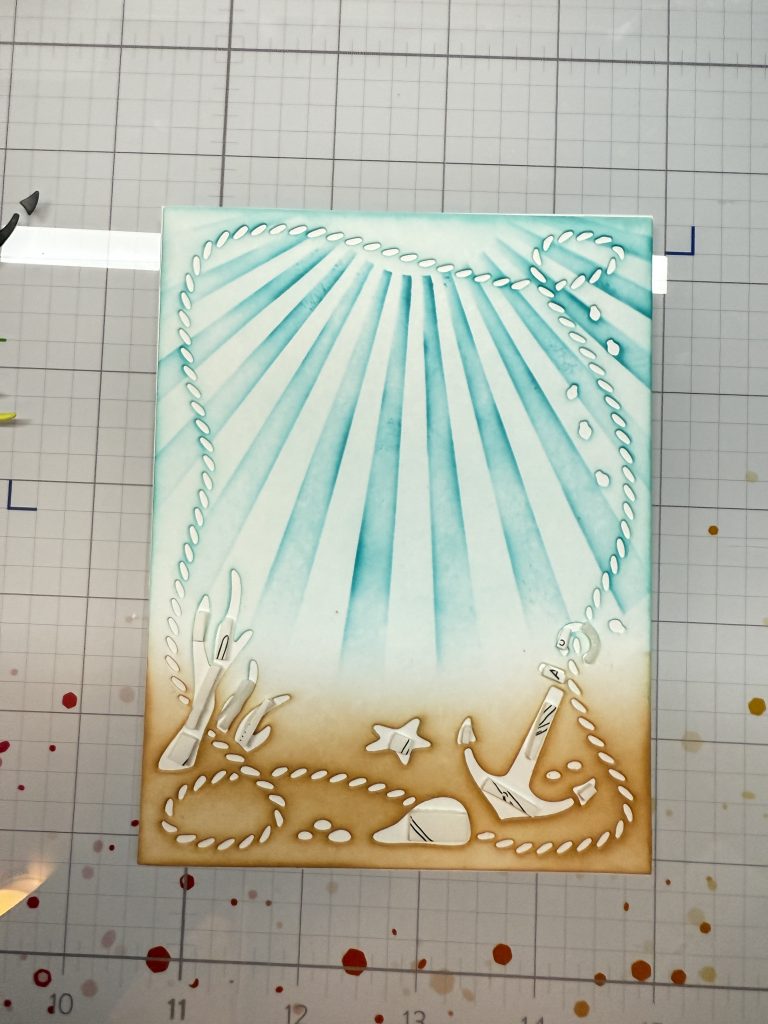
- Ink blend the card panel.
- For the ocean floor, ink blend using Mocha colored ink.
- For the the ocean water, ink blended using Beachside colored ink.
- Use large blending brushes for smooth transitions. This creates a rich, dimensional base for your underwater scene.
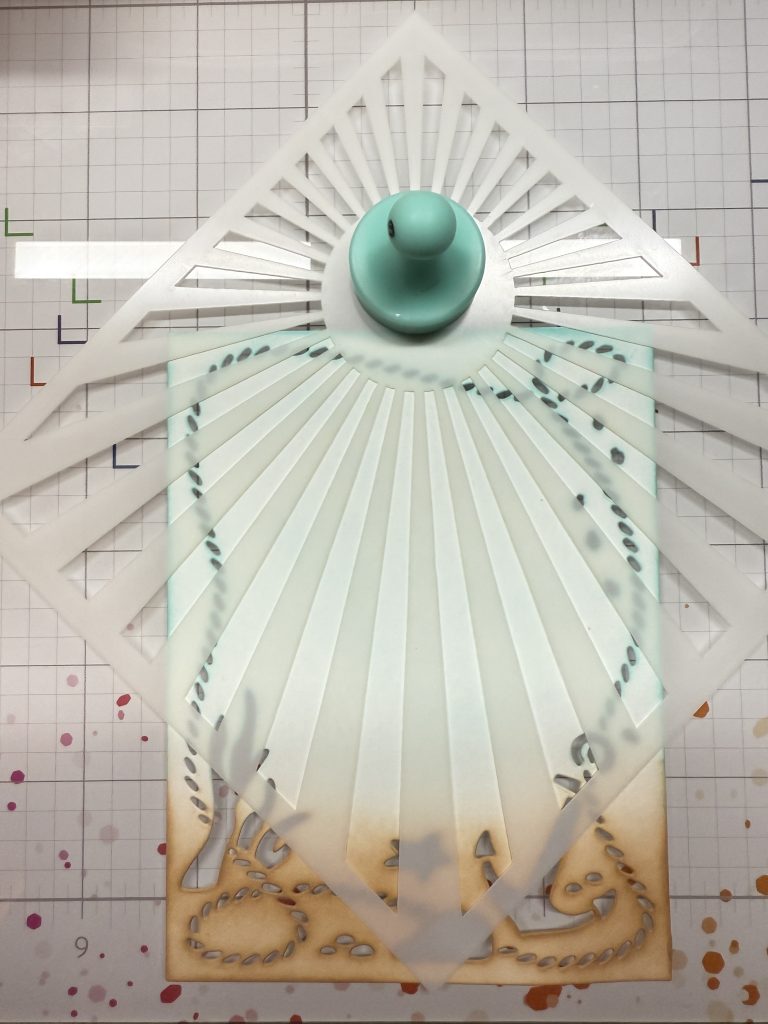
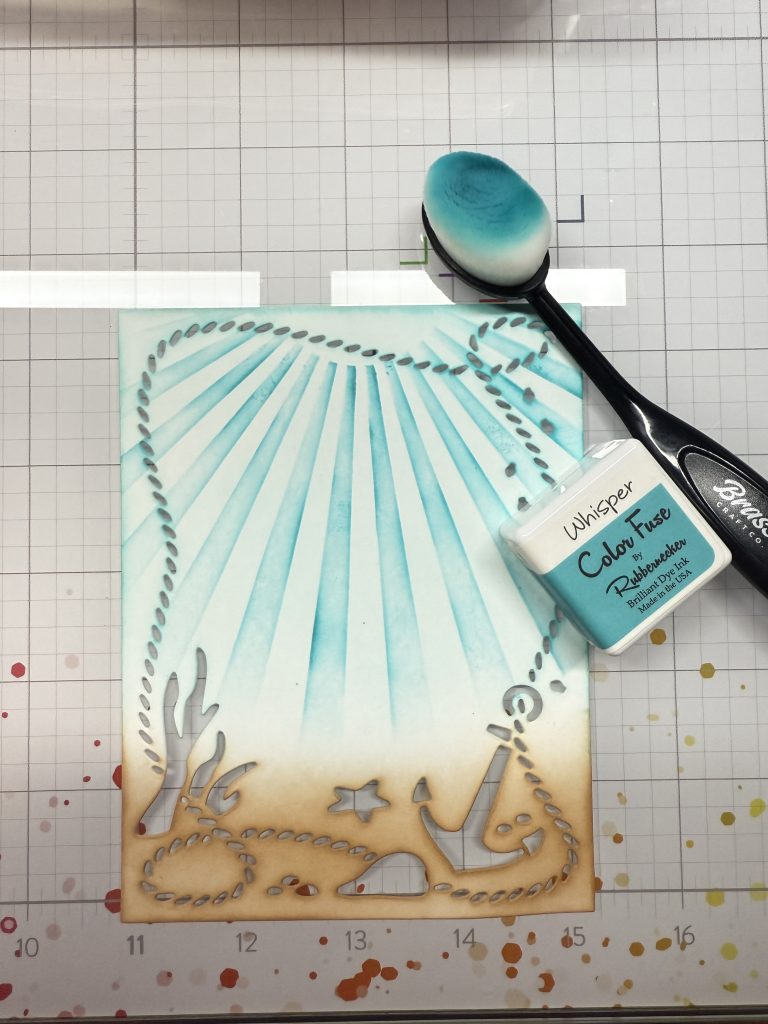
- Add sunlight with a stencil. To give the illusion of sunlight penetrating the ocean water, use 4108 Sun Burst Stencil. Angle the stencil so the sunburst radiates from the top center of the card. Stencil using Whisper colored ink.
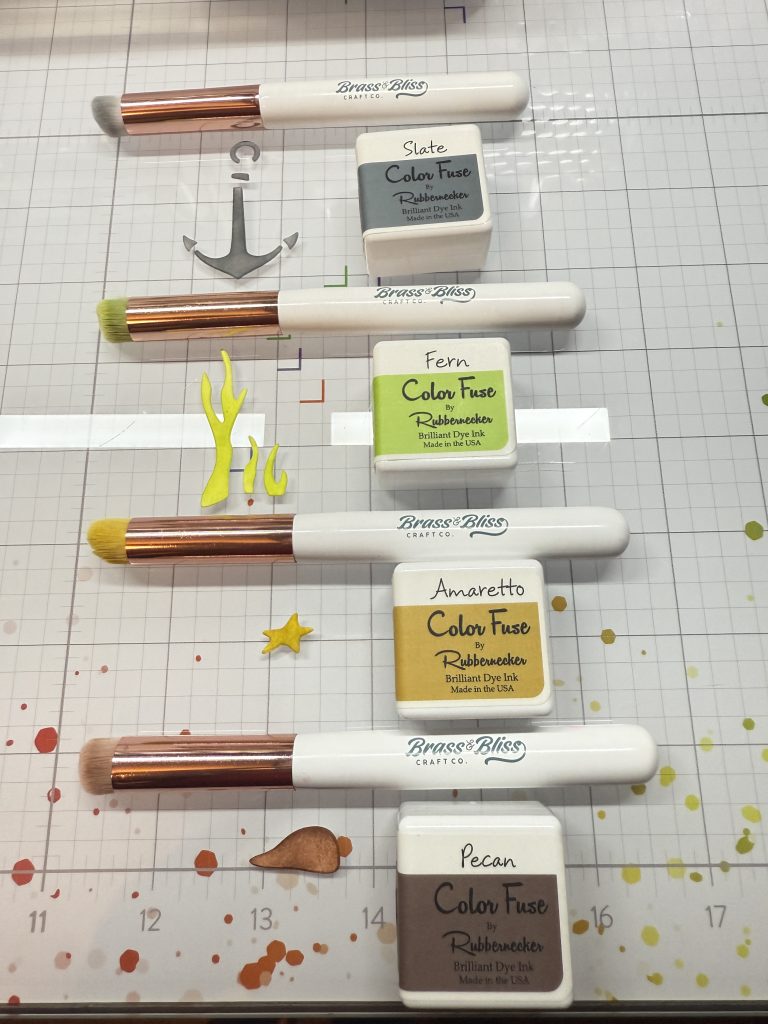
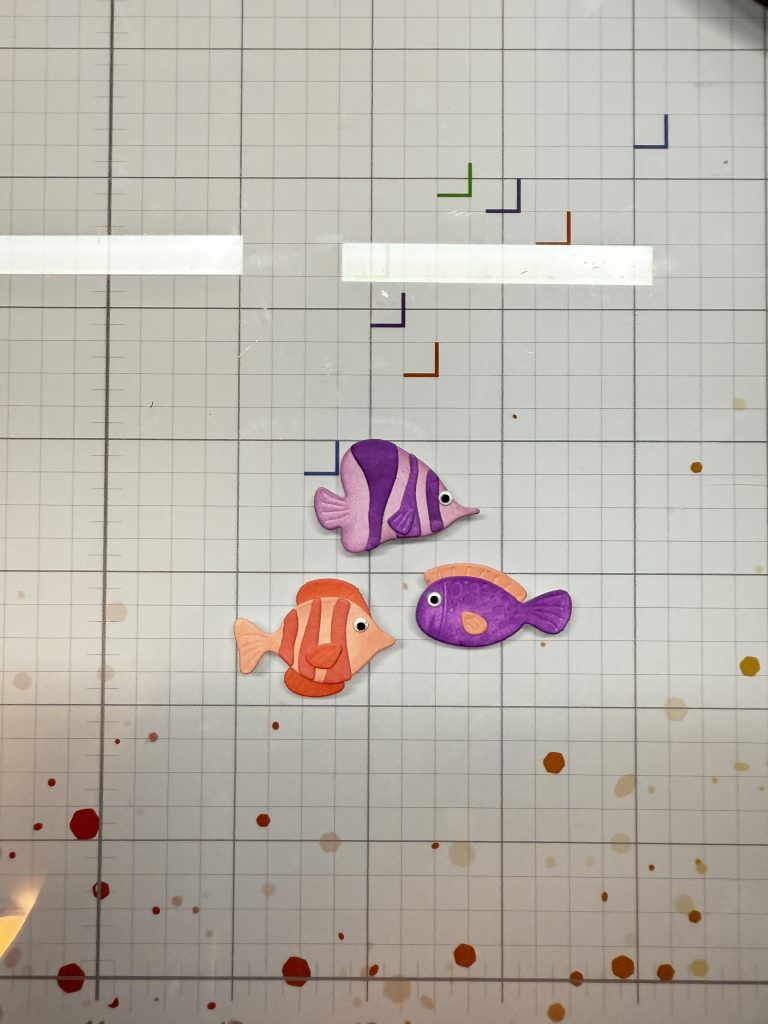
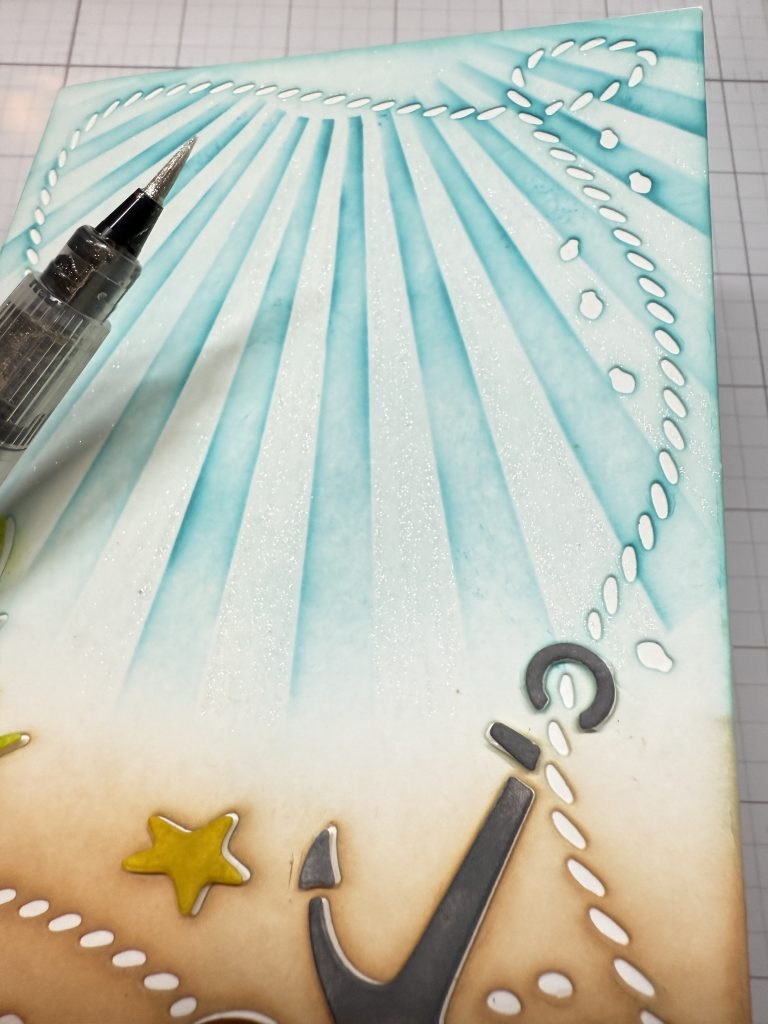
- Die cut and color your elements. Using 5816-02D Tropical Fish Dies, cut out a few fish and their coordinating pieces. Now, grab the negative pieces that you set aside in step one and color using smaller blending brushes.
- Ancor: Slate
- Seaweed: Fern
- Star: Amaretto
- Rock: Pecan
- Fish: Lavender, Orchid, Coral
- Assemble your card. Start assembling your card and card elements.
- Assemble your fish and their details.
- Adhere the card panel to a 5½” x 4¼” white cardstock base.
- Add foam adhesive in the negative space of the seaweed, rock, star, and anchor.
- Attach the elements carefully, creating depth and dimension.
- Add finishing touches
- Using a glitter pen, such as Wink of Stella, add glitter to the lighter sun rays.
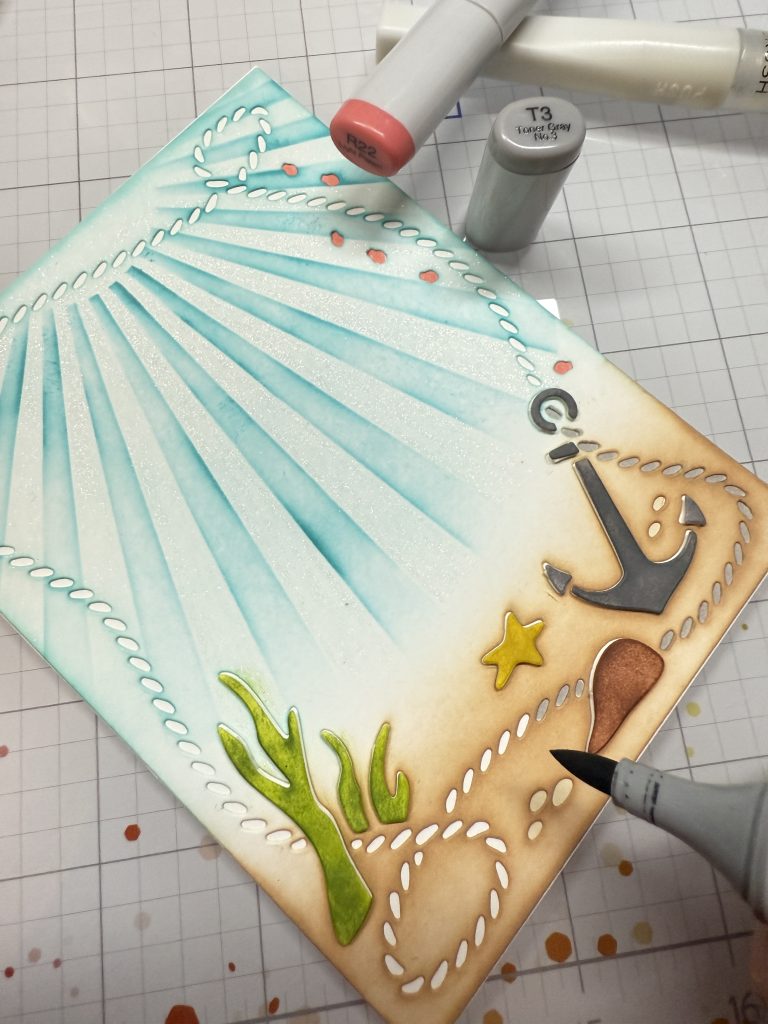
- Using alcohol markers, add color to the rest of the negative pieces. I used a cream for the little rock spaces, for the anchor chain I used grey, and for the little fishies, I used coral.
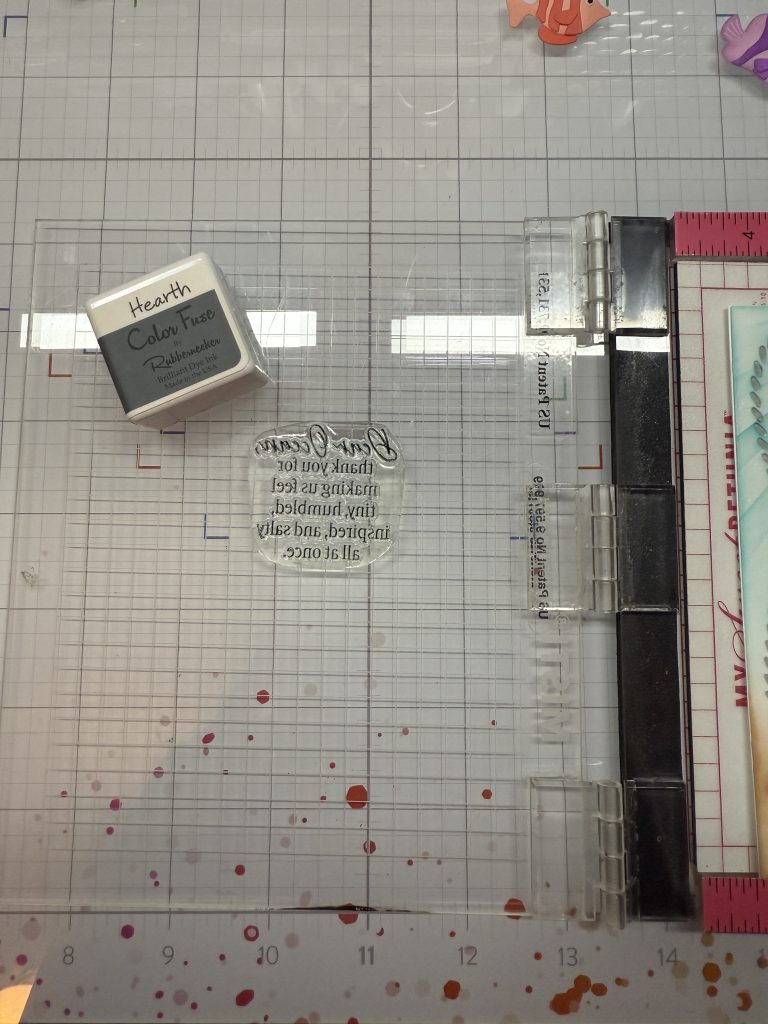
- For my stamp sentiment, I used one of the options from 37025 Day at the Beach stamp set. Using my Misti, I stamped that onto the card front using Hearth colored ink.
- Lastly, I adhered my fish using foam tape and I added some bubbles from some embellishments from my stash.
I really hope you liked today’s card! How often do you use background dies in your card making? Let us know in the comments below!
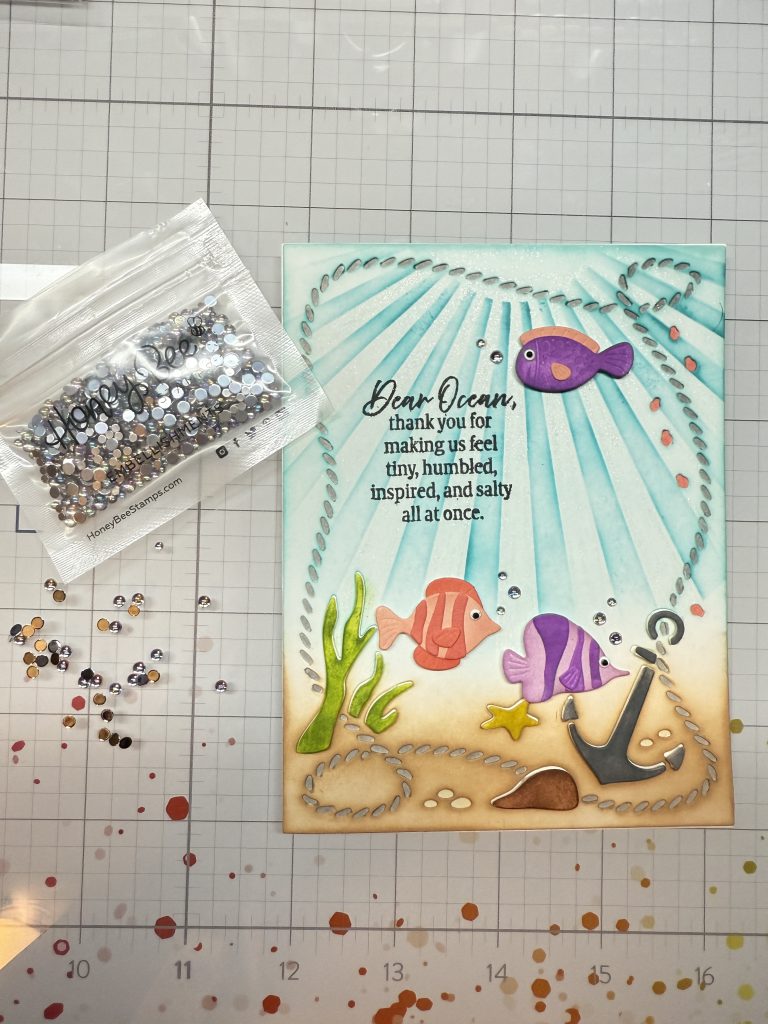
Wow! This really does shine and give us all those under-the-sea vibes Dominique promised. It is still hot hot hot outside, and this summer card creation is giving us life and has us dreaming of the ocean. We love this tutorial and hope you are inspired to recreate one on your own. Pin this project for later and be sure to follow us on Instagram for more Inspo.
This card is striking with the background die and rays of light stenciling. Just awesome!