
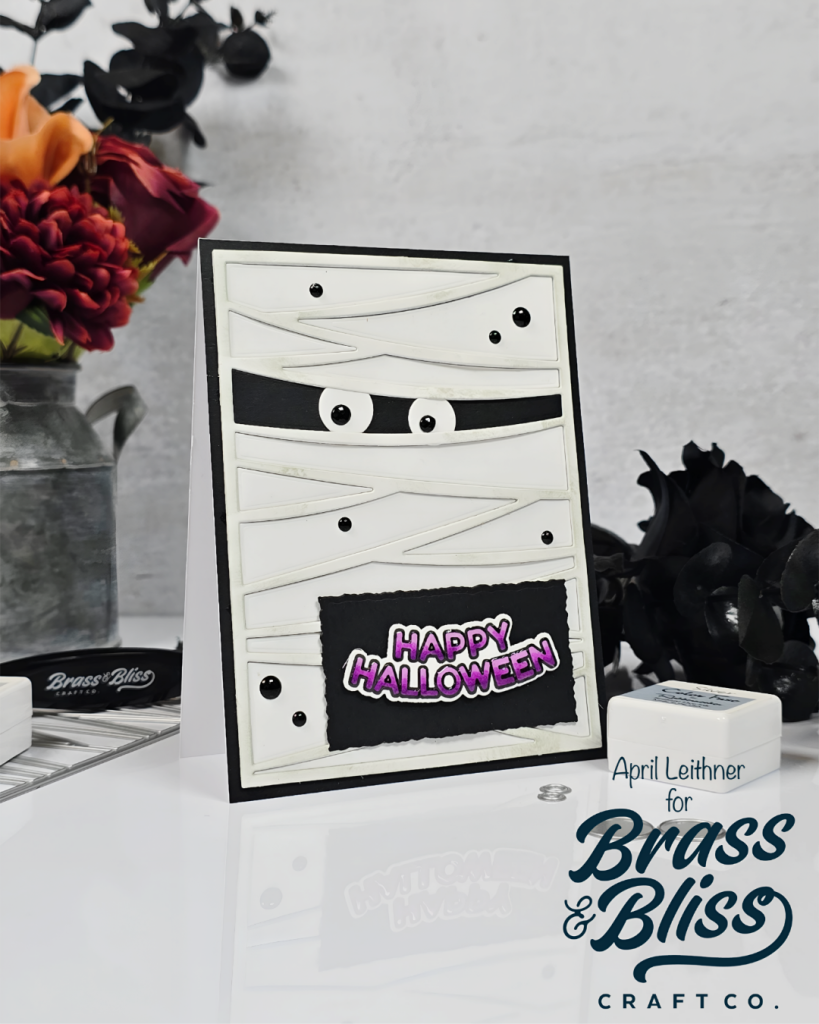
Our Mummy Cover Die makes Halloween Card creations fun and simple.
Inspiration: Halloween is so fun to create for and this cute mummy doesn’t need much to make him amazing. Today, April wanted the mummy wrap to look a bit old, so she added some ink to it with a blending brush for a great overall look. Follow along and create this clean and simple mummy card with us today.

- Die cut Mummy Cover Die from white cardstock. Keep inside pieces for later.
- Die cut eyes from black and white cardstock.
- Ink blend cover die cut using a Large Blending Brush and Color Fuse #12 Chill and Silver Ink.
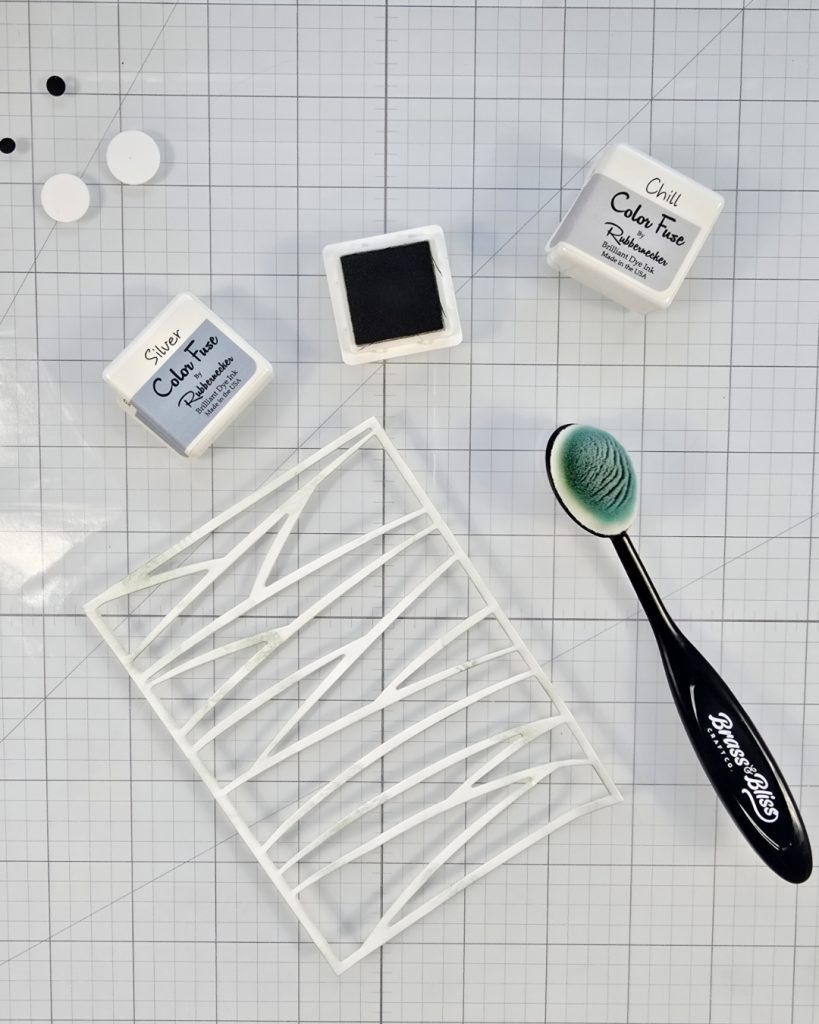
- Die cut Mummy Cover Die two times more from white cardstock and once from black cardstock.
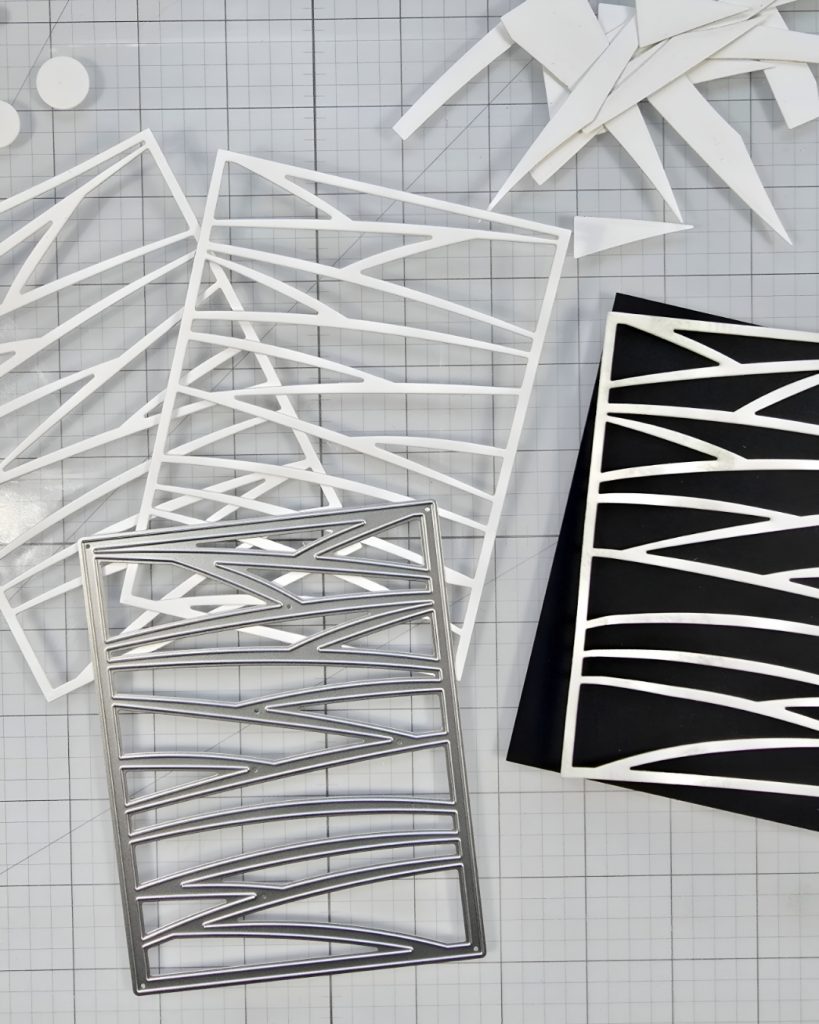
- Adhere these together with the ink blended one on top to give dimension.
- Glue this to an A2 panel of black cardstock.
- Adhere white inside pieces where they belong except adhere one black piece for where the eyes will go.
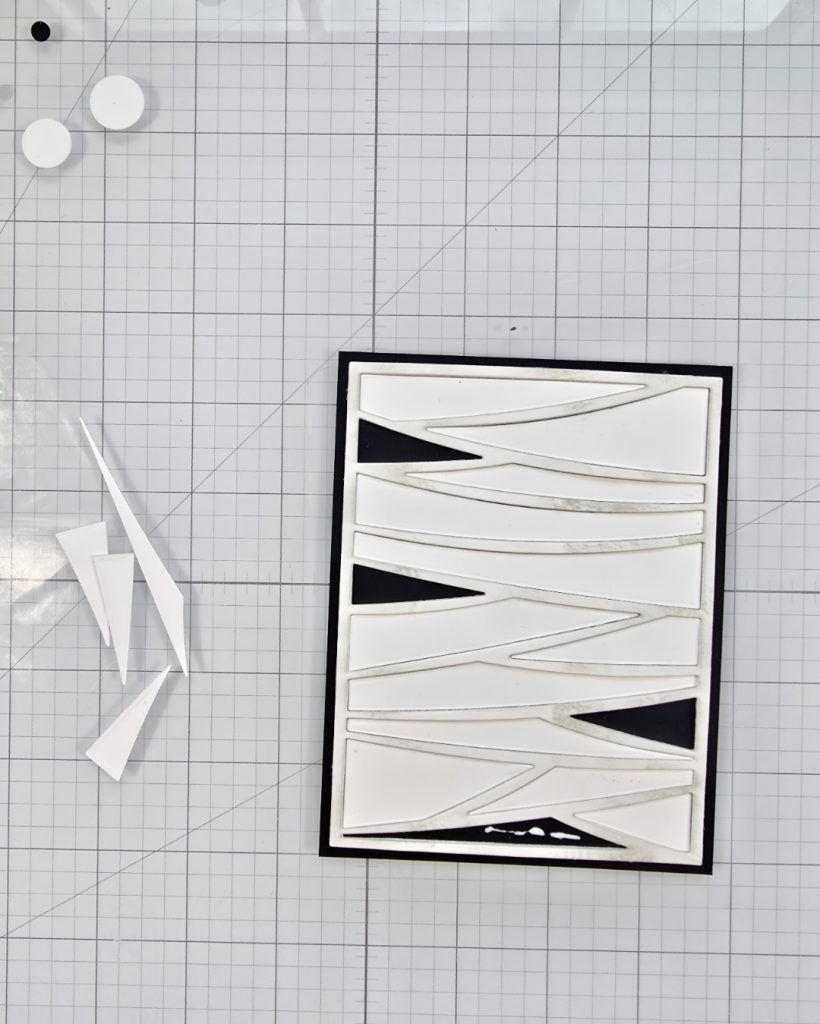
- Adhere eyes together then tuck under mummy wrap over black piece.
- Die cut the smallest die from the Nested Deckle Rectangle Die Set from black cardstock.
- Adhere this to lower right portion of card.
- Stamp sentiment from Cute Ghosts Stamp Set with alcohol friendly ink on white cardstock.
- Color with alcohol markers (I used Olo Markers).
- Die cut using Cute Ghosts Coordinating Dies.
- Pop up sentiment with foam squares on black panel.
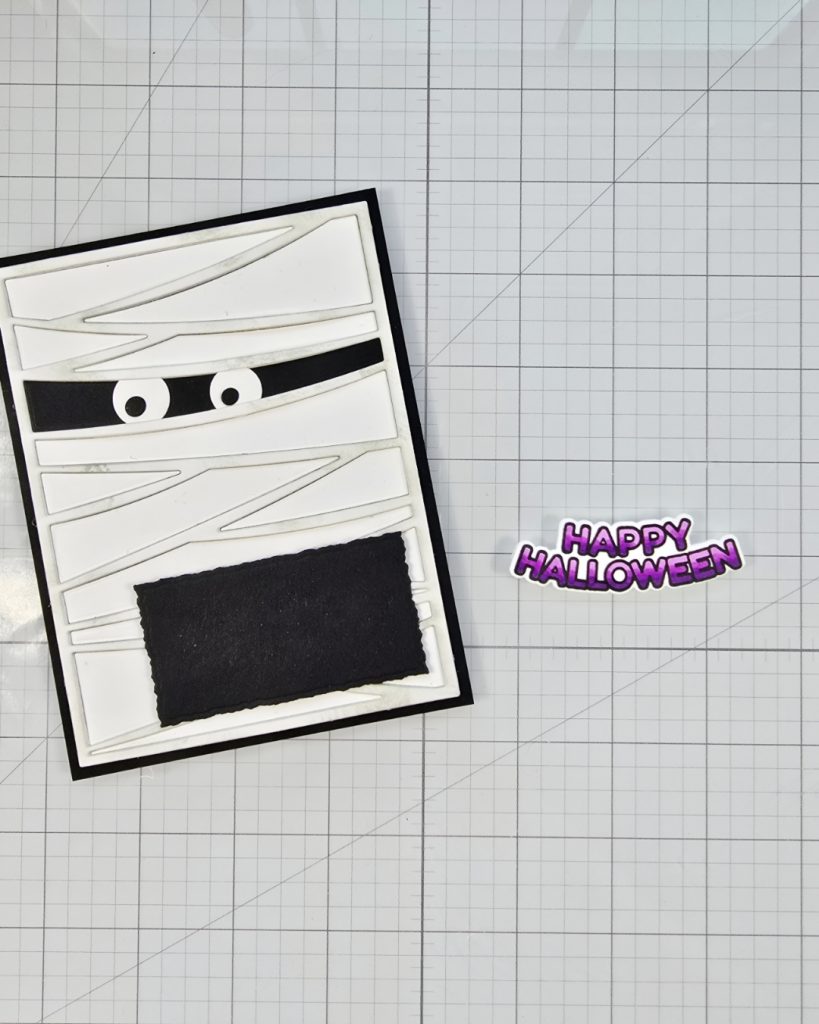
- Use Glossy Accents on centers of eyes and sentiment, let dry.
- Adhere to top folding card base.
- Add a few black enamel dots.
SUPPLIES: