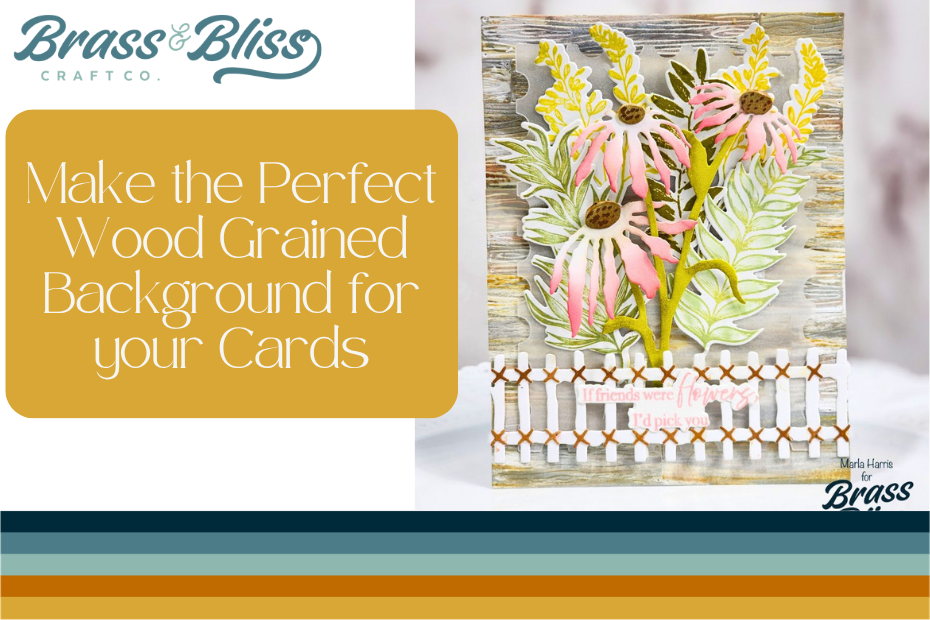
Bump up the texture in your next handmade card background and create a wood grained masterpiece!
Last week we showed you a white-washed wood technique that was truly inspiring. Today, we are showing off how to bump up those textures and really use those woodgrain backgrounds to add a rustic sophistication to your card design. Creating woodgrain backgrounds may seem intimidating, but as Marla is sharing with you today, they are much easier to create than you might think. The texture and beauty of this background is swoon worthy. Let’s take a look at her easy-to-follow technique.
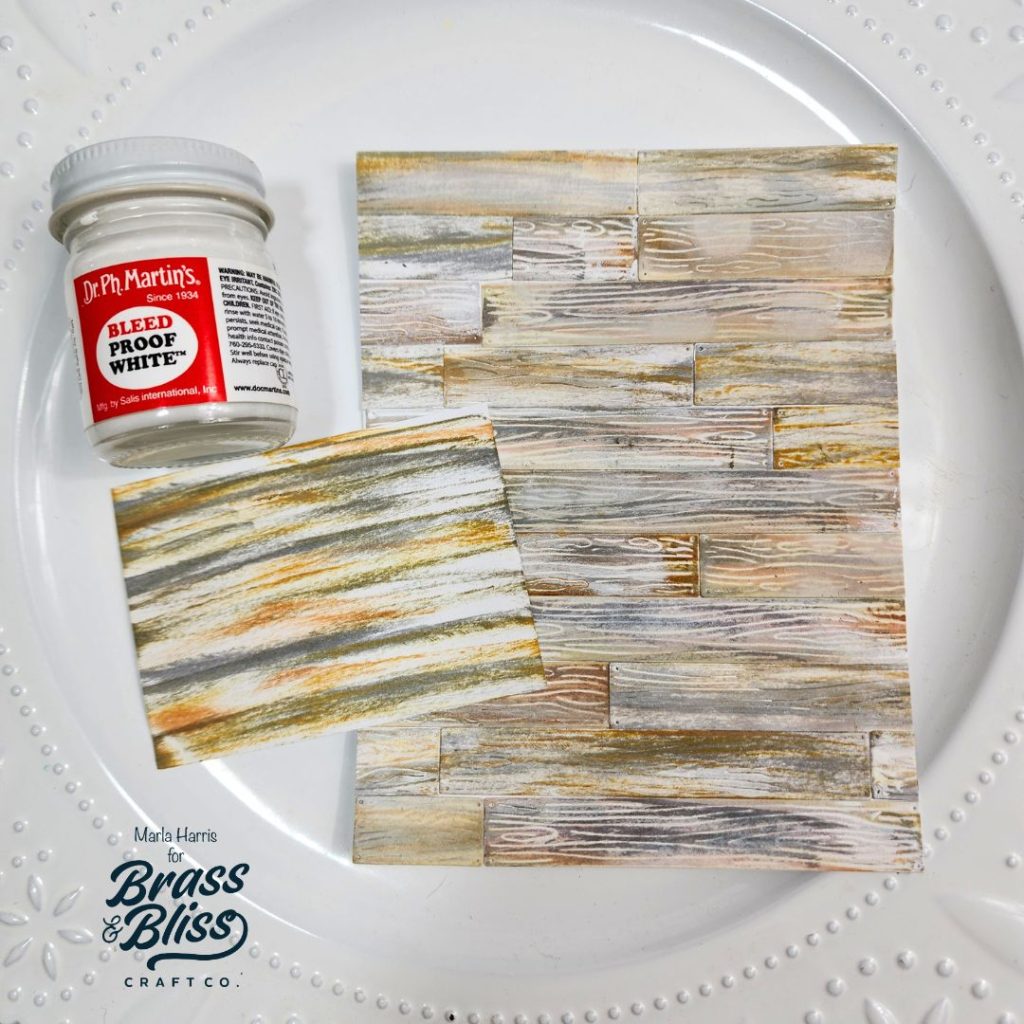
- Using the corner of your ink pads swipe both left to right and right to left across a piece of white cardstock. Make sure to leave white space between swipes. *Marla used the following Distress Ink pads: Hickory Smoke, Antique Linen, Brushed Corduroy, Vintage Photo, Tea Dye and Pumice Stone.
- Run the panel through your die cut machine using our 5708-02D Wood Planks die.
- Adhere the planks to a 4.25″ x 5.5″ piece of cardstock.
- Using white paint and your finger, gently swipe the ink across the grain to soften the blend and bring out the detail in the woodgrain.
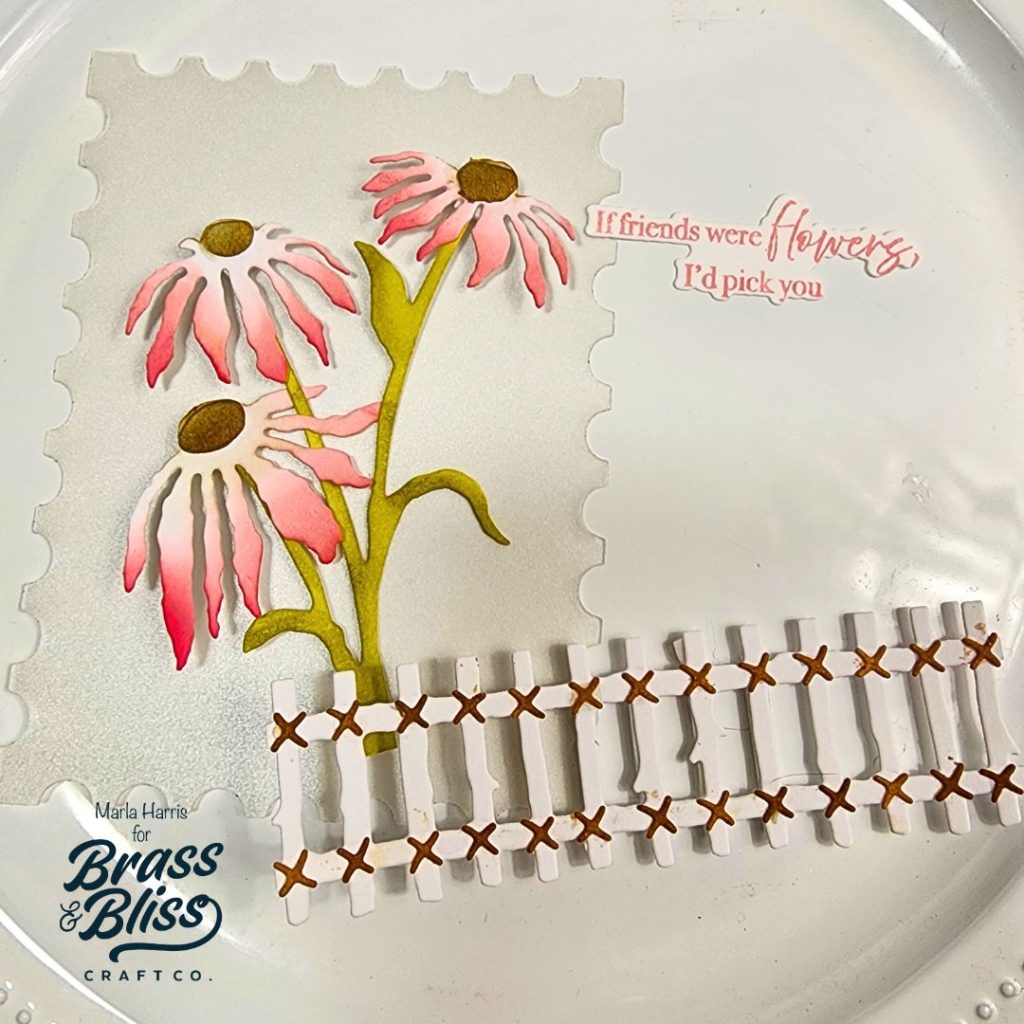
- Die cut the 5849-03D Rustic Fence Die from white cardstock.
- Ink the x’s using Vintage Photo Distress Ink.
- Attach the x’s to the fence.
- Add 1/8″ dimensional foam tape to the back of the fence.
- Die cut the coneflowers from white cardstock using our 5301-03 Cone-Flower Die.
- Ink the flowers using Posey, Scarlet Ink and Pecan Ink.
- Ink the leaves using Grass and Juniper Ink.
- Assemble the flowers and add dimensional foam tape to the back of the flower heads.
- Add texture to the flower centers using a brown alcohol ink marker.
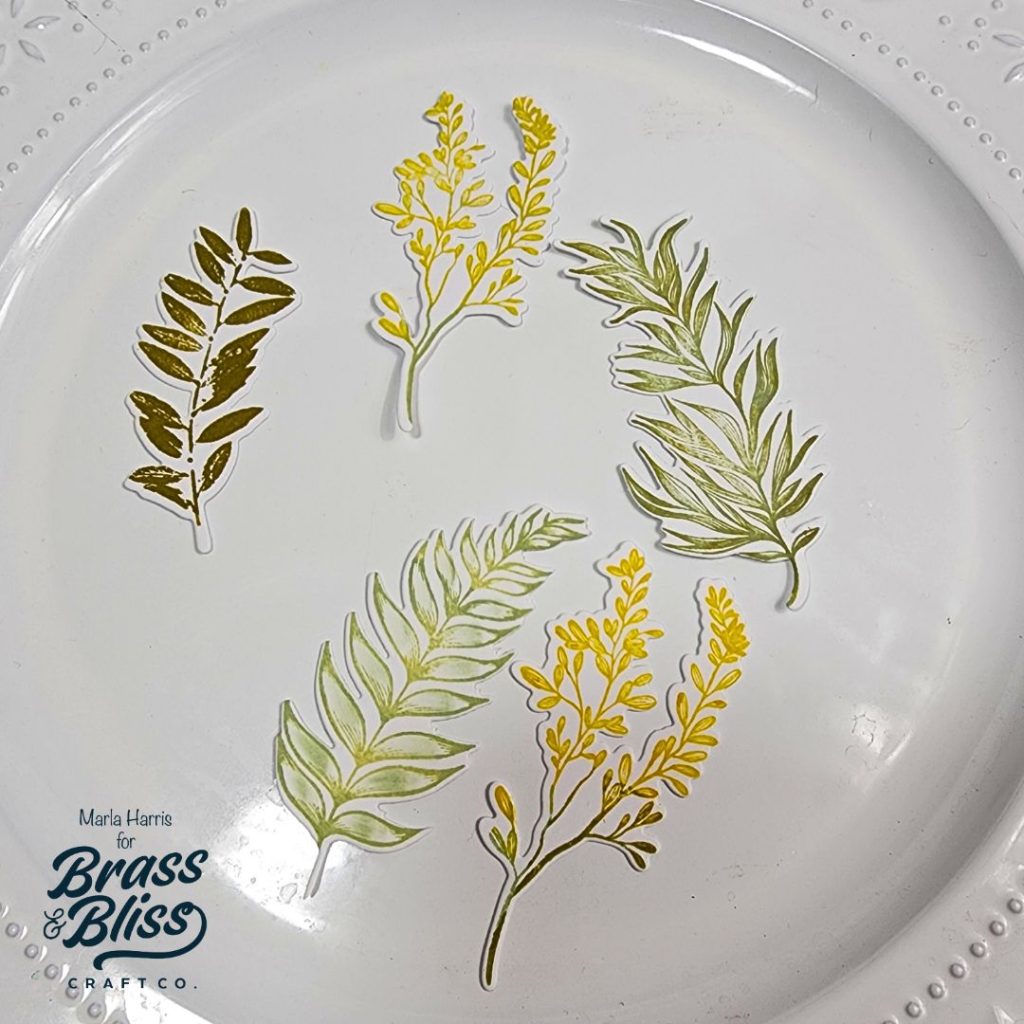
- Stamp the foliage using our 38008 Spring Greenery stamp and ink colors of your choice.
- Use the coordinating 38008D Spring Greenery dies to cut out the foliage.
- Add dimensional foam tape behind the back of the foliage.
- Die cut a grounding background layer using frosted vellum and our 5806D Postage Stamp Nested Die.
- Stamp the sentiment using our 38014D Gilded Lillies in Bloom stamp and Posey Ink.
- Using the coordinating 38014D Gilded Lillies in Bloom die.
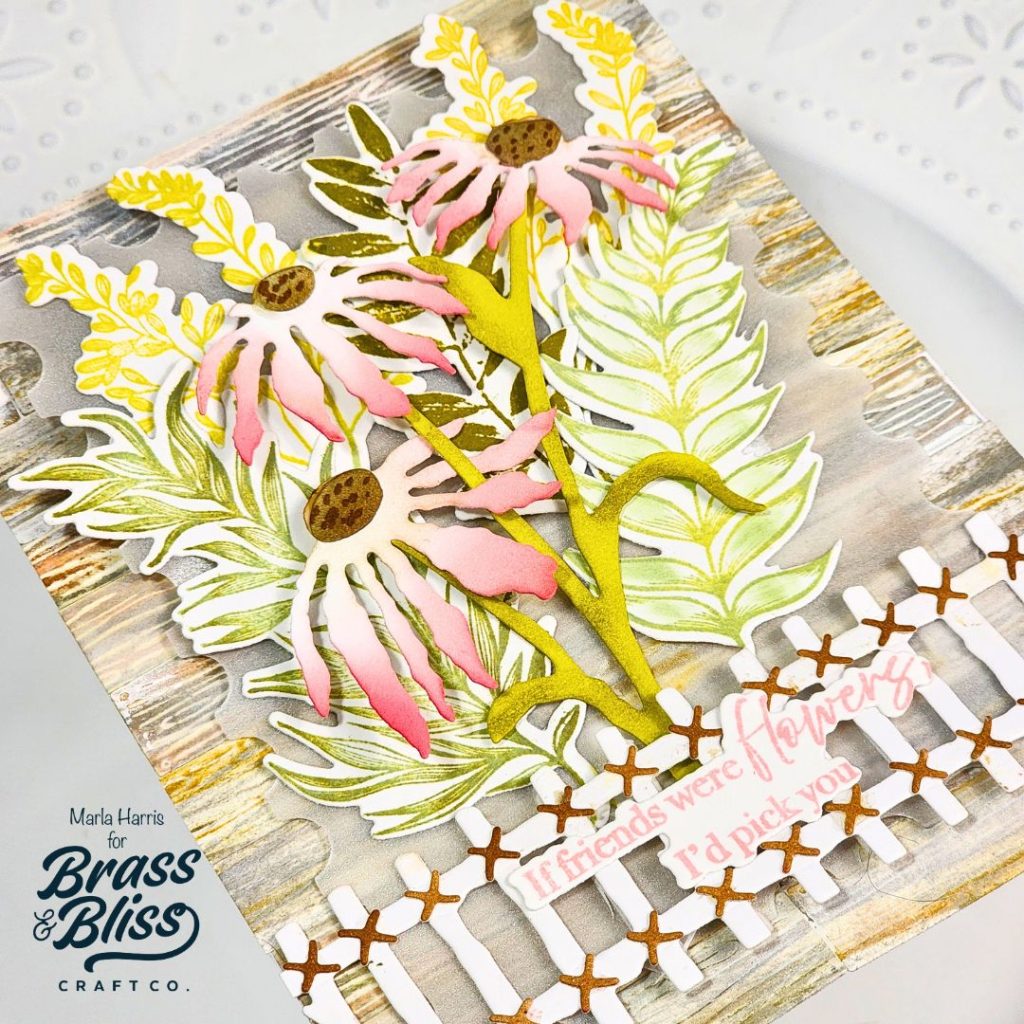
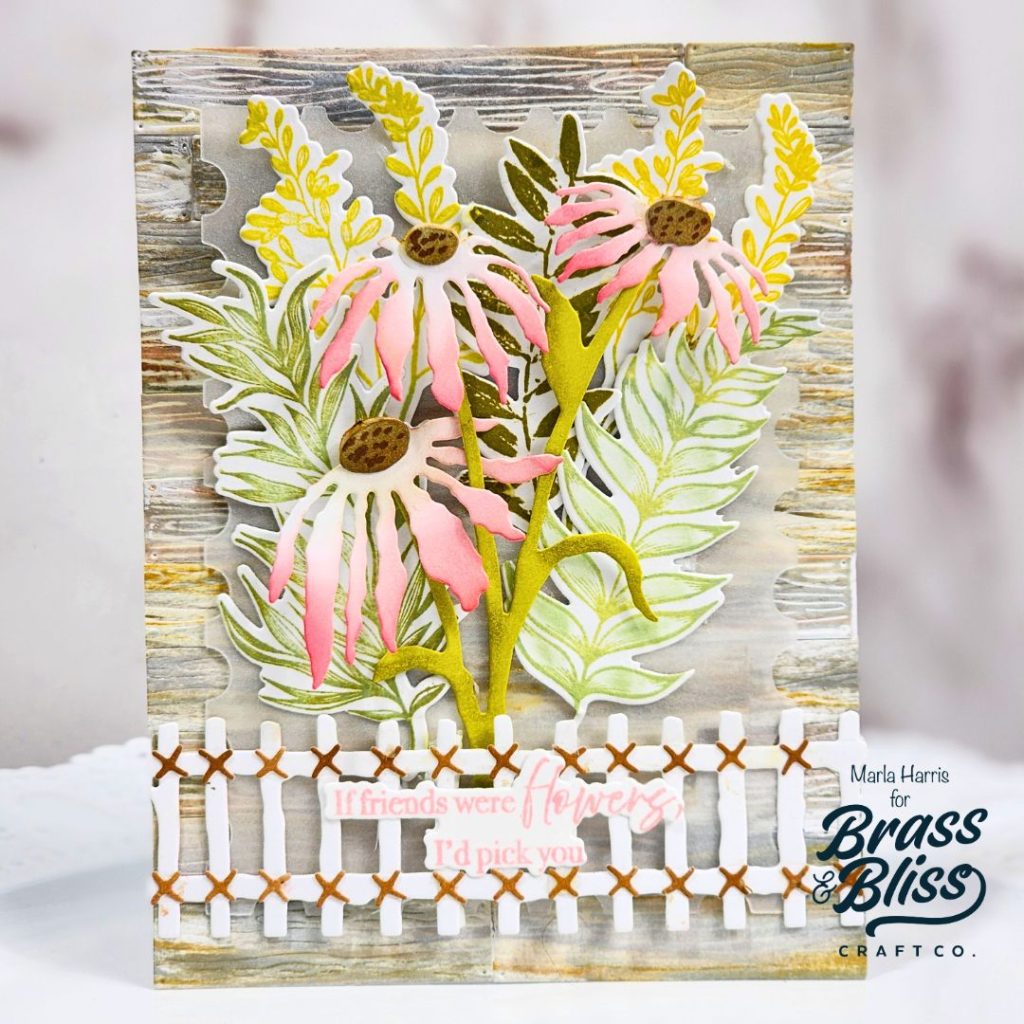
Assemble all of the layers together to complete the card.
Marla has included a couple of our new products from the Botanical Daydreams release on this pretty friendship card. You can shop the entire spring collection here. Thanks for stopping by today. We hope you enjoyed this tutorial.
38008 Spring Greenery stamp
38008D Spring Greenery dies
5301-03 Cone-Flower die
5708-02D Wood Planks die
5849-03D Rustic Fence die
5806D Postage Stamp Nested die
38014 Gilded Lillies in Bloom stamp
38014D Gilded Lillies in Bloom die