Want a realistic wood look for your handmade cards? This “White Washed” wood is going to take your rustic cards to the next level!
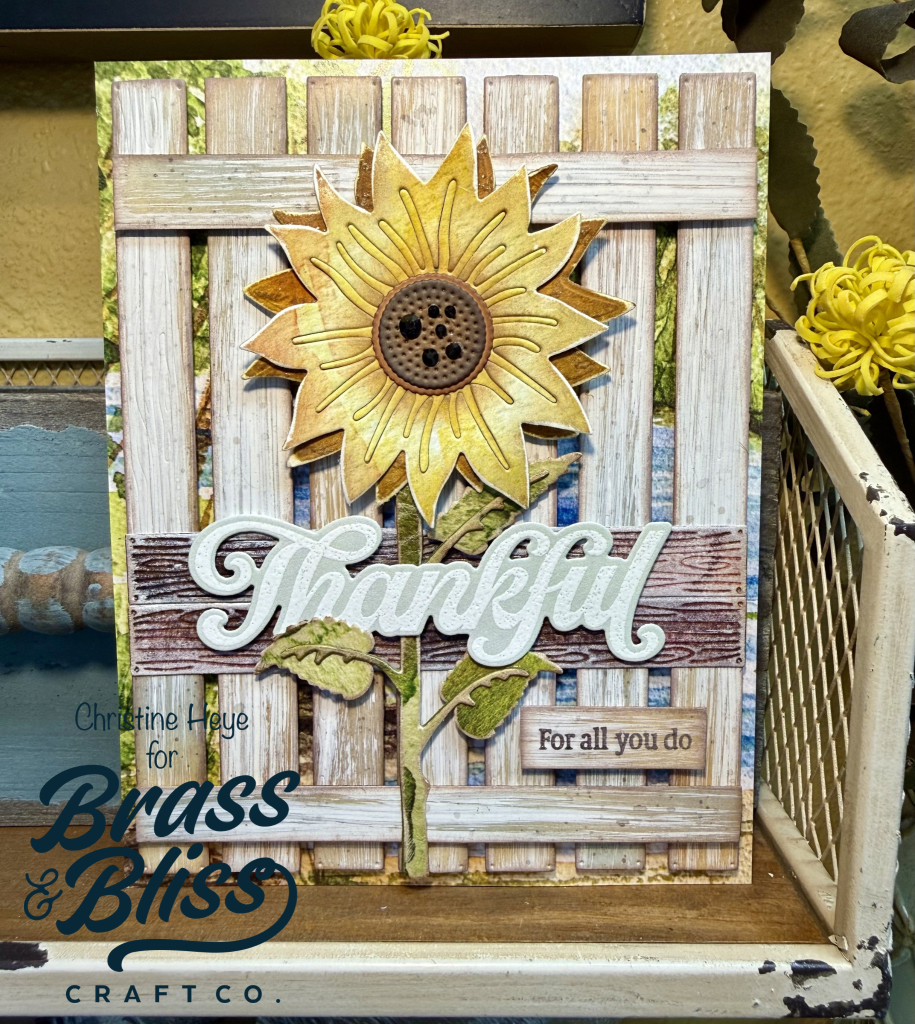
Today we have a treat for you from our designer, Christine, who is showing off her awesome technique for creating “white washed” wood. Christine said, “The recipient of this card would feel a warm glow of a country, sunshiny day and be lifted by the cheery words of gratitude, contained within! This is scene card meant to bring joy and warmth to the heart of the person being thanked!” We are obsessed with this design and can’t wait to use this realistic wood technique on future projects!
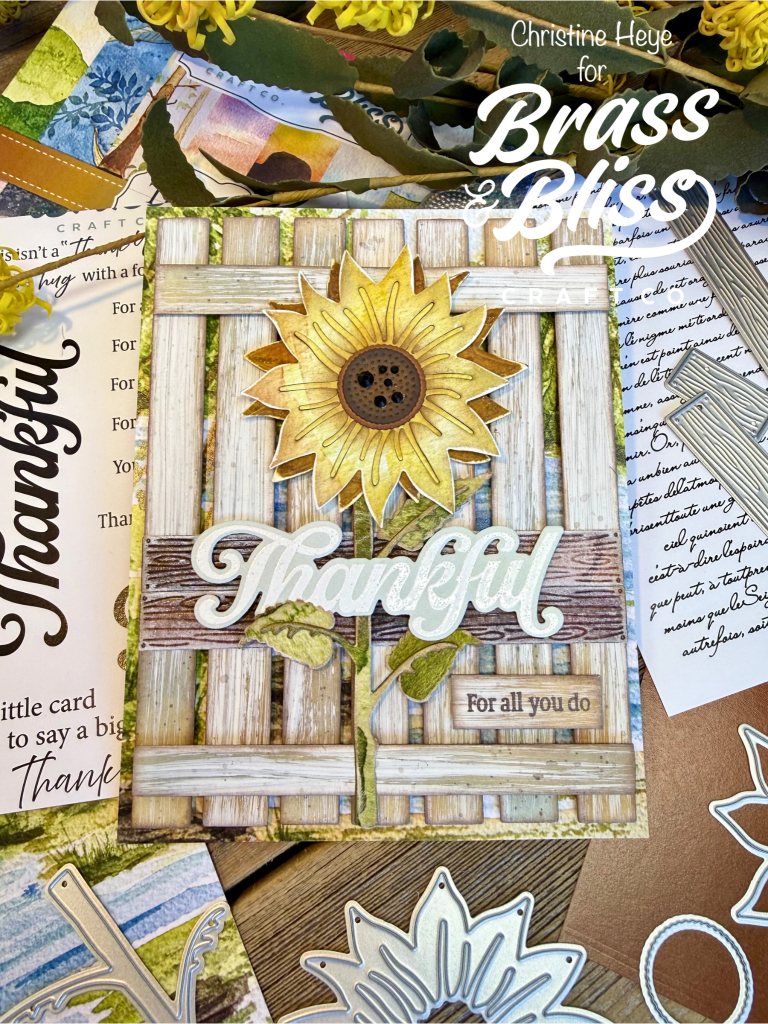
How to recreate this card:
- Key: Distress Oxide ink= DO. Card Stock= CS. Paper Pad= PP.
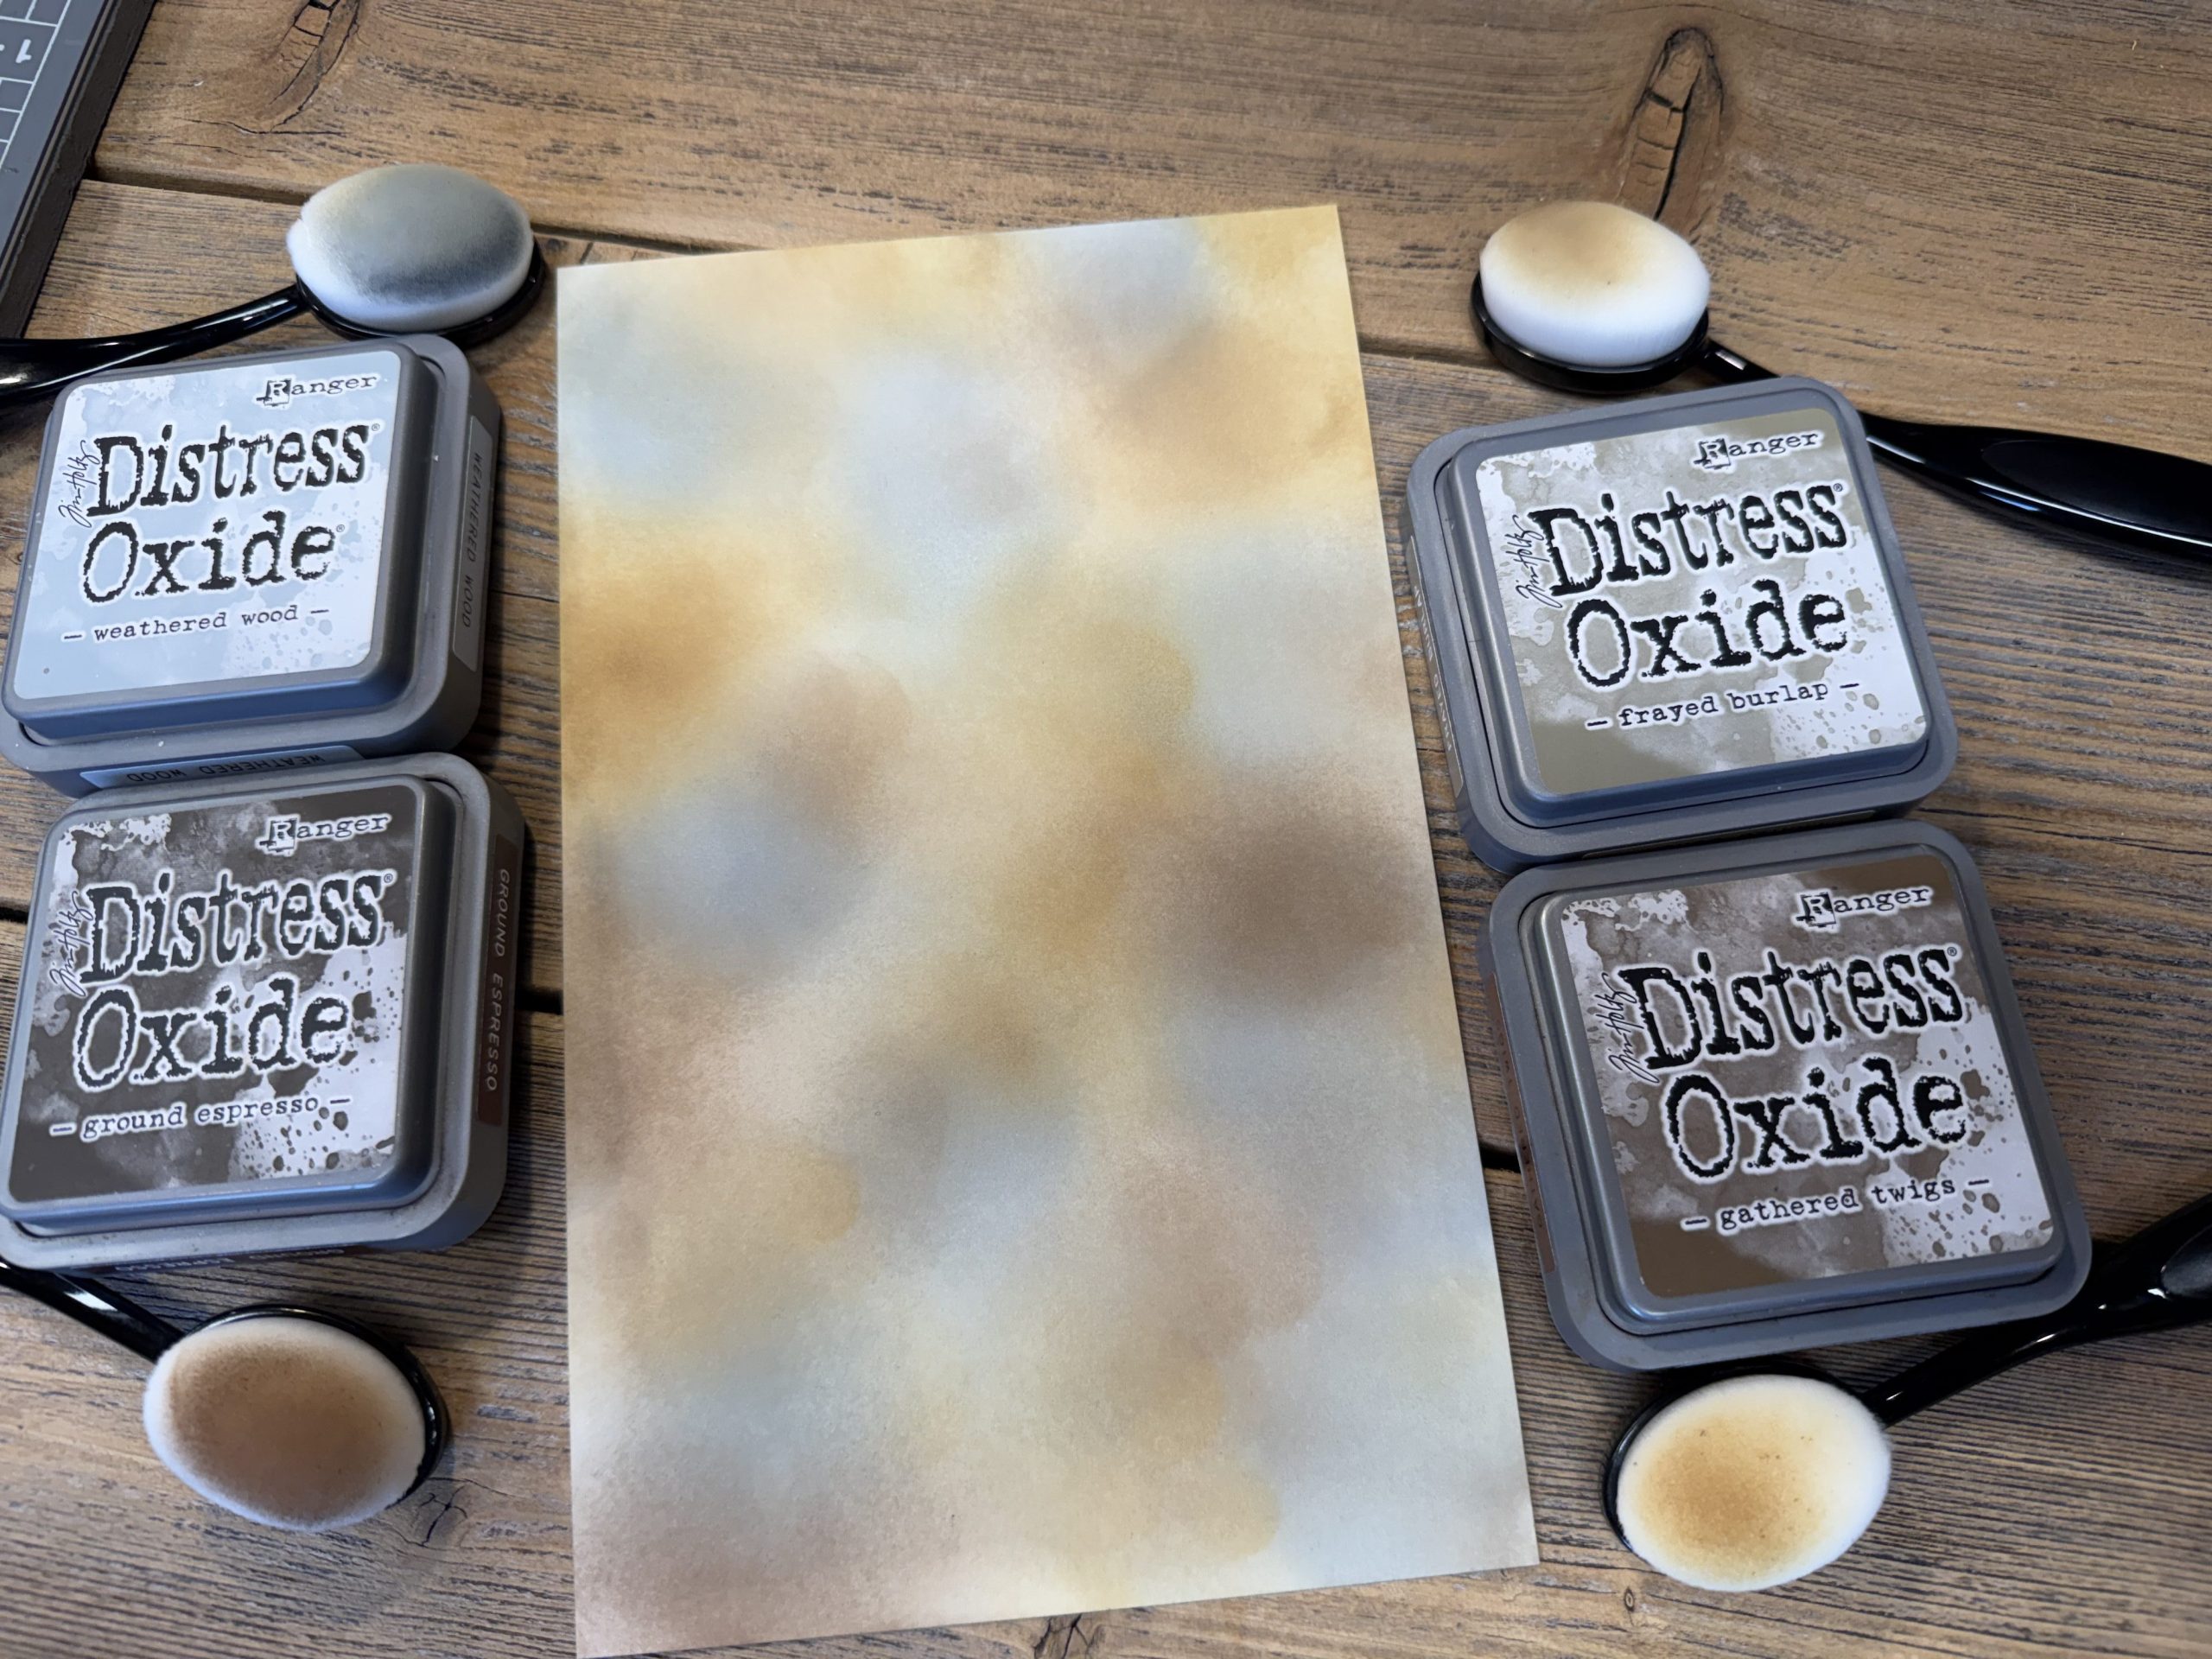
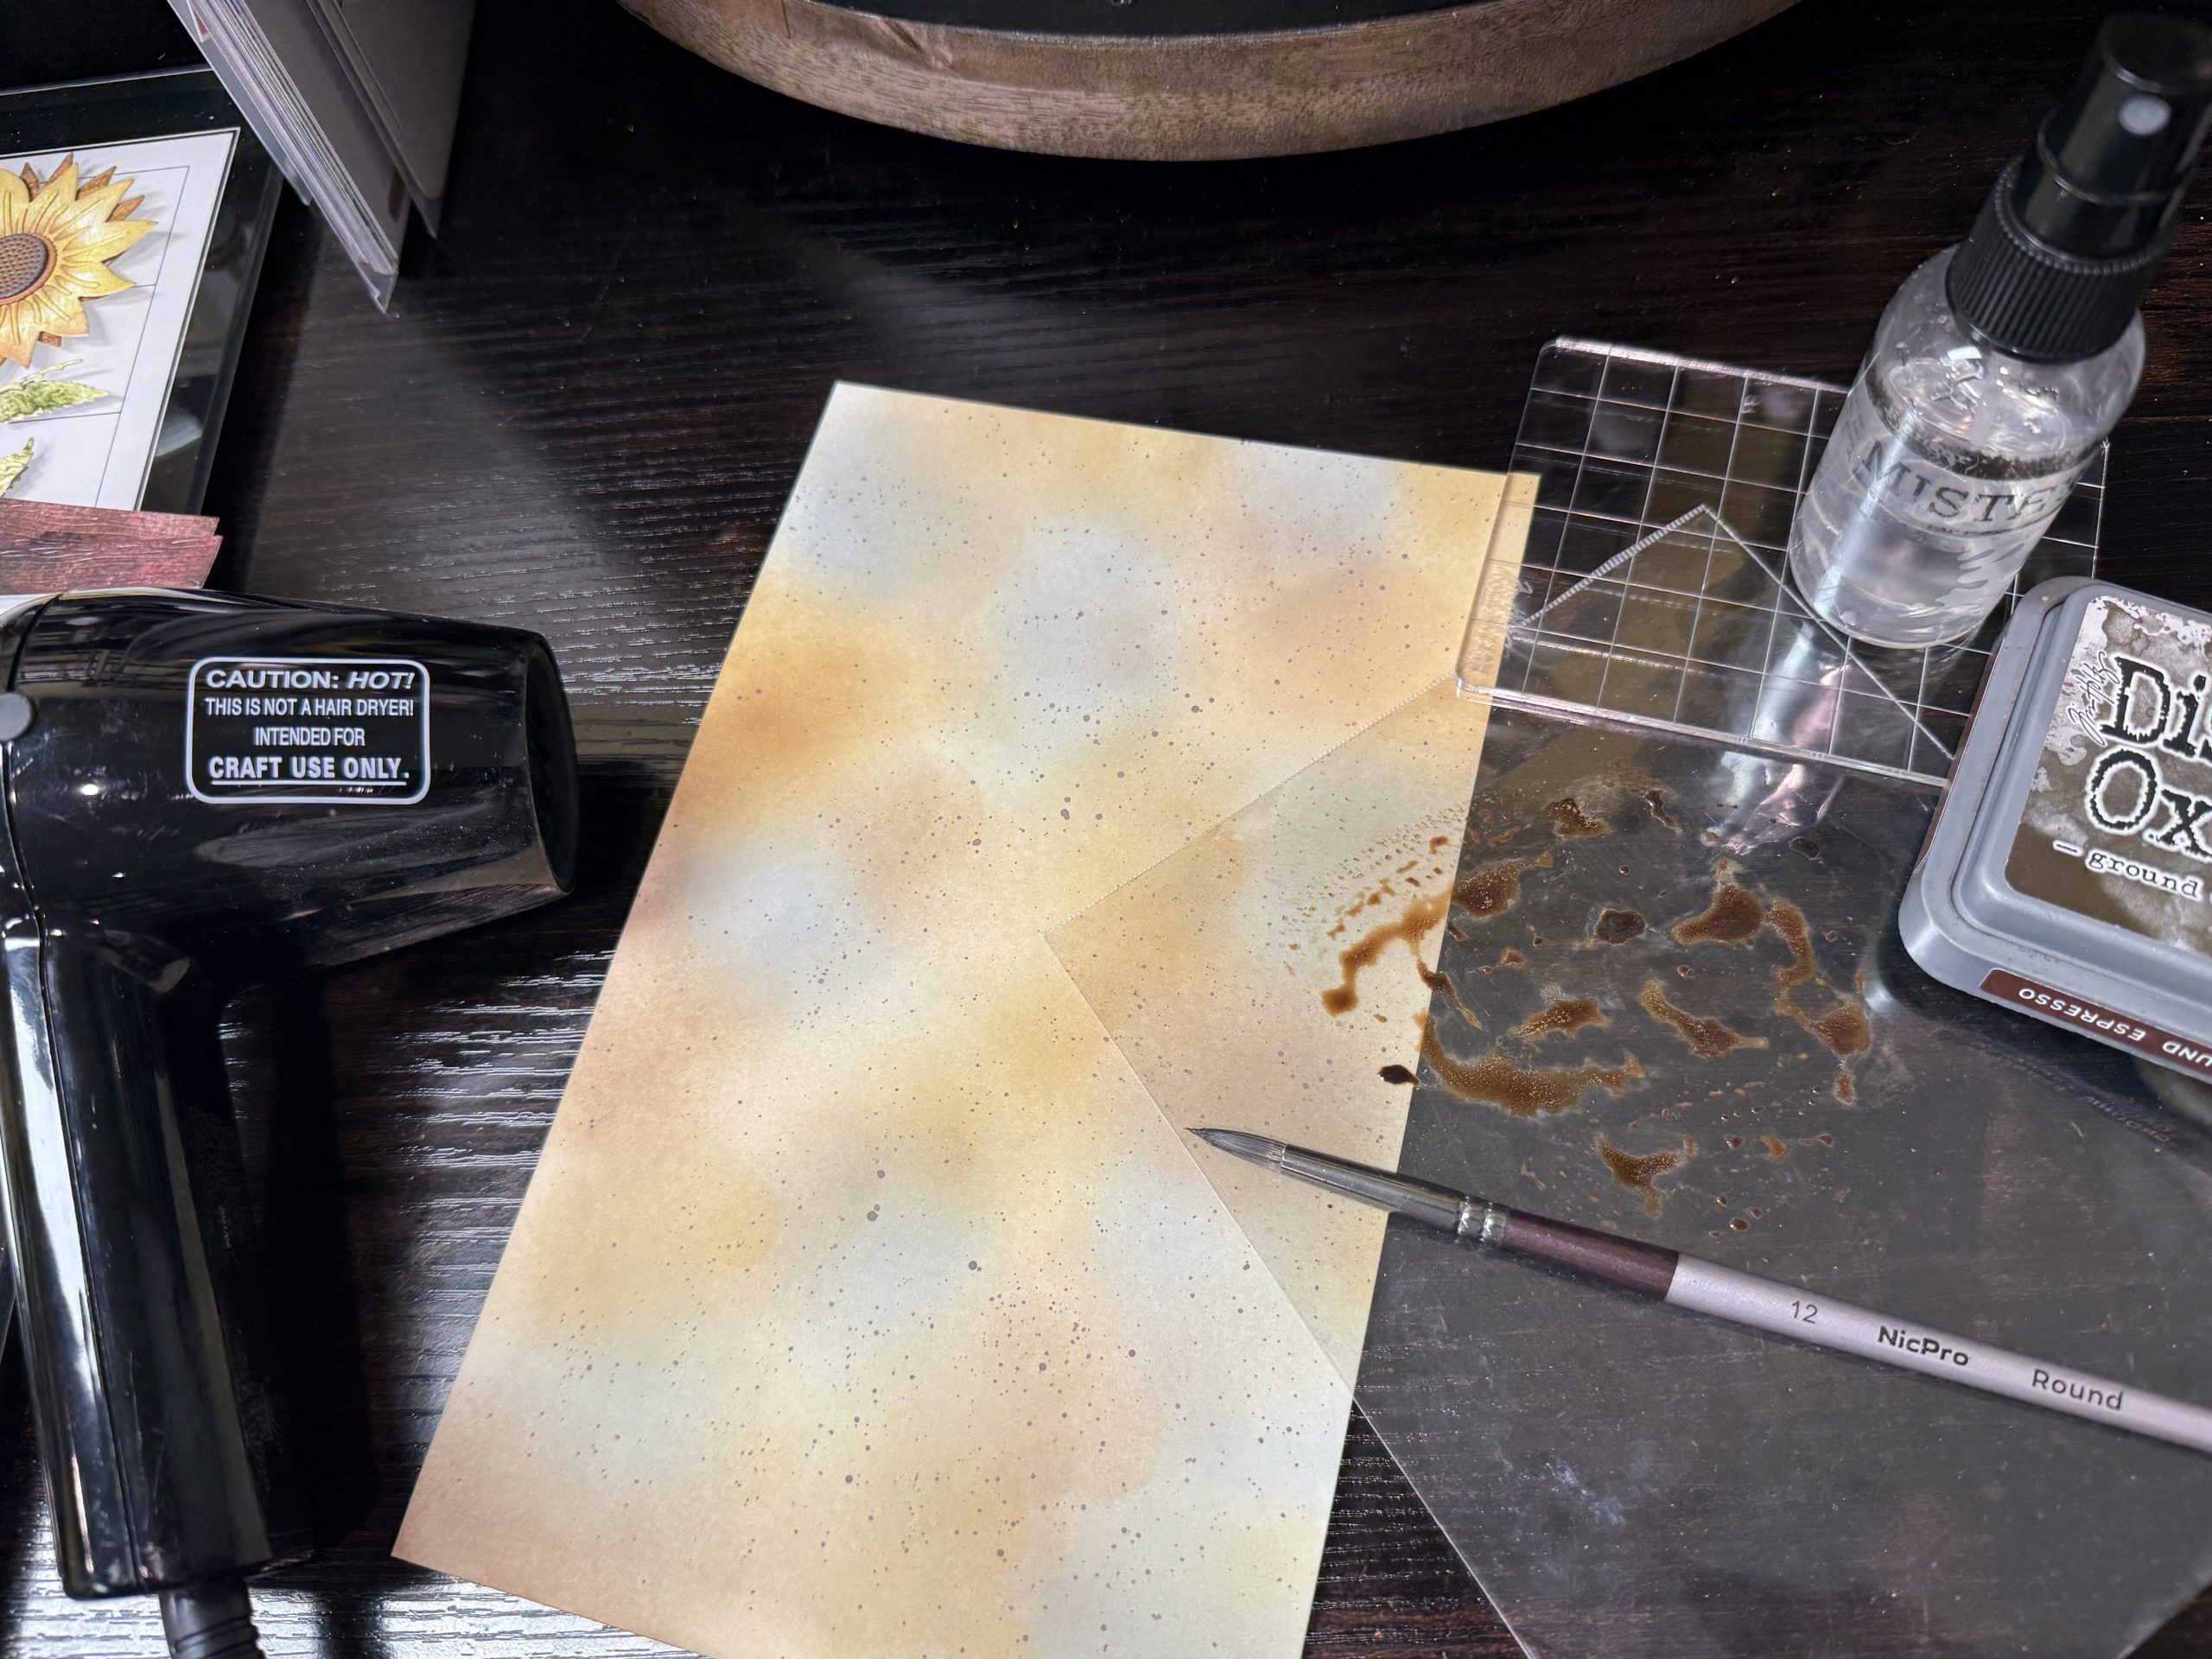
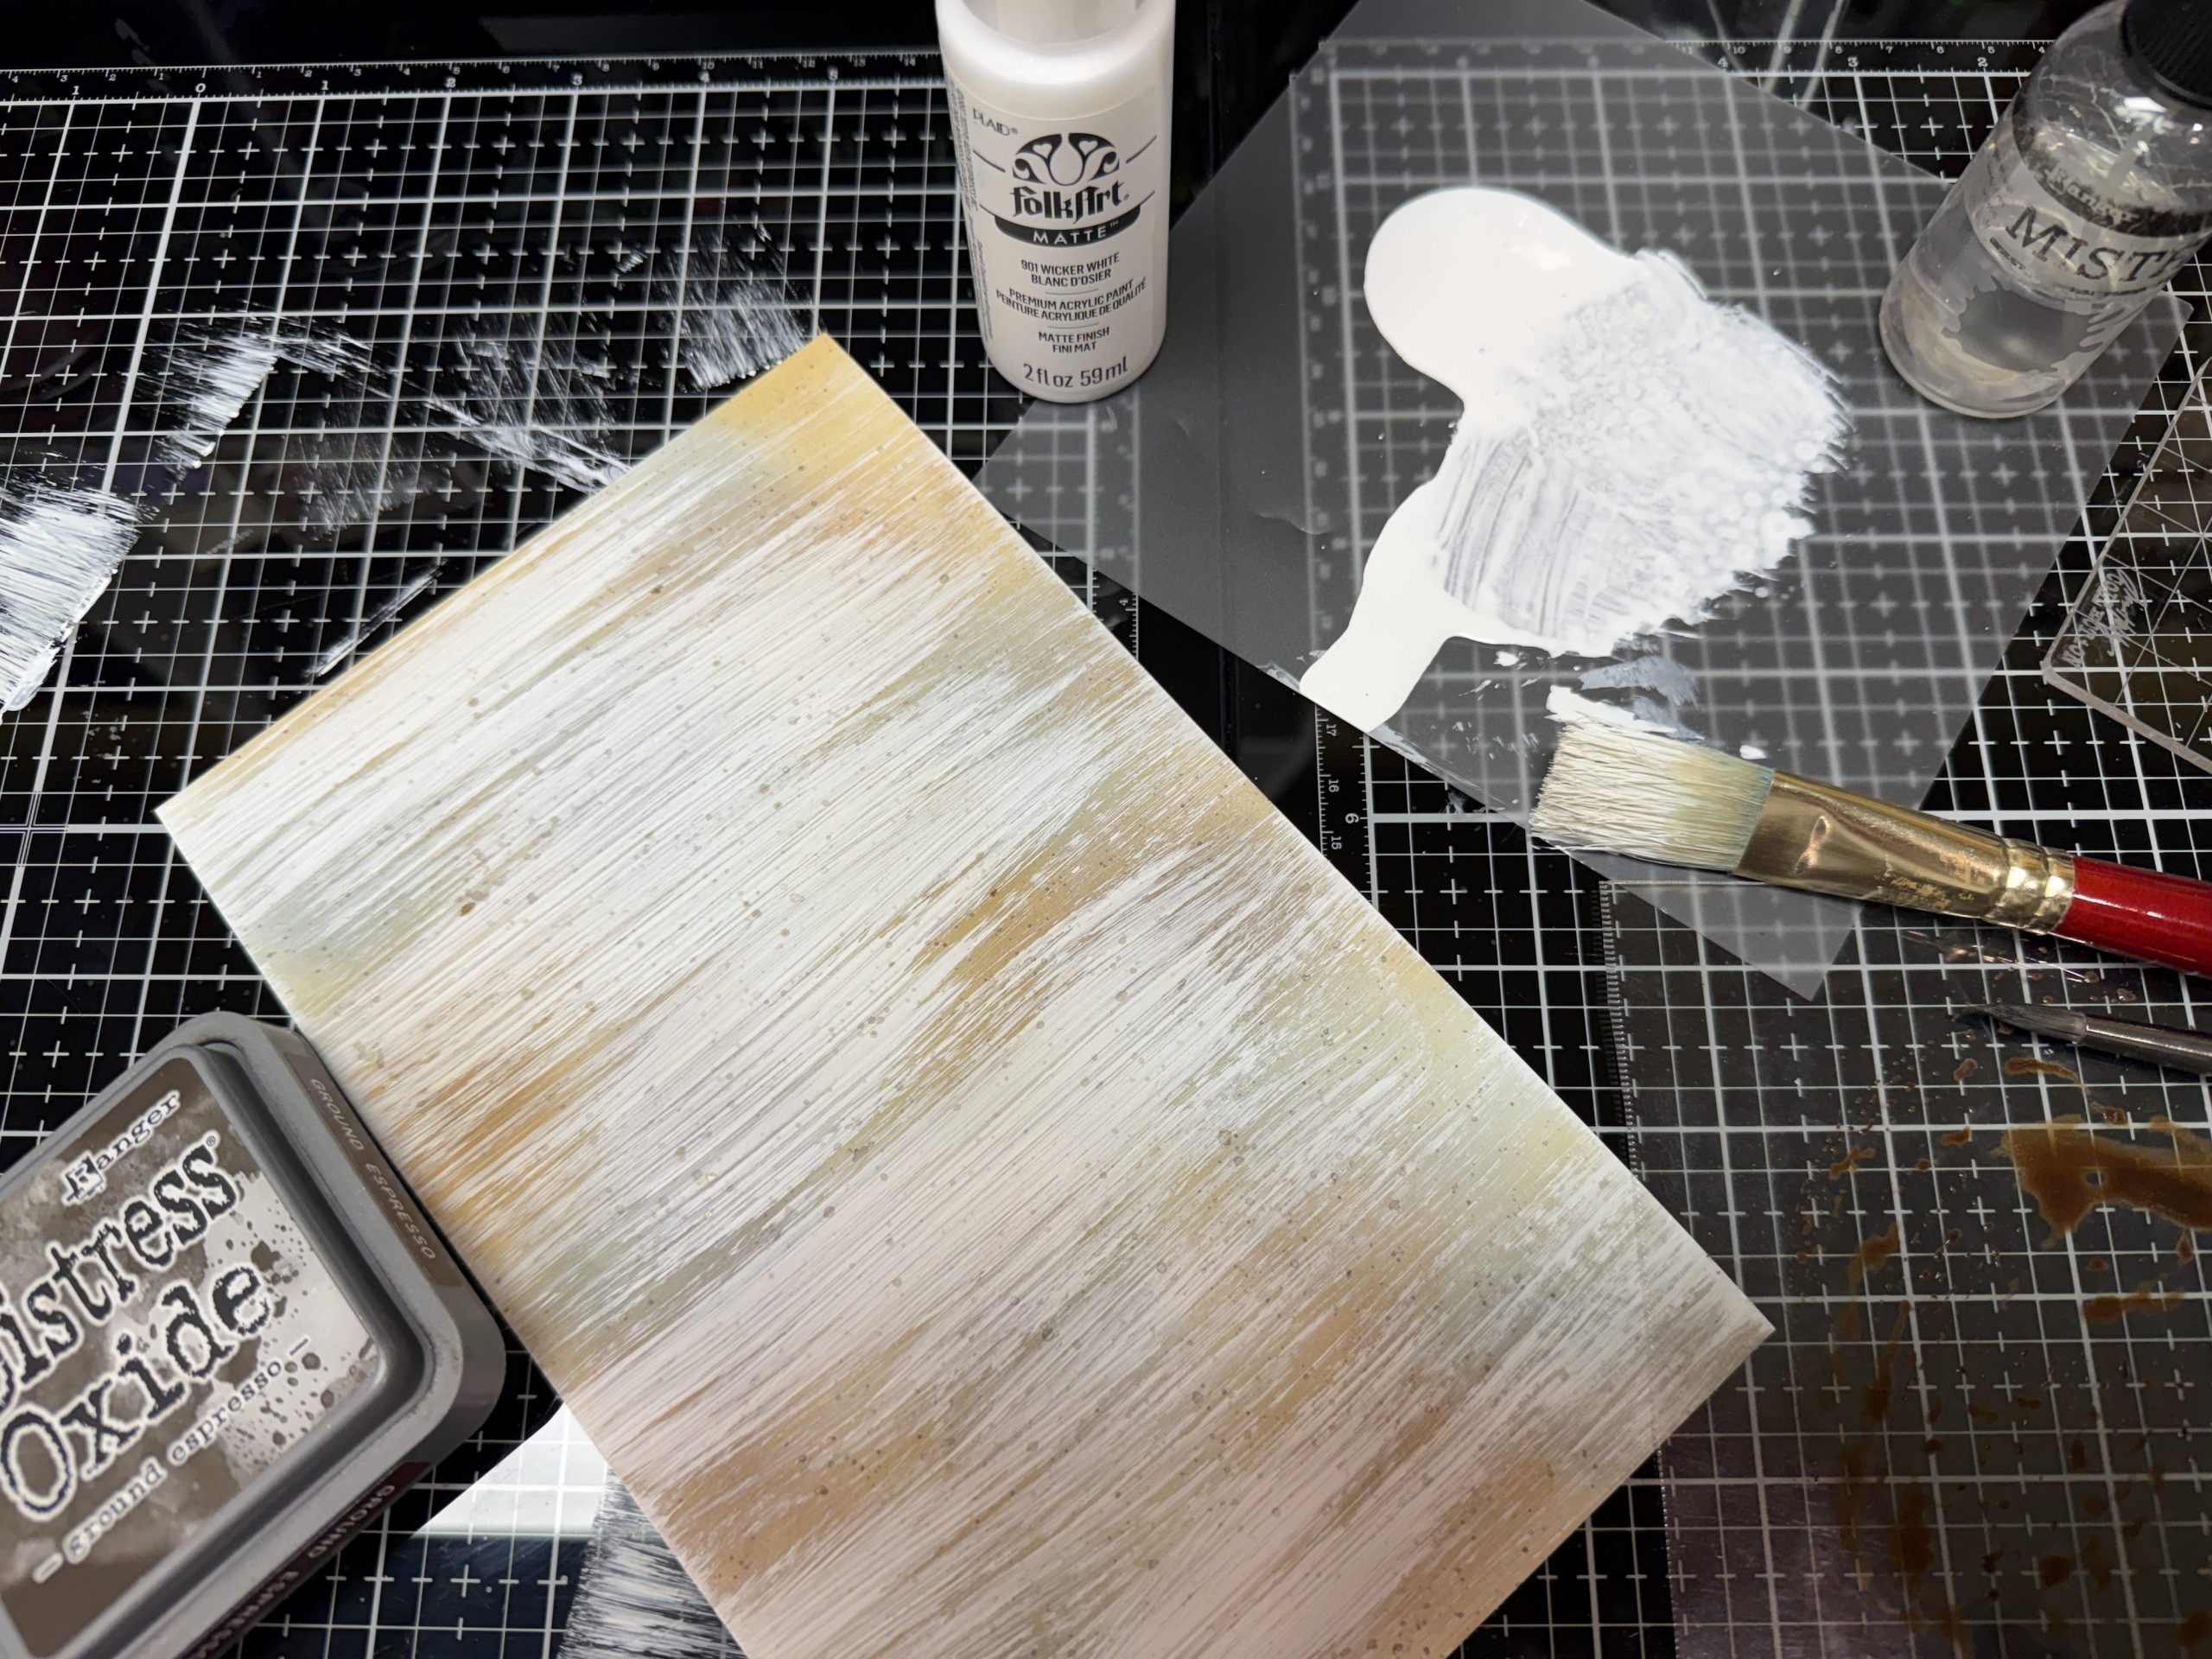
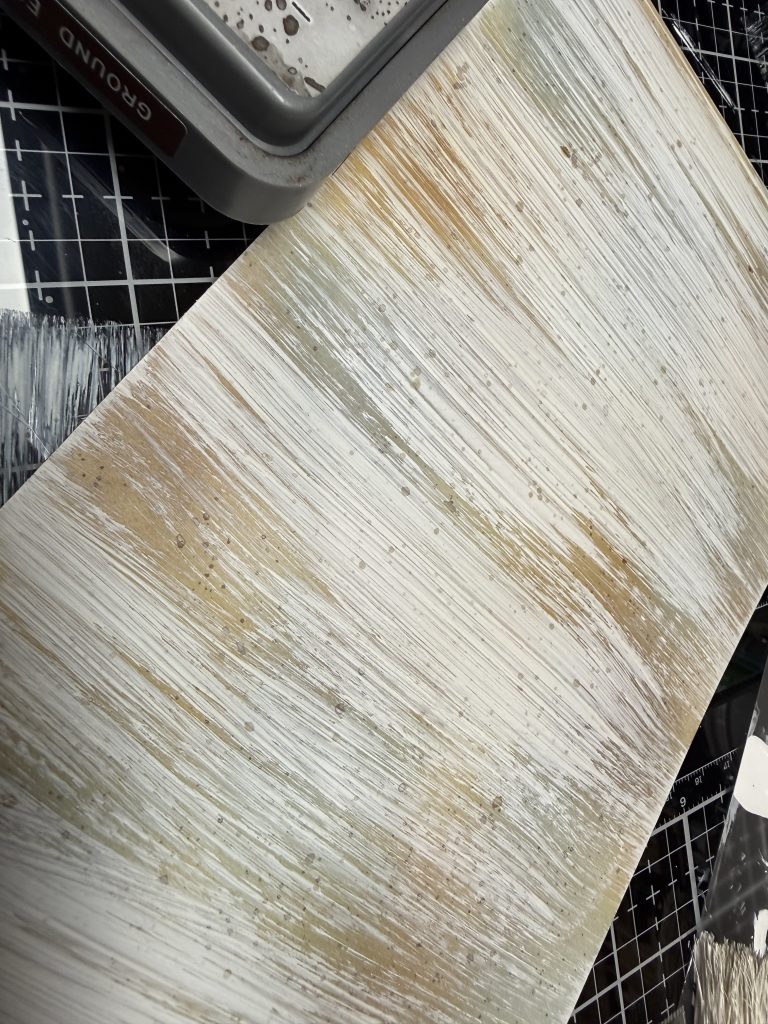
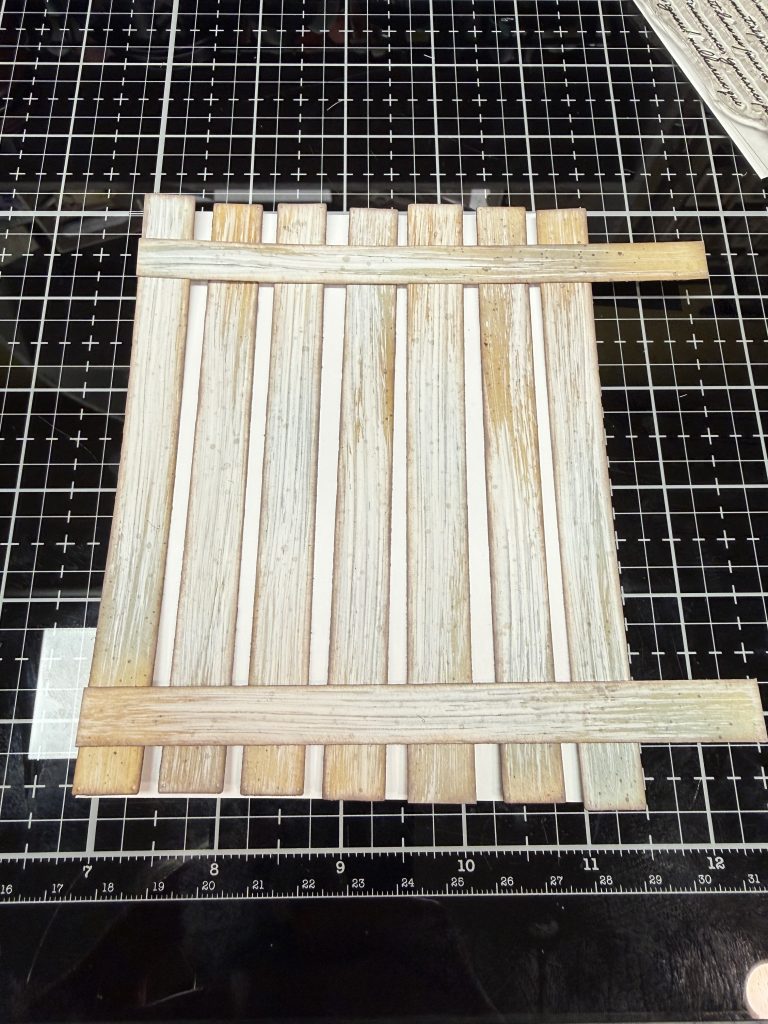
- On a larger piece of Bristol Smooth or like CS—Using Weathered Wood DO, Ground Espresso DO, Frayed Burlap DO, & Gathered Twigs DO, add splotches of ink in groupings, but not smoothly blended (see photo). Using Ground Espresso DO add ink to a piece of acetate or glass surface, add a bit of water. Taking a smallish brush, load brush and splatter entire surface. Heat dry. Taking a white acrylic ( I use a matte, but glossy works too). Put some onto another sheet of acetate and add some water Using a more coarse, preferably flat edge brush, brush one stroke per row, a streak of the white paint (see photos). Allow to completely dry or heat set to speed up drying. After COMPLETELY Dry- die cut 9 pieces using longest of Wood Planks Die set -to create fence. Gently blend Ground Espresso DO w/finger dauber to all edges of fence boards.
- Die cut 2 additional fence boards from The Scenic Route 6×6 PP (find paper that is mostly browns). Gently sand entire edges and top to soften look. This will support the sentiment.
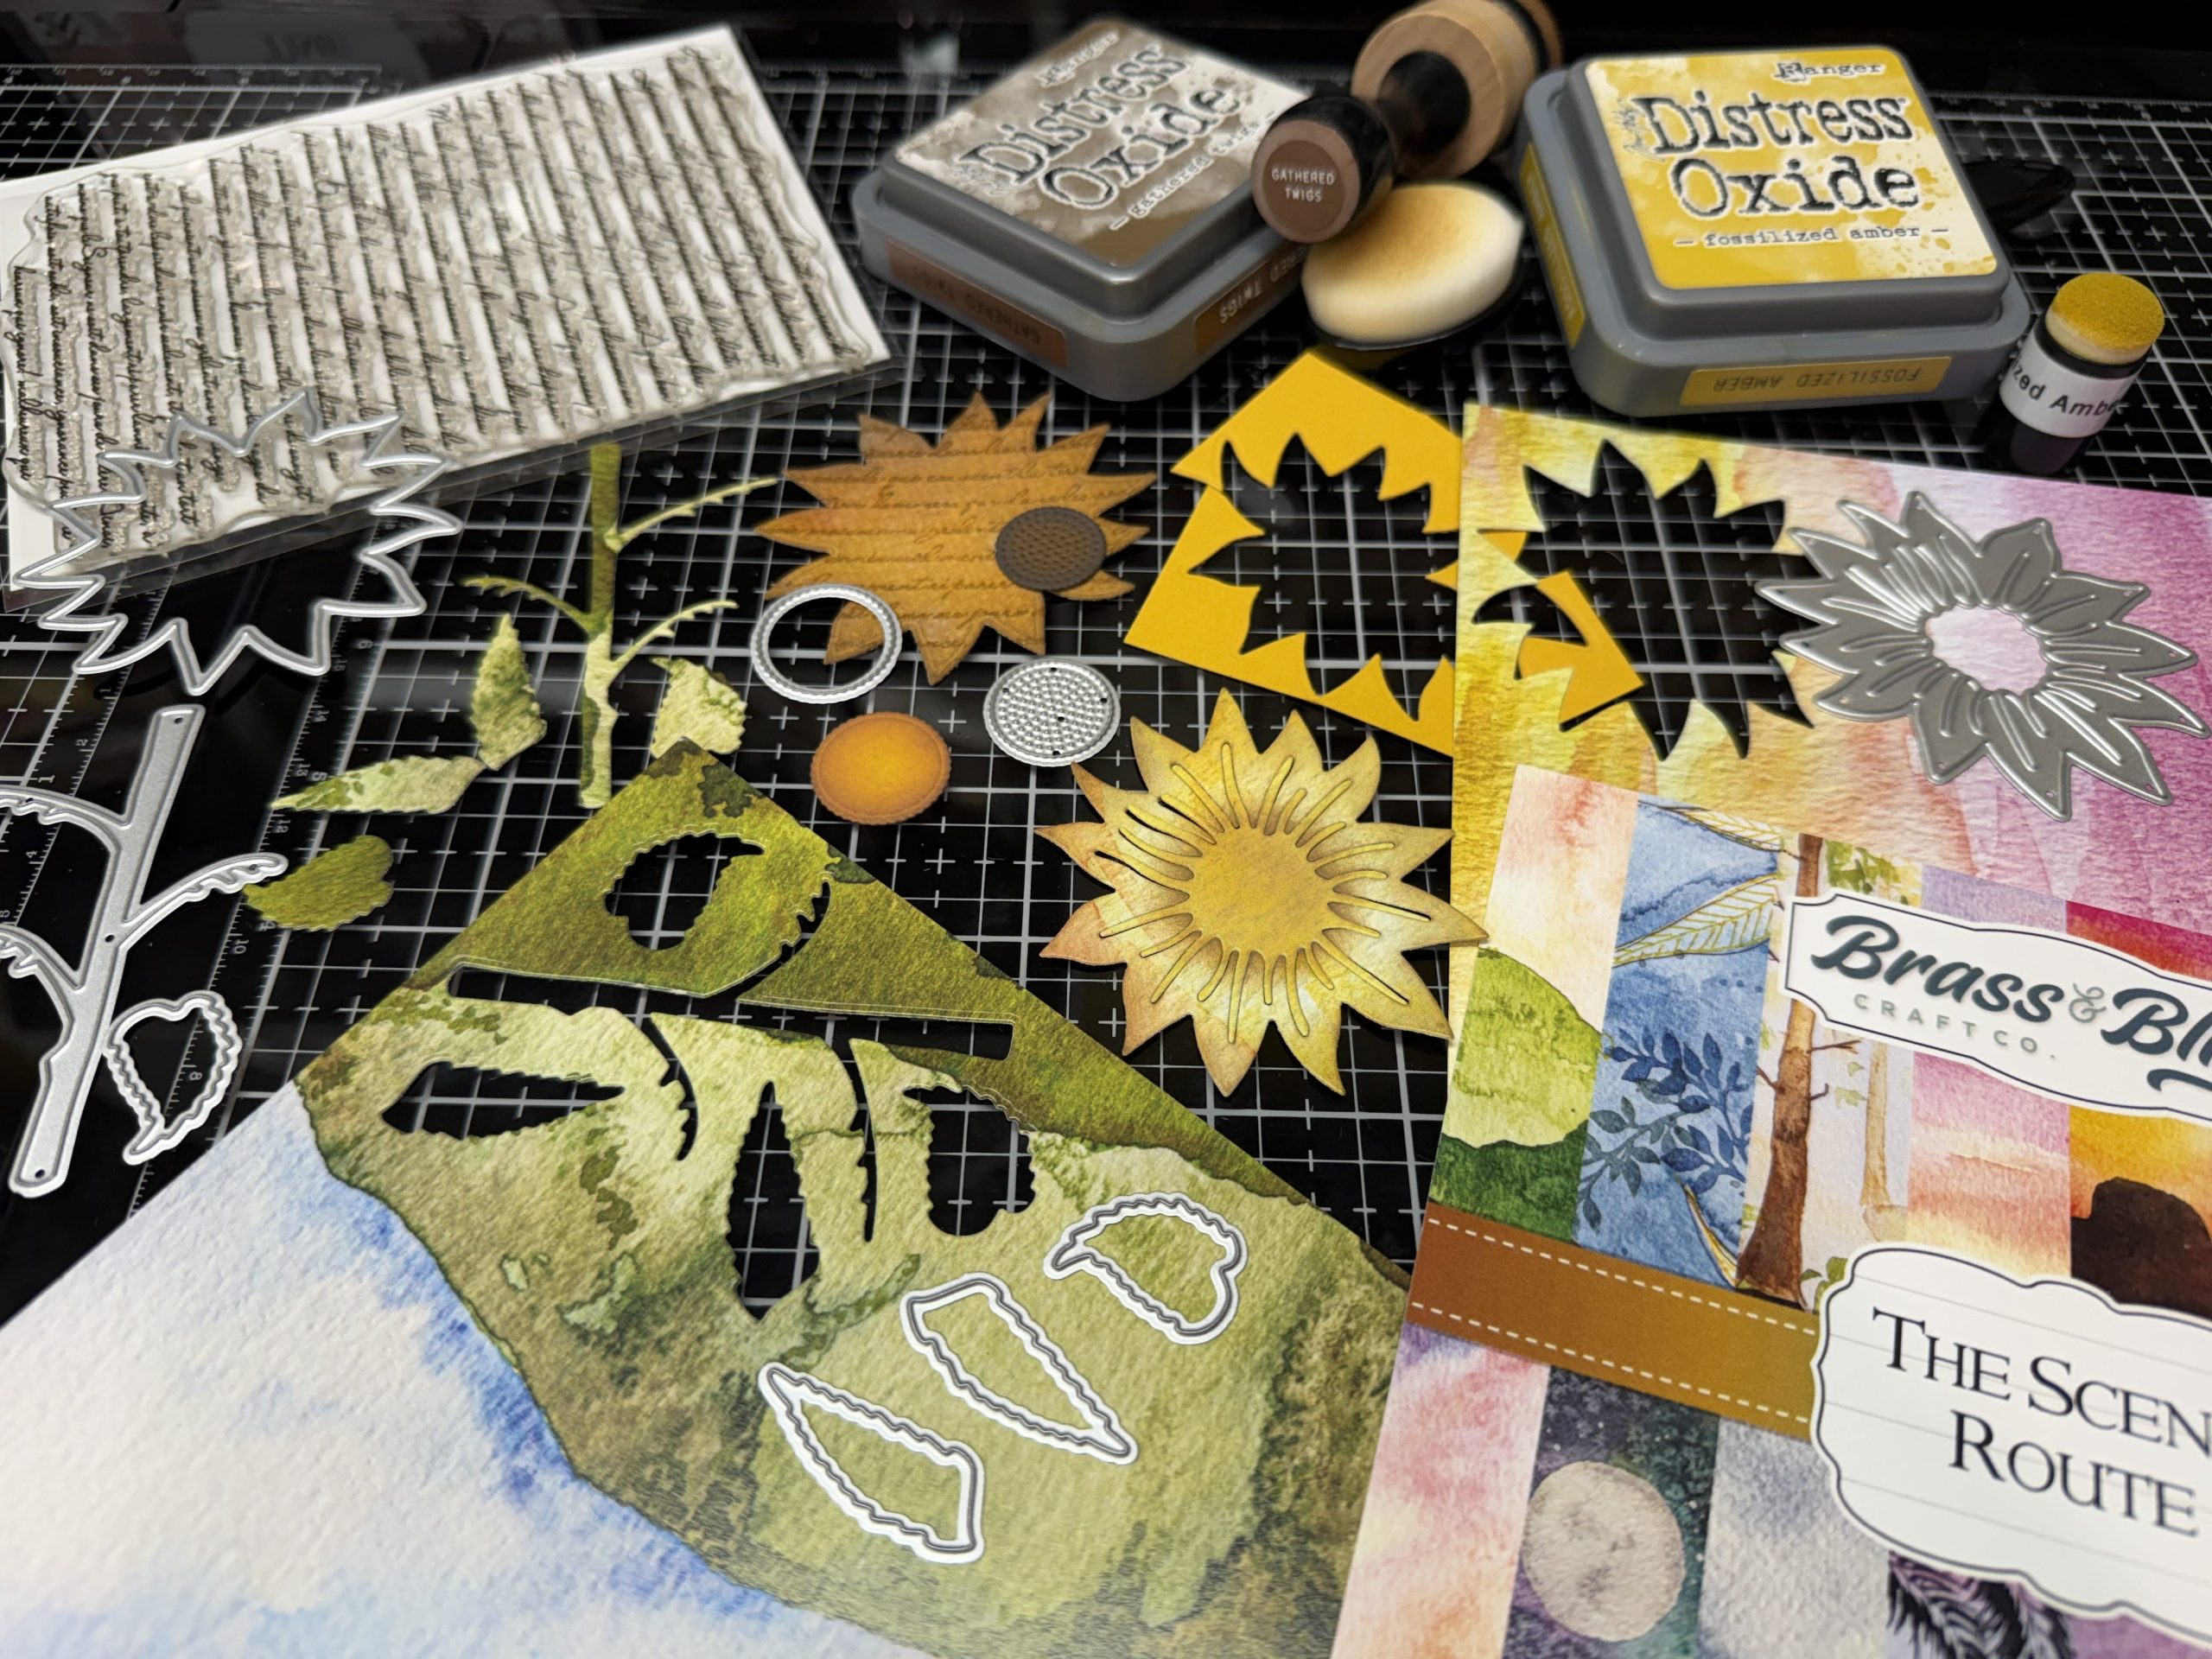
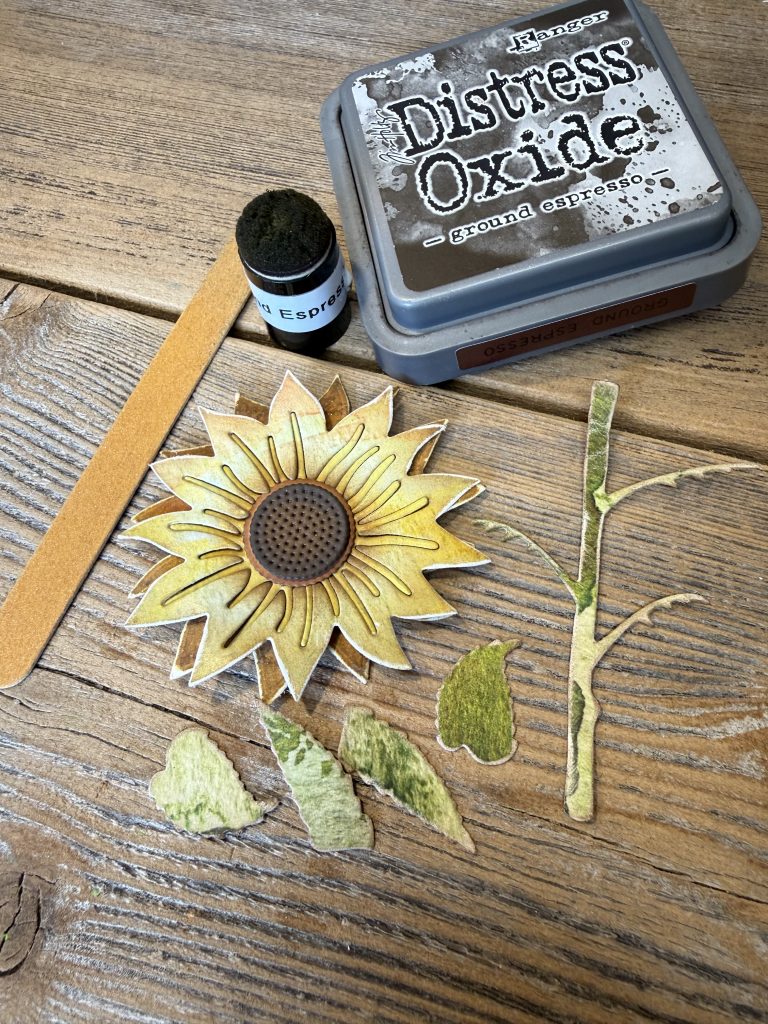
- Die cut all, but the sunflower back piece from the Large Sunflower parts from same PP using papers that suit you. I die cut my sunflower back piece from a deep mustard colored CS. Added the French Script Background Stamp w/embossing ink & powder for fun detail. Sand all edges and add Gathered Twigs DO to edges w/finger dauber or small detail brush. Assemble head of sunflower, as desired and add black gems or embellishments. WAIT to assemble stem & leaves, but you can sand and ink them, now.
- Cut the tree/river scene paper from The Scenic Route PP down to 4-1/2 X 5-3/4 for your fence support piece. (Ignore white CS in photo- this was my measuring for size needed, forgot to photograph actual layering onto scene piece) :O) Carefully lay out your fence, so as to evenly space the pieces to desired look. Add thin foam adhesive to each piece and begin assembly w/center fence board. Next each end piece, then evenly space inner two pieces on each side of center. Add two supports to top and bottom w/same foam. Cut off excess length and lightly ink edges again. Glue darker brown to fence directly at ASSEMBLY stage.
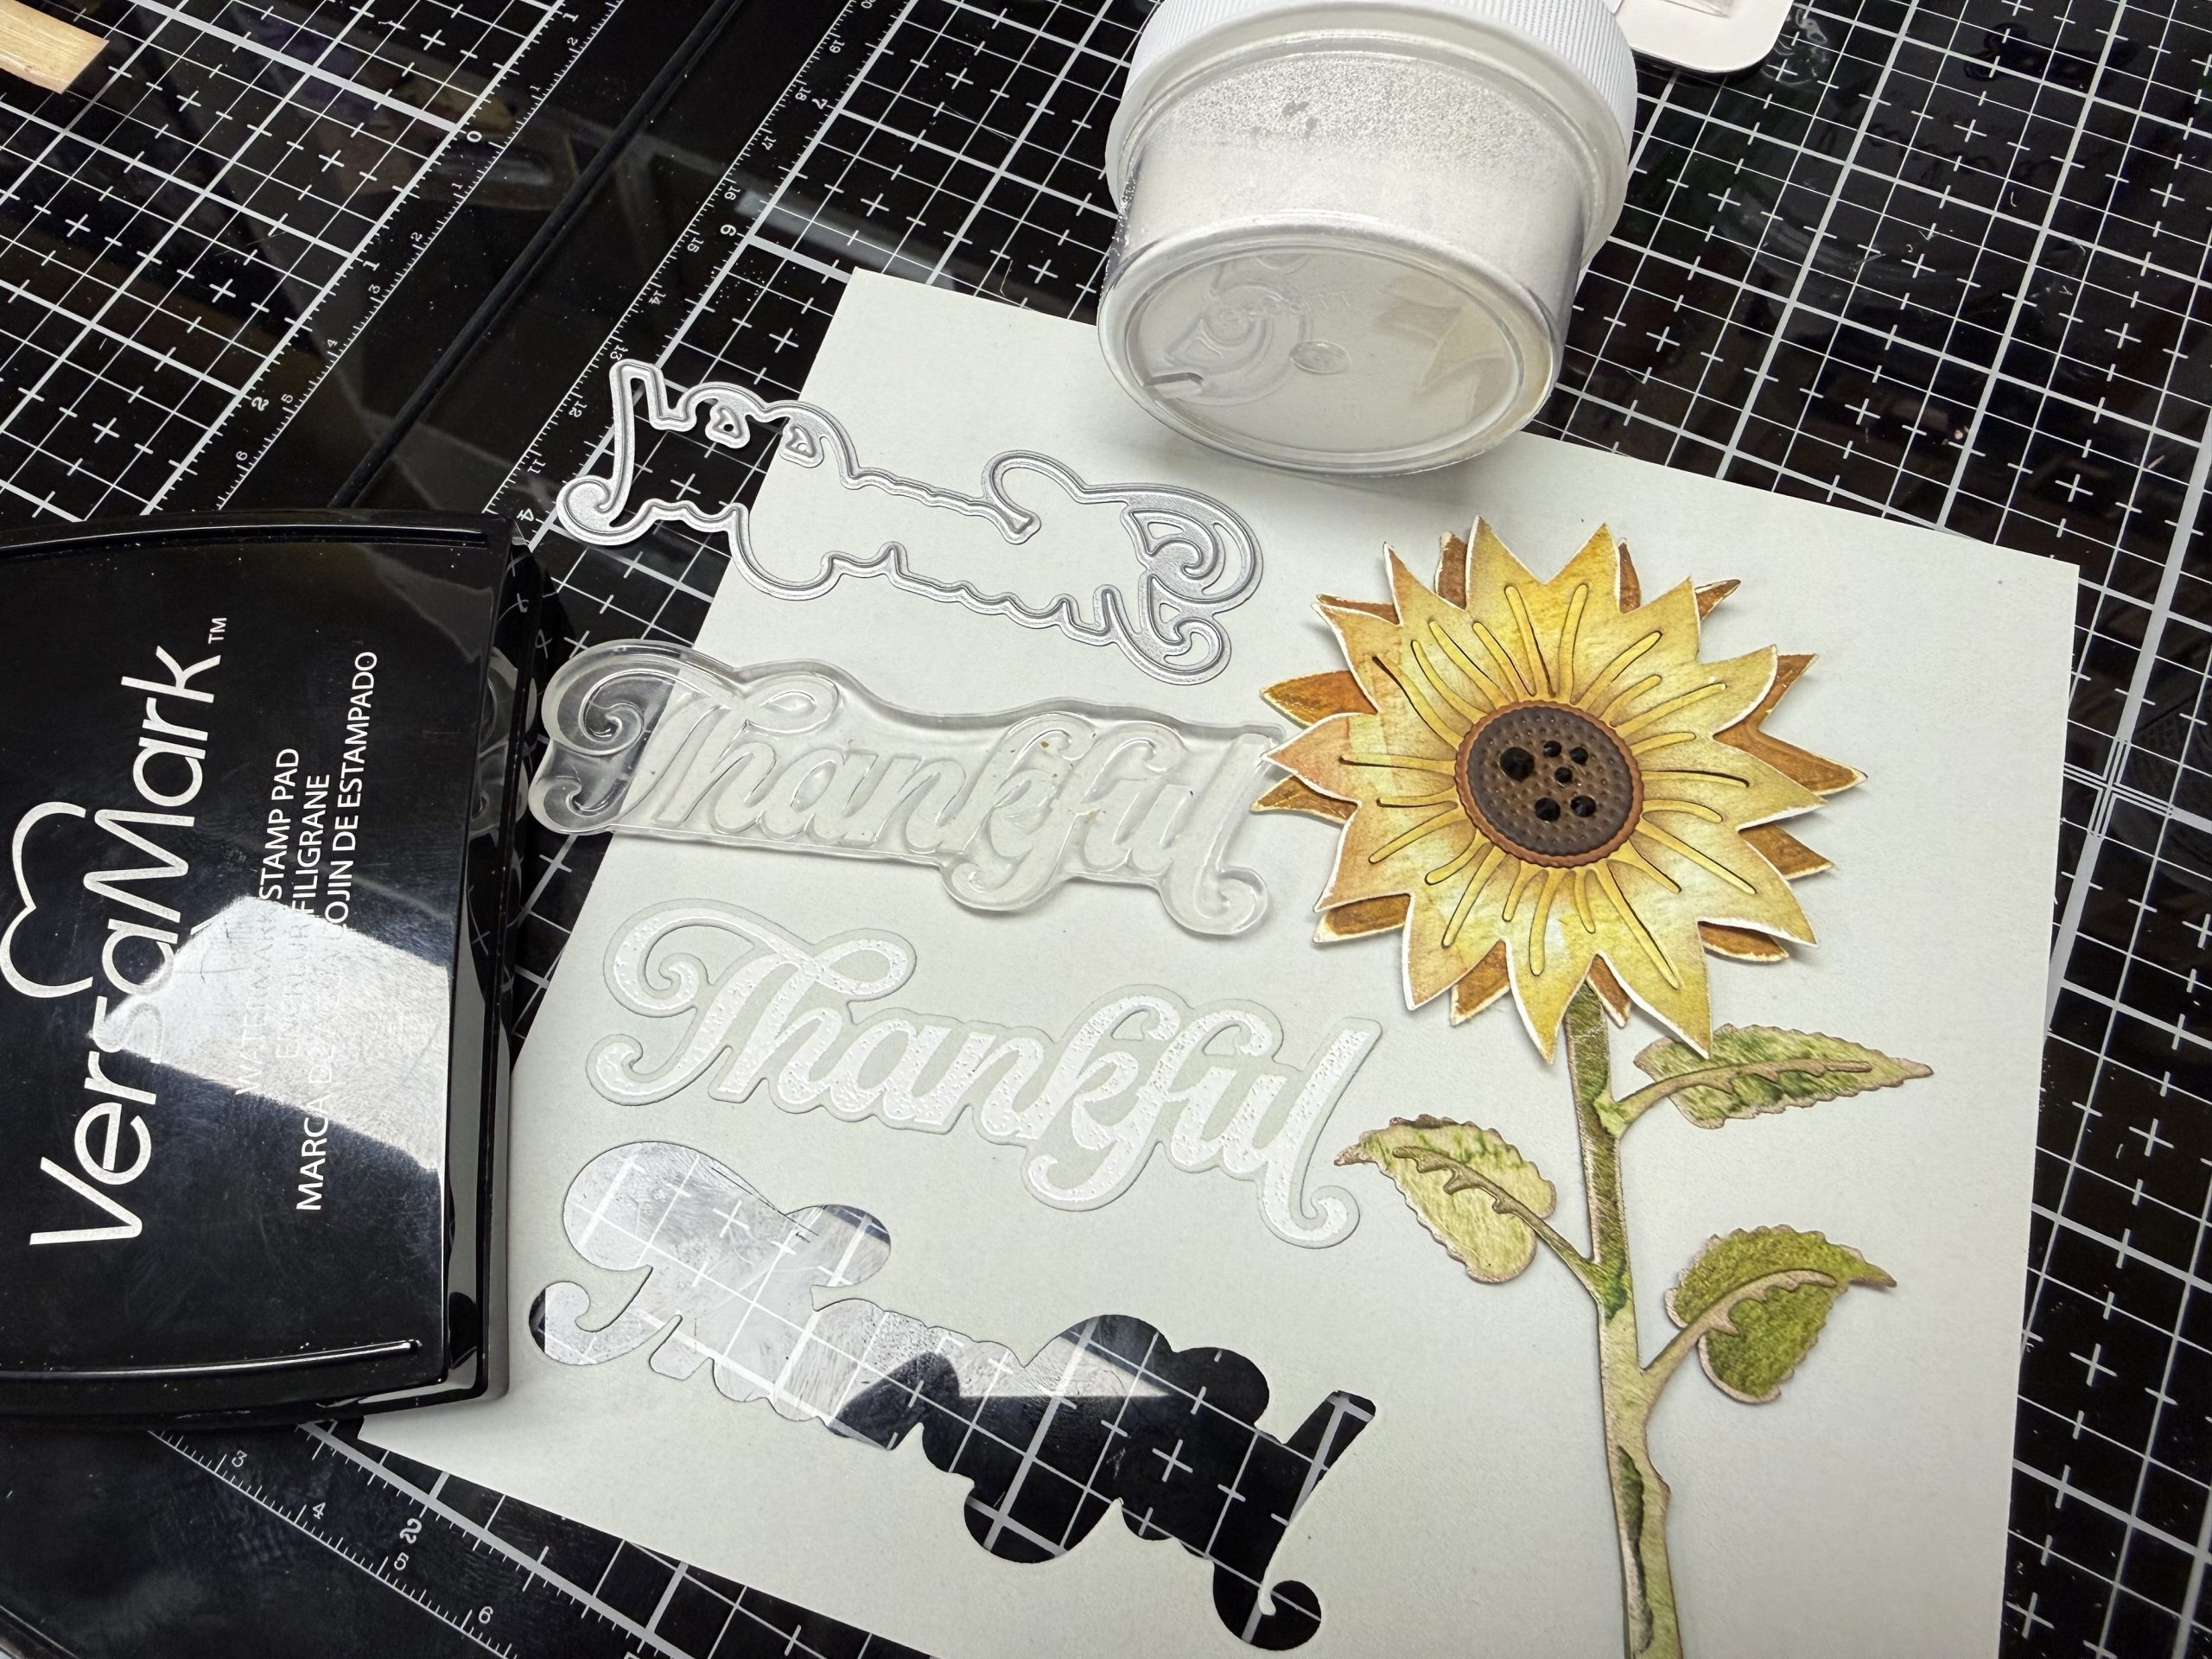
- Create embossed sentiment using “thankful” stamp from Thank You Stamp Set. Stamp onto piece of light green from Floral Meadows 6×6 PP, using pigment ink and white embossing powder. Die cut w/coordinating die set. Stamp subsentiment from same stamp set onto piece of fence scrap w/brown ink. Cut down to desired length. Gently ink edges. Add thin foam adhesive and set aside.
- To assemble lay out w/o any adhesive- find the placements. Add THIN foam adhesive to the entire CENTER ONLY of sunflower head. Attach to center on & under fence cross support, but adhesive on fence, not support layer. Find your sentiment placement and glue darker brown fence boards directly to fence. I cut mine down, by cutting the pieces where I knew the stem would cover- so as to have the nail holes showing on both ends. You can also simply cut the excess length off. Add thin foam to sentiment, where you know it won’t be over the stem, set aside. Add thin foam adhesive to leaves and stem, except where stem will cross over support piece at bottom of fence. Add stem, thankful sentiment, leaves and subsentiment. DONE!!
Supplies Used:
- 5726-02D Large Sunflower Die
- 2020 Java Good Time 6×6 Paper Pad
- 5708-02 Wood Planks Die
- 2206 Floral Meadows 6×6 Paper Pad
- 2018 The Scenic Route 6×6 Paper Pad
- 36057 Thank You 4×6 Stamp Set
- 36057D Thank You Dies
- 3487-09 French Script Background Stamp
- 4PCLLB Large Blending Brushes 4 Pack
- 4PCDBB Detail Blending Brushes 4 Pack