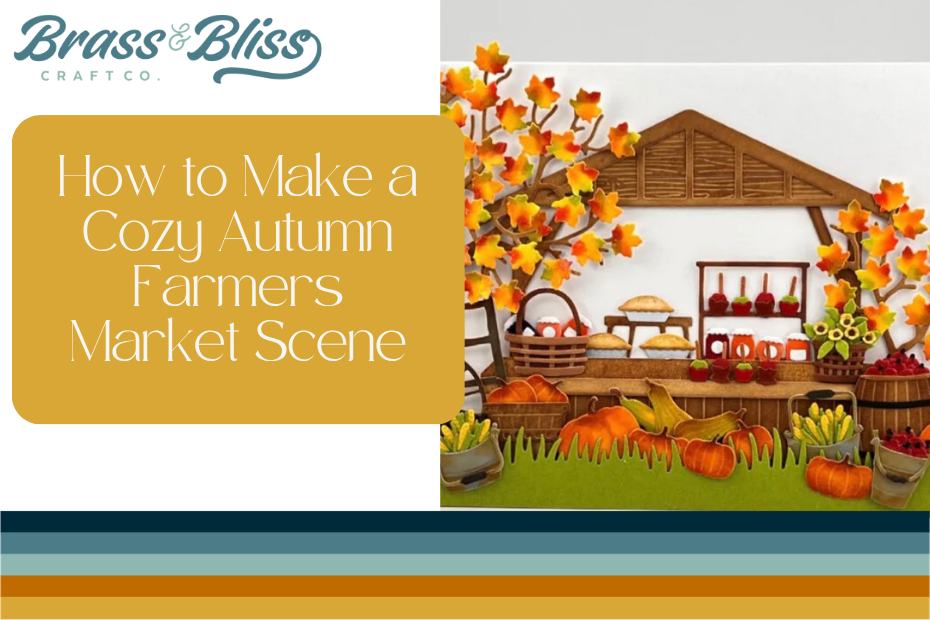
Looking to add some dimension and festive flair to your Fall cards? Check out this Fall farmers market stand card to send to family and friends.
There is something so special about visiting a farmers market to enjoy seeing all of the seasonal products. Today Kittie has created this scene and it is so inviting and cozy with all of the die cut images from our Fall Market Add On set. Kittie also used the Farmers Market Stand, Winter Fall Truck Add On, Nested Woodgrain Sign (roof background), Classic Grass, Pumpkins and Ivy, Half Tree and Baskets to complete the scene and we are obsessed! Her card last week featured Christmas goodies on the New Winter cart, so it was only fitting that we share all these Autumn goodies with you now- deliciously creative!
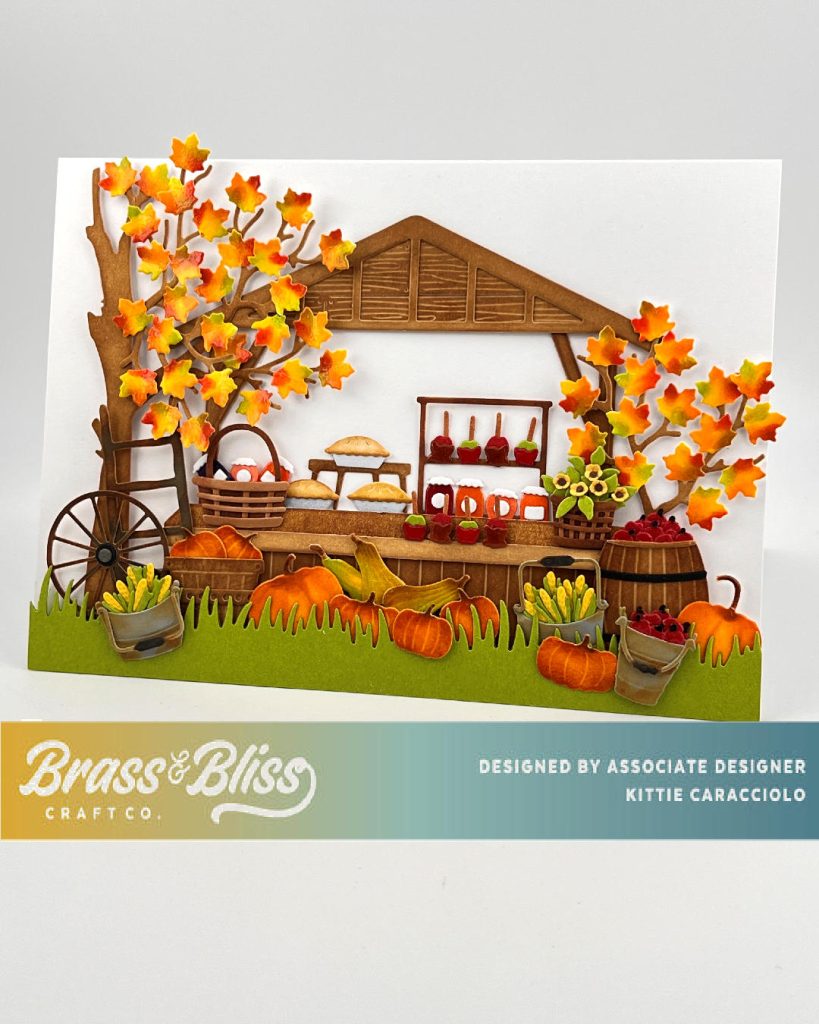
Assemble the Stand
- Cut the sections using colors of your choose.
- Attach the two roof sections together using Nuvo adhesive.
- Attach the stand counter sections together with adhesive and then attach them to the stand base using a thin strip of mounting tape.
- Apply double stick tape to the back bottom of the base and a strip of mounting tape to the top back base and attach it to the card base.
- Attach the posts to the card base using Nuvo adhesive.
- Apply a strip of mounting tape to the back of the roof and attach it to the card base.
- Attach a grass section in front of the stand and attach it with a strip of mounting tape., corn
Assemble the Accessories
The card has tons of parts and pieces but aren’t hard to assemble.
- Die cut all the accessory sections.
- Assemble the parts and pieces and to create the pies, jam jars and candied apples and attach them to the stand.
- Cut and color several pumpkins, corn and apples and attach them to the scene.
- Finish by creating colorful fall leaves for the tree sections and attach them to the card base.