
If you are looking for a fresh idea for your handmade card backgrounds, this technique is for you. Create this fun winter background with stencils and foil for your next holiday project.
Today’s project is from our talented designer, Lisa, who is always bringing us new techniques for getting the most out of our stamps and stencils. Today’s project uses two-sided adhesive, giving us a fun way to add some foil to our background without a laminator! This card uses stamps, dies, stenciling and ink blending along with this fun foiled accents, to create this awesome winter card that is sure to put a smile on the recipients face. Follow along as Lisa gives us step by step instructions to recreate this card!

How to make this card:
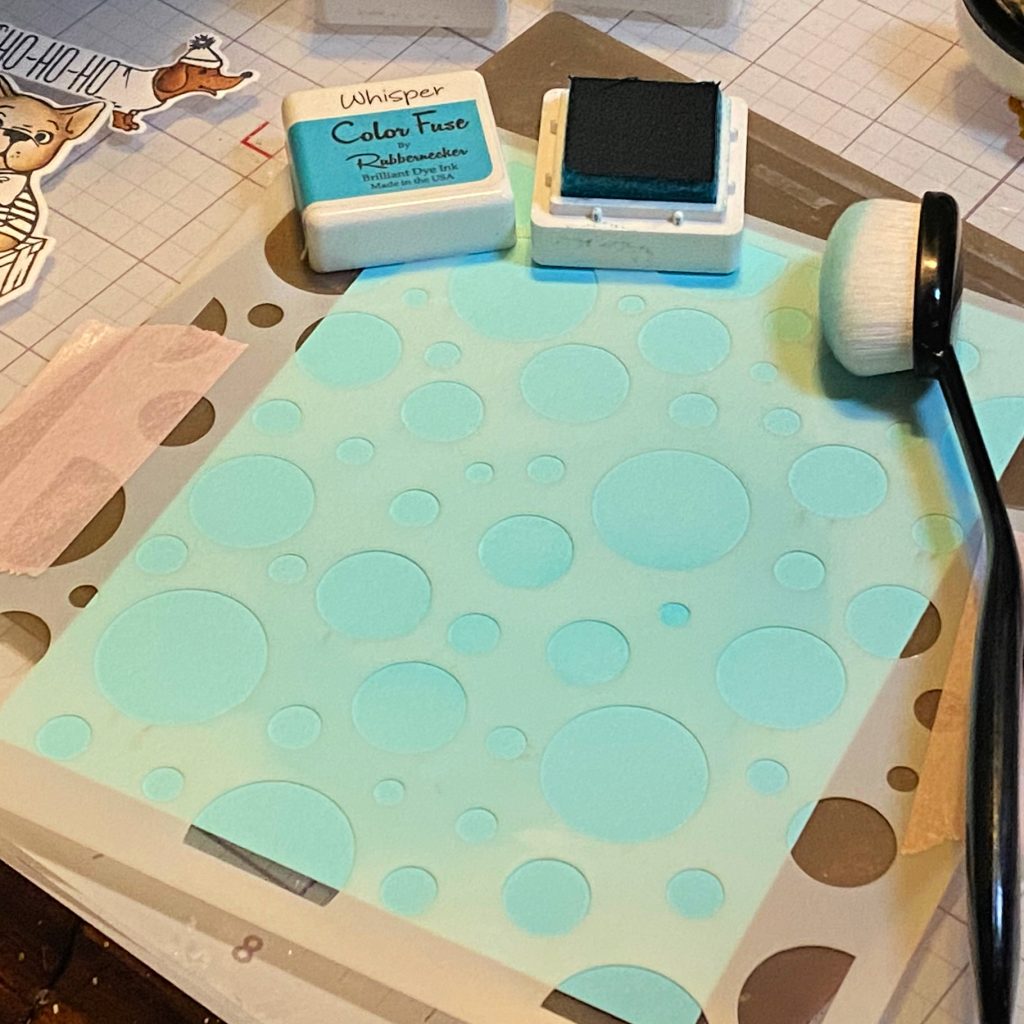
- I die cut a rectangle from blue cardstock and added a light bokeh background with the Bokeh Stencil.
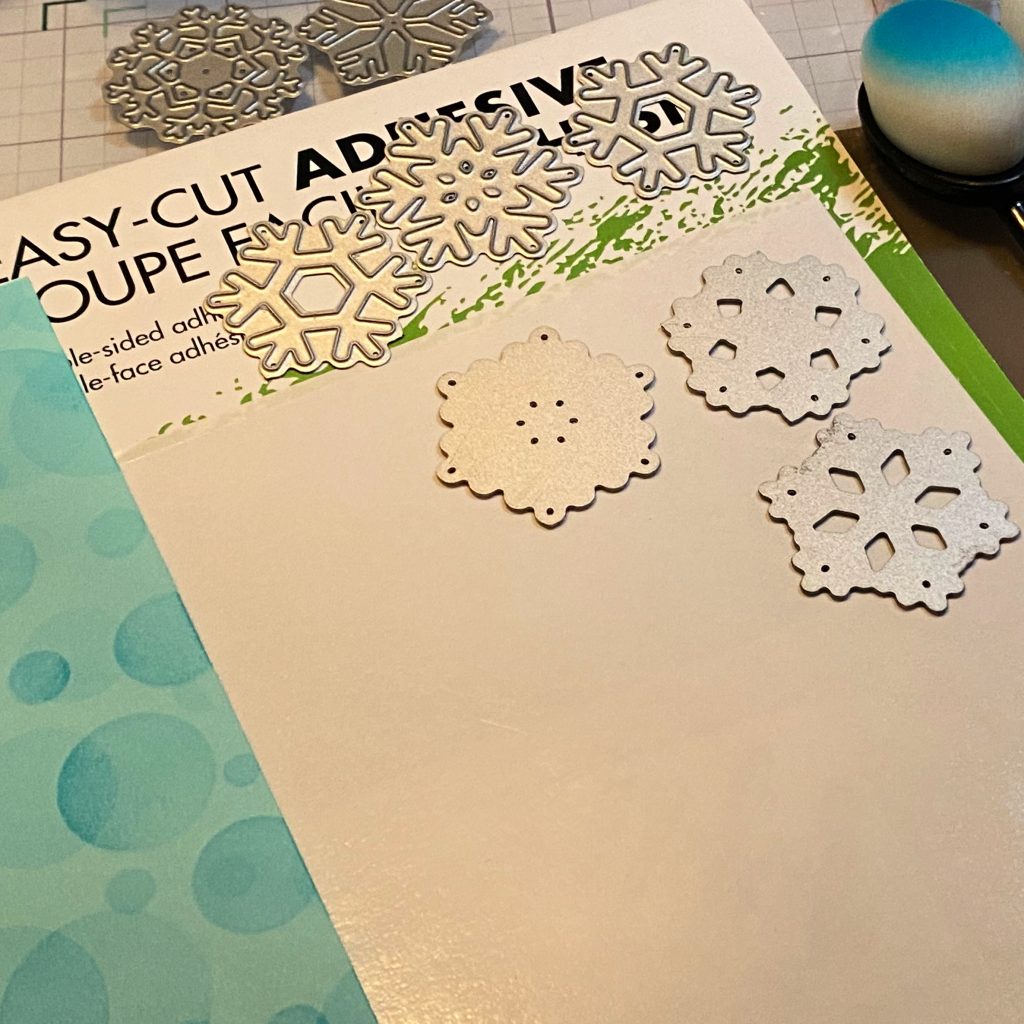
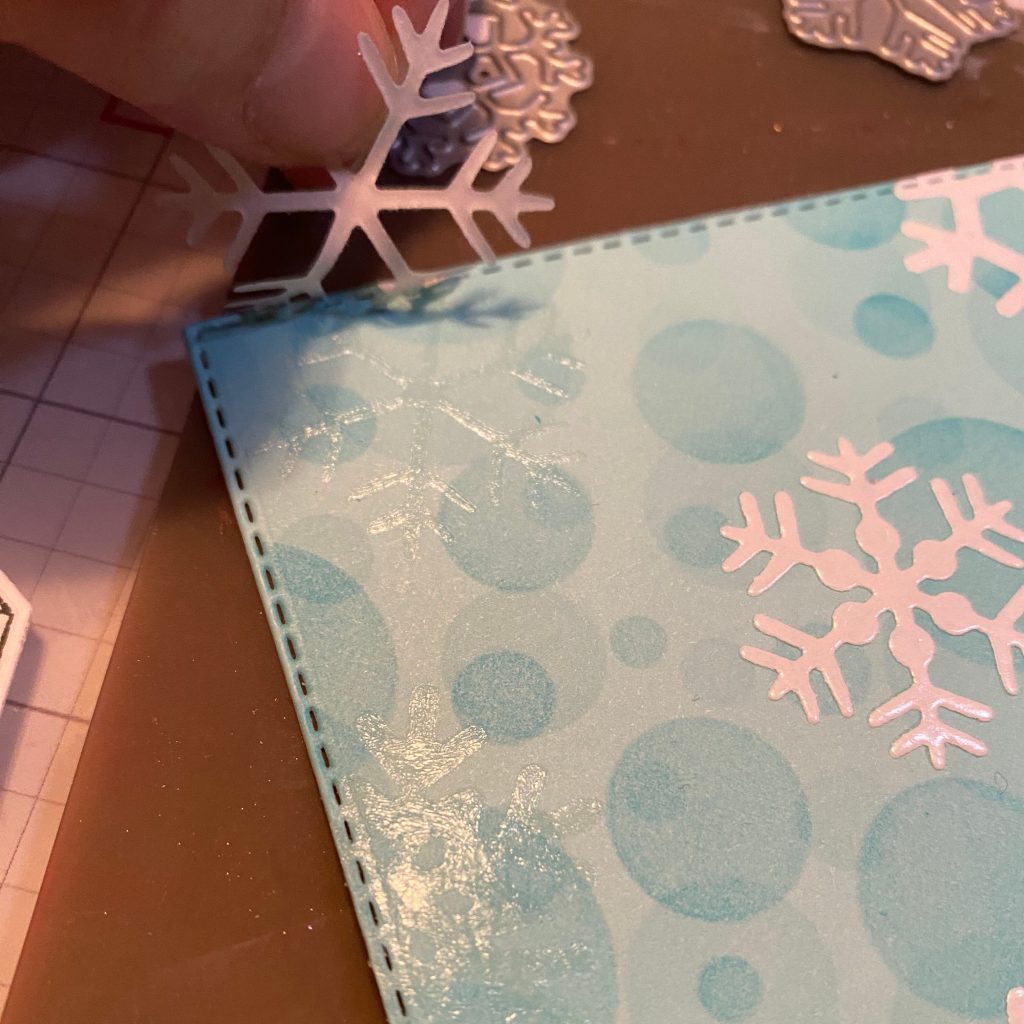
- Next die cut the Snowflakes from Easy Cut Adhesive.
- Remove one side of the protective layer of each snow flake and attach it to the stenciled panel in a random pattern.
- Once all of the snowflakes are placed, run the panel through a die cutting machine so that the pressure will adhere the adhesive to the cardstock.
- Remove the second protective layer from each die cut which will leave a snowflake shaped adhesive.
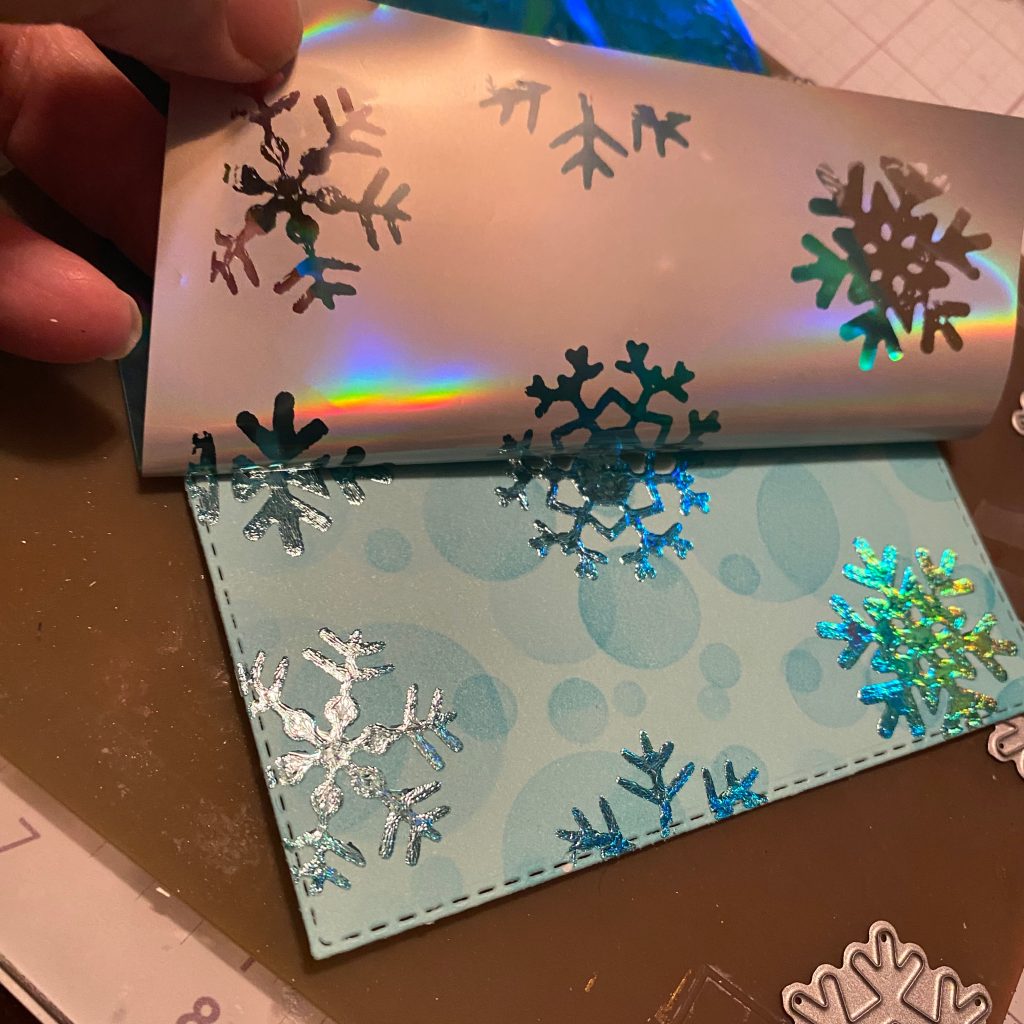
- Lay a sheet of foil over the top of the adhesive snowflakes.
- Run the panel through the die cutting machine again to get full transfer of the foil (sometimes you can just use hand pressure for this but I like to use the machine to be sure I get good coverage)
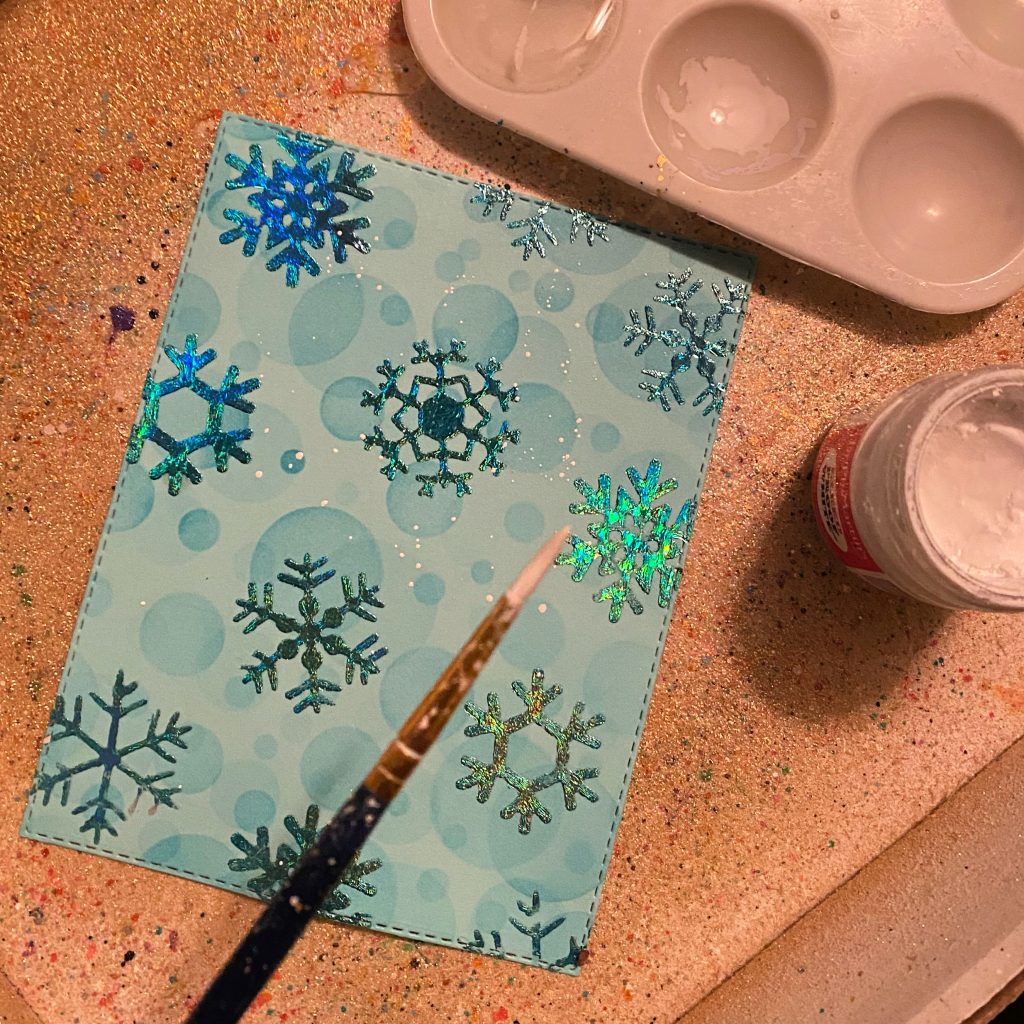
- Peel off the foil and Voila! You are left with a beautiful shiny snowflake background.
- Splatter if you wish with any paints or inks.. I used white acrylic paint and turquoise ink.
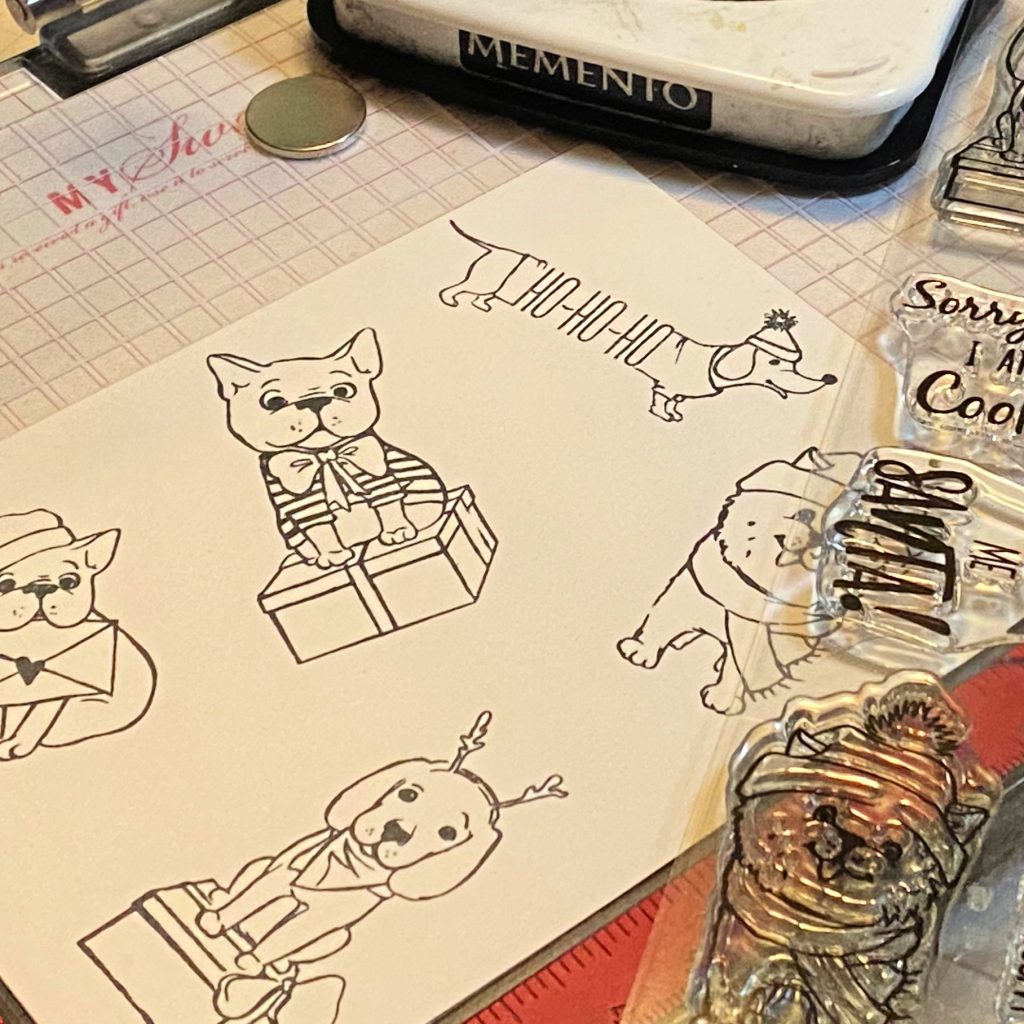
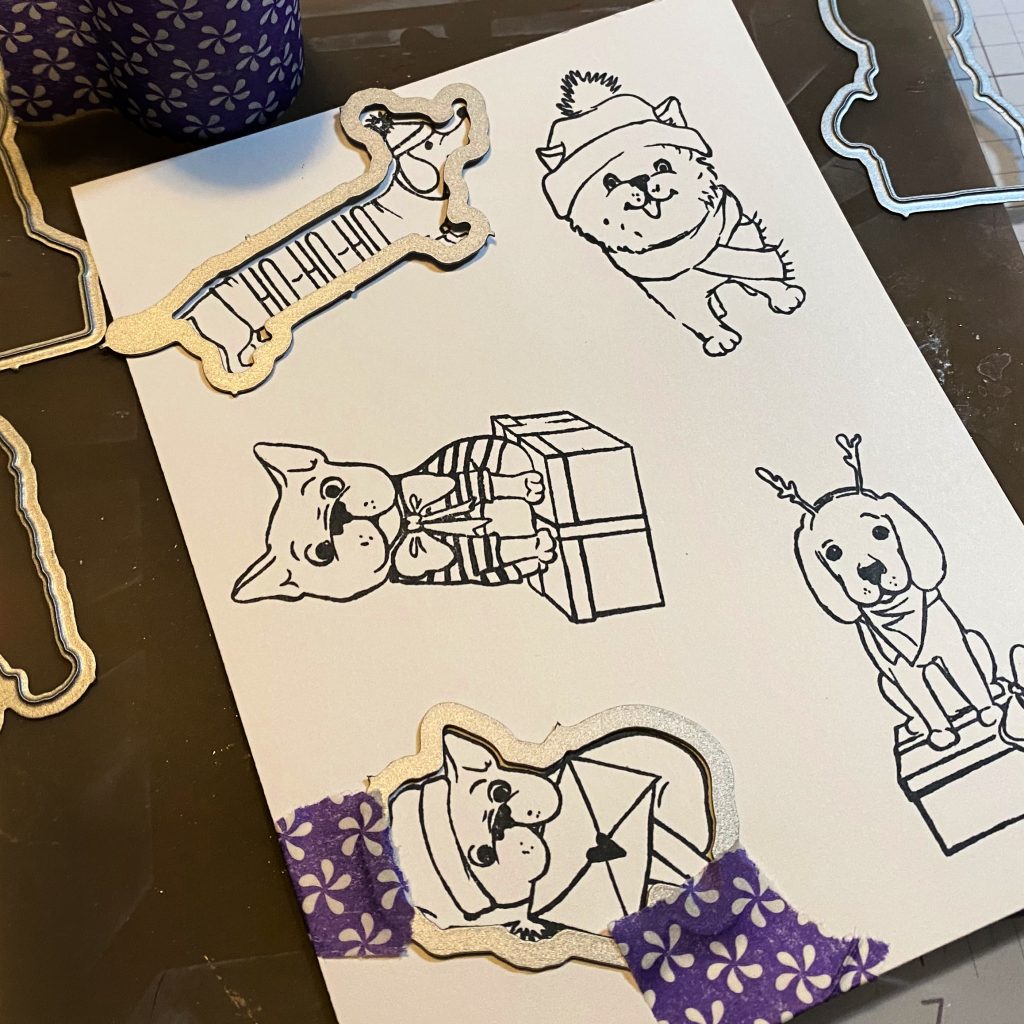
- Stamp, die cut and color the images… I used those adorable Christmas Dogs. I stamped them all because I wasn’t sure which ones I’d use and now I have a couple leftover for another card. I have a feeling you’ll see that soon.
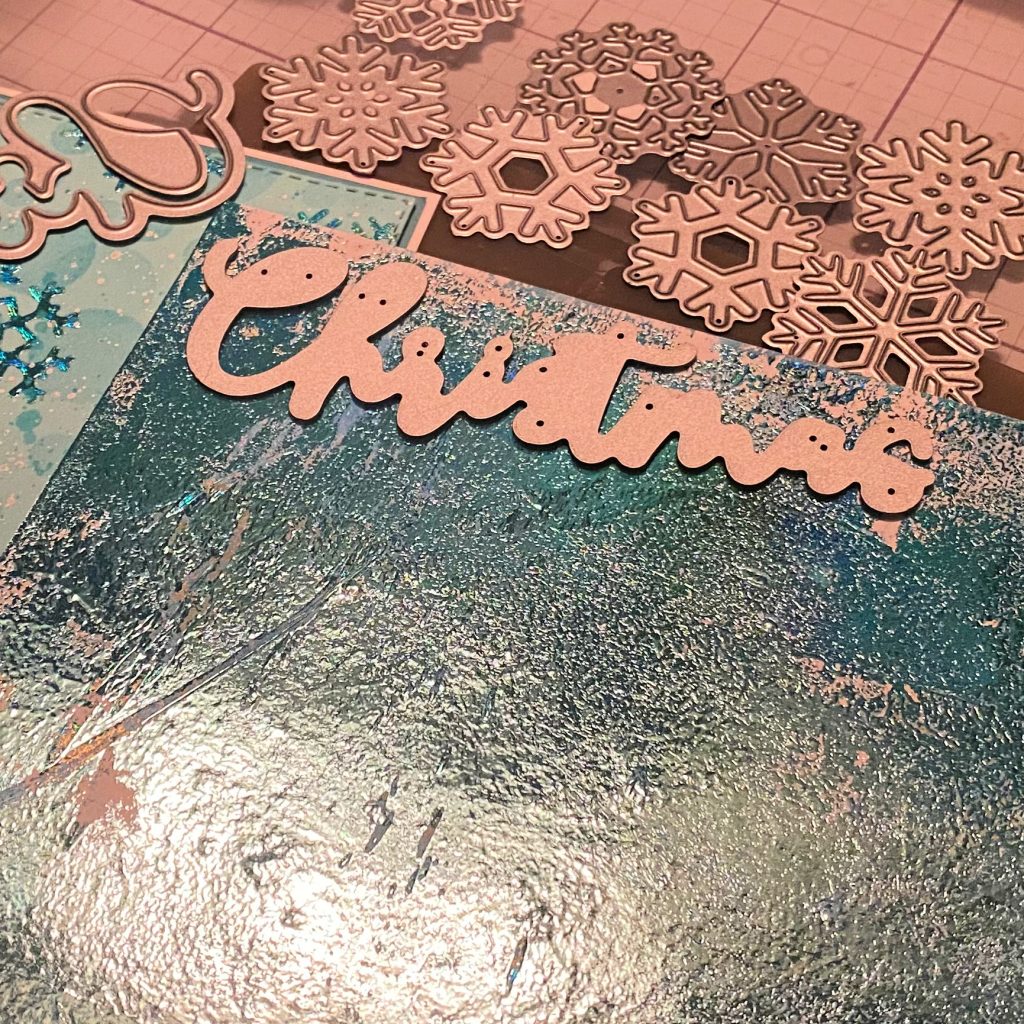
- I foiled a gel print that I recently made, but laying the same blue foil over the top and running it through my laminator … it’s a great way to add sparkle to a gel print, but you have to be willing to take a chance as there is little control. Newer gel prints with acrylic paint get a great transfer. The older they get the less foil will transfer. And the more paint you used the better!
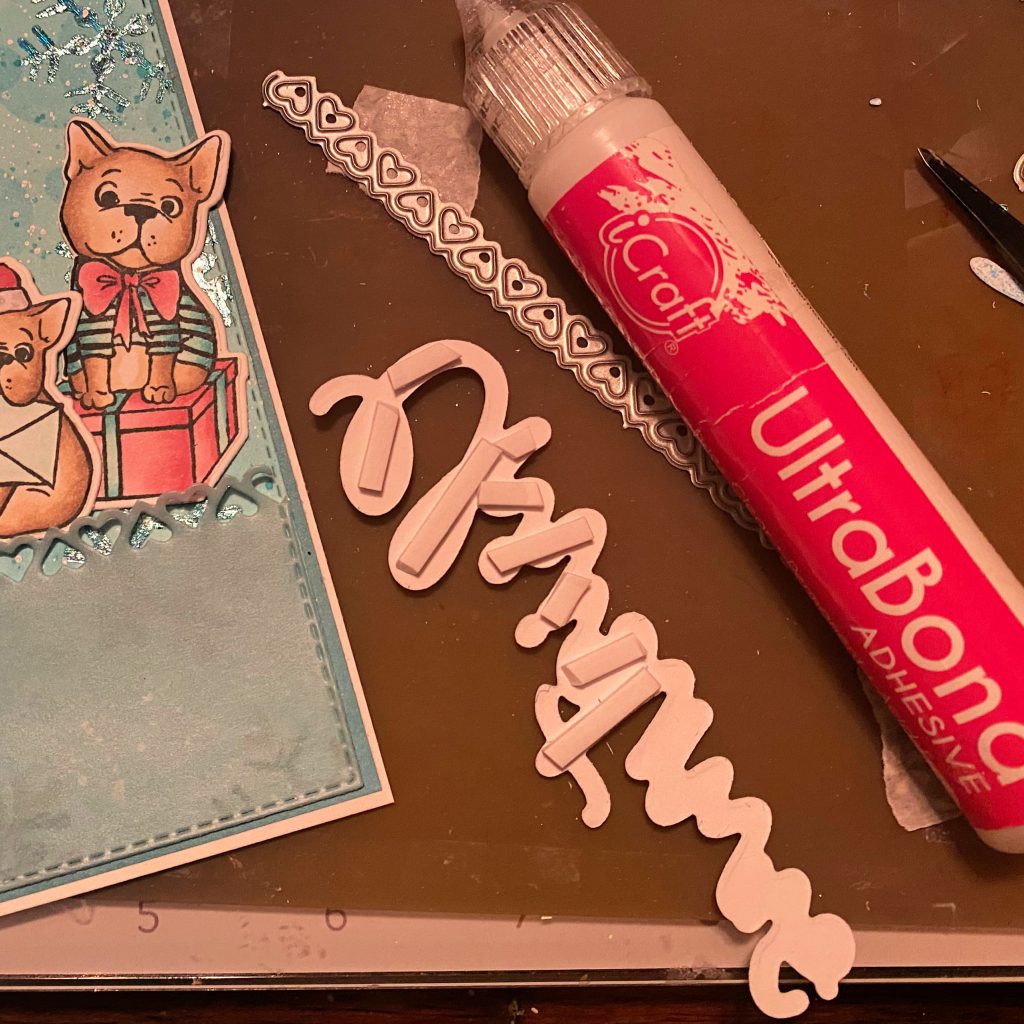
- I die cut the Christmas word die from the foiled gel print and then three more times from white cardstock. I stacked and adhered the layers together to create dimension. Then I cut the background for the word die from white cardstock and adhered the stacked word.
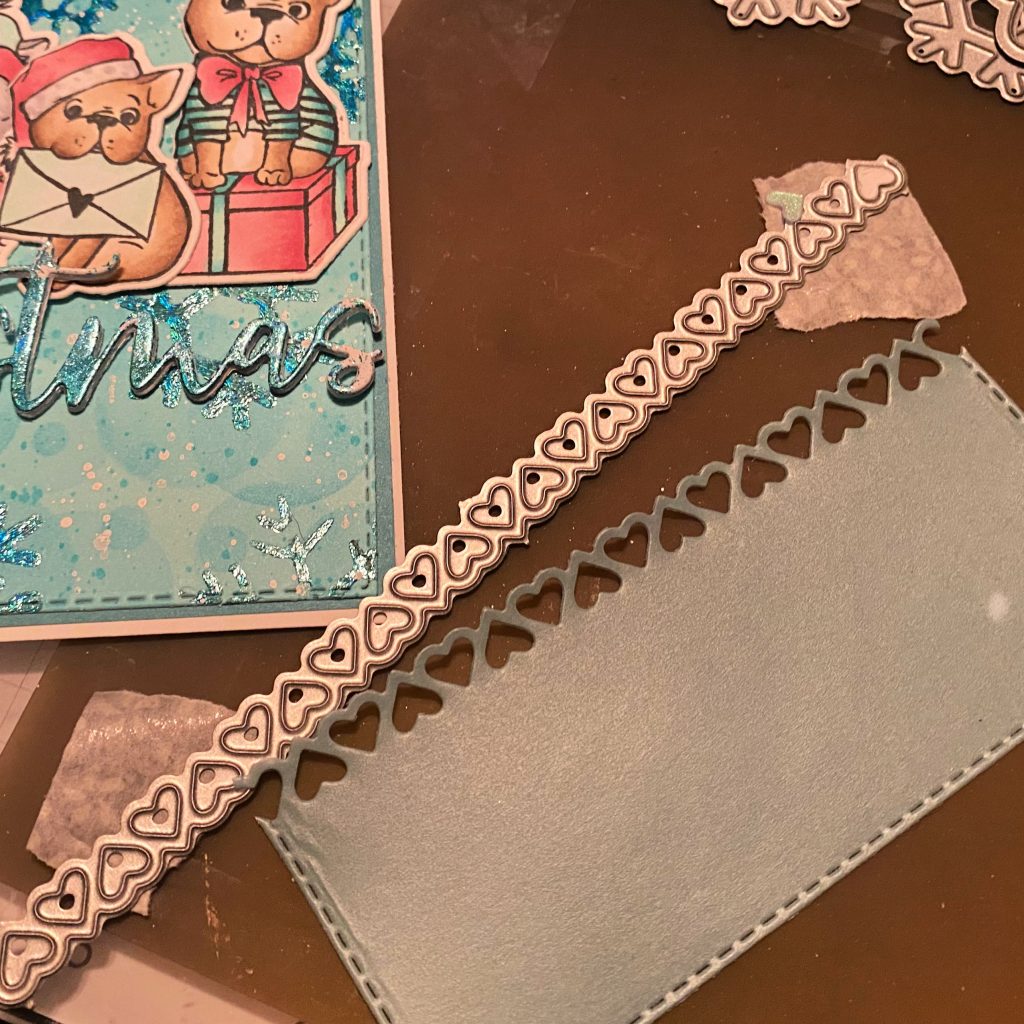
- Die cut another rectangle from vellum.
- Used one of the Heart Border dies to cut a layer from the vellum rectangle to add under the sentiment… I didn’t want to cover up the background too much, but wanted the sentiment to pop.
- Attached the vellum layer to the bottom of the panel and added the Christmas word over the top.
- Stamped the sentiment from Christmas Dogs that had the “Furry” word in it and fussy cut that out so I could pop it up above the Christmas to complete that sentiment… Furry Christmas!
- Added the dogs just above the heart border offset to the right.
- Stamped another sentiment from Christmas Dogs on a piece of white cardstock and then cut it out using a tag die from the Nested Tags.
- Popped the sentiment onto the background.
- Die cut two of the smallest hearts from the Stacked Hearts dies and added them to the sentiment tag.
- Finally I scattered sequins around.

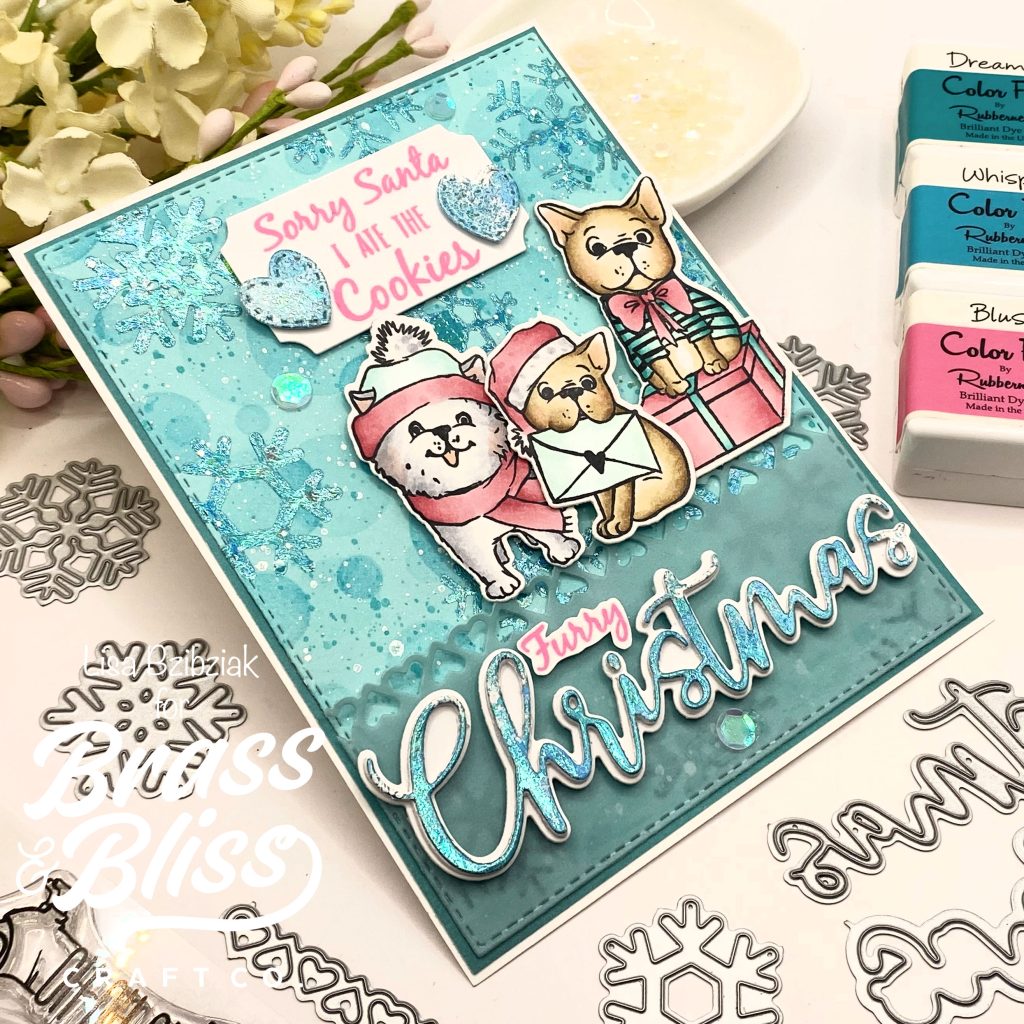
Such a fun background! We for sure are going to be trying this technique out. We love all the layers and time Lisa put into this stunning card. We are also obsessed with these sweet Christmas doggies. We hope you enjoyed this project as much as we did. If you are looking for more techniques to create interesting backgrounds for your cards, check out this card and this card.
Happy Crafting!
[linkdeli uuid=”37026840-61cc-41ad-baf7-0efcafdb9cb1″]