
Looking to add a bit of shine and dimension to your next stencil project? Let’s get our paste on! See how Embossing Paste can achieve a new look for your handmade cards.
If today’s card project looks familiar to you thats because it is! During this 8/6/2024 post, Dominique used this same design showing you how emboss with your stencils. In today’s post she is going to show you how you can use those same supplies with embossing paste. FUN! We are always down for using different mediums and stretching our crafty skills to incorporate something a bit outside our comfort zone. Follow along as Dominique walks us through creating this colorful and fun card. Let’s get started!
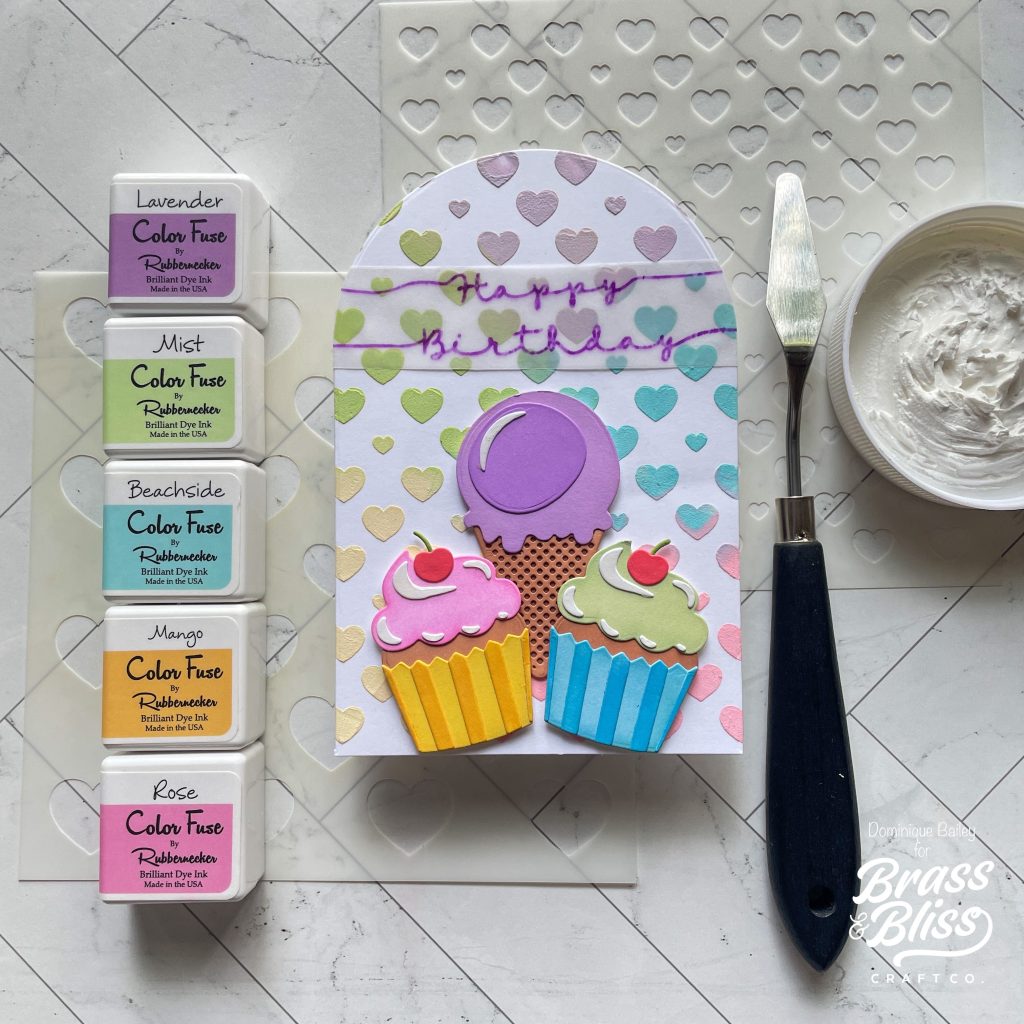
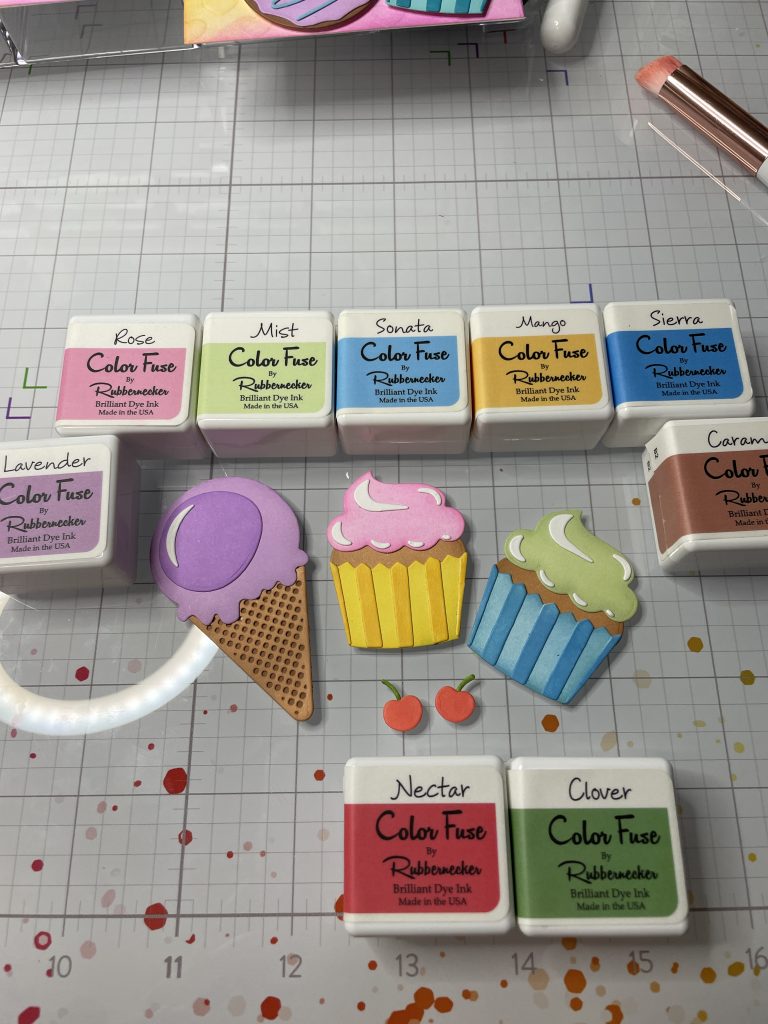
- First, you’ll want to grab some white embossing paste and a few ink colors of your choice. I will be using the following colors:
- Lavender Color Fuse Set #6
- Mist Color Fuse Set #11
- Beachside Color Fuse Set #9
- Mango Color Fuse Set #2
- Rose from Color Fuse Set #5
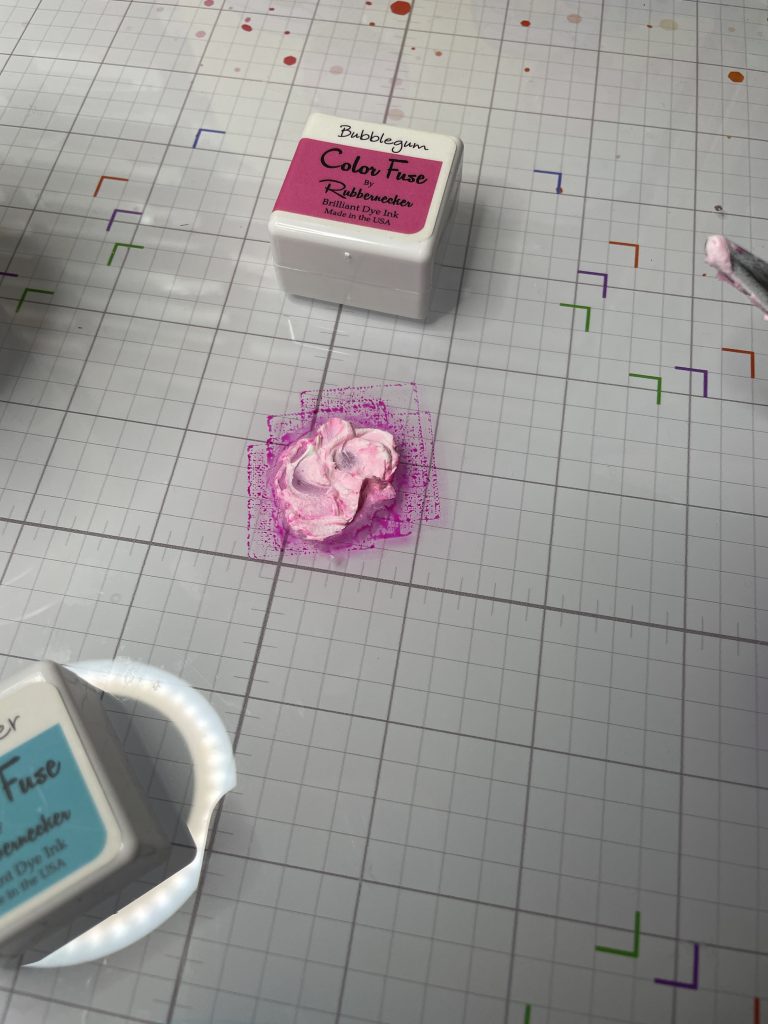
- If you are using ink pads, smoosh down some ink onto a non-stick surface (I used my glass mat). If you are using reinkers, you can squeeze 1 to 2 drops of ink down on the surface. Next, with a pallet knife, carefully add some embossing paste onto your ink and mix well, you only need a little bit of embossing paste. Add more ink if you want more intense color. Also, be sure to clean your pallet knife before you move on to the next color.
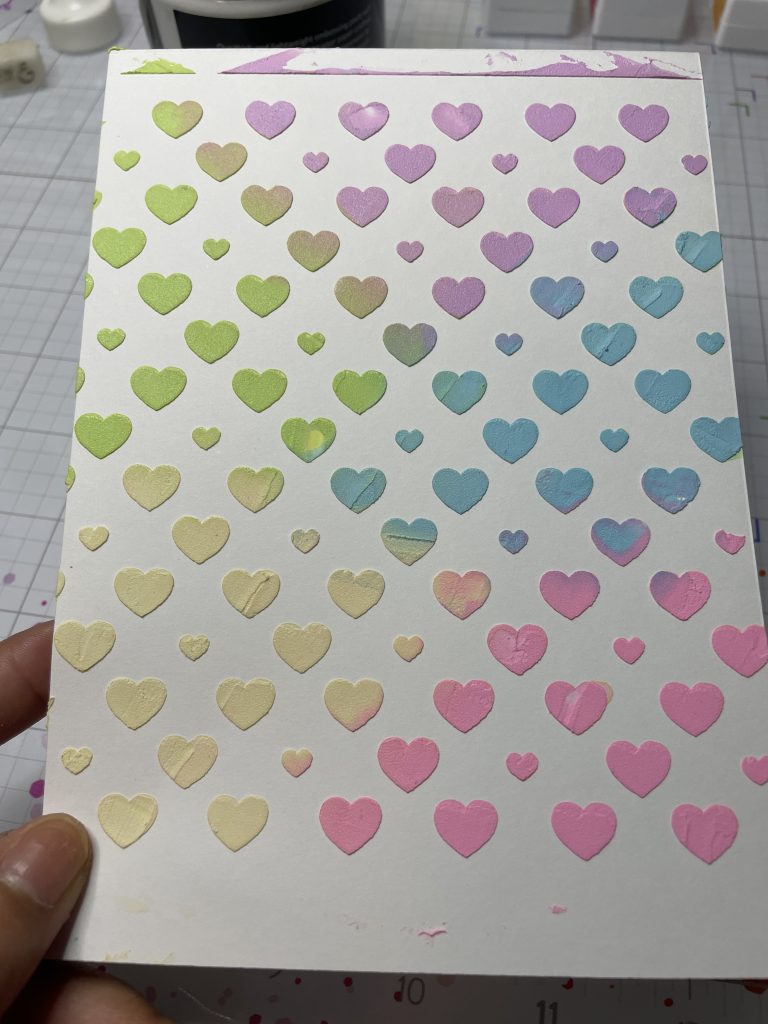
- For this next step you will want to use the stencil with the smaller hearts from 4301 Bokeh Hearts Stencil. Place the stencil over a piece of 5 x 6 white card stock and secure it down to your surface to minimize any possible shifting. Then start to smear your colored embossing paste in your desired pattern over the stencil.
- Once your card front is completely covered, remove the stencil and set the paper off to the side to dry. It will need about 20 minutes to completely dry. Then immediately clean your stencil and pallet knife it with warm soapy water. Then clean off your surface. You will want to complete these cleaning steps before the embossing pastes dries so that it doesn’t harden on your tools.
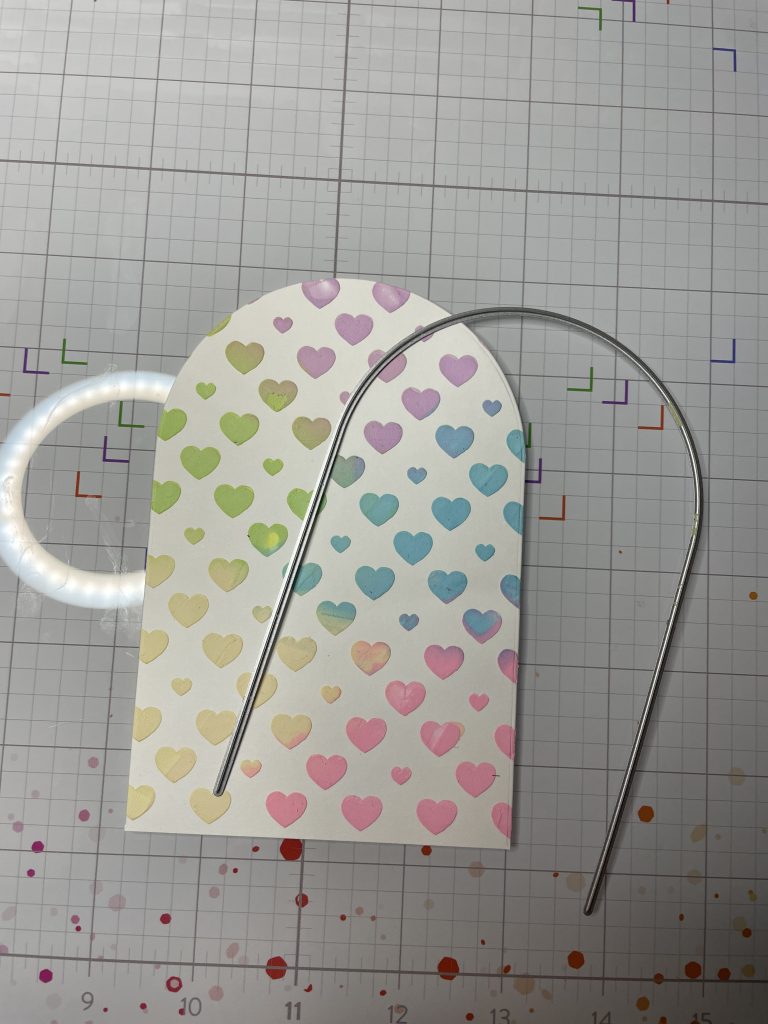
- Once your stenciled card stock is dry, take the largest arch from 5715 Stacked Arches Die, and die cut. You will also want to die cut another arch panel from a plain sheet of white card stock as well for the card back.
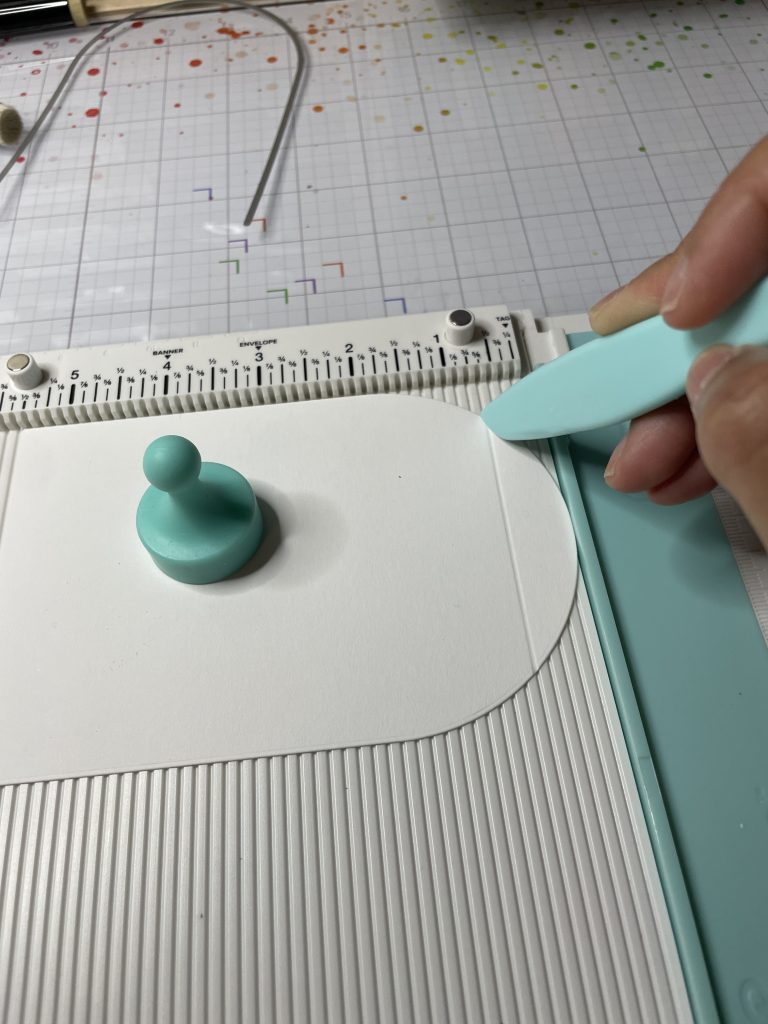
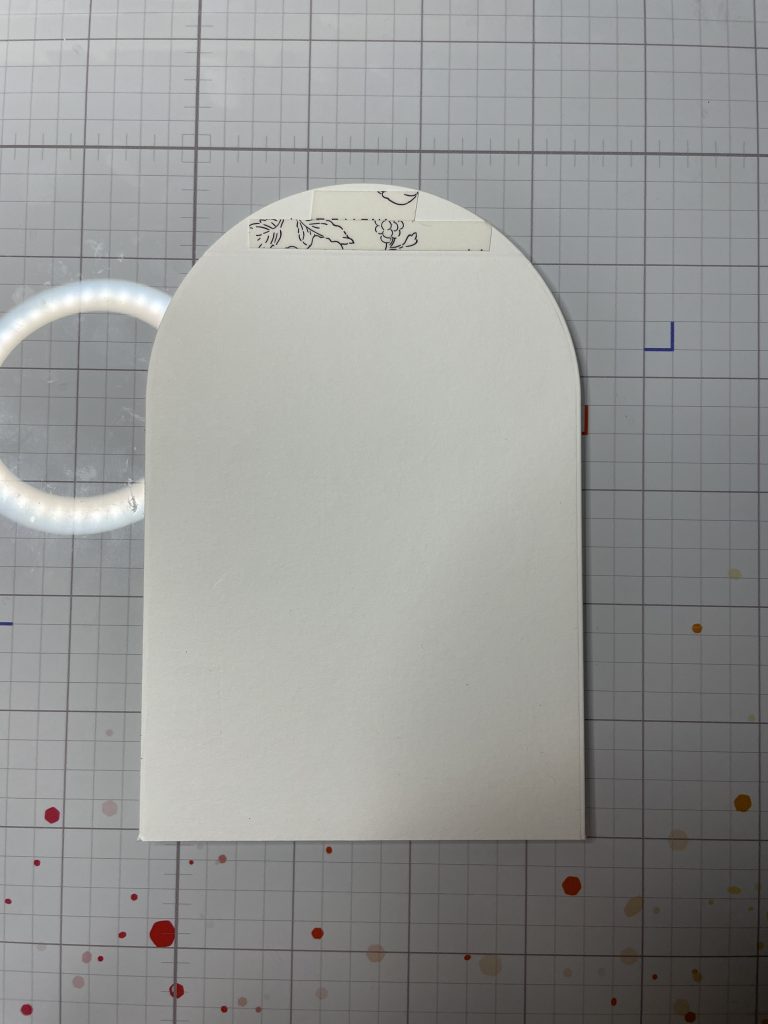
- Score the top portion of the non-embossed arched panel at the 3/4th mark. Then add double sided tape to the portion of the paper that is above the score line. Next, remove the adhesive and adhere it to the back of your stenciled card panel.
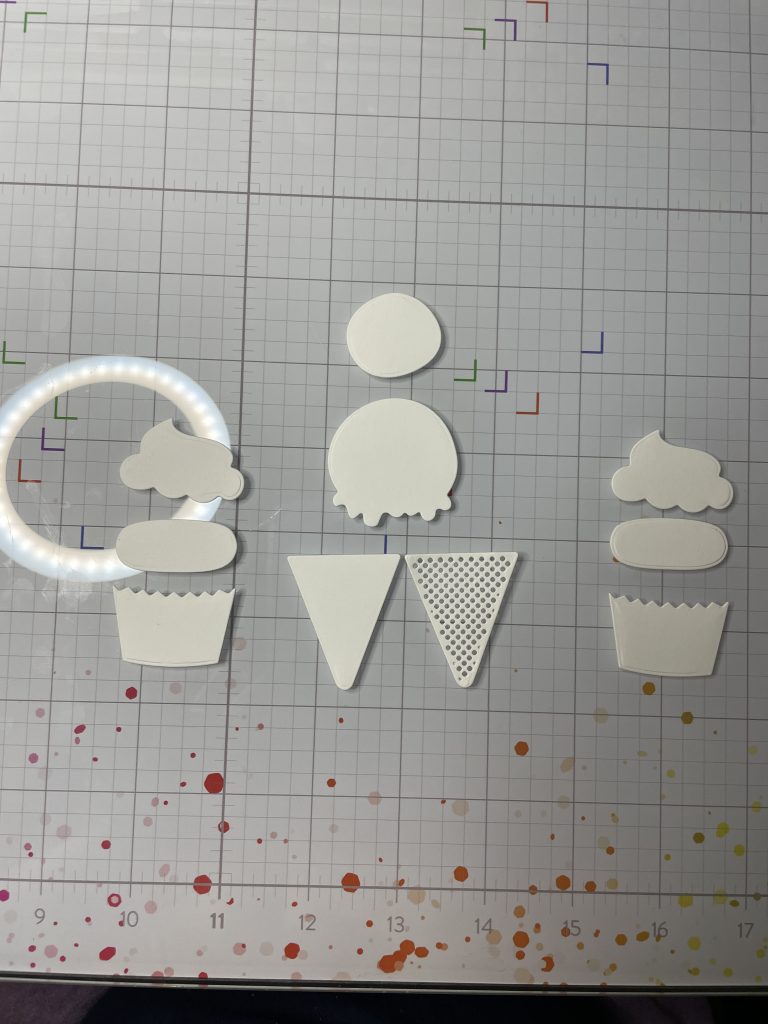
- Now I’m going to work on my die cuts. I will be using 5604-123D Sweet Treat Dies (5604-03D Ice Cream Cone Die, 5604-02D Cupcake Die, 5604-01D Doughnut Die). I die cut all the pieces from white card stock then colored them using various Color Fuse inks and a detailed blending brushes.
- Once I was complete with the coloring, I glued the pieces together, then I added some foam tape to the back. Then I adhered them to my card.
- For my sentiment I’ll be using the Happy and Birthday from 3472 Composable Freehand Borders stamp set. I stamped them onto my card using my Misti with Magenta ink (Color Fuse Set #6)
- Lastly, I added some glossy accents to all of the white shadow details. I allowed about 30-min for that to dry.



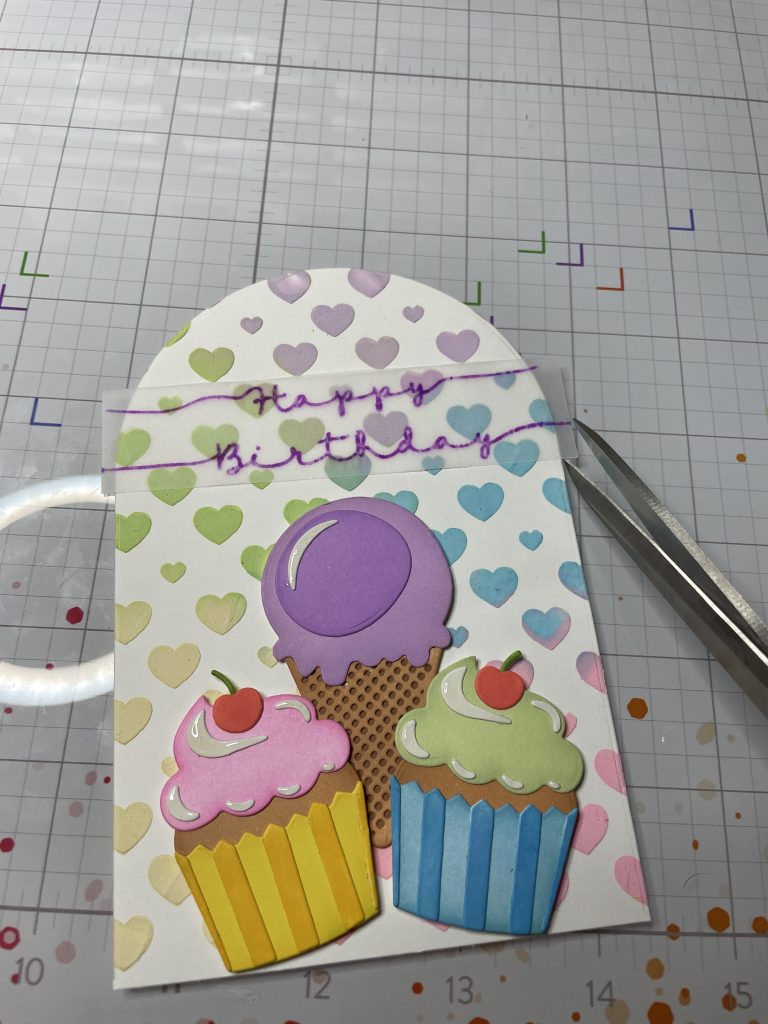
Incredible! We love the look that was achieved by using embossing paste with the stencils. These colorful hearts are giving us all the birthday vibes and pair so well with these sweet treats! AMAZING! We are obsessed with all the fun ways we are learning to use stencils this month. Be sure to check out all the stenciling projects we have been working on and take your stenciling game up to the next level, here.