
Looking for an innovative way to use stencils? Today’s card features a festive birthday card that was created using a stencil and ink blending.
We are always looking for new ways to create art; to use our tools in new ways and to stretch our imaginations and think outside of the box. Today’s project is colorful and fun. Our designer, Dominique is showing us how to emboss using our stencils, for a cool background effect that really pops! Follow along.
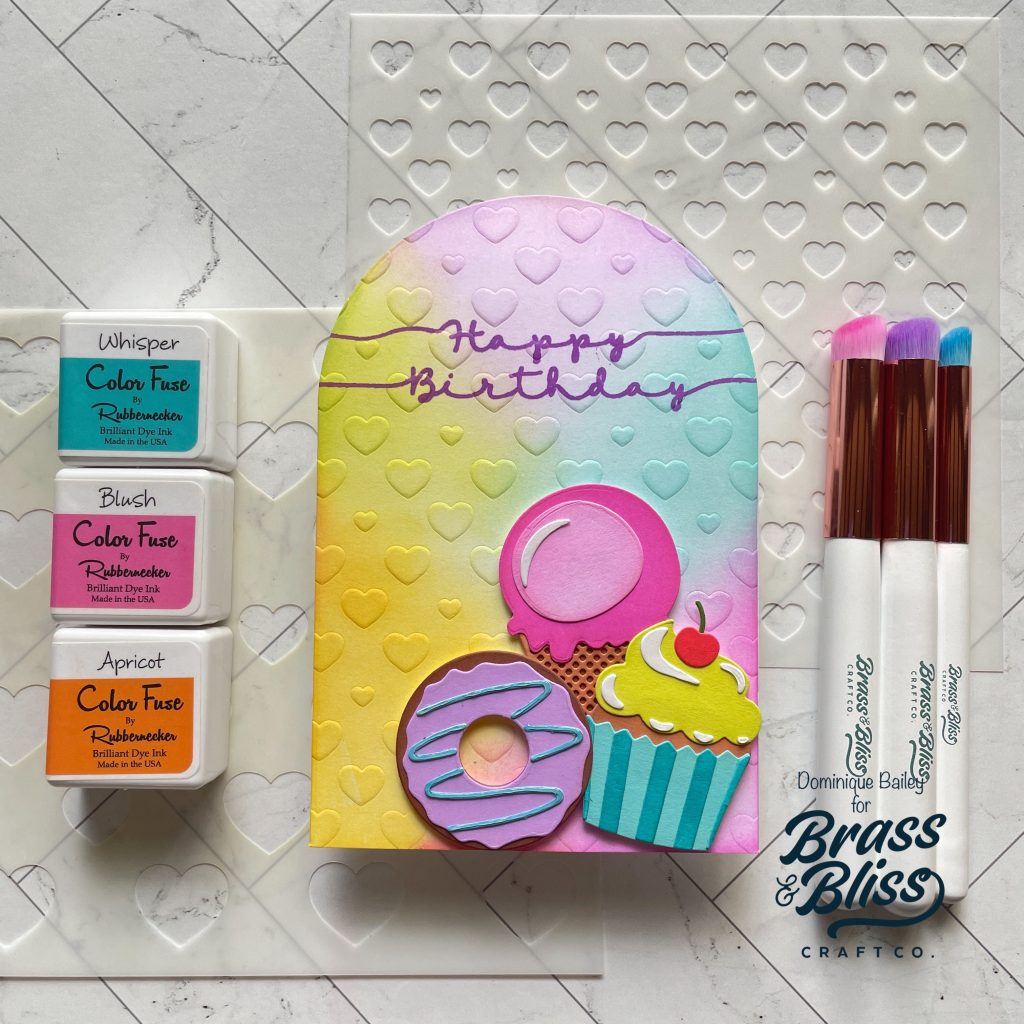
Did you know that you can use your stencils to create embossed detailing?! In today’s post I am going to share how you can stretch the supplies that you already have on hand. Let’s get started!
- To start, using the largest arch from 5715 Stacked Arches Die, die cut the shape from a piece of white card stock. You will want to do this step twice as you will need an arch panel for the card front and another for the card back.
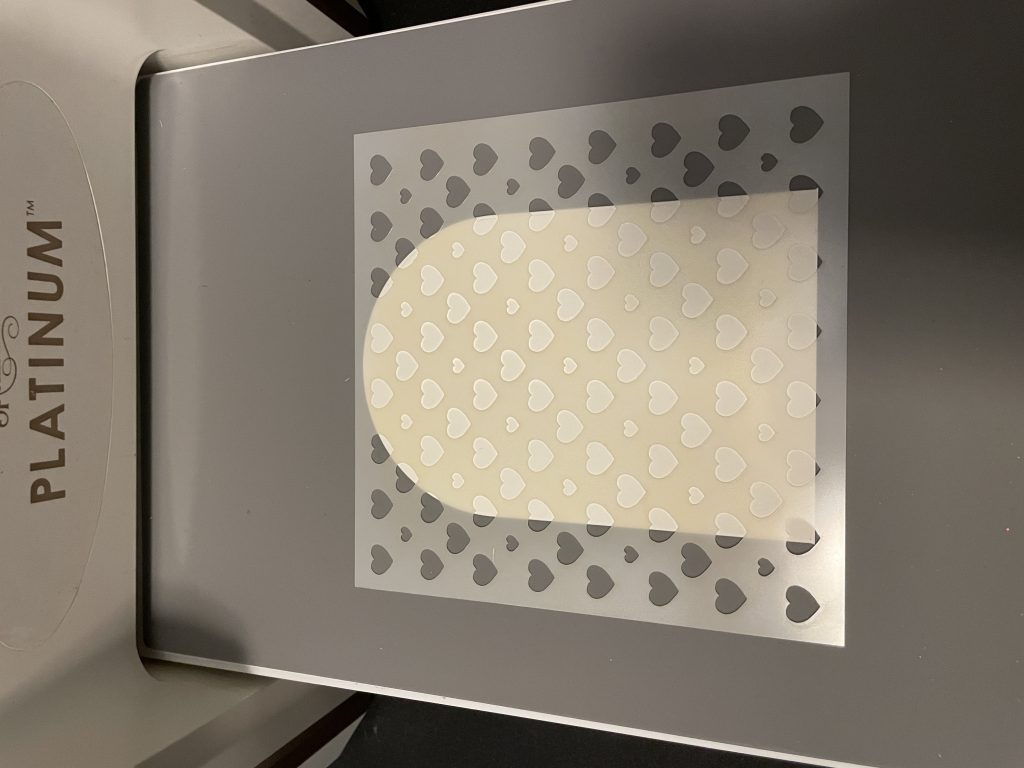
- For this next step you will want to use the stencil with the smaller hearts from 4301 Bokeh Hearts Stencil. From the bottom up, I used the following “sandwich” to emboss using my Spellbinders Platinum machine; A (platform base), B (platform top), E (embossing mat), paper arch panel, heart stencil, D (adapter plate). Slowly run roll the plates through the machine both forward and back words. One you remove the plates you will have an embossed image! Now, this embossing will not be as deep as an impression that you will get from an embossing folder, but there will be enough of an impression where you will both see and feel the texture. If you are using a different machine, refer to the manufacturers instructions for the best “sandwich” for embossing using dies.
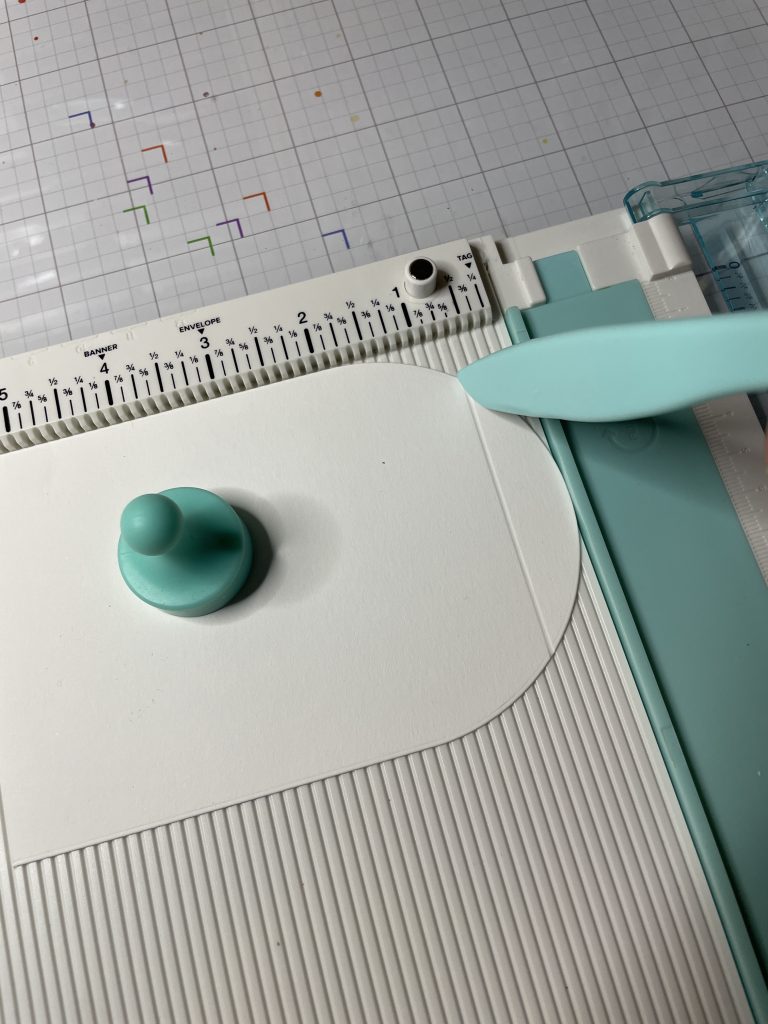
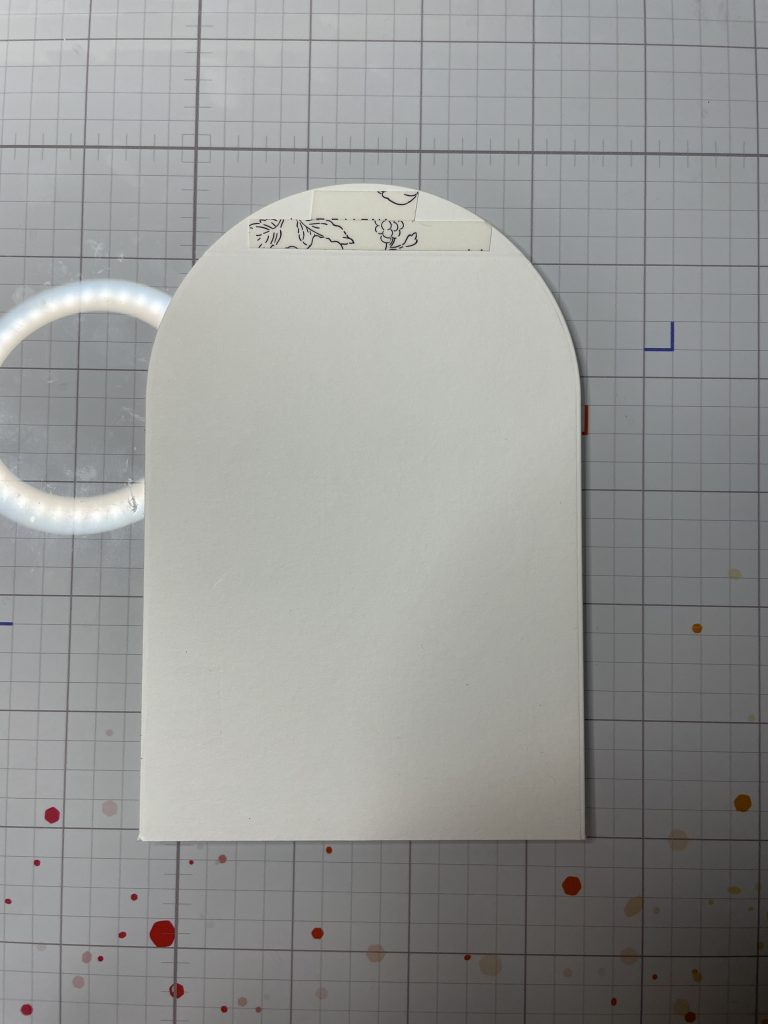
- Next I’m going to work on the back panel for the card. Score the top portion of the non-embossed arched panel at the 3/4th mark. Then add double sided tape to the portion of the paper that is above the score line. Next, remove the adhesive and adhere it to the back of your embossed card panel.
- Moving on decorating the card front. I added a rainbow of color by doing some ink blending. I used the color colors:
- Blush from Color Fuse Set #5
- Mango Color Fuse Set #2
- Beachside Color Fuse Set #9
- Melon Color Fuse Set #11
- Lavender Color Fuse Set #6
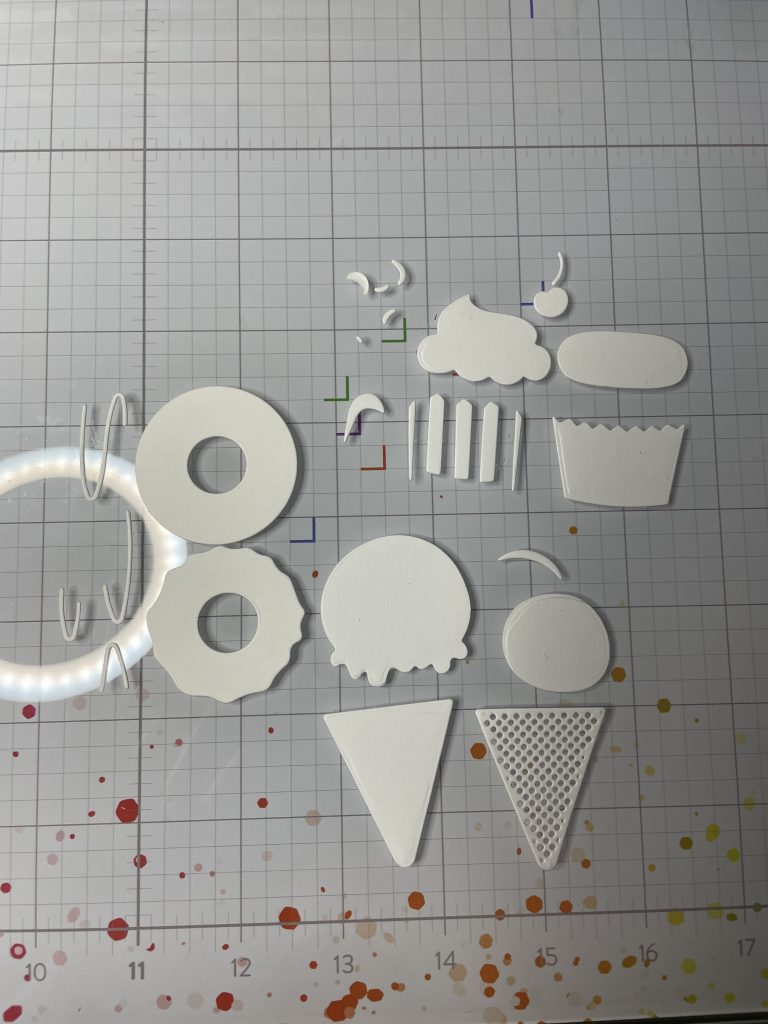
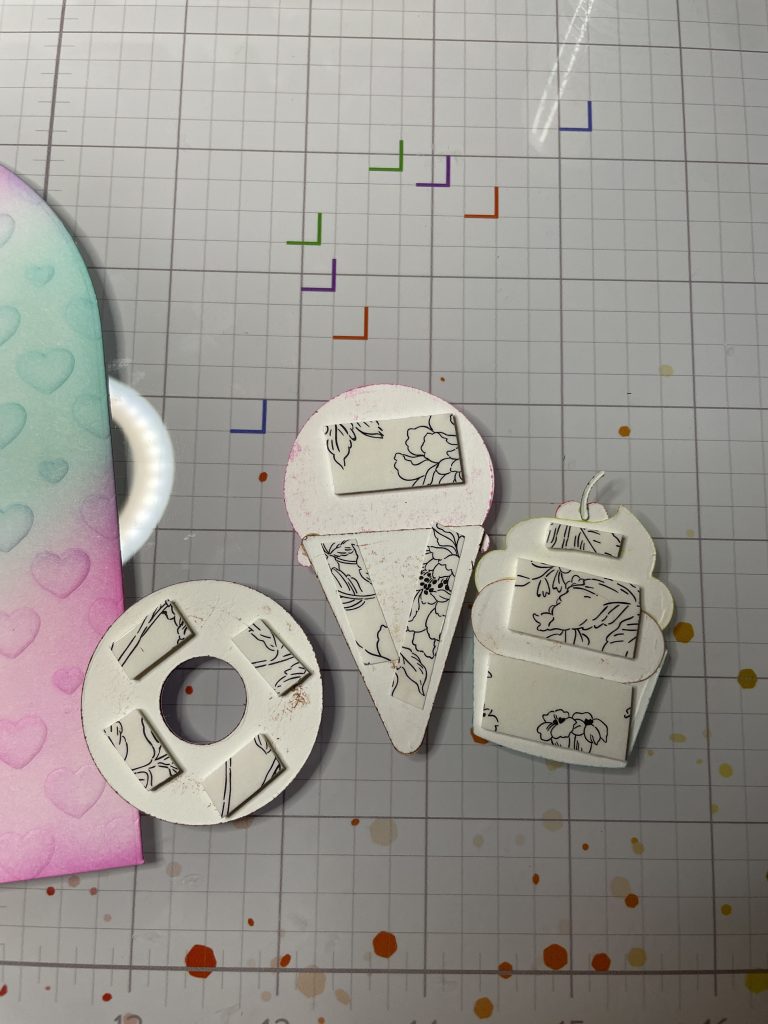
- Next I worked my cuts. I will be using 5604-123D Sweet Treat Dies (5604-03D Ice Cream Cone Die, 5604-02D Cupcake Die, 5604-01D Doughnut Die). I die cut all the pieces from white card stock then colored them using various Color Fuse inks and a detailed blending brushes.
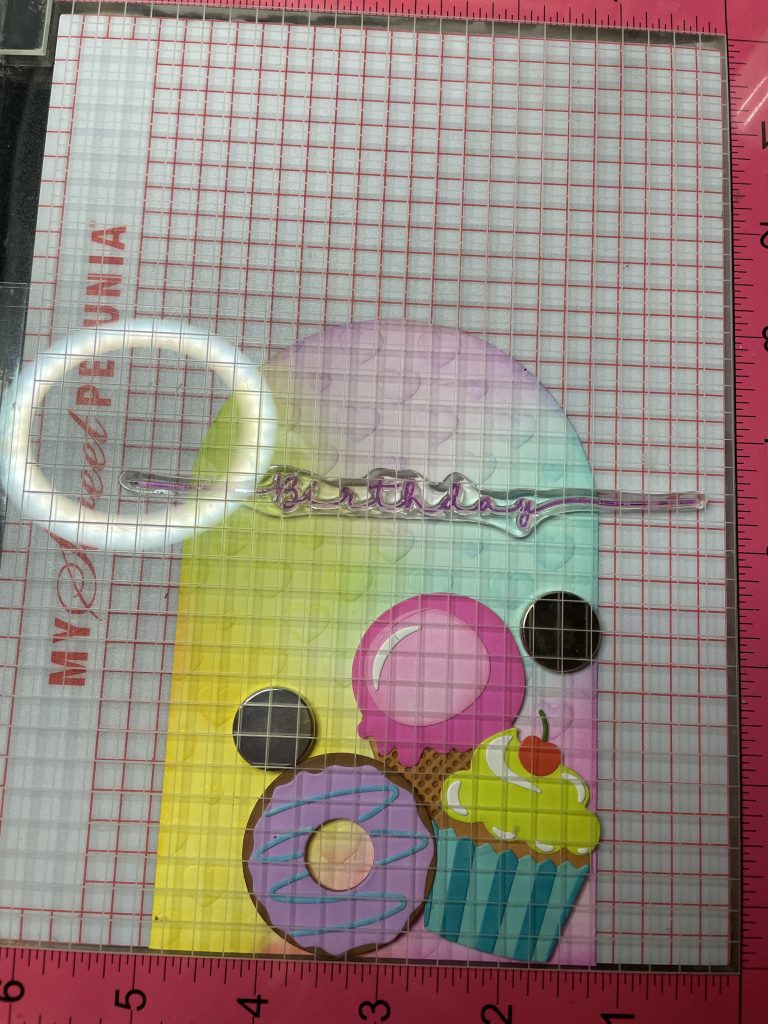
- Once I was complete with the coloring, I glued the pieces together, then I added some foam tape to the back. Then I adhered them to my card.
- For my sentiment I’ll be using the Happy and Birthday from 3472 Composable Freehand Borders stamp set. I stamped them onto my card using my Misti with Magenta ink (Color Fuse Set #6)
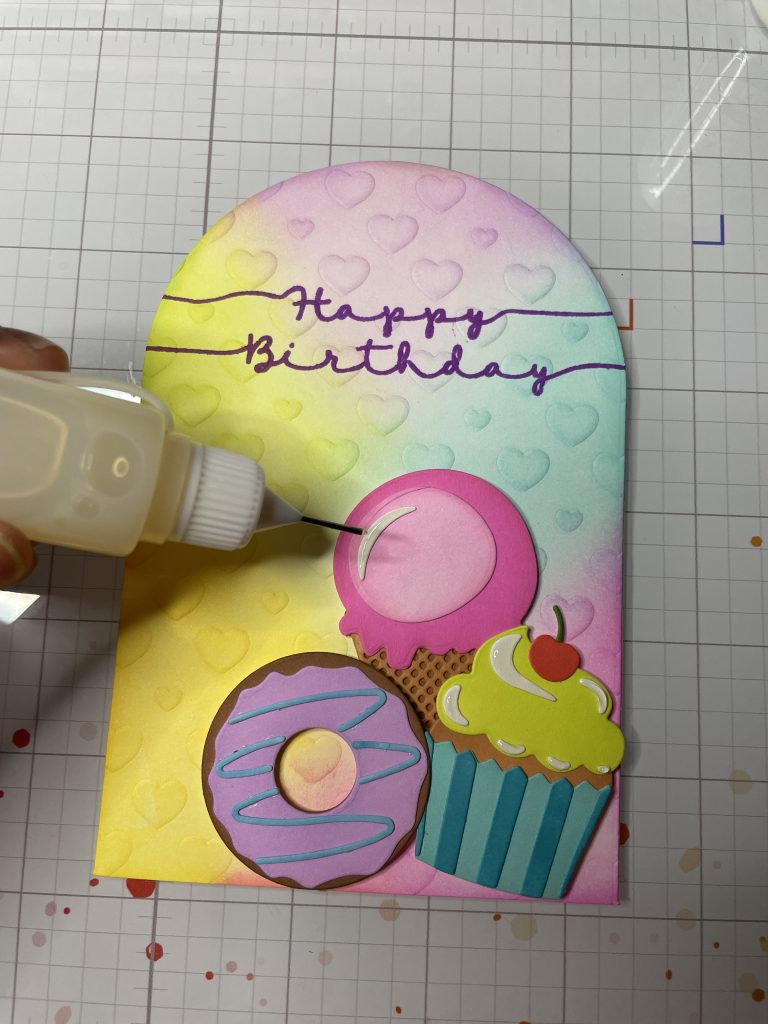
- Lastly, I added some glossy accents to all of the white shadow details. I allowed about 30-min for that to dry.
I hope that you enjoyed today’s card! Stayed tuned for my next post later this month where I will create a similar but using a different stencil technique.






Wow! We are so in love with this card and how fun it was to emboss using stencils! We are going to try this with some other stencils to see what kind of fun designs we can create. Great job Dominique, this card rocks! We hope you love this project and check out our entire month of stenciling projects here. Also be sure to follow us on Instagram for more inspiration and behind the scenes! Happy Crafting!