
Sometimes our crafting mess-ups are just part of the journey. Check out today’s stunning card and be encourage by our mistakes!
Today we are going to create a card that consists of stamping, coloring, and a tad bit of die cutting. This simple yet impactful card is sure to be loved by the recipient. Our talented designer, Dominique said, ” I had a tiny blooper while making the card. Can you identify it?” This just goes to show that mistakes are fixable; don’t be so quick to scrap a project, because nobody else may notice! Even the most talented carmakers have ‘uh-oh’ moments, so don’t loose heart, just keep pursuing your craft and be kind to yourself.
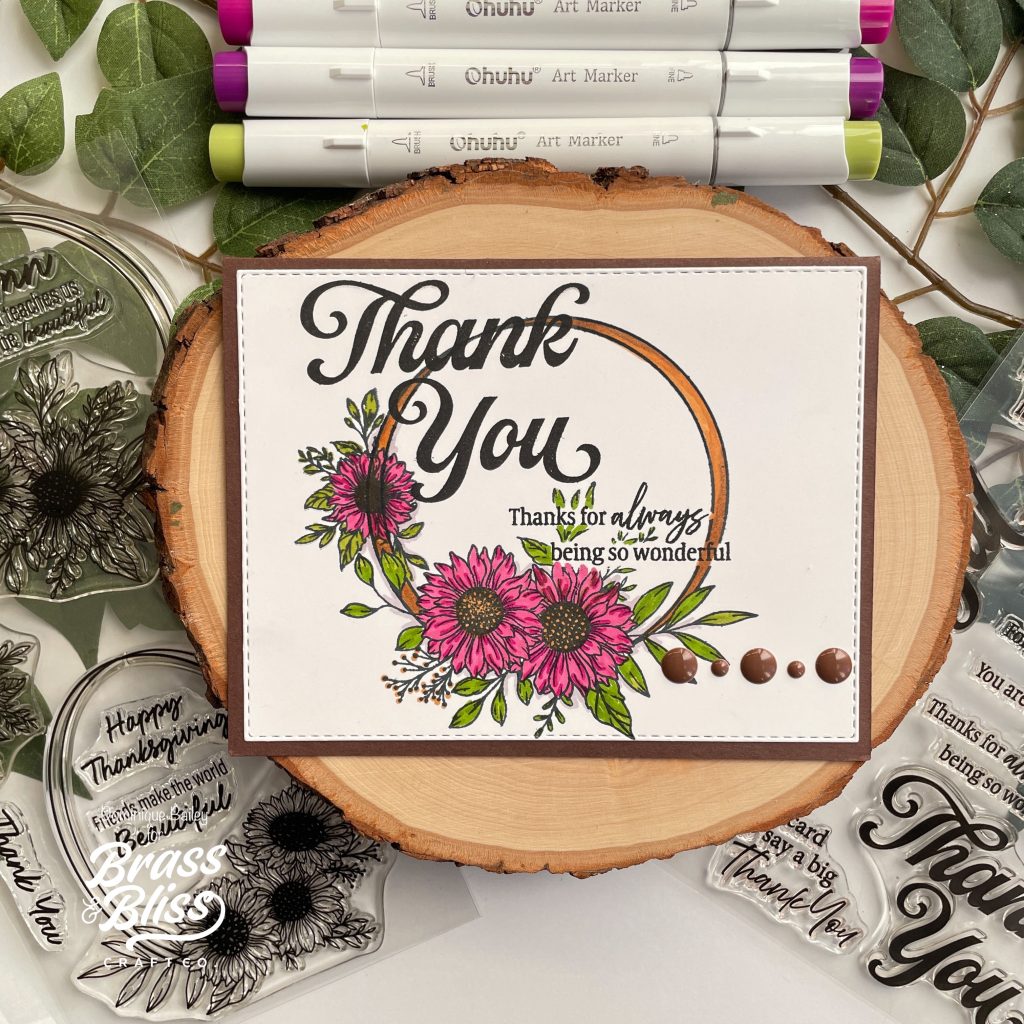
How to make this card:
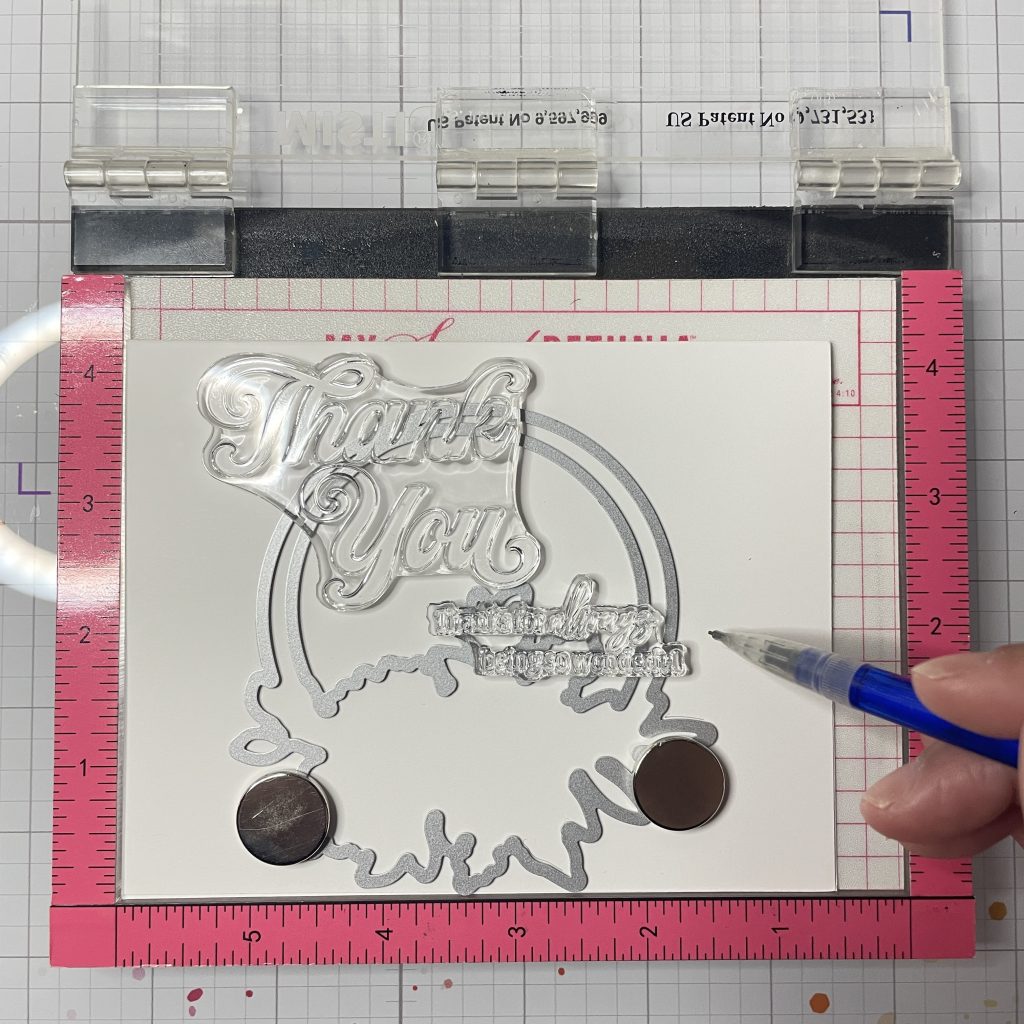
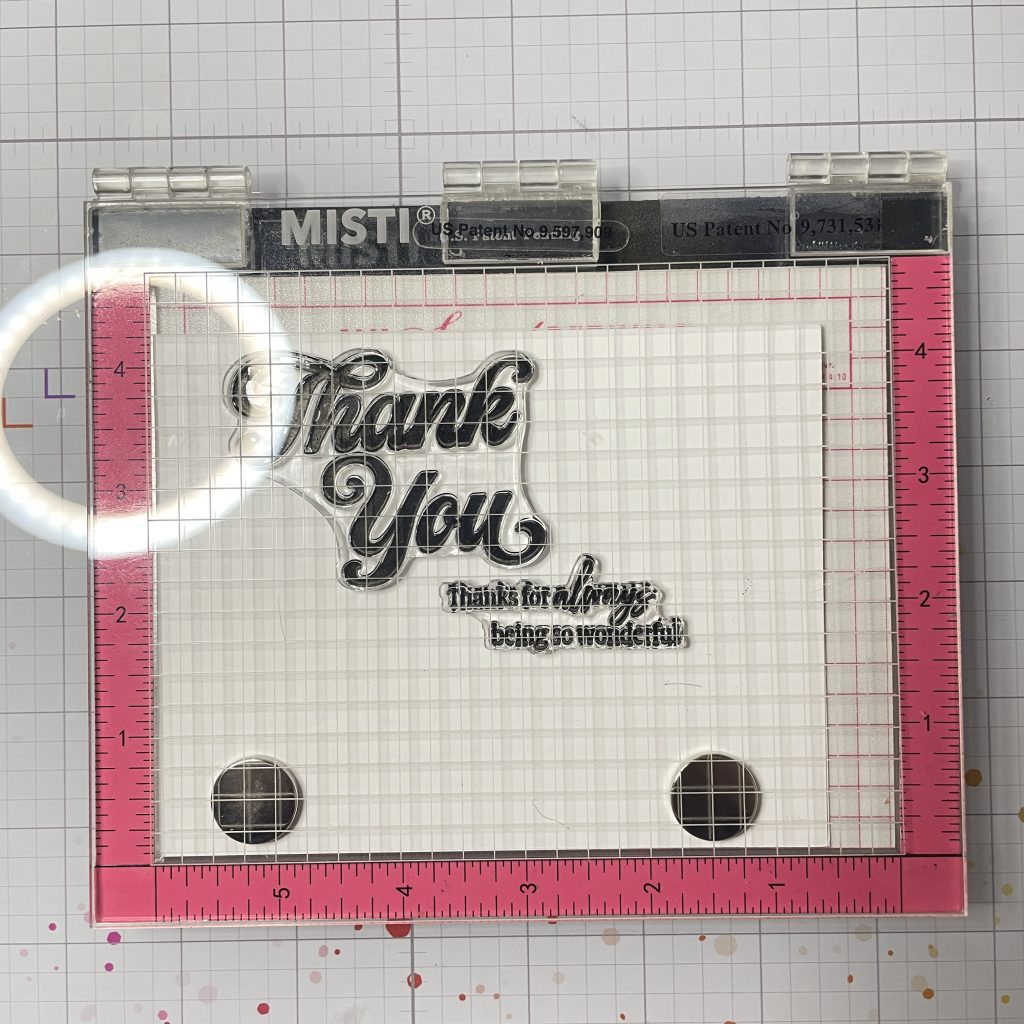
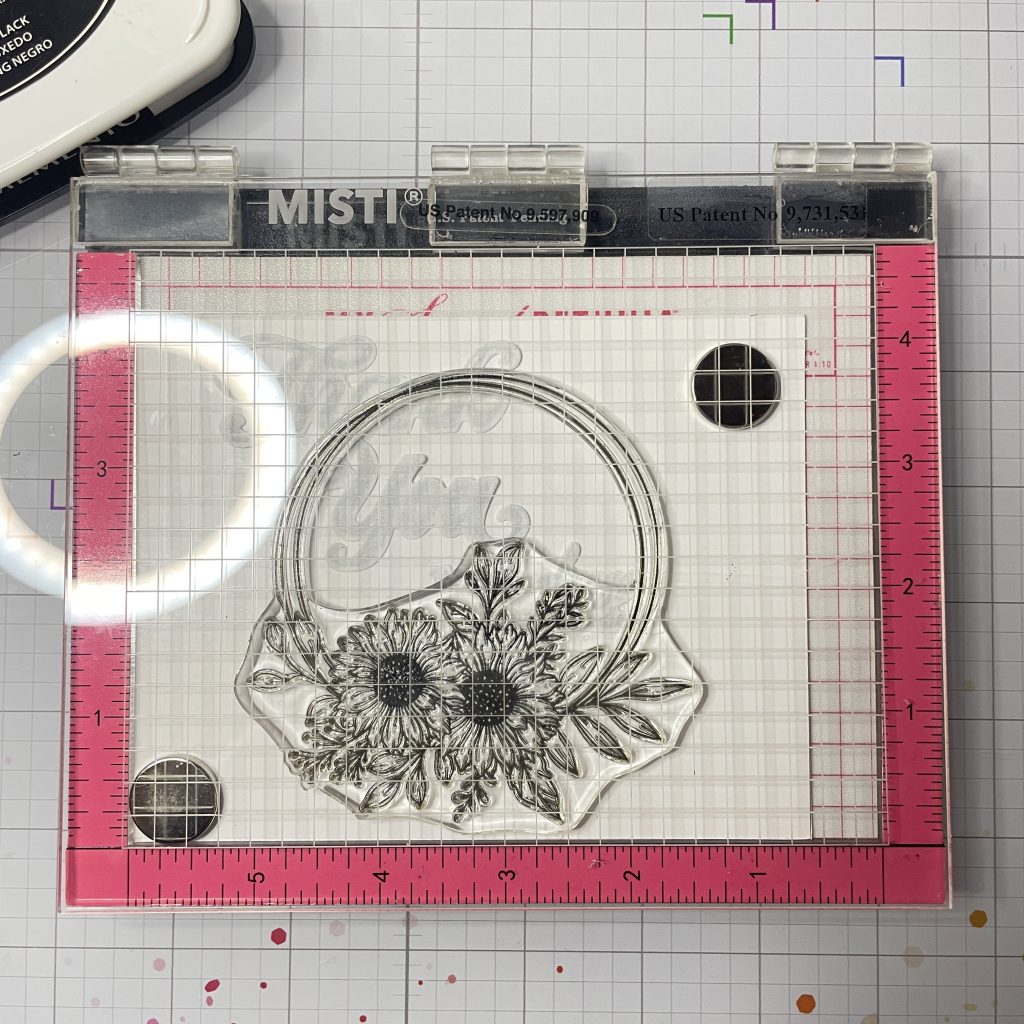
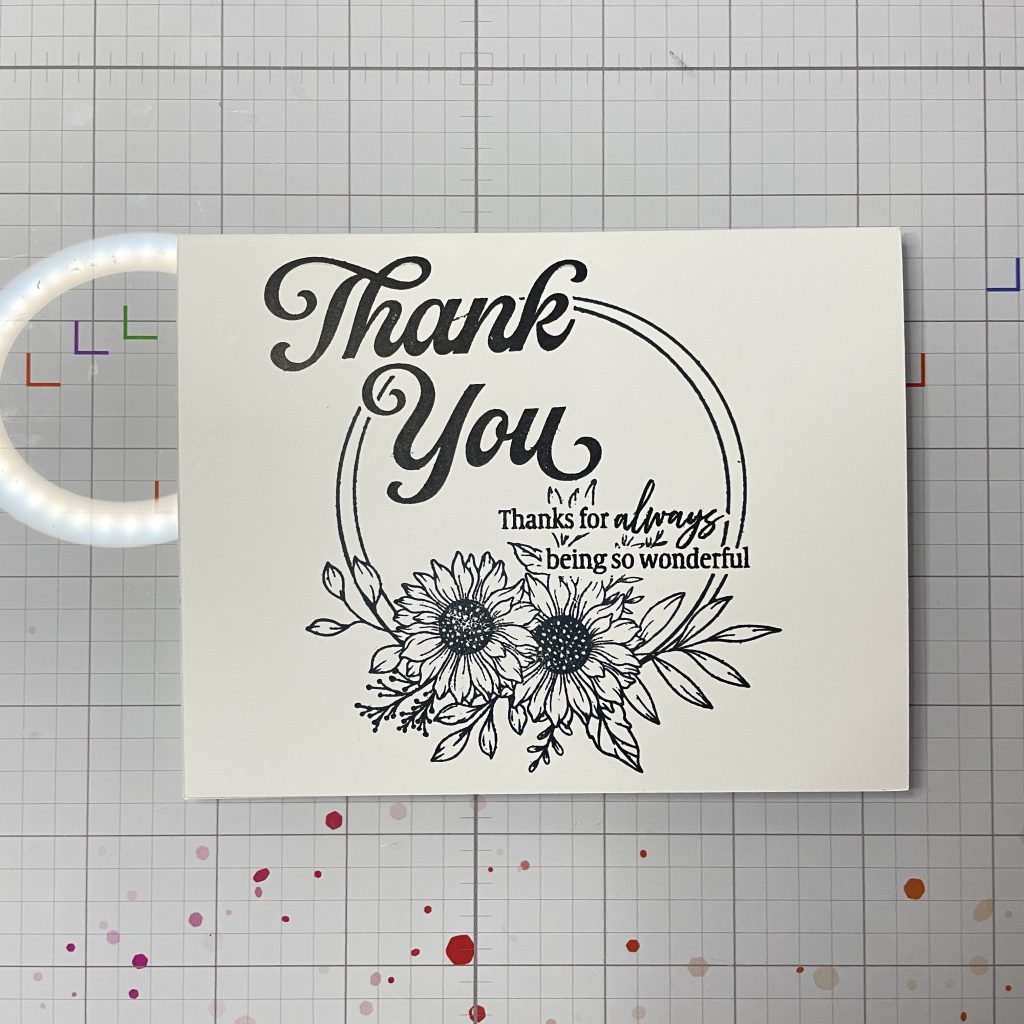
- We are going to do a bit a masking to create this card. To start, I placed an A2 white card base into my Misti. I then used the die for the circular 36053 Autumn Sunflowers image to give me an idea of placement. Next, I took the “Thank You” and the “Thanks for always being so wonderful” stamp from 36057 Thank You and placed them in my desired location around the floral frame. Before closing the lid of my Misti, I marked an area on the outside of the die, to give me a better idea of where I’m going to place the stamp later on. I closed the lid on my Misti and removed the die. I then stamped in black ink.
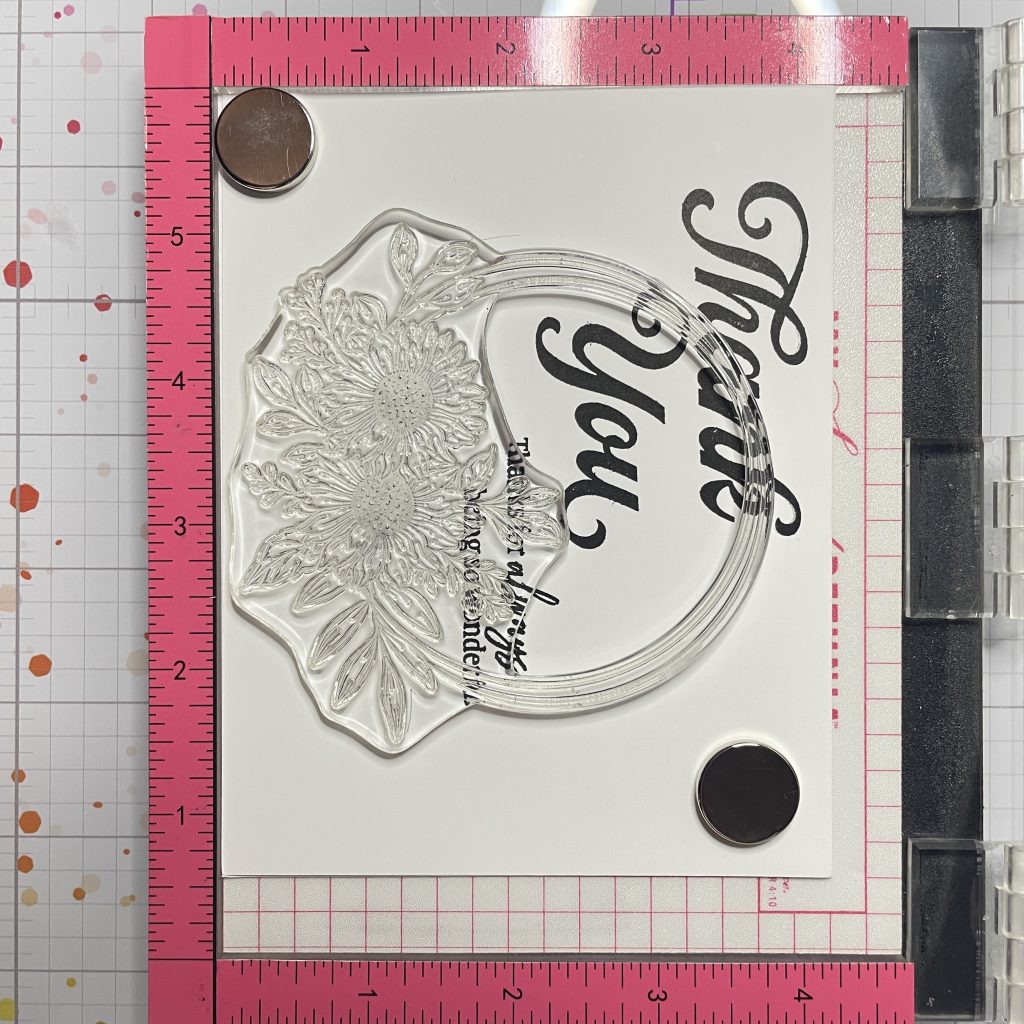
- Now it’s time to place the circular floral frame from 36053 Autumn Sunflowers on my card base. I used my pencil marking to help me with the placement. Once it was in the perfect location, I closed the lid of the Misti and reopened it.
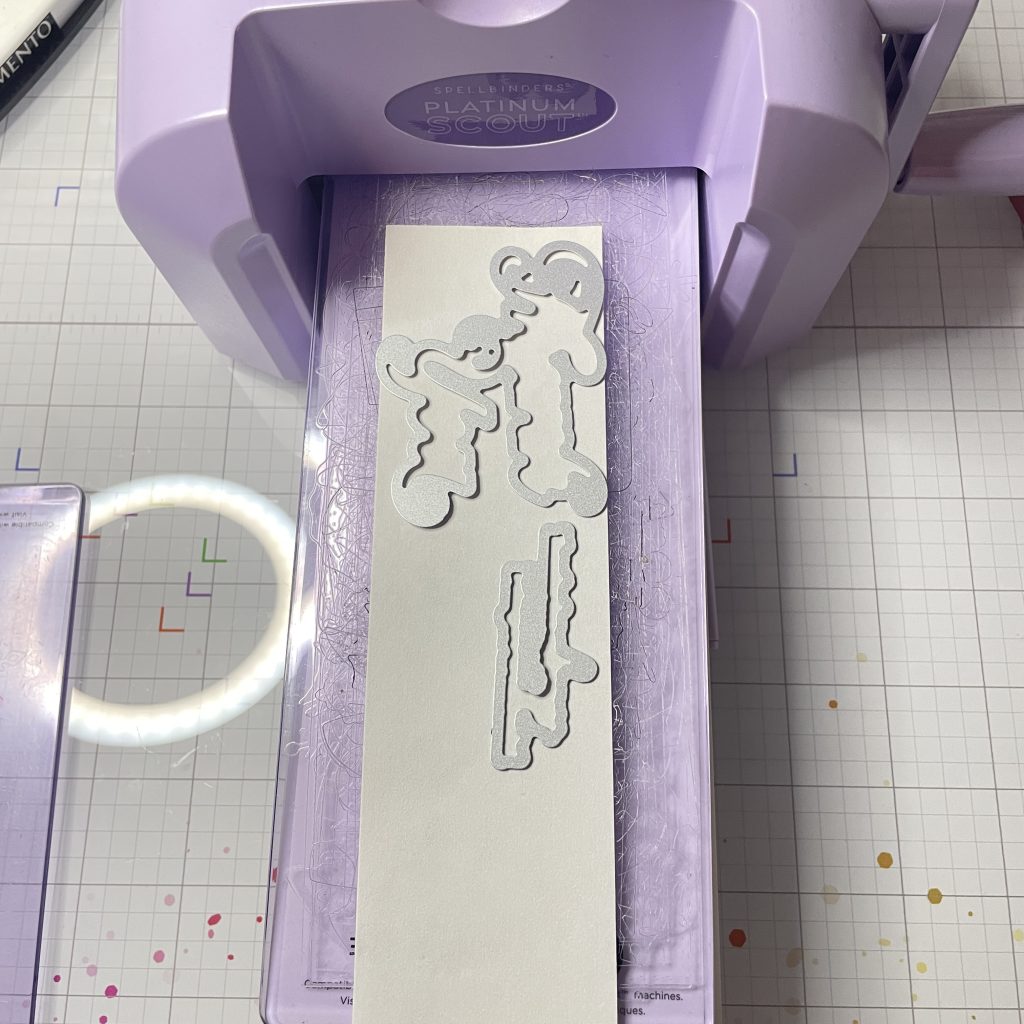
- Next, using masking paper and the dies from 36057D Thank You, I die cut the outline for my two sentiments.
- Place the masking paper over the sentiments. Then using an alcohol friendly black ink, stamp the floral frame.
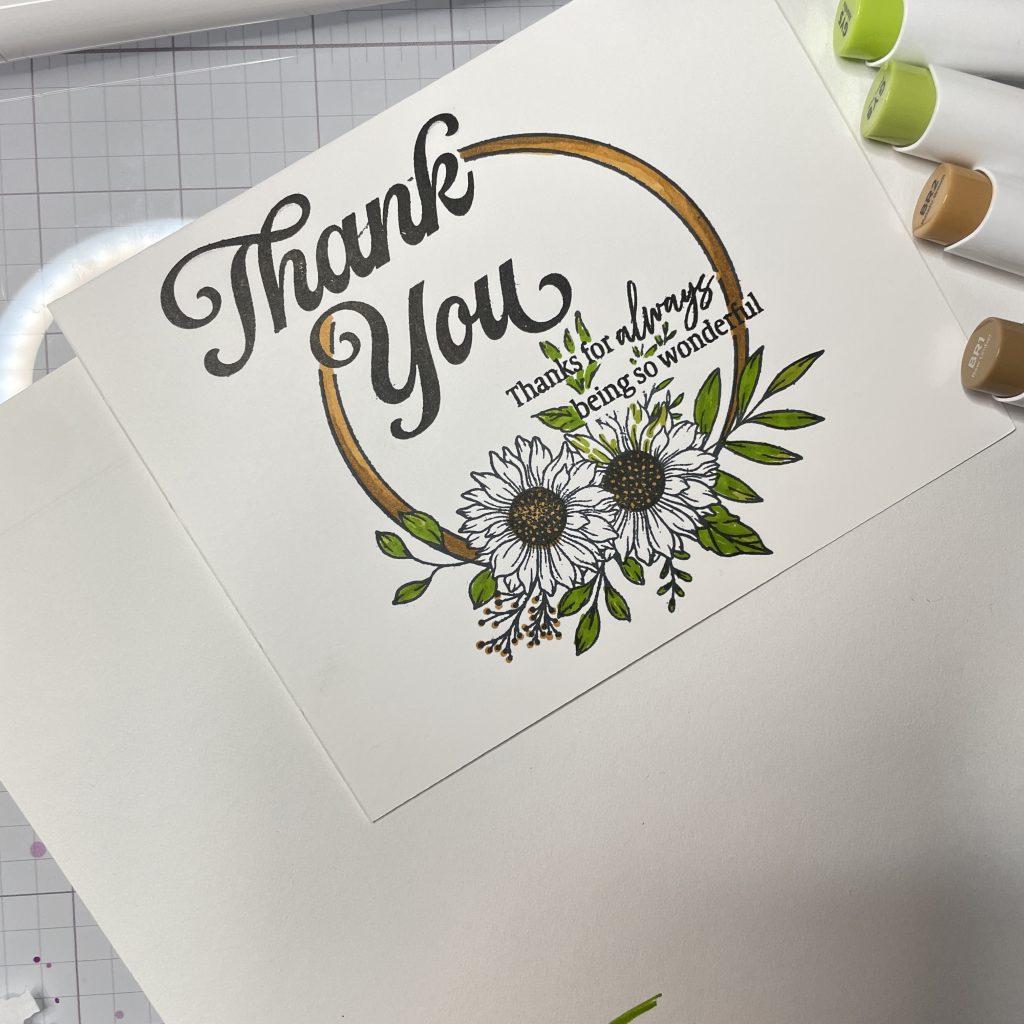
- Remove the masking paper and color in your image. I used my alcohol markers for this.
- Once you are done coloring you can stop here. You will be left with a clean and simple card. Personally the card was a but too plane and simple for my taste and I really wanted a brown boarder and some stitching. So, using the largest frame from 5013D Nested Rectangle Sm Stitch Die, I placed it around my colored image, I secured it with a bit of low tack tape, then ran that through the die cut machine.
- Once I was done die cutting, I removed the low tack tape, and to my surprise it ripped my paper next to the Y!!! Ugh! Has this ever happened to you? I really didn’t want my work to go to waste, so I quickly thought of a solution. Looking at the other images within the Autumn Sunflowers set, I realized that the solo flower with the leaves would be a perfect way to cover up the imperfection.
- Using a stamping block with alcohol friendly black ink, I stamped my floral image on the side of the frame. I then colored my floral. While not perfect, I thought it looked pretty good. Better than a ripped card front!
- I then added the card panel to a brown card base.
- Lastly, I added a few brown embelishments of the bottom right side of the card to provide a bit more balance.
I hope you enjoyed today’s card, even with the blooper. I decided to keep that part in because this is real card making here. There are times where everything is going great, then BOOM, an imperfection pops up. Remember, when these mistakes happen try not to get frustrated or down on yourself. There is always a solution to the problem, especially for us creative folks!
Be sure to follow us on instagram for more inspiration. If you love this floral wreath, check out these projects for more ideas on how to use this set!