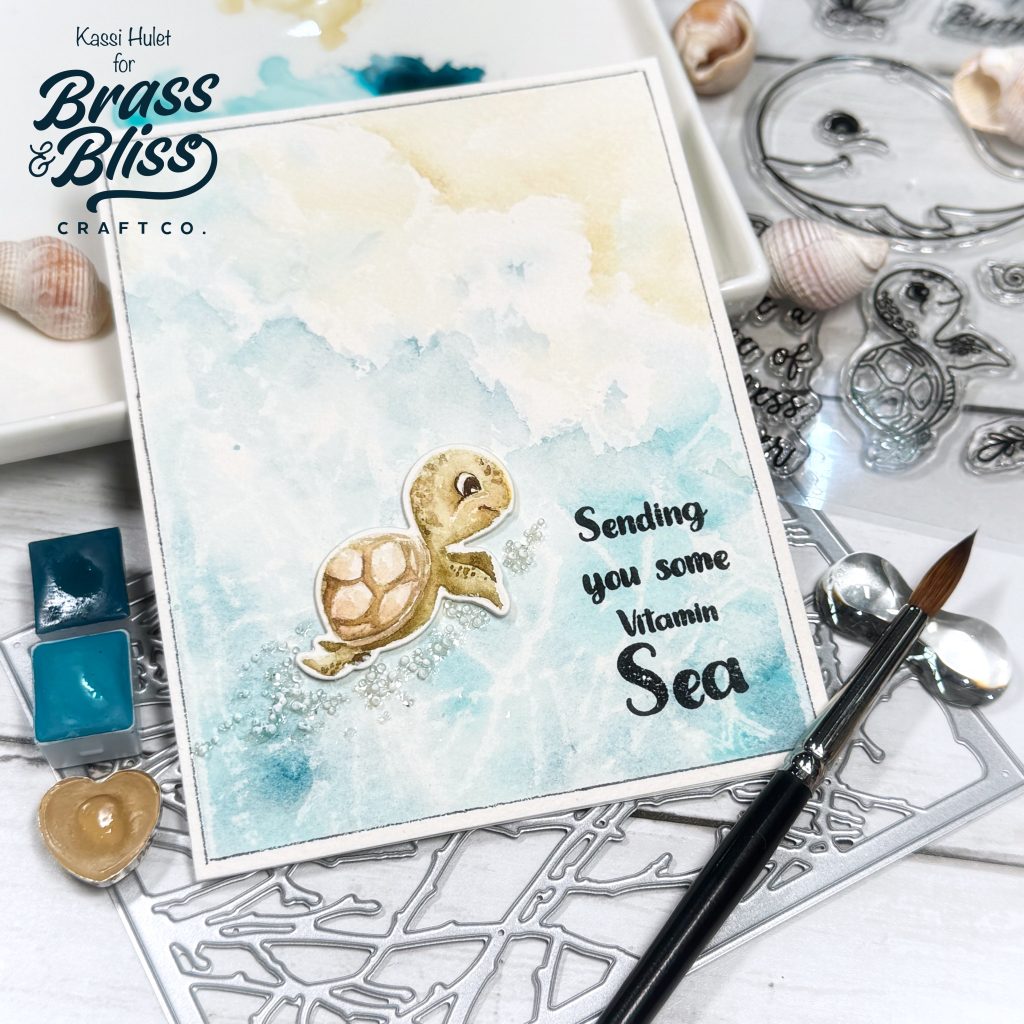
Sometimes we get stuck in a rut and need to try something new to break free and create. This watercolor beauty is a not to summer and the ocean and creating art on your own terms.
Today’s summer card creation is from our designer Kassi who is bringing her talent for watercolors to the table for a brilliant design. Kassi shared, “One of the biggest things I’ve learned about creativity, is it often goes hand in hand with curiosity. Asking myself “I wonder what happens if…” then setting about to try it and find the answer to my own question has resulted in discovering some of my favorite techniques! Today I wanted to find a way to use a cover die to create texture in my watercolors, so I experimented until I found a way! And it’s a technique I’m sure I’ll use again!” We just love when playing around and experimenting results in a new technique that you love. This card is dreamy and Kassi’s talent with watercolor is just WOW! Follow along and be inspired to do a little experimenting of your own.
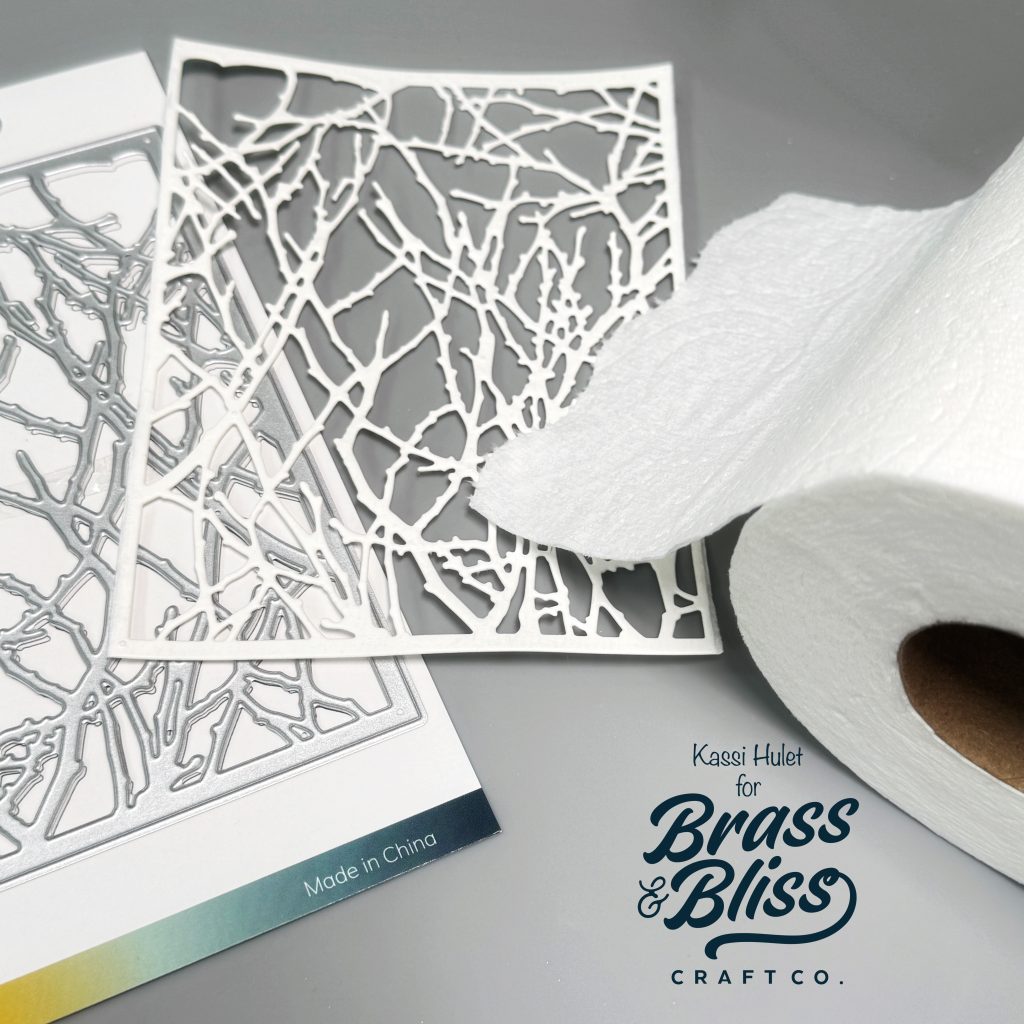
- Stack 8 (or so) layers of toilet paper together- lightly misting each layer with water so they are just barely damp
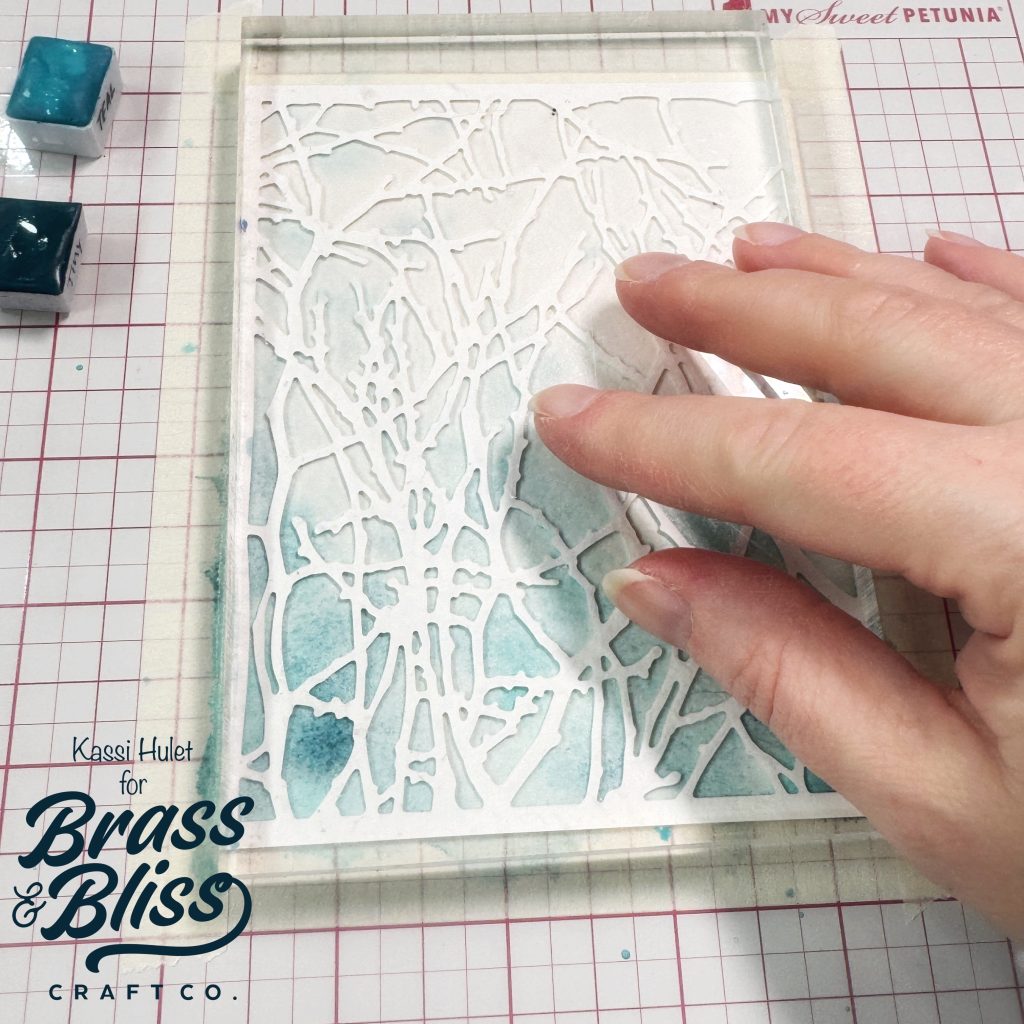
- Die cut the full stack all at once using 5841D Twig Cover die. It may seem like a lot, but it will compress down into the thickness of a heavy cardstock. Let it dry completely. This is now a shaped blotter paper
- Tape all 4 sides of a piece of watercolor paper to a board. (tapping it down will help limit warping)
- Wet the entire paper with clean water
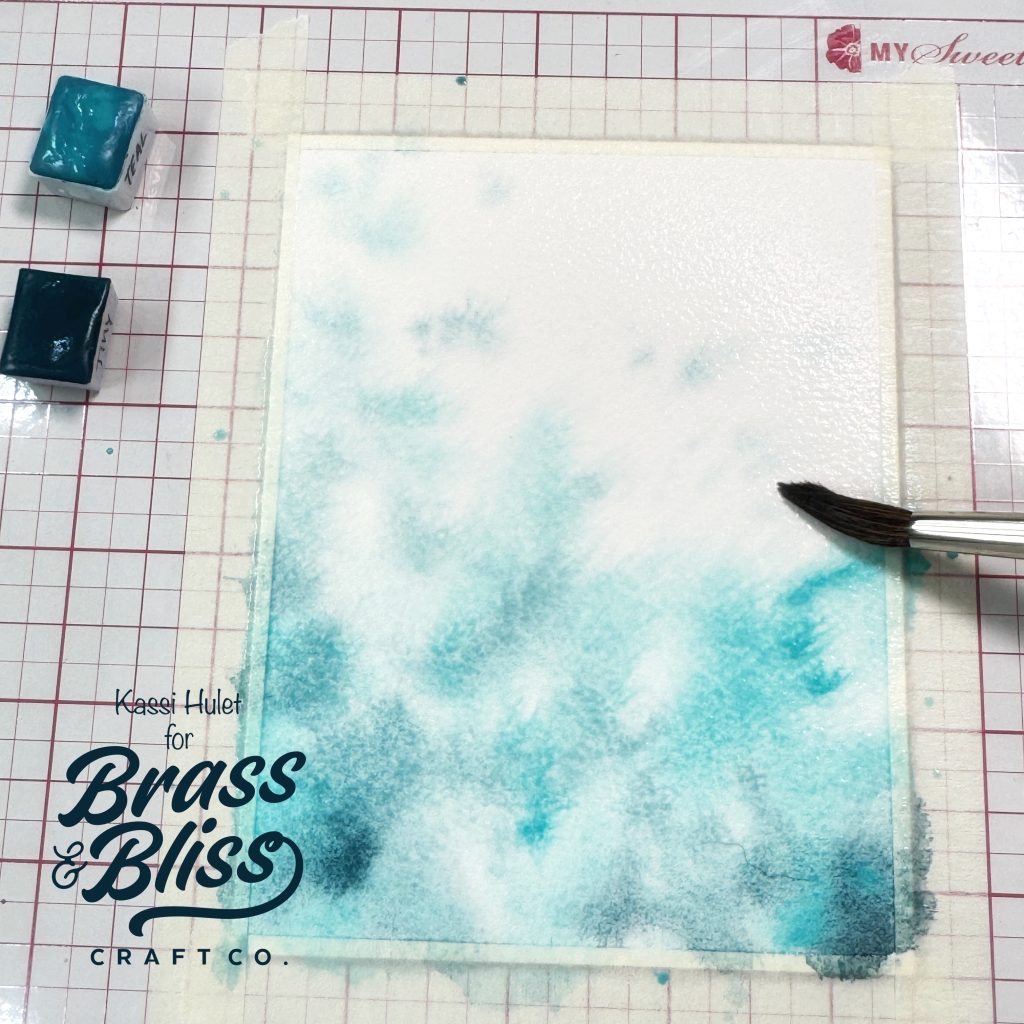
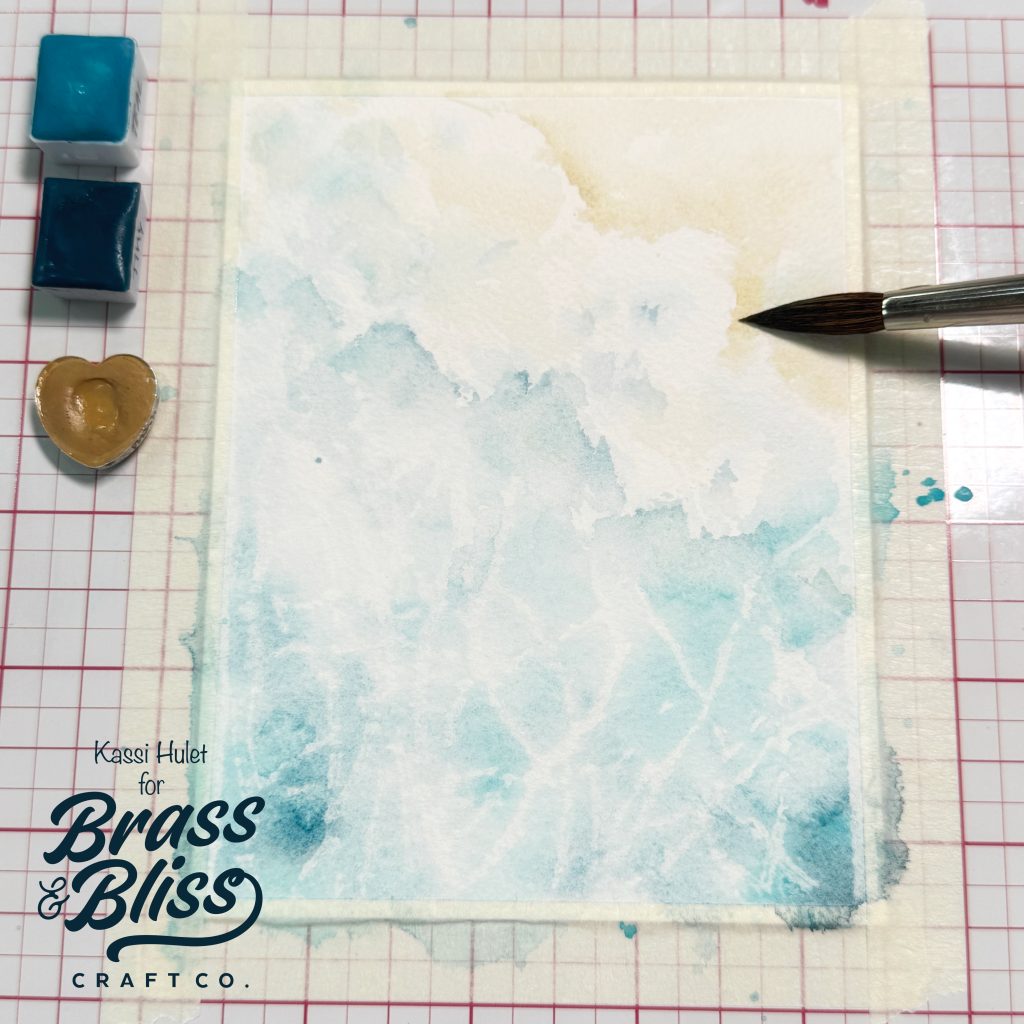
- Randomly apply a lit and dark blue watercolor keeping the darkest concentration of color at the bottom and fading the color up, leaving the upper right corner white
- While the paint is still damp, press the die cut toilet paper blotter onto the paint (you can set a large acrylic block on it to help press evenly without getting any paint on your hands)
- Remove the blotter paper and let paint dry
- Paint in the sand in the upper right corner. I like to leave a little uneven/rough space between the blue water and the sand to be the foam
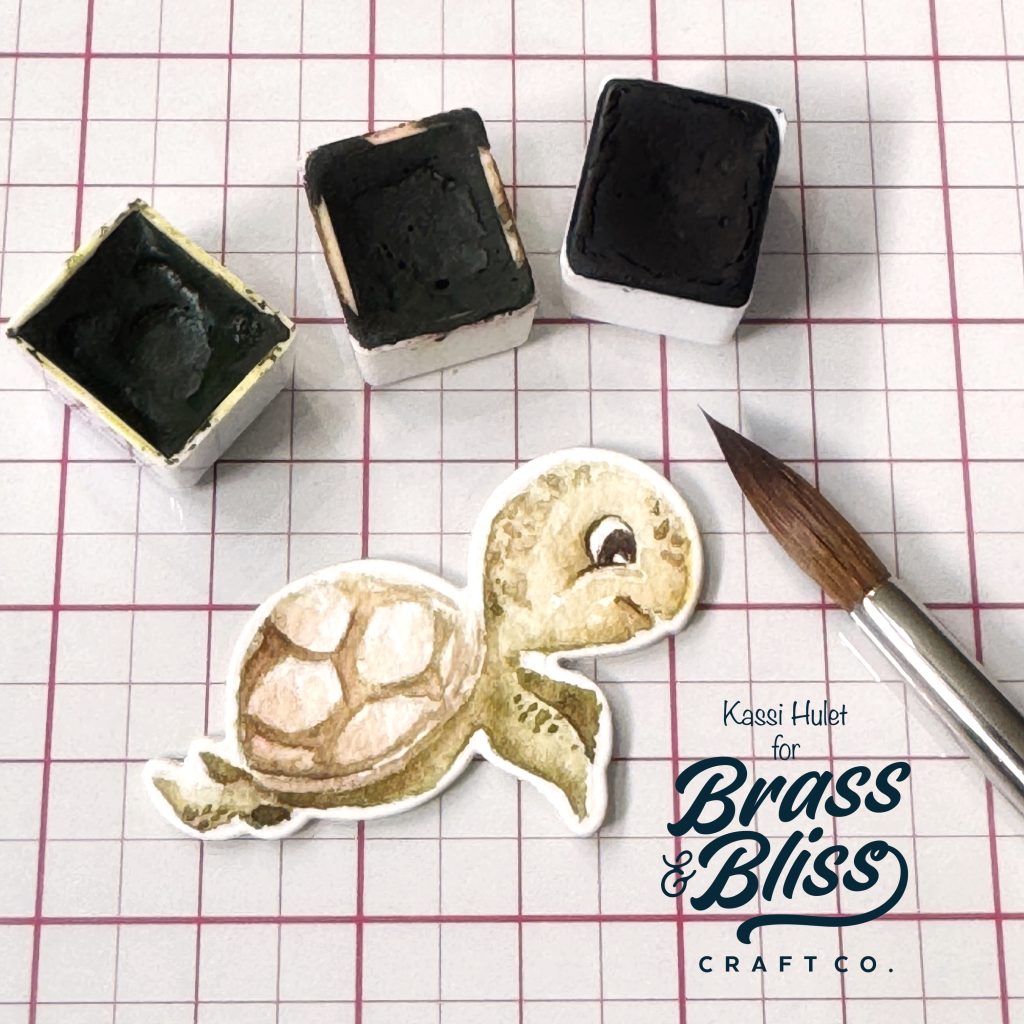
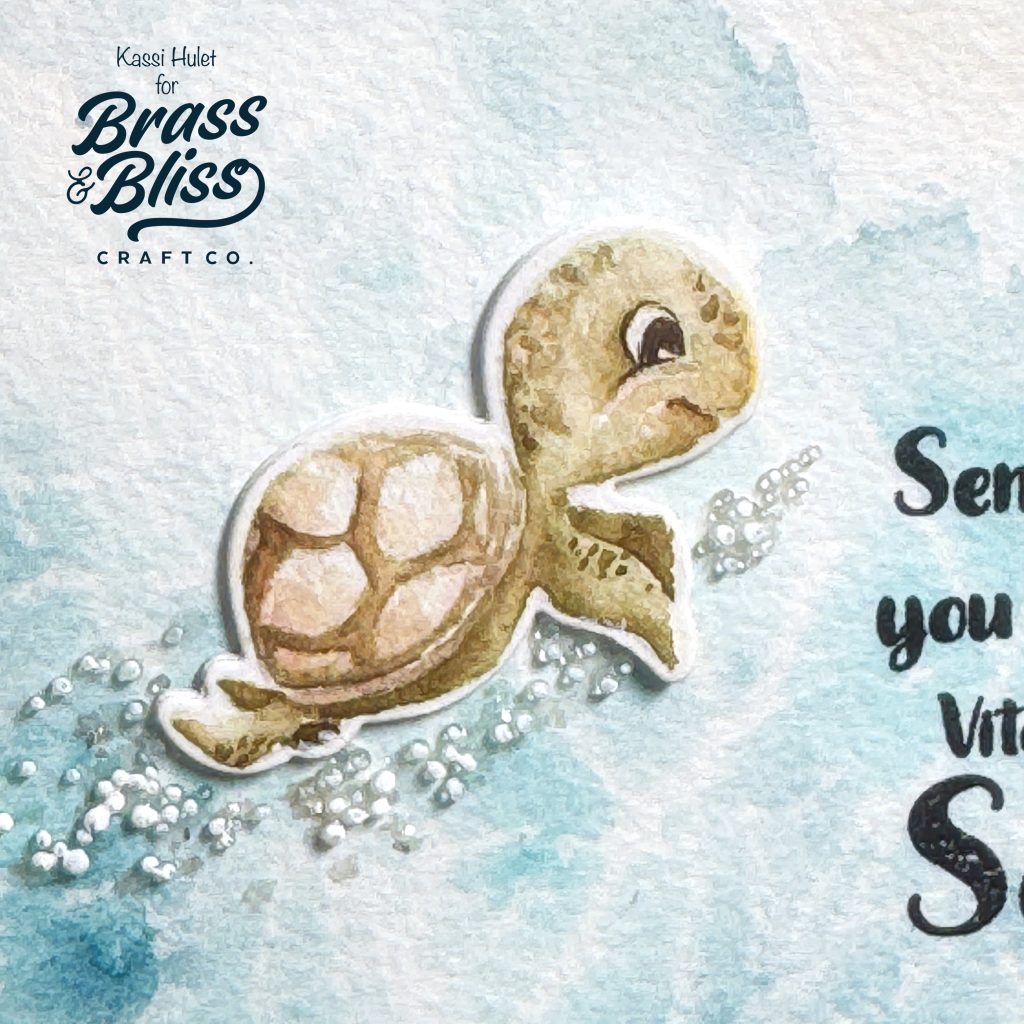
- Stamp the turtle from 3495-05 Vitamin Sea on a separate piece of watercolor paper
- Paint your turtle
- Die cut the turtle using 3495-05D Vitamin Sea die, and cut and extra 2 turtle blanks
- Adhere all 3 turtle die cuts together in a stack
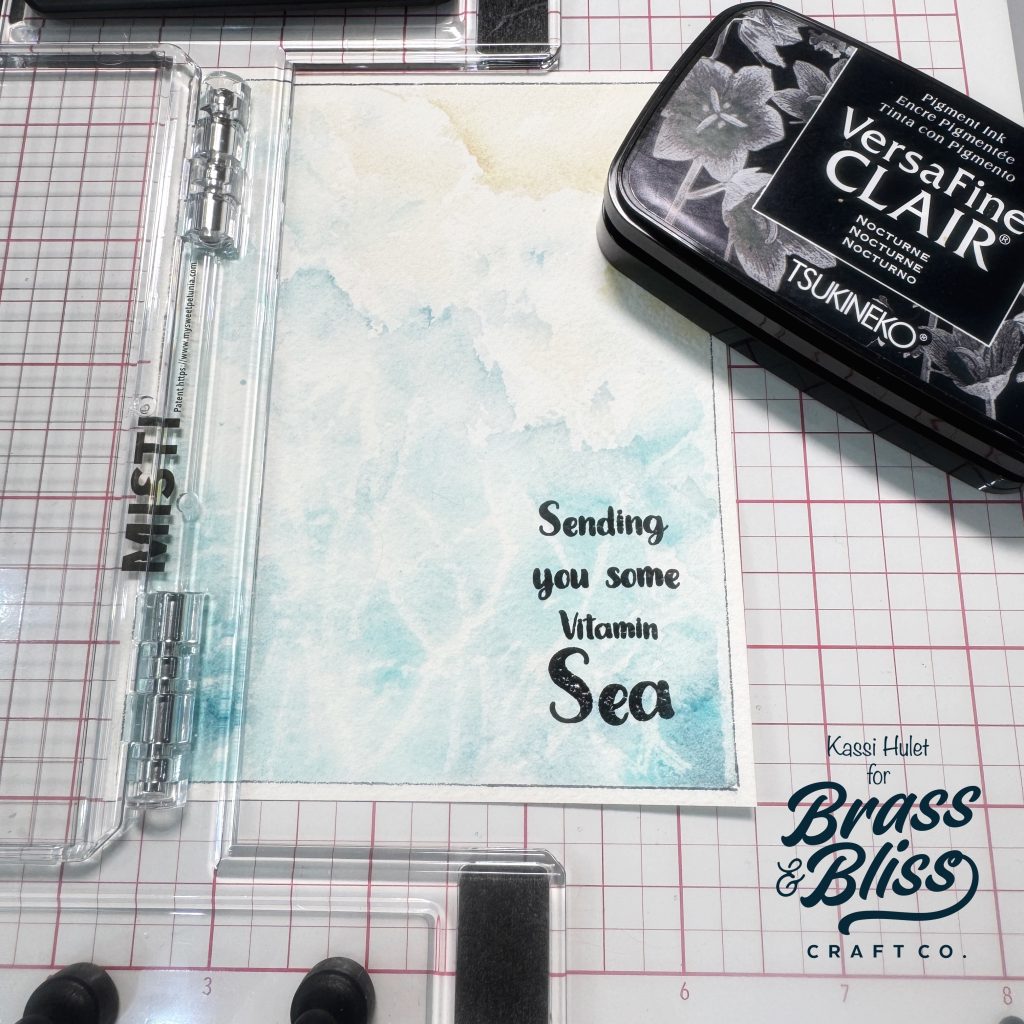
- Draw a border around the beach scene using a black marker
- Stamp the sentiment from 3495-05 Vitamin Sea using Versamark Clair Nocturne
- Adhere the painted panel to an A2 card base
- Adhere turtle
- Apply some Glossy Accents around the underside of the turtle and sprinkle on glass microbes and mica flakes. Let dry
- Use your finger to lightly coat the tops of some of the glass beads with gesso to give the look of foam/bubbles
Products used: