
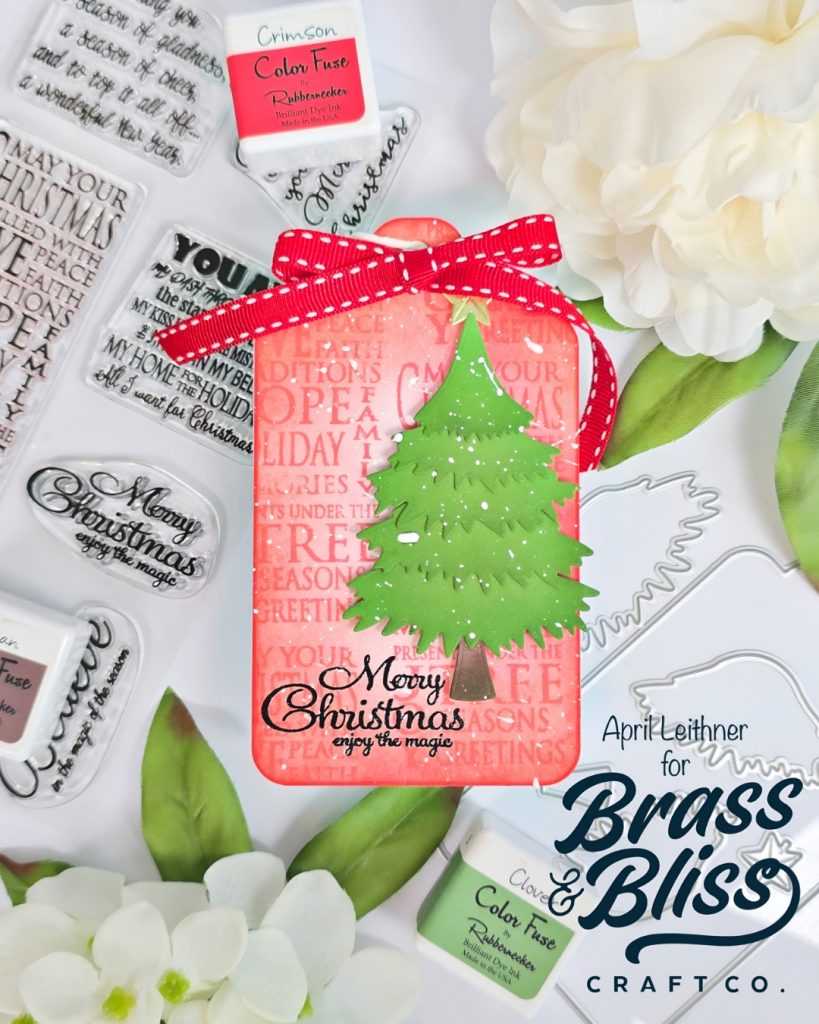
Do you love adding the extra handmade details to your Christmas Gifts? Check out this beautiful gift tag inspiration.
Today’s beautiful handmade creation is from our designer, April, who said, “I love to make tags especially Christmas tags, so I make them any chance I get. The Christmas Tree Die Set is the perfect size for several sizes of tags from the Holiday Tags Die Set. The largest in the set gives plenty of room for a holiday sentiment along with the tree.” We love how these turned out and love the background words, taking this simple Christmas tree to an elevated look. Check out the steps below to recreate your own.
- Die cut two of the largest die from the Holiday Tags Die Set out of white cardstock.
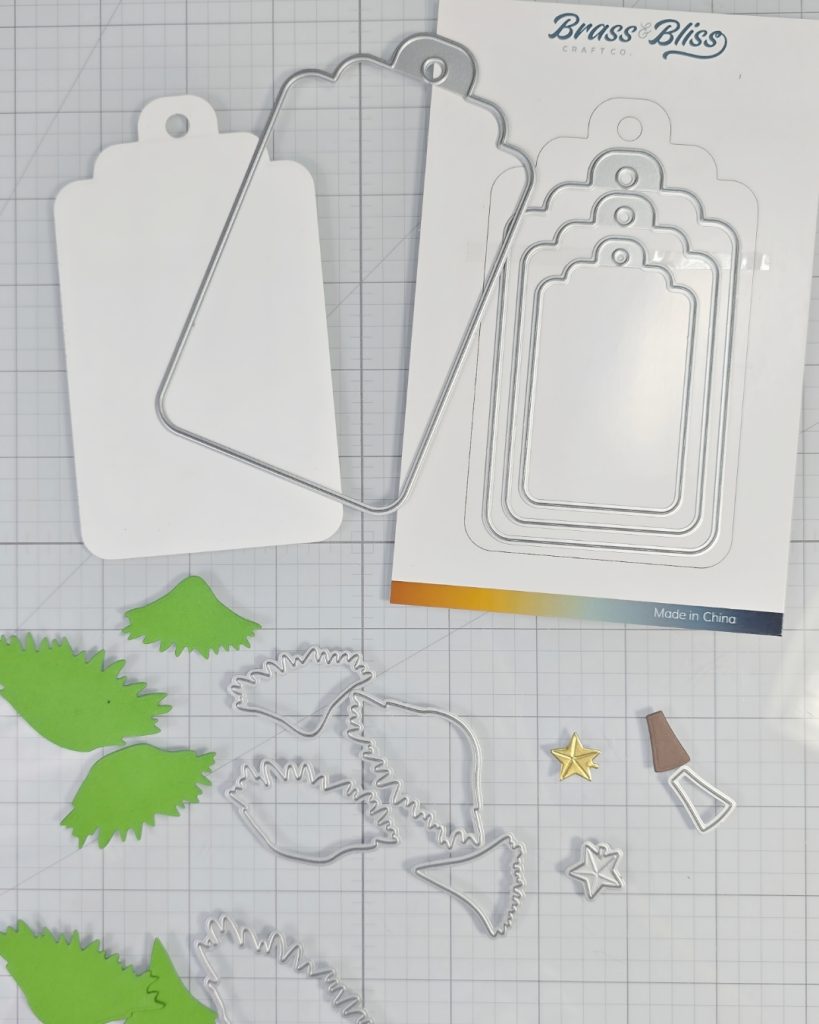
- Die cut all the dies from the Christmas Tree Die Set using green cardstock for the tree, gold cardstock for the star and brown cardstock for the trunk.
- Use Detail Blending Brushes and Color Fuse #10 Clover and Basil to add depth to all the tree pieces. Use Color Fuse #3 Pecan on the trunk.
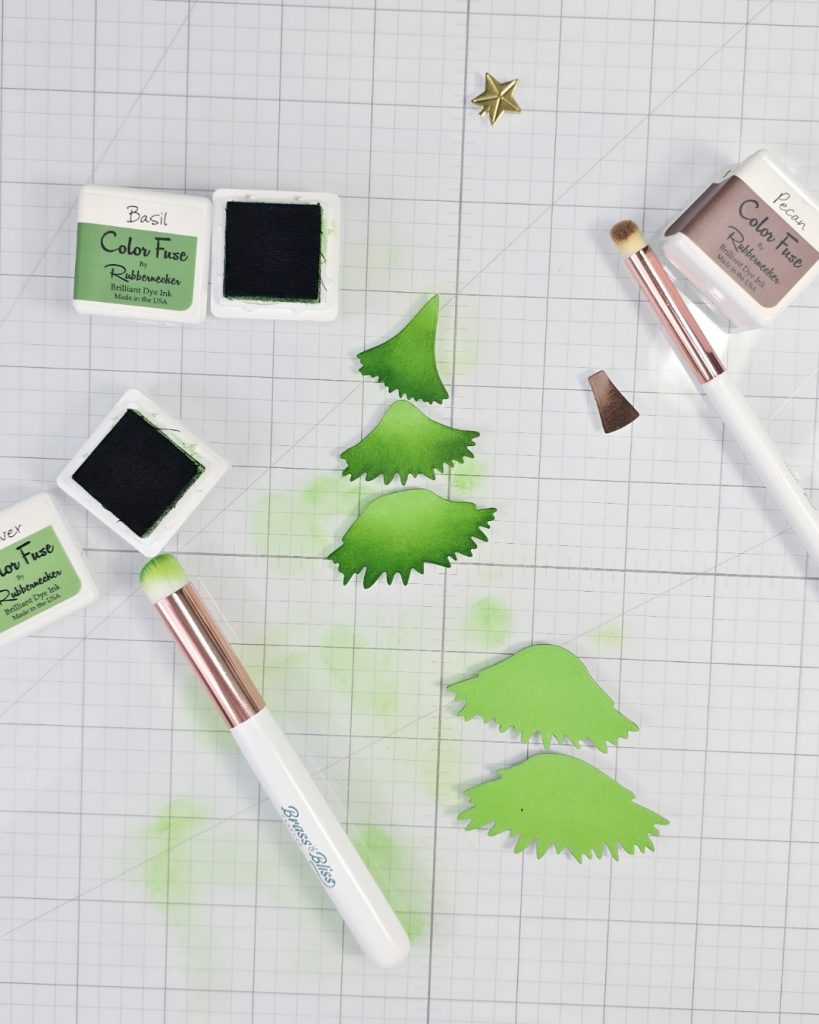
- Adhere tree pieces together and let dry.
- Use a Large Blending Brush and ink blend Color Fuse #4 Crimson around edges of large tag. Work in towards the center of the tag getting lighter towards the center. This creates a spotlight effect.
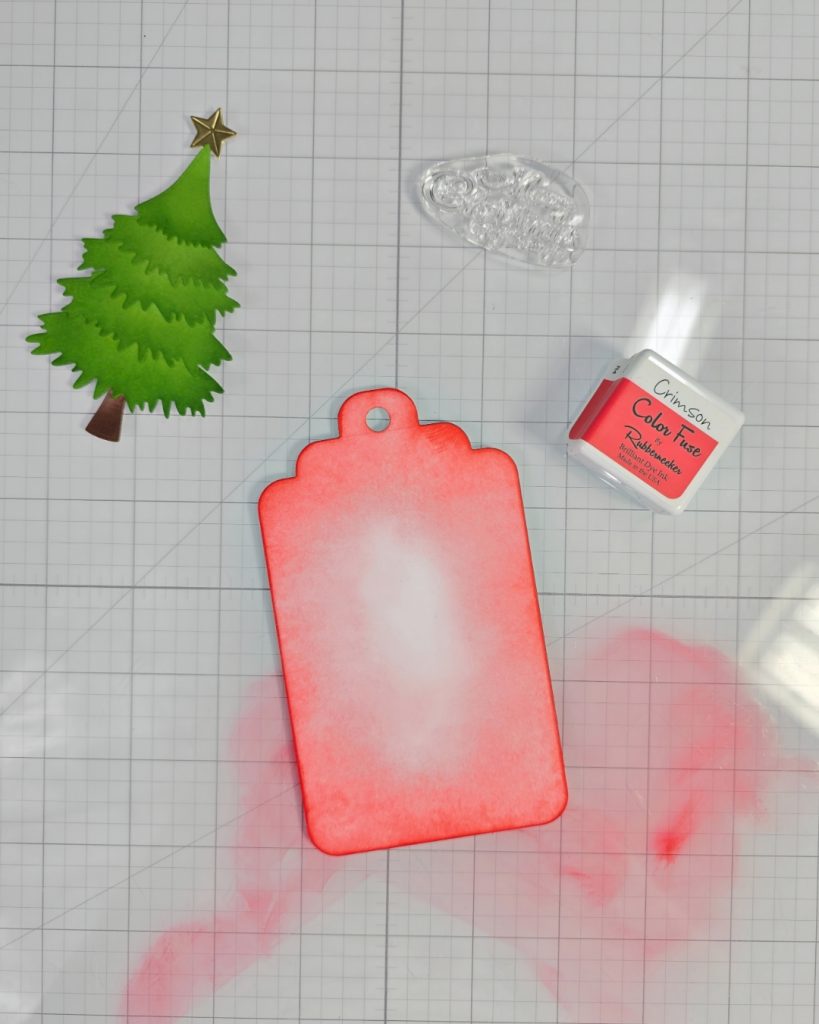
- Stamp sentiment from Christmas Cheer Stamp Set with Color Fuse #4 Scarlet randomly over tag.
- Heat emboss sentiment from stamp set in lower left corner corner of tag with black ink and clear embossing powder.
- Splatter tag and tree with white paint. Let dry.
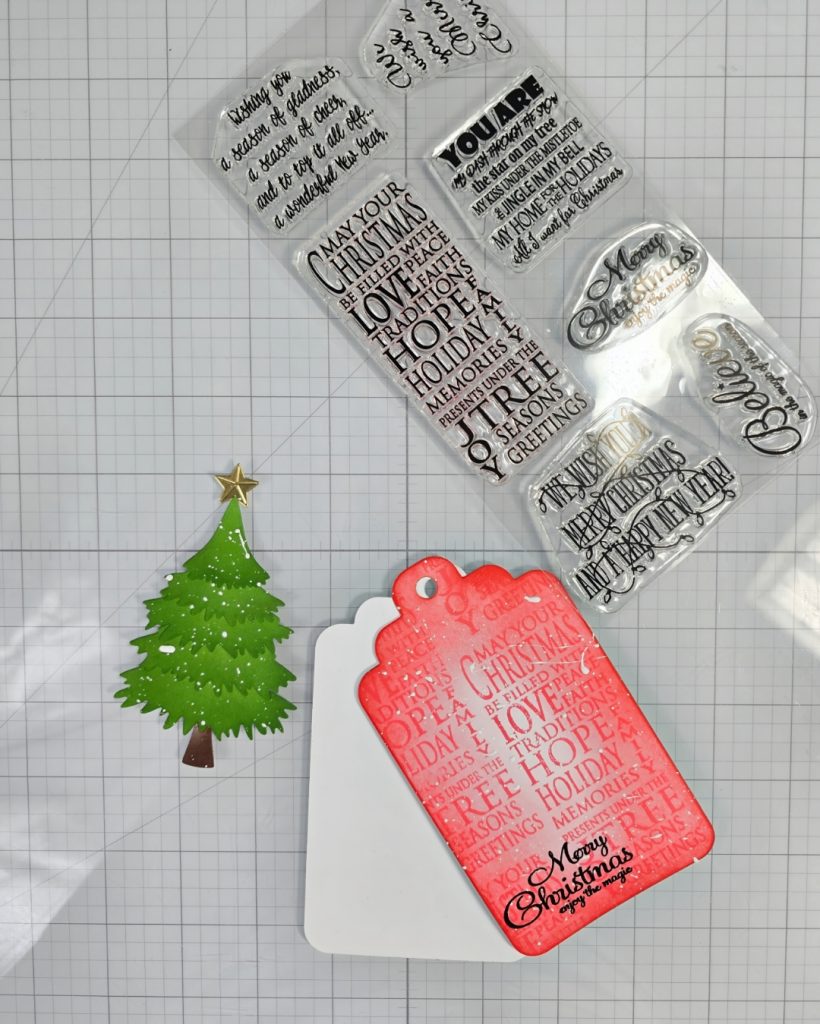
- Adhere the two tags together back to back. This covers any smudges on back of colored tag and gives a clean place to write a message.
- Add ribbon and twine to tag.
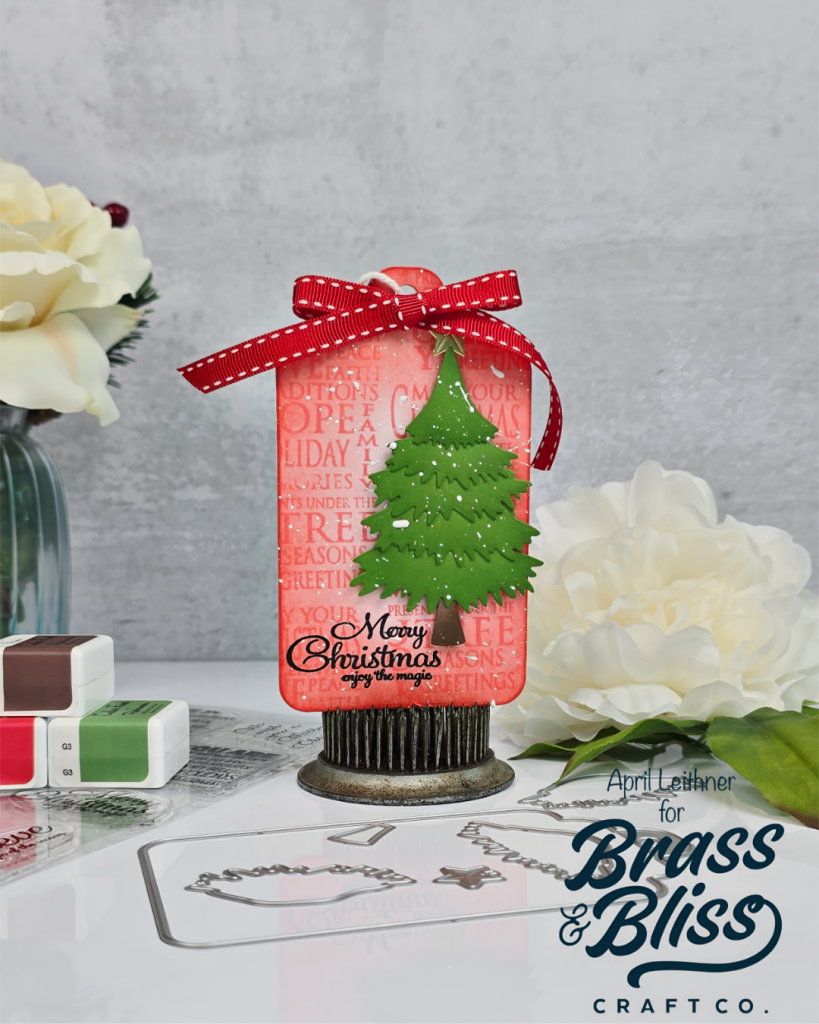
If you loved these tags and are looking for new tag inspiration, be sure to peep these other Brass and Bliss projects!
Supplies: