
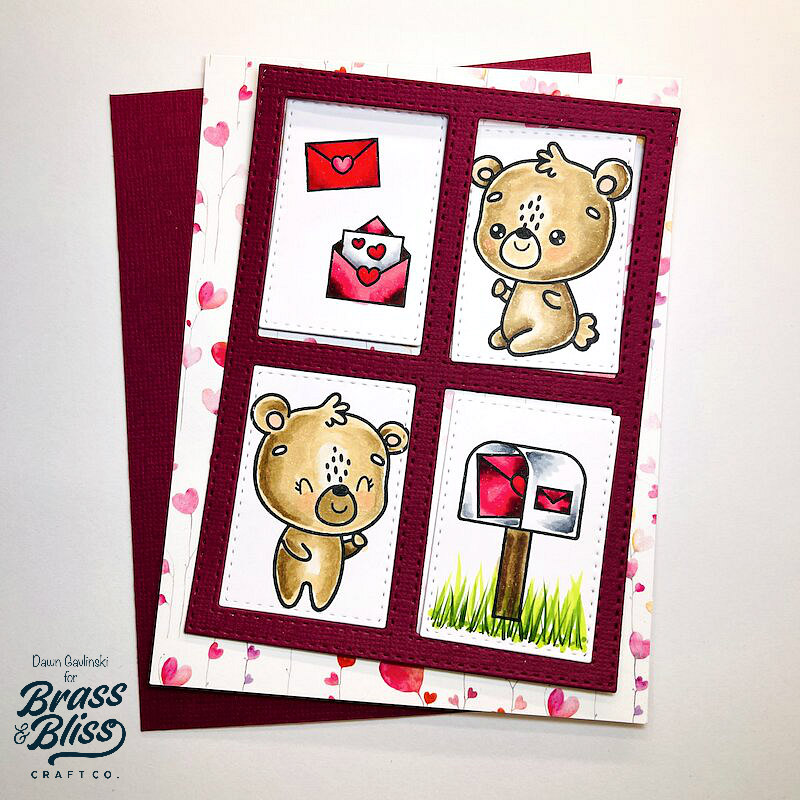
Looking to send some Happy Mail to a friend? We have a cute window card for you today, complete with mailbox and sweet letters full of bear hugs!
Let’s get crafty today with Dawn, as she shows us how to make this amazing card. You will want to make sure you checkout our Heart String Release to see other cards that can be used for sending love, joy and happiness to all your friends and loved ones. If you are ready to create some Happy Mail- sending bear hugs to your people, check out the steps below.

How to make this card:
- To begin creating this card, Dawn cut out the squares from ‘5148-03D-Window w/ Double Stitches on which the images from ‘36022-Bear Hugs Enclosed Set‘ will be stamped. Dawn uses this same die later so don’t put it away.
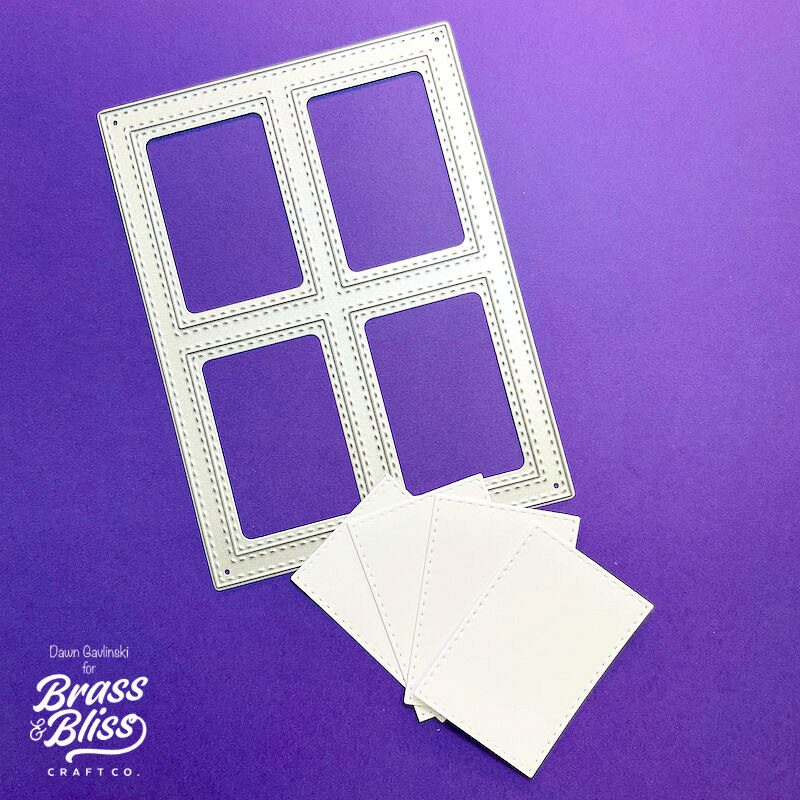
- Using your stamping tool, stamp the images you will use for this card. It’s tight but the bears fit perfectly!
- Before picking the color marker combinations, choose the patterned paper that will be the background. This way the colors will match.
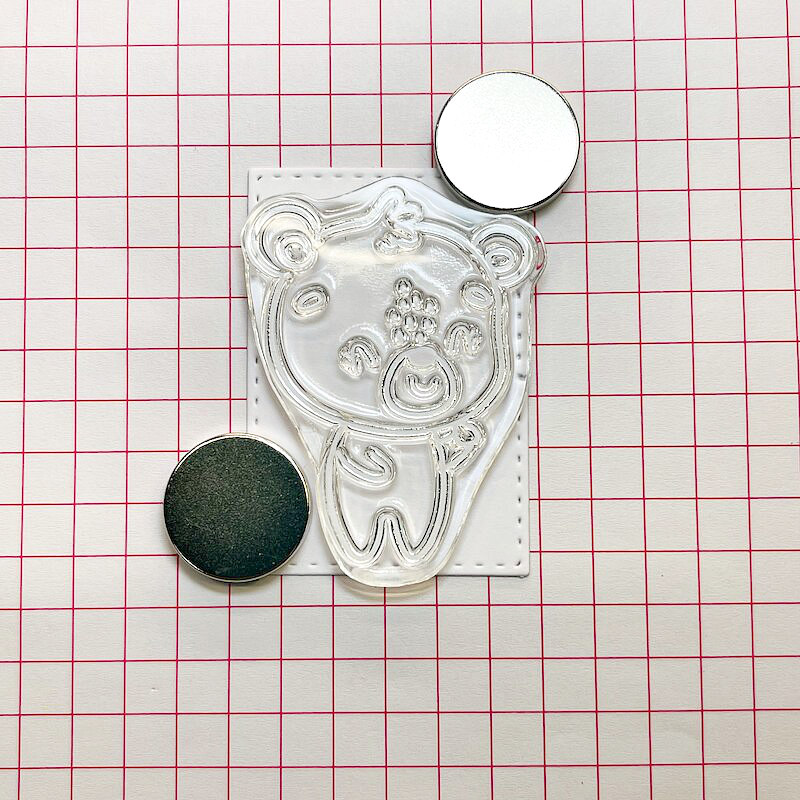
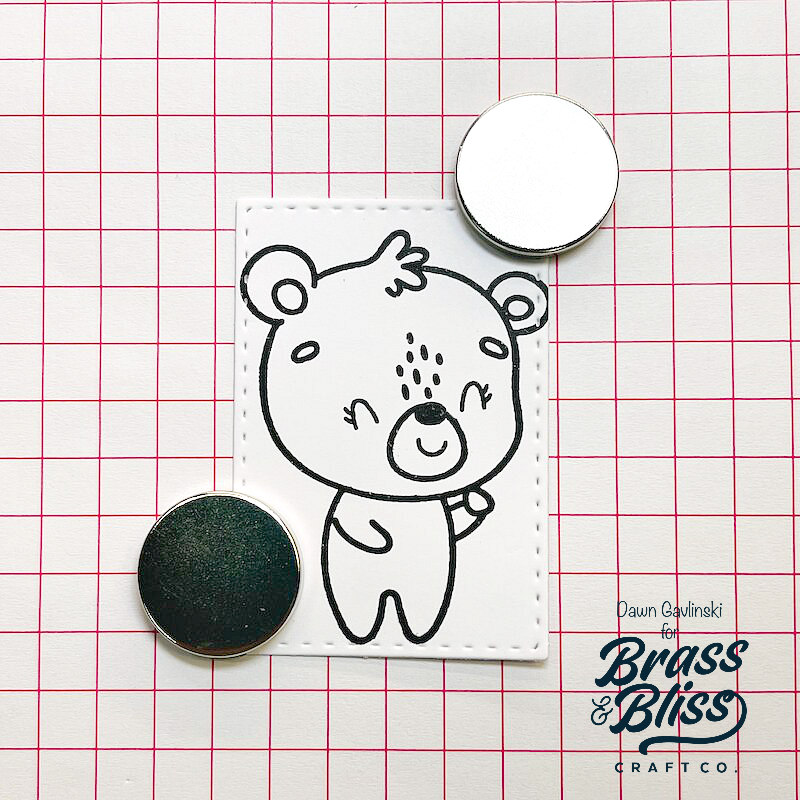
- Time to color your images. The Copic Marker combinations are listed below.
- Bears – E44 E43 E42 E41 E40
- Cheeks – R30
- Pink – V17 R59 RV14 RV23
- Red – R29 R46 R35
- Green – YG67 YG17 YG03
- White – C6 C4 C2
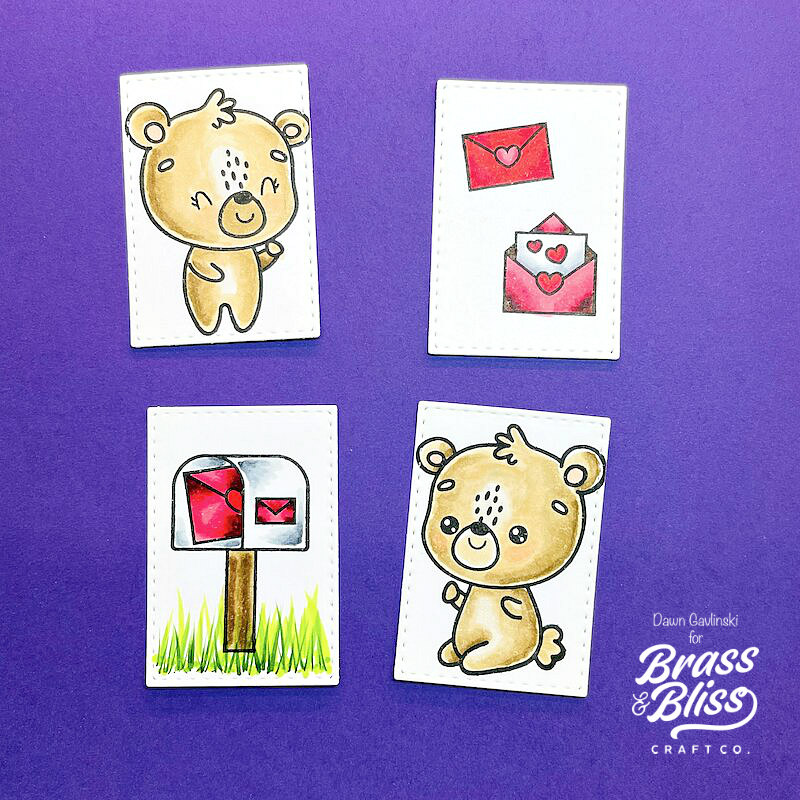
- It doesn’t show it in the picture above but some green was added under the bears as well.
- Dots were also added to the grass to give it some fullness.
- Pick out a coordinating piece of card stock, that matches the patterned paper, and die cut using ‘5148-03D-Window w/ Stitch Die‘.
- Pro Tip – Most of the time you will want your mat paper to be darker which gives the illusion of a shadow and makes your patterned paper stand out!
- Cut the patterned paper at 4″ x 5 1/4″ and your colored card stock at 4 1/4″ x 5 3/8″.
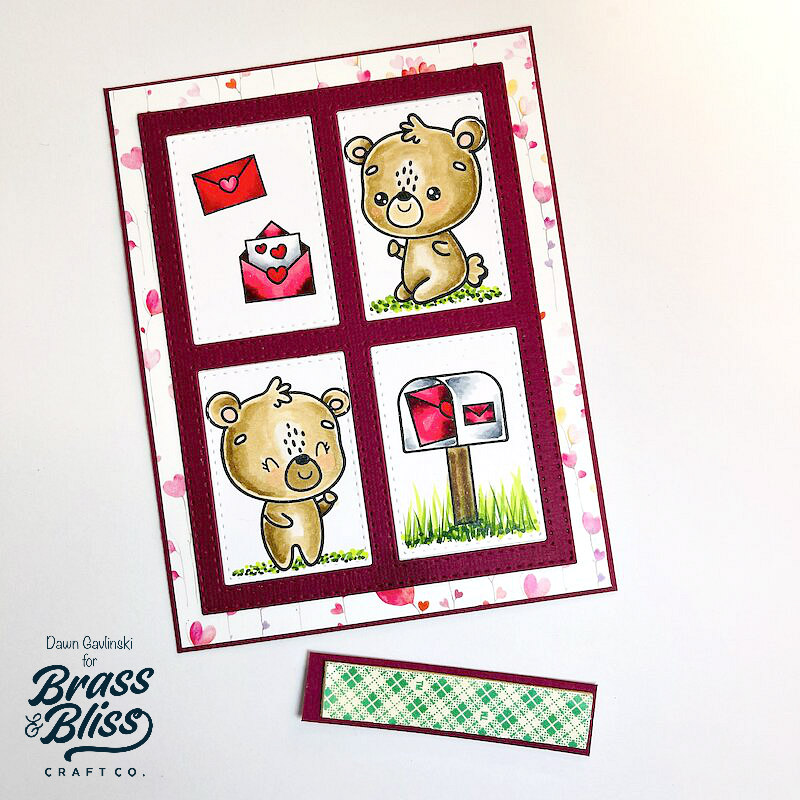
- Stamp out your sentiment.

- Dawn usually leaves a white border around her sentiment when cutting it out, a little more than an 1/8″.
- Now cut out your mat piece for your sentiment with your coordinating card stock.

- Finally, glue all of the elements together.
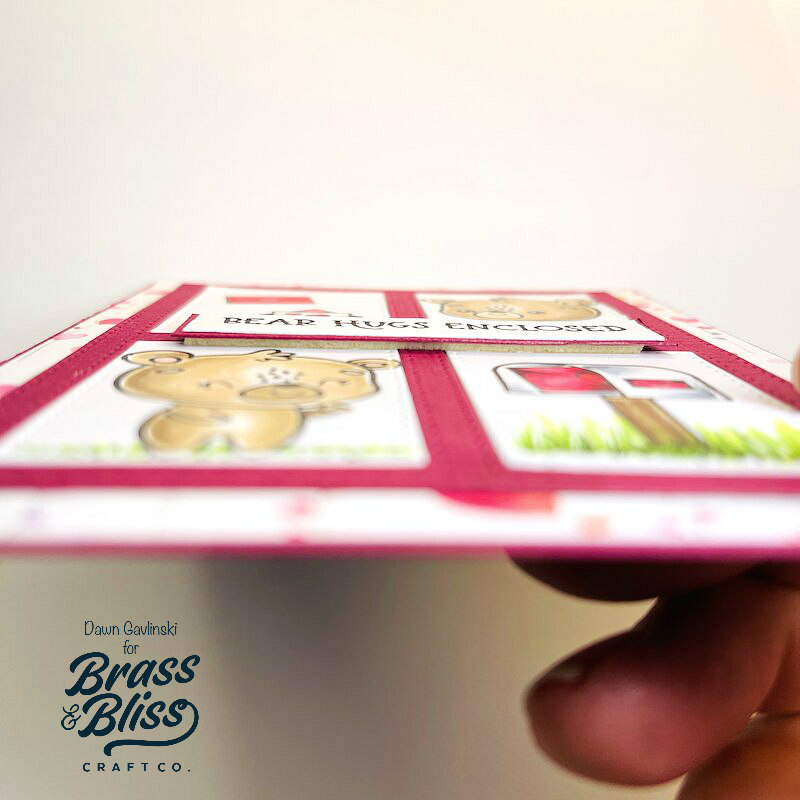
- For the sentiment, Dawn used dimensional tape to pop it up and give it more interest.
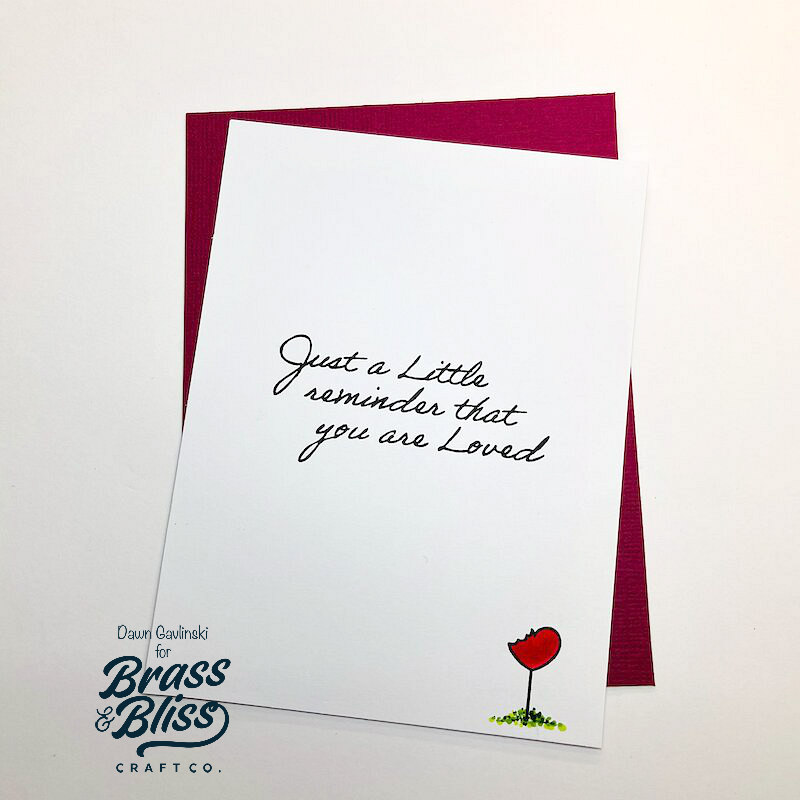
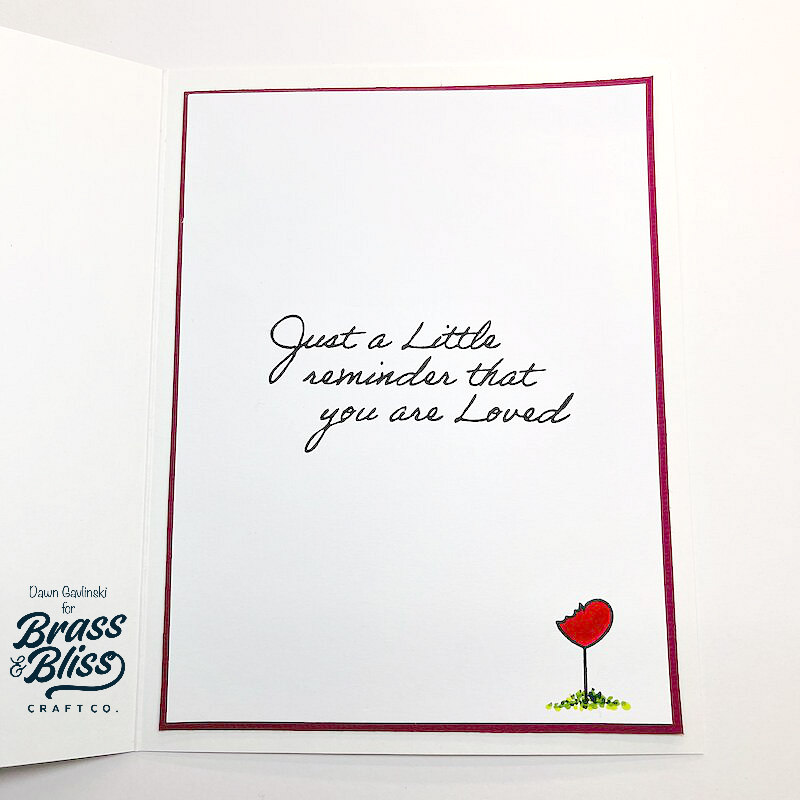
- Don’t forget to decorate the inside of the card!
- Cut a piece of your colored coordinating card stock at 4 1/4″ x 5 3/8″.
- Now cut out a piece of white card stock at 4″ x 5 1/4″
- Using your stamping tool, stamp your saying in the middle of the white card stock, then pick out one of the small images from ‘36022- Bear Hugs Enclosed Set‘ to put at the bottom right hand corner of the card.
- Make sure to color the small image and add some grass so it’s not floating.
- Adhere your mats together and add them to the inside of your card.
- To make your card base take an 8 1/2″ x 11 ” 110lb white card stock and on the 11 inch side cut it at 5 1/2″. This will give you two side opening card bases.
- If you want a bottom opening card base take a 8 1/2″ x 11″ piece of 110lb white card stock and on the 8 1/2″ side cut it at 4 1/4″. This will also give you two card bases.

Hope you enjoyed crafting with us today. Below are all the product used to make this Happy Mail- Sending Bear Hugs!. We are always striving to inspire our crafty community, and sometimes making a simple card can be the little spark of creativity one is looking for! Want to see more projects? Check out our Pinterest account and follow along.