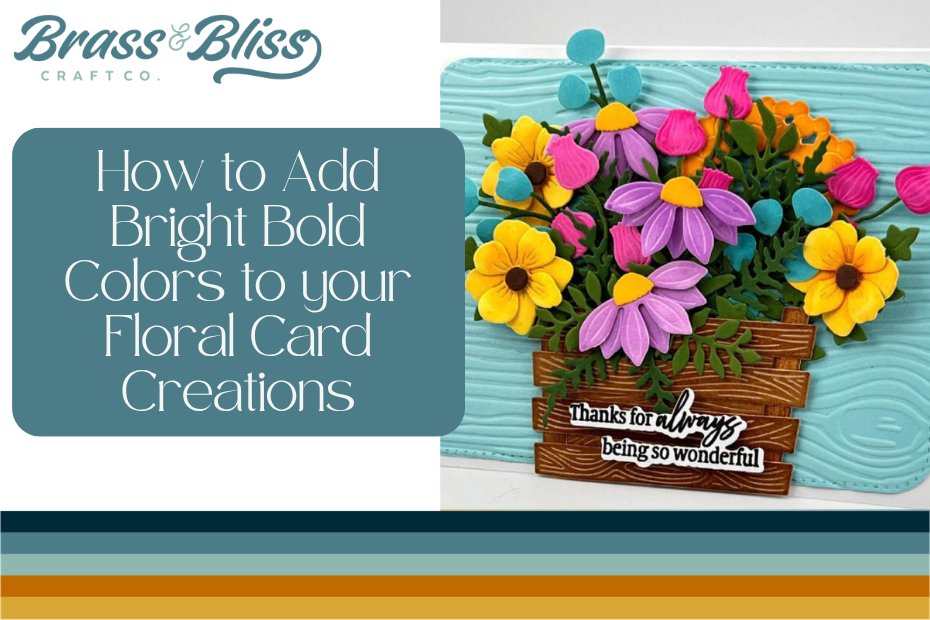
Use colorful paper flowers to create beautiful floral arrangements on your cards. Lean into color combos that really pop!
Today’s stunning card design is from Kittie, who always manages to turn a flat piece of paper into a 3D Work of Art!! These stunning florals are so bright your eyes can’t help but be joyful as you take it all in. Follow these steps to recreate this stunning card, and add some bright blood colors to your floral card creations!
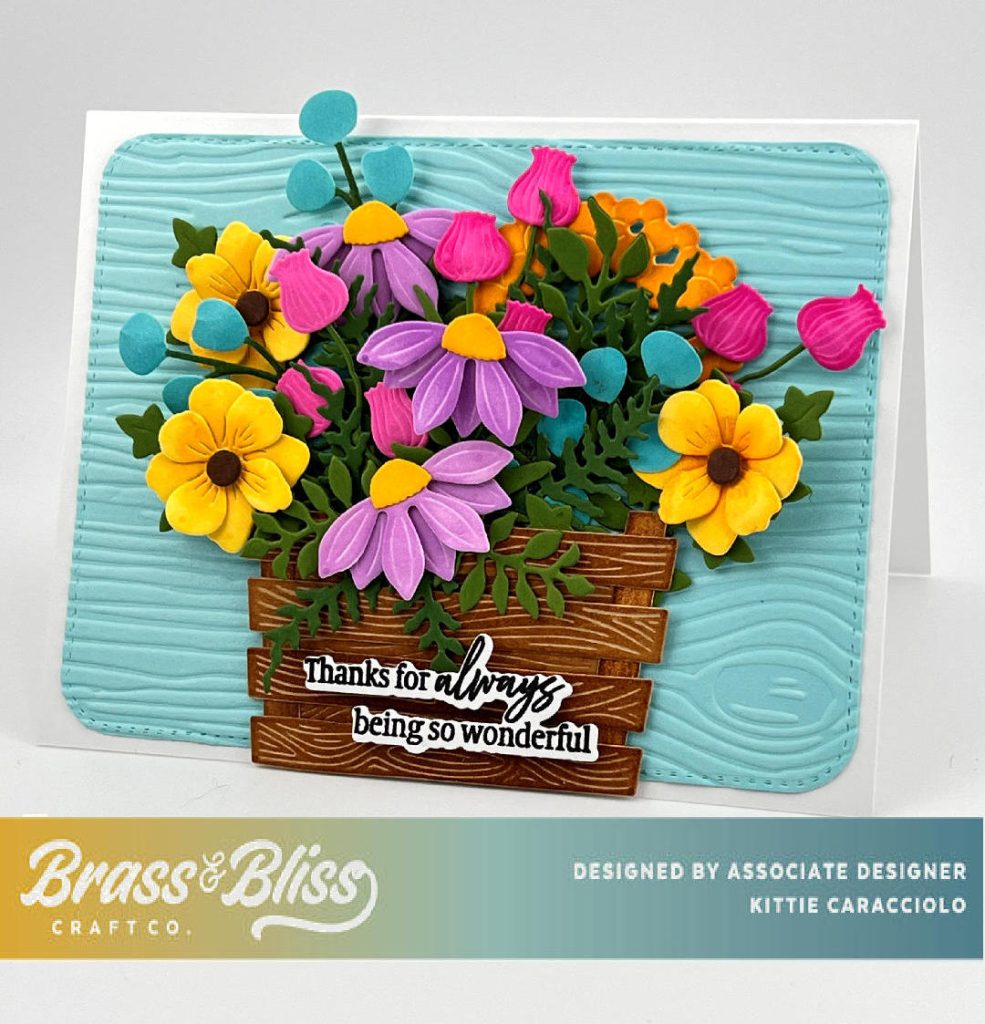
Card Base Layers and Crate
- Cut a 5.50″ x 4.25″ card base using white cardstock and an aqua piece for layering.
- Emboss the aqua layer for dimension. Embossing folder unknown brand.
- Use Kraft cardstock to cut the crate sections and apply shading with brown ink using a wet baby wipe. Pro Tips: Wet baby wipes work well to apply shading too die cuts.
- Assemble the crate sections and attach them together using glue dots. Note: I cut and colored a second sets of cross layers to place on the back of the crate to fill in the openings to hide the stems.
- Set the barrel aside to work on the colored paper flowers arrangement for the card front.
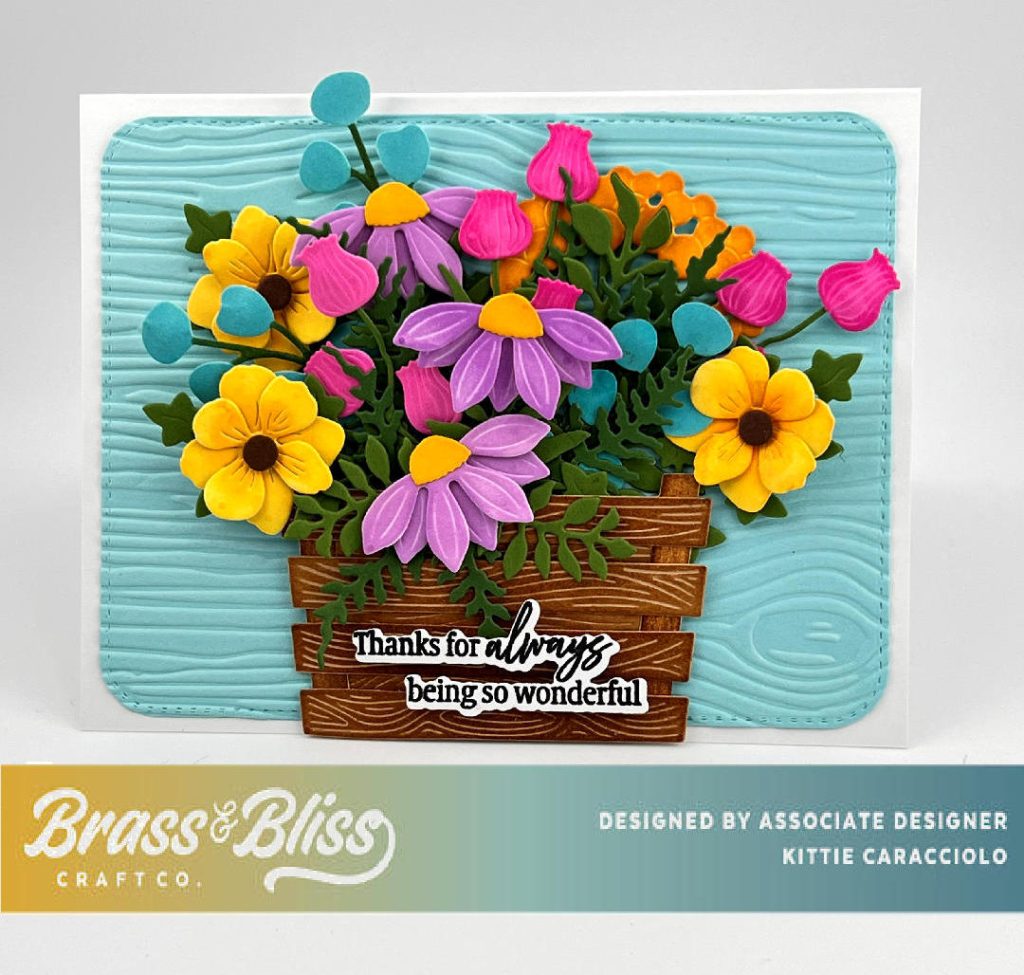
Card Base Layers and Crate
- Cut a 5.50″ x 4.25″ card base using white cardstock and an aqua piece for layering.
- Emboss the aqua layer for dimension. Embossing folder unknown brand.
- Use Kraft cardstock to cut the crate sections and apply shading with brown ink using a wet baby wipe. Pro Tips: Wet baby wipes work well to apply shading too die cuts.
- Assemble the crate sections and attach them together using glue dots. Note: I cut and colored a second sets of cross layers to place on the back of the crate to fill in the openings to hide the stems.
- Set the barrel aside to work on the colored paper flowers arrangement for the card front.
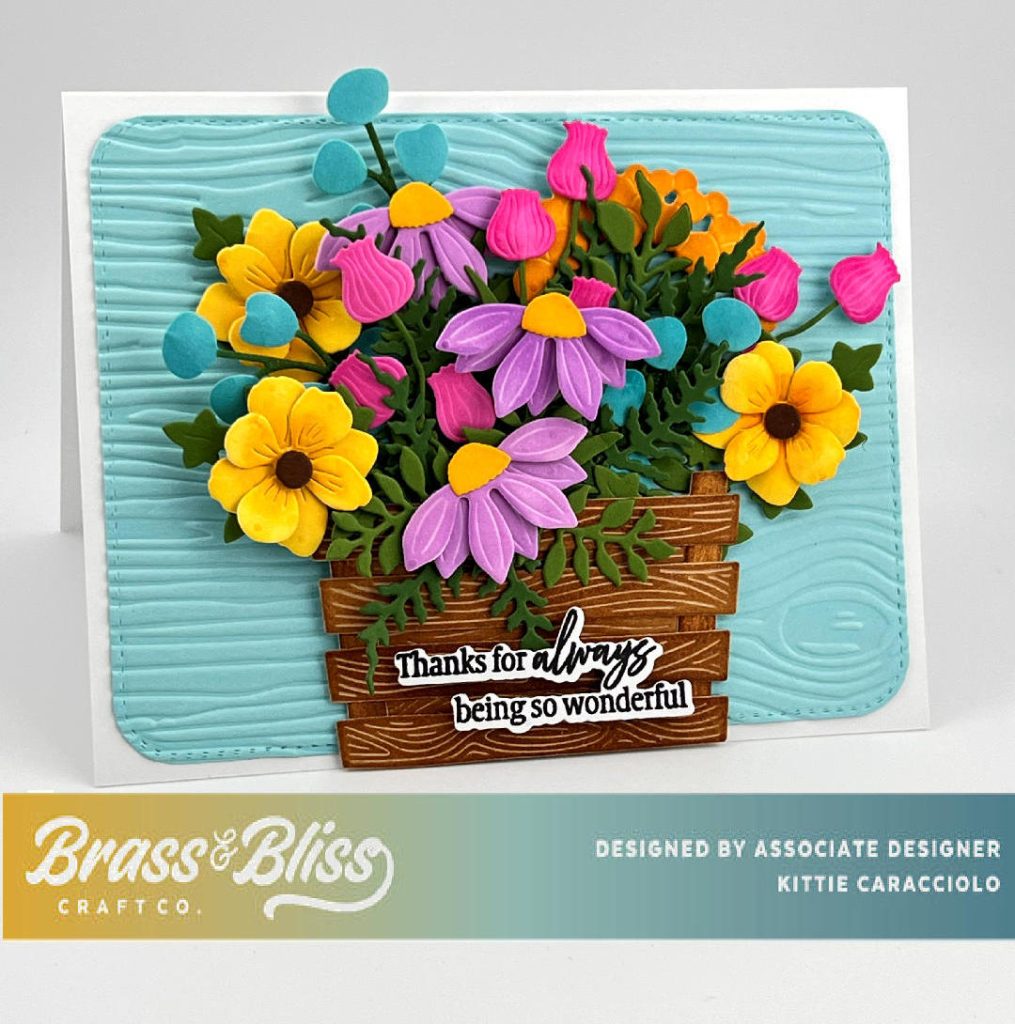
Fall Florals, Wooden Barrel and Crate, Nested Rounded Rectangle with Stitch, Fern Leaves, Large Ivy, Branches and Leaves, Thank You Stamp Set, Thank You Coordinating Dies.