
Looking to create a bit of magic with your next card project? Check out this “Golden Hour” forest scene that feels like an Autumn night.
Today’s project is really cool. Lisa used The stacked forest dies to create this amazing scene that has us longing for a crisp fall evening. She says, “I had fun creating an autumn scene using lots of Color Fuse Inks. When I was done, I didn’t want to cover it up with a lot of images, so I decided on a beautiful sentiment and a few leaves.” In the photography world, the best lighting always comes during “Golden Hour”, which is the hour prior to sunset. Everything is rich and bathed in color; Lisa did a great job capturing that magic with ink and paper. Great job! Follow along as she shows us how to capture a golden hour forest scene with paper.

How to make this card:
- I started with four white panels of cardstock cut to 5 1/2 x 4 1/4″. Be sure all three panels are the same size for easy stacking later.
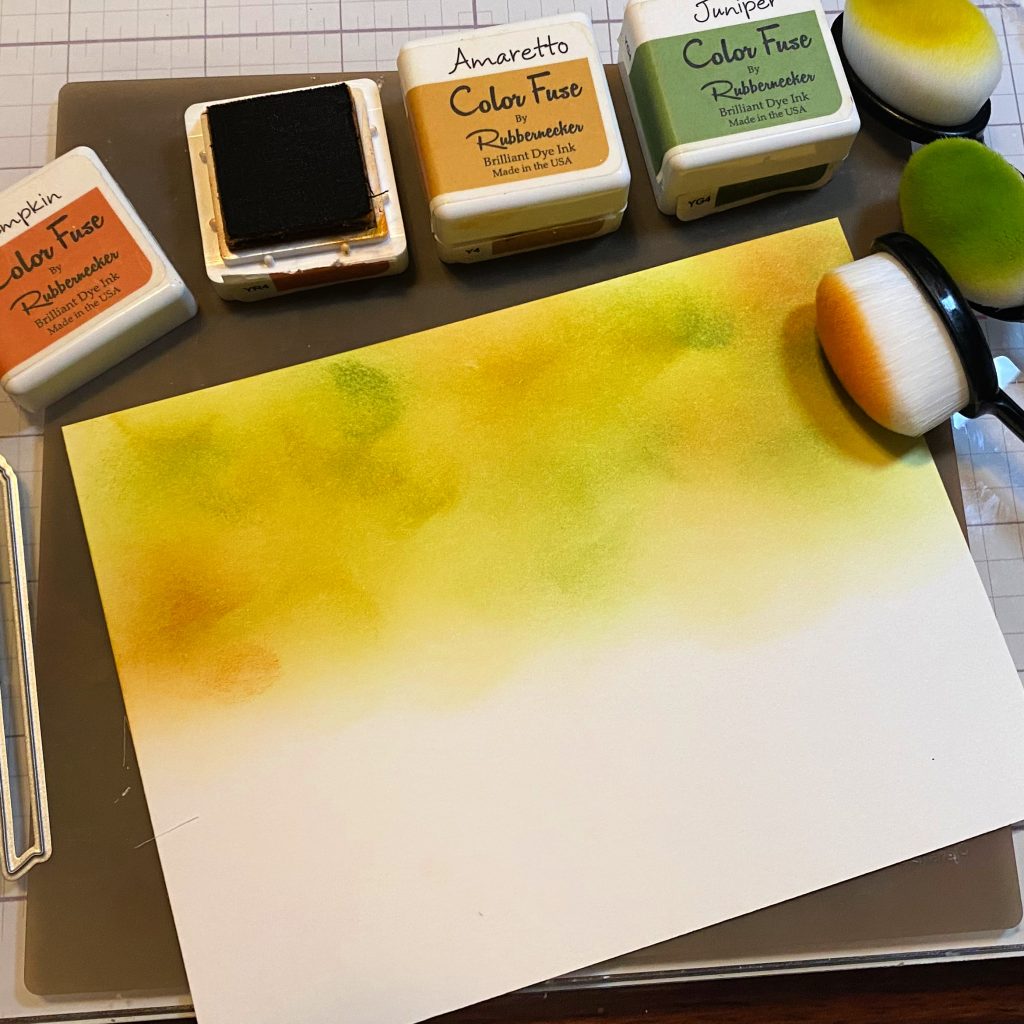
- For the first three, I blended ink over the entire panel in autumn leave colors at the top, browns for the tree trunks in the center and leaf covered grass at the bottom. I decided to color the entire panels before die cutting them knowing I’d use the extra pieces to cut some die cuts from. I used the following Color Fuse Inks: Color Fuse Set #1, Color Fuse Set #3, Color Fuse Set #2, Color Fuse Set #11 for these panels.
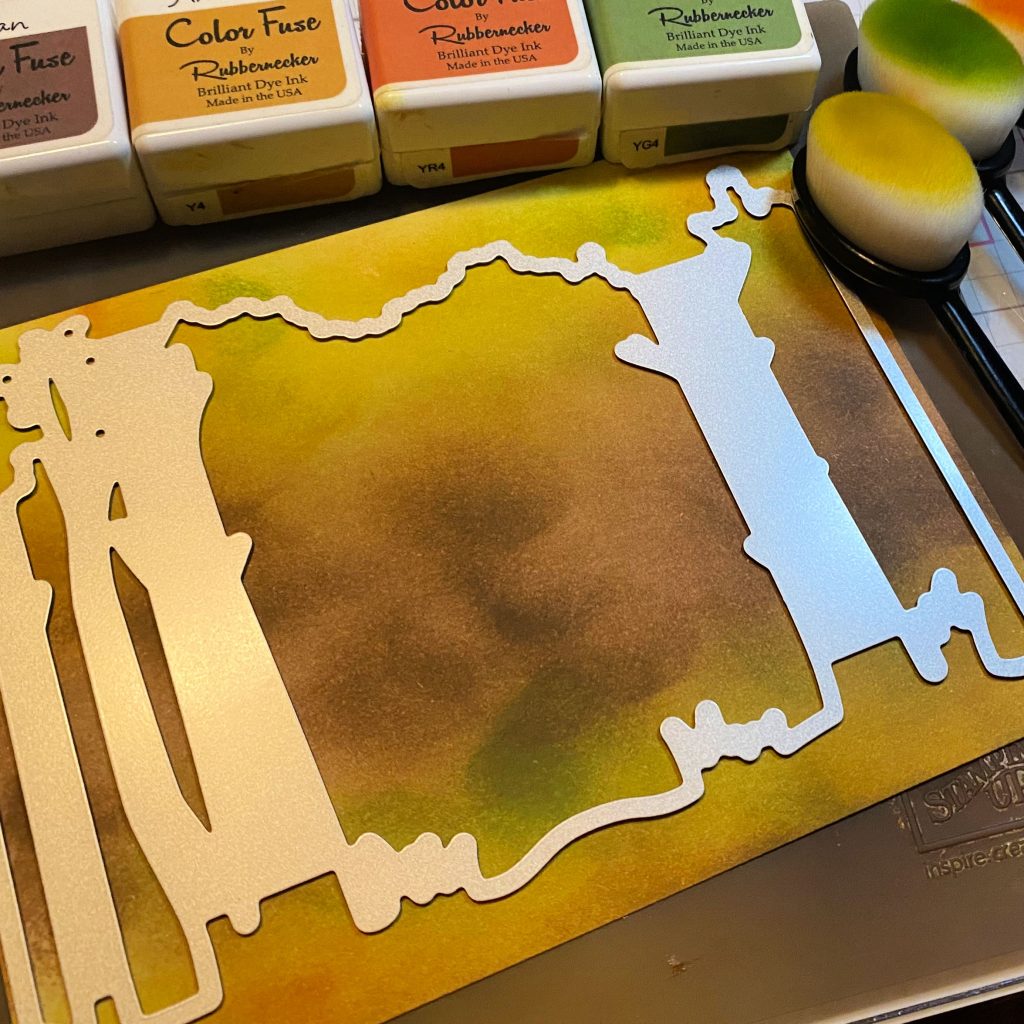
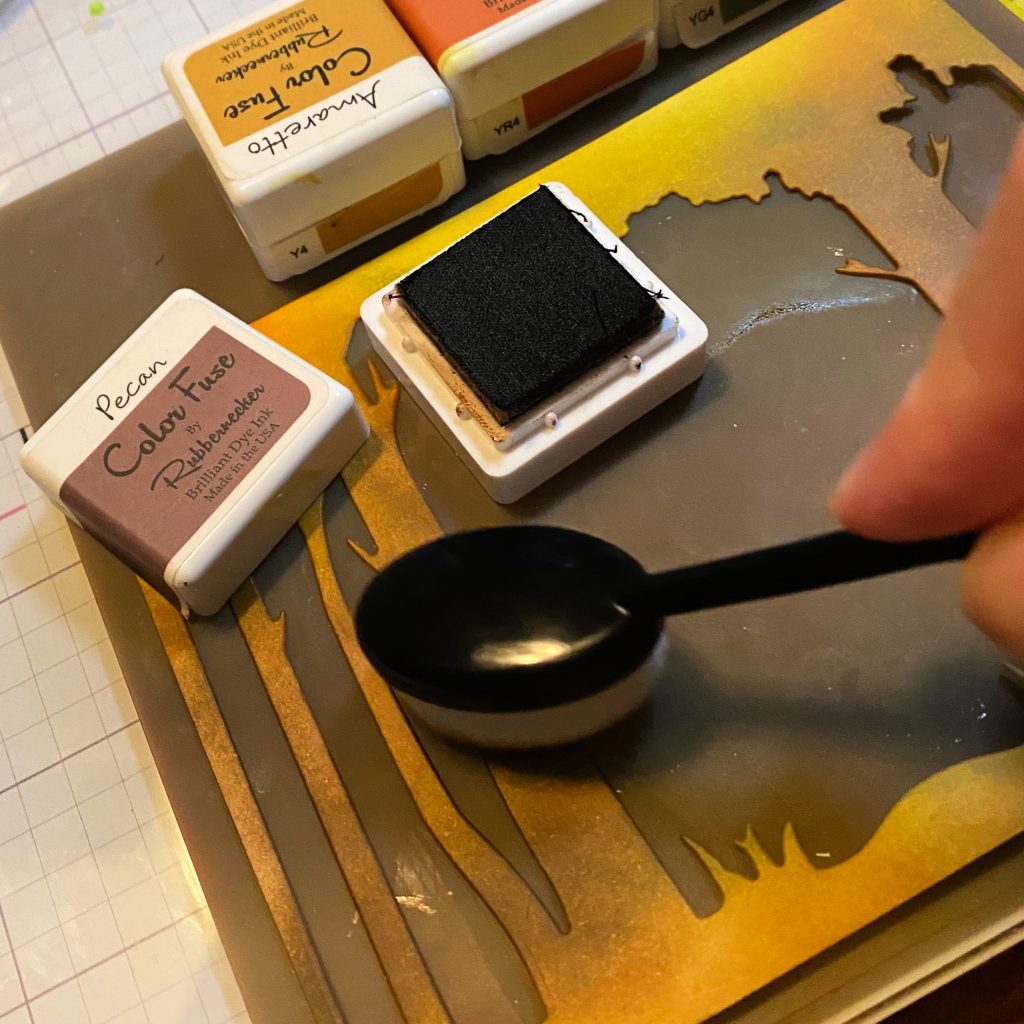
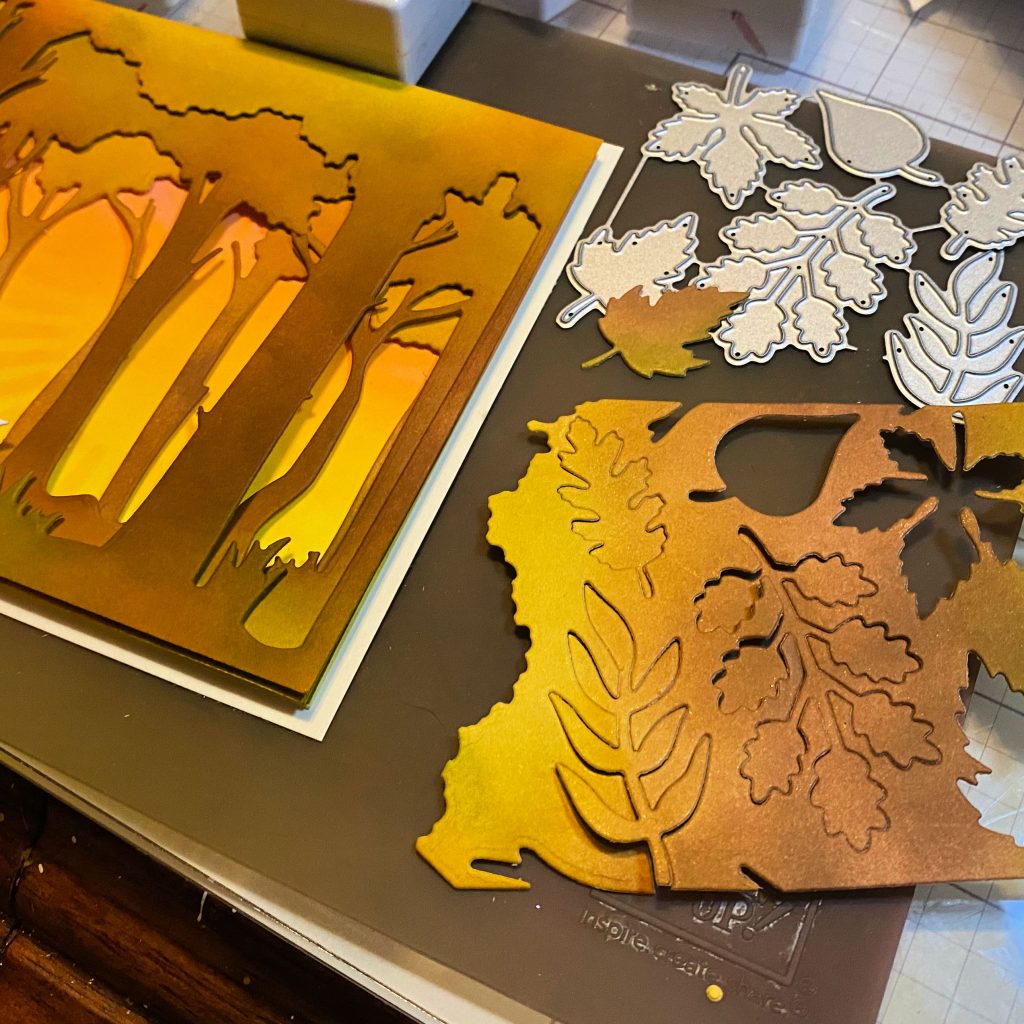
- As each panel was done, I cut it using the dies from the 5717D Stacked Forest Dies. (There are three). I then added a bit more ink to the areas that needed more targeted coloring… making the trunks darker or the leaves more colorful or more green in the “grassy” area.
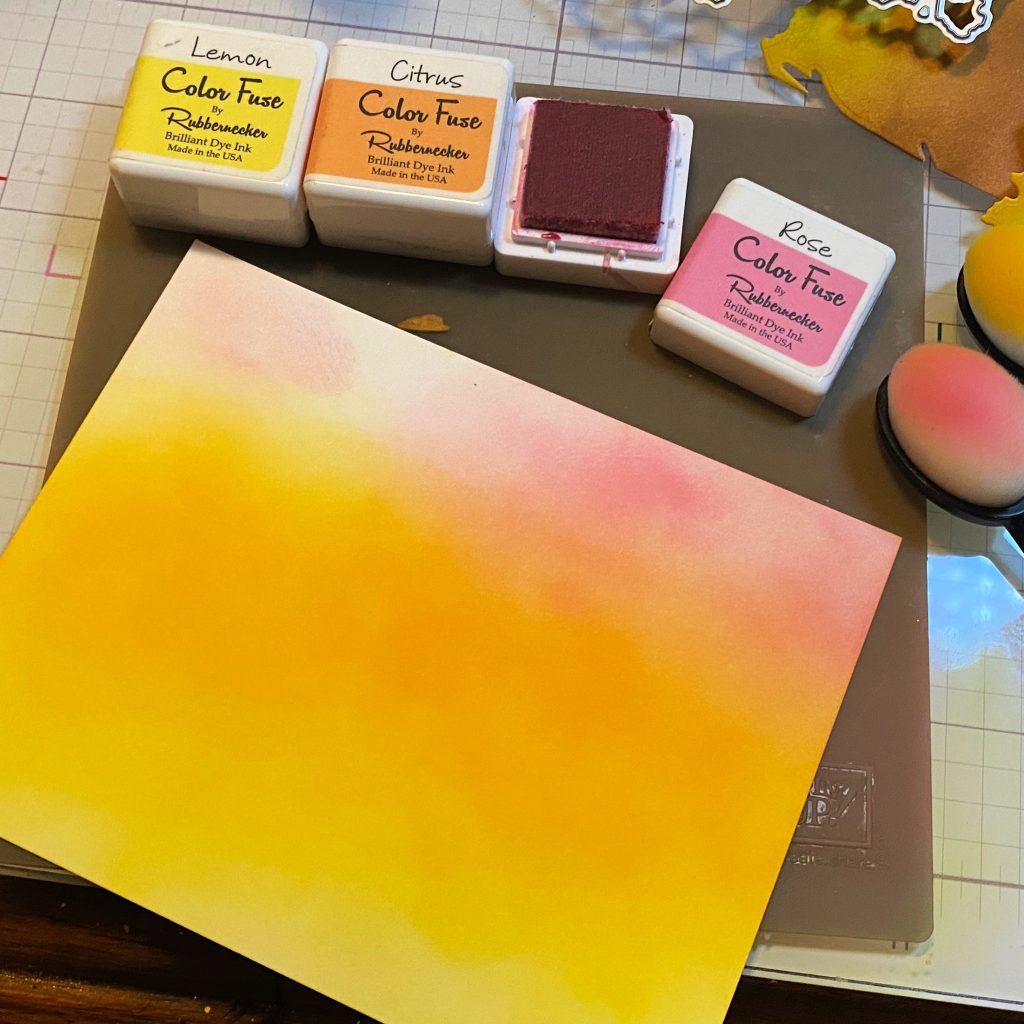
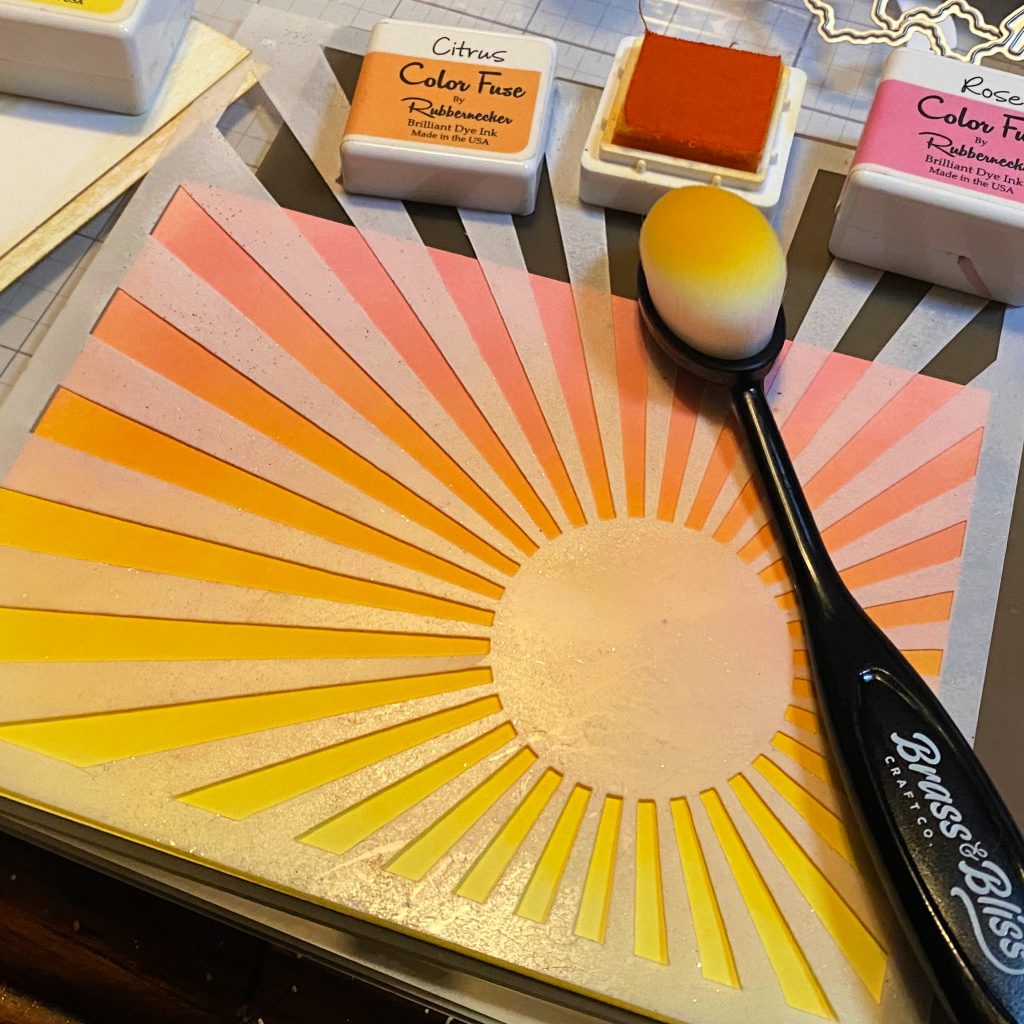
- For the fourth panel, I blended some lighter colors for a sunrise or sunset background. Then I used the 4108 Sun Burst Stencil – 6×6 to add some sunrays. I used the following Color Fuse Inks: Color Fuse Set #1, Color Fuse Set #2, and Color Fuse Set #5.
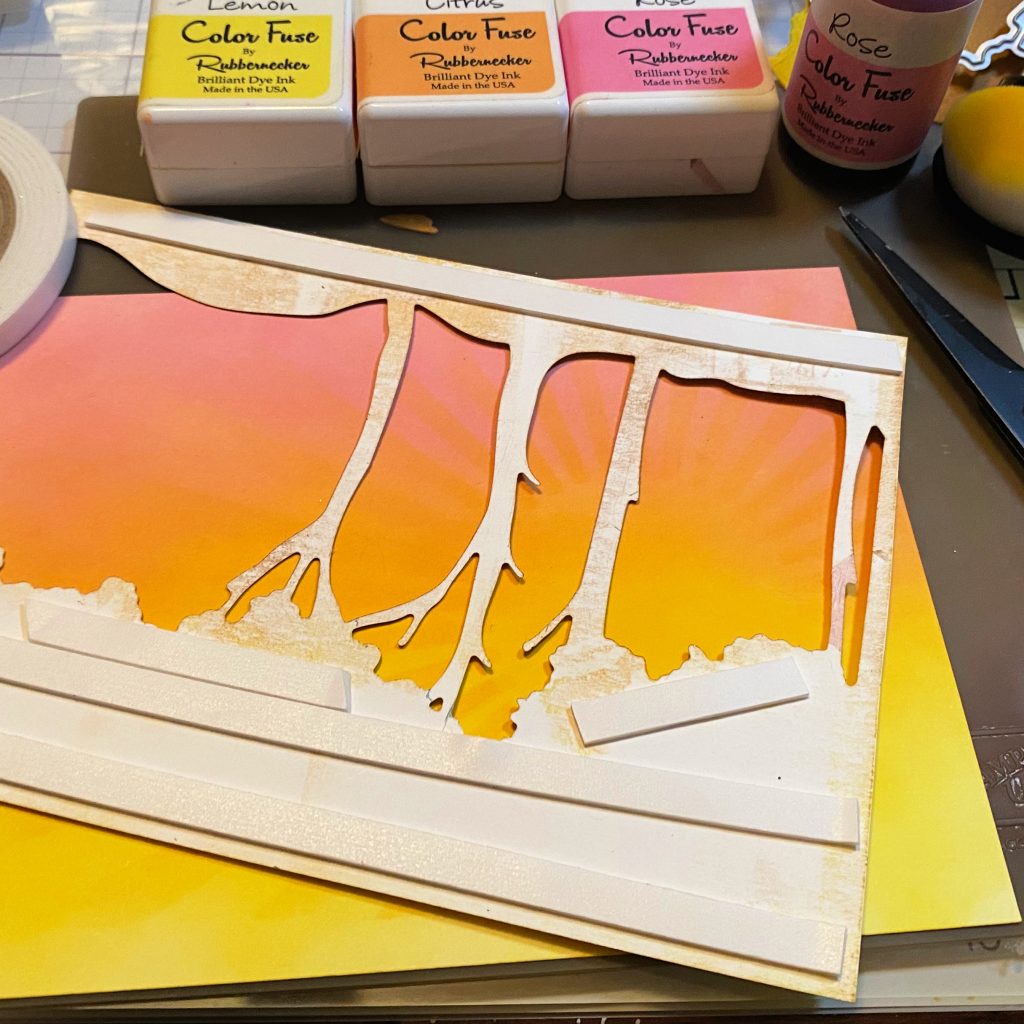
- Next I added thin foam tape and stacked each of the tree die cuts one on top of the other lining up the edges. Before adhering them I stacked them to be sure I had the look I wanted and found my bottom layer wasn’t showing enough of the leafy top area, so I trimmed about 1/4″ off of the bottom and lined it up at the bottom. The one above it covered up the empty space at the top so it worked out great.
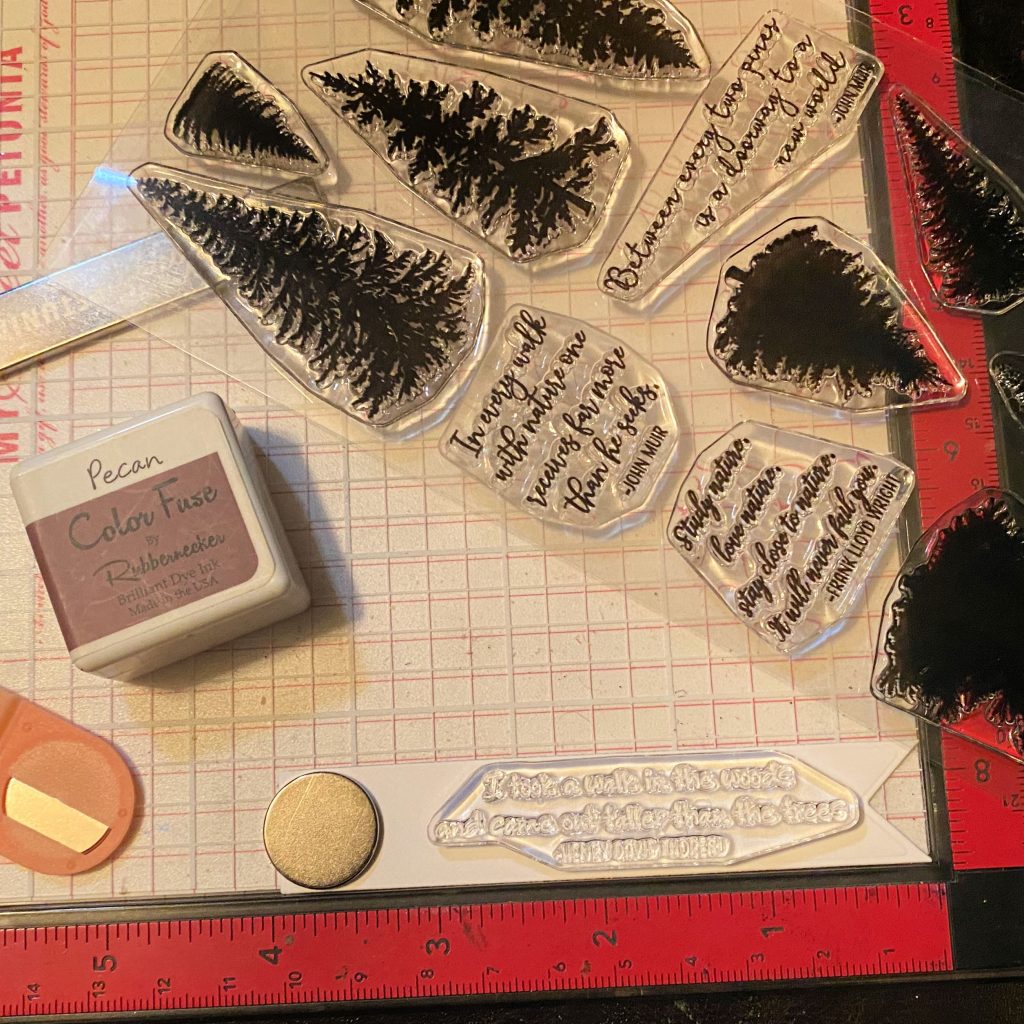
- Then I cut the 5605-03D Off Set Tags Die from white cardstock and stamped that beautiful sentiment from the 3460 Pine Tree – 4×8 Stamp Set onto one… it was larger than I needed so I trimmed the end off and popped it up with foam tape onto the trees.
- I cut some leaves from the extra pieces of those ink blended panels using the 5623-03D Leaf and Greenery #4 Die and tucked them under the sentiment strip and adhered them.
- Finally a few sequins and I cut a bottom base in white to 5 3/4 x 4 1/2 and adhered the stacked forest over it.
This stacked forest die really is such a wonderful staple to have in your craft room. It can be used for any season and adds so much dimension to your handmade cards. This beautiful sentiment is the perfect touch and does not take away from the beautiful ink blending Lisa did. Check out this other fun project using the stacked forest dies.
We hope you loved this project and pin it for later. Shop the links for all of the items used to make this card and be sure to share your creations with us over on instagram so we can share them with our crafty community. Happy Crafting.