
Retirement has FINALLY arrived and we have the perfect card to help celebrate your friend or co-worker.
Postage cards are all the rage these days and we’re here for it. Our November release included a new Postage Die and Postage Stencil. Today, Marla is showcasing both products to show off their versatility. Let’s take a look at her designs as she creates a celebratory retirement card for those lucky enough to be calling it ‘quits’!!!
Check out Part 2 as Marla shows us how to use the Postage Die in a fresh new way on the next post.

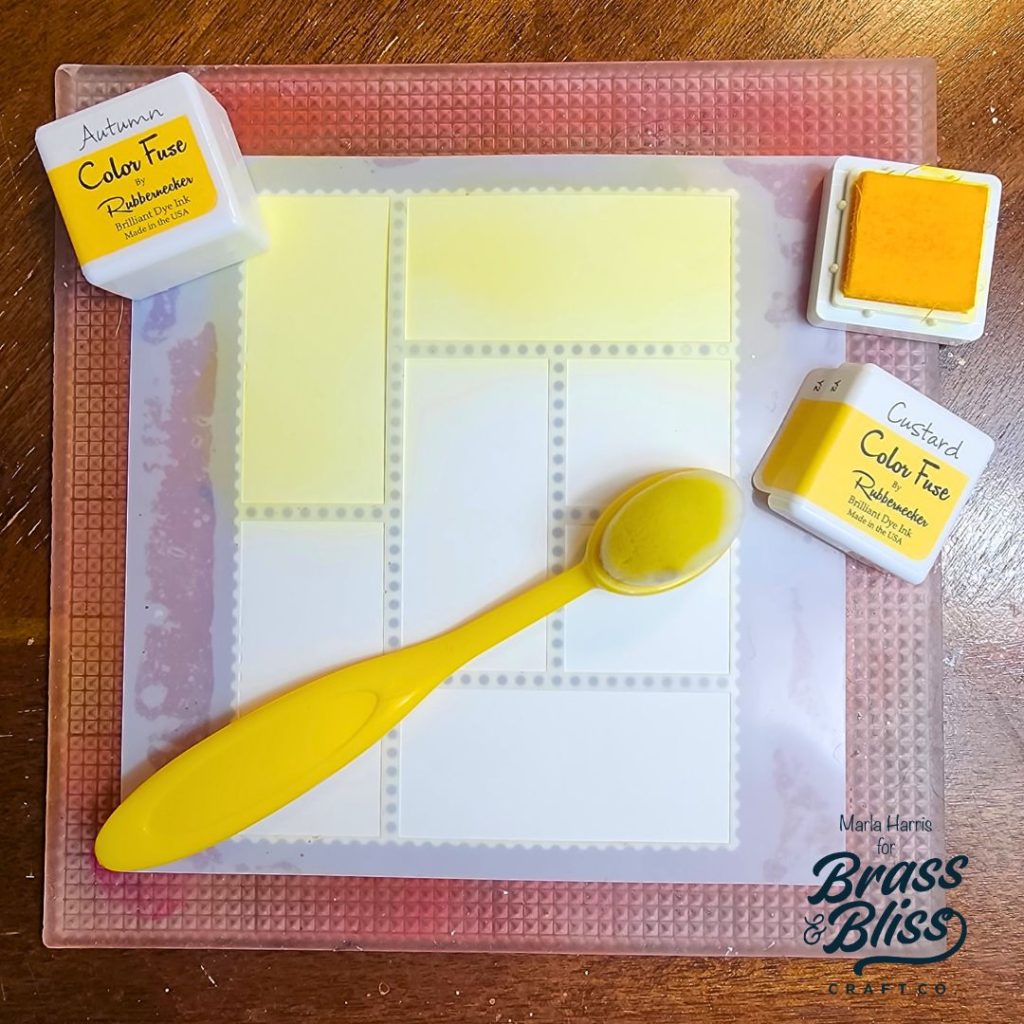
- Use the base die from 5851D Postage Stamp Cover die to cut the postage background.
- Layer our 5851S Postage Die Layering stencil on top of the die cut and stencil using Custard ink and adding depth with Amber ink around each stamp’s edges.

- Leaving the Postage Stencil in place, layer the 4402 Drips and Splatter Stencil on top and add the splatters using Grass Ink.
- Stamp the images from 37045 Cheers to That stamp set using gray ink.
- Copic color the images and use the coordinating die to cut the images.
- Add Glossy Accents to the champagne in the glasses and the splash from the bottle.

- Stamp the sentiment from our 37047 Happy Retirement stamp set, using gray ink.
- Die cut the sentiment using the smaller of our 5704 Nested Tag dies.
- Die cut the coordinating shadow piece using the larger die from green cardstock.
- Adhere the two layers together, adding foam tape behind the
- Using the same sentiment, use washi tape to mask of all of the words except “retired”.
- Ink the word and remove the washi tape before stamping the word onto the champagne bottle.
- Arrange the die cut pieces onto the inked background and arrange and stamp the remaining sentiments on the card panel.
- Remove the die cut pieces and stamp the sentiments using gray ink.

- Add foam tape behind the stamped and die cut images before adhering them to the card front.
- Adhere the completed panel to an A2 card front cut from green cardstock.
We are obsessed with this fun retirement card and love Marla’s use of the stencil/die combo. Hop on over to Part 2 to see a different way Marla has used these sets to create a fun new card that truly delights.