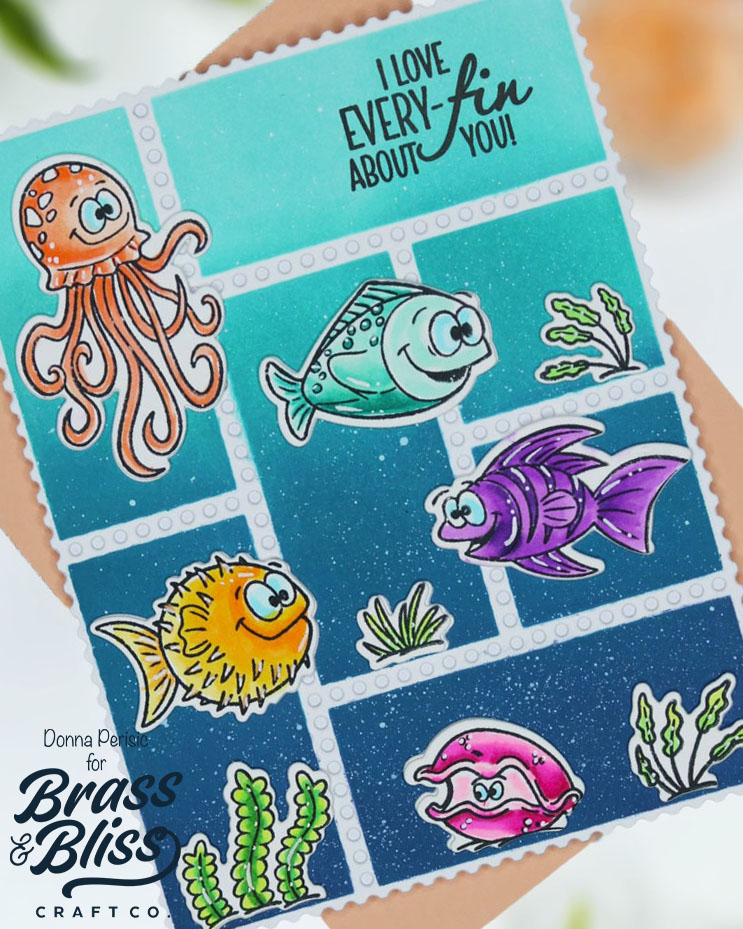
Bring those summer beach backgrounds to life with some fun ink-blending, and set the stage for and under-the-sea adventure!
Today’s gorgeous summertime card design is from Donna, who is bringing all the inky goodness! Donna said, “Living in sunny Florida, it’s pretty much impossible not to be inspired by all thing’s ocean and sea life. This card totally captures those happy, underwater vibes with the cutest sea creatures that instantly make me smile.” We love the way she colored it up and that background really makes everything else pop! This is a great contrast to yesterday’s design by Shelly, which used the same “Under the Sea” creatures against a white background. Both beautiful designs, done differently! Follow along and see how to create an ombre inked ocean background.
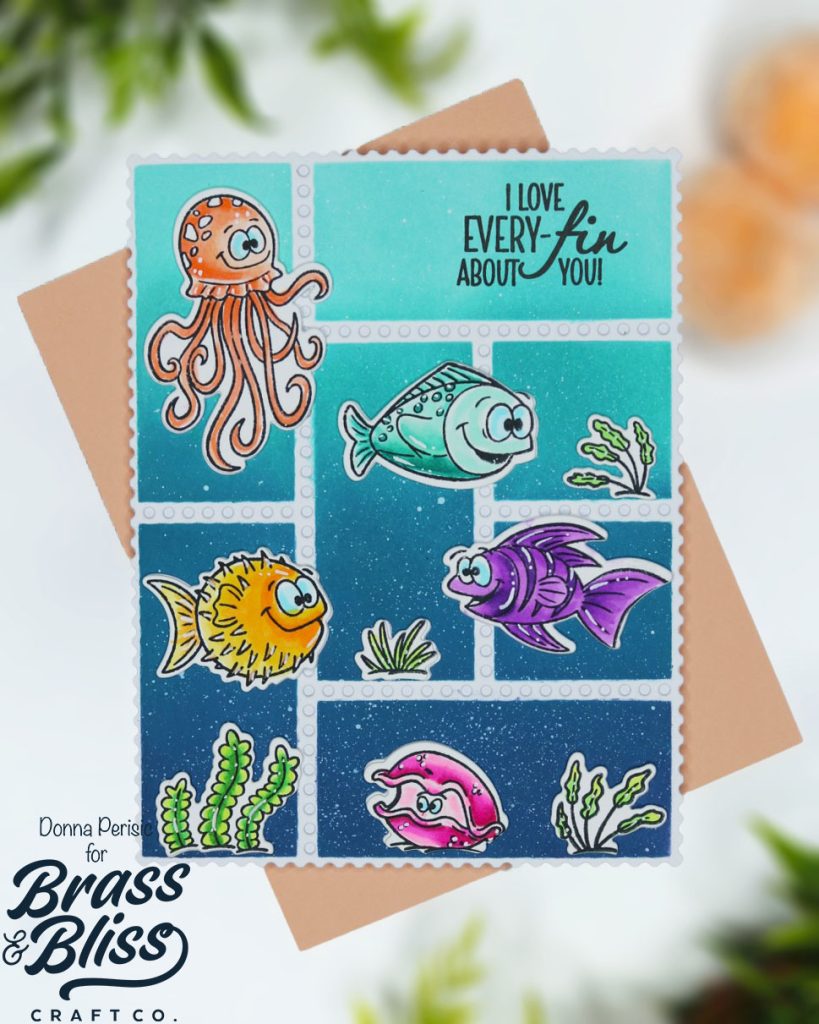
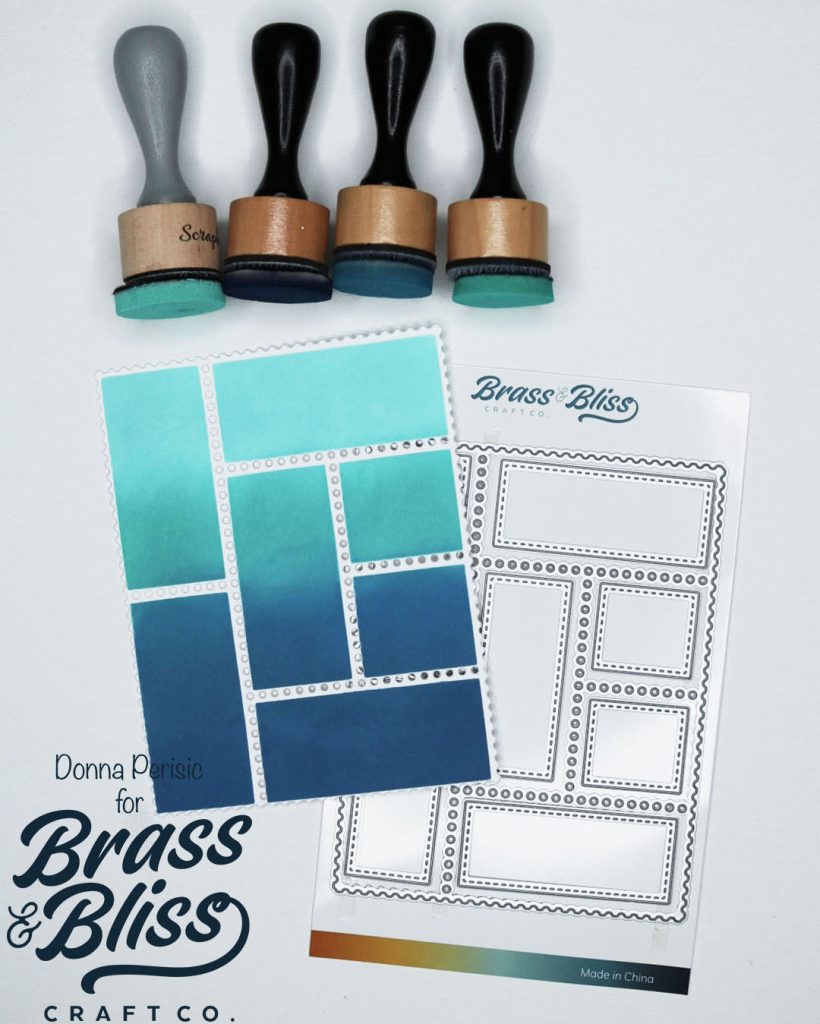
- I started by die-cutting a piece of white cardstock using the 5851D Postage Stamp Cover Die.
- Next, I layered the 5851S Postage Die Layering Stencil and ink blended an underwater scene using Distress Oxide inks.
- To finish off the background, I added white acrylic splatters for some underwater texture.
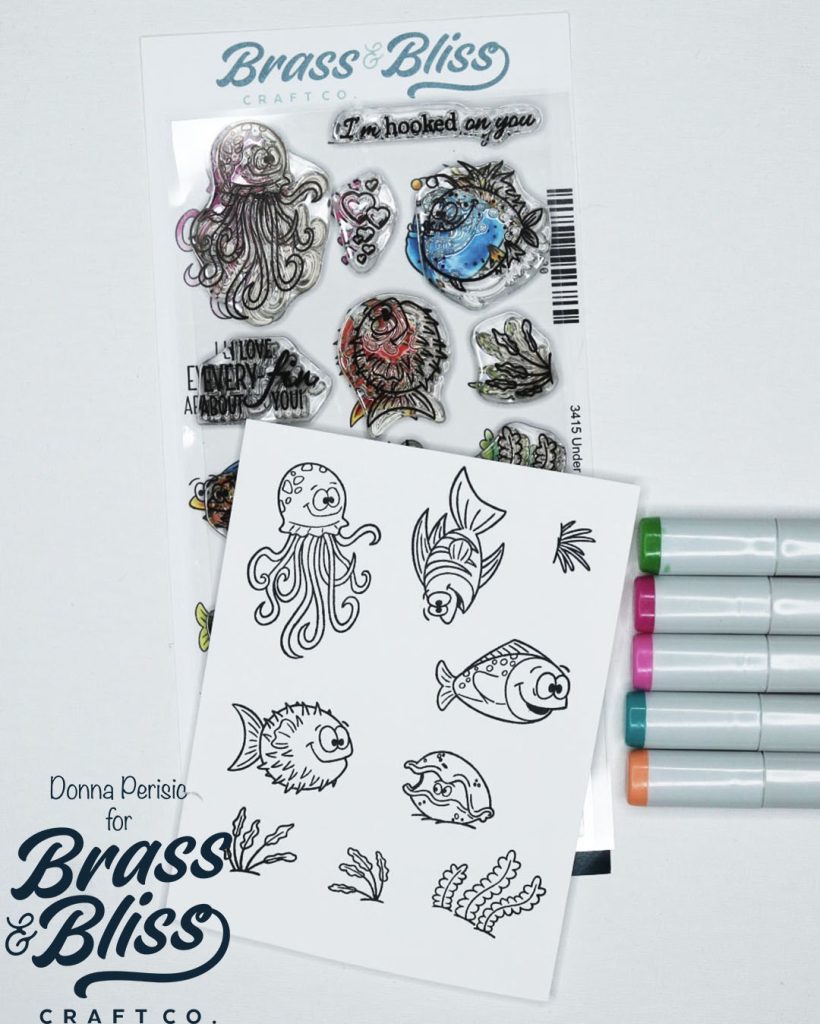
- For the images, I stamped them from the 3415 Under The Sea #2 Stamp Set and colored everything in with alcohol markers using the combinations below:
- Copic Markers
Greenery: G07, YG09, YG01
Pink: RV17, RV06, RV04, RV02
Teal: BG49, BG13, BG11, BG10
Peach: YR02, YR01, YR00, YR000
Yellow: Y38, Y15, Y13, Y11 - Olo Markers
Purple: V2.6, V2.4, V2.3
- Copic Markers
- Once everything was colored, I used the 3415D Under The Sea #2 Coordinating Die to cut out the images and adhered them onto the ink-blended background.
- Lastly, I stamped the sentiment and mounted the panel onto a side-folding A2 card base.