
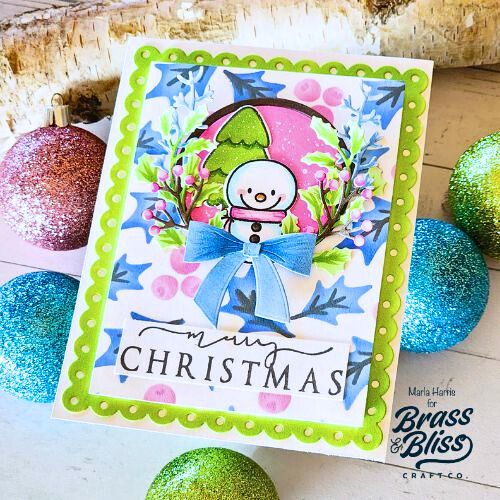
Looking to brighten up your Christmas cards this year with a fun color pallet? Check out this pink blue and green winter wonderland card that’s merry and BRIGHT!
It’s the most wonderful time of year here at Brass and Bliss. Whether you like cutsie or elegant Christmas card designs we have you covered. Today, Marla is bringing you an adorable Christmas card with non-traditional colors. Let’s tag along and see how she created this card bright and merry Christmas winter card.
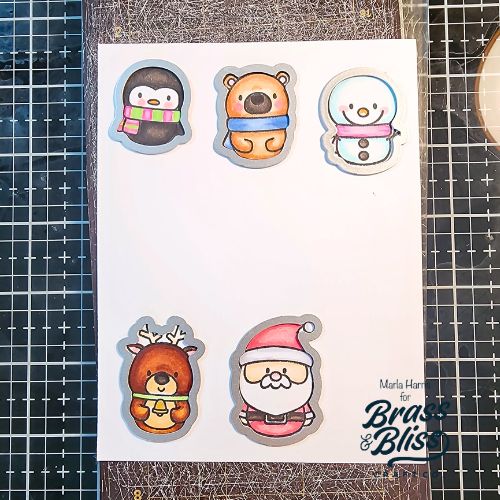
- Using white alcohol marker friendly cardstock, stamp the images using our 3332 Christmas Inchies stamp and Momento Tuxedo Black ink.
- Color the images using alcohol ink markers and use our coordinating 3332D Christmas Inchies die to cut out the images
- Cut out the branches and berries using our 5217-03 Wreath Set die and white alcohol marker friendly cardstock.
- Color the images with alcohol markers.
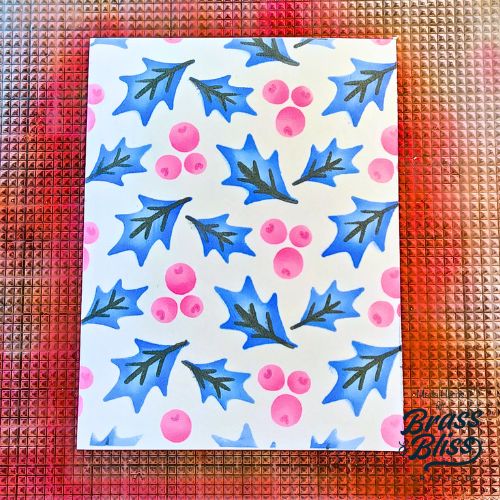
- Ink our 4213 Holly & Berries 3 Part stencil onto white cardstock using our Odyssey, Bubblegum, Fuchsia and Slate ink.
- Cut the panel down to 3.5″ x 5″.
- Add dimensional foam tape to the back of the panel.
- Die cut the bow using our 5814D Flower Wrap w/Bow die and ink it with our Odyssey ink.
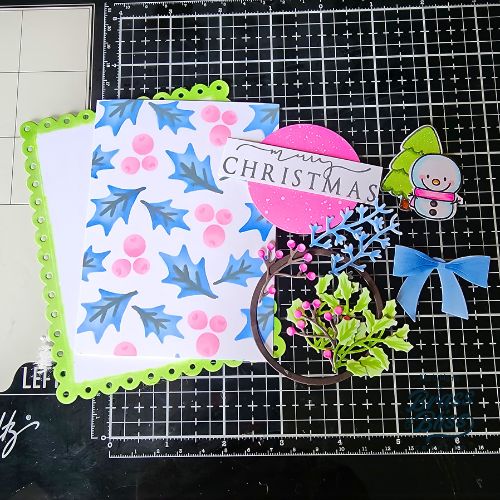
- Cut a circle in the panel using 5217-03 Wreath Set die.
- Ink the negative circle using our Fuschia ink and the outline ring with our Slate ink.
- Splatter the circle using watered down white gouache paint and a paintbrush.
- Die cut a piece of white cardstock our 5141D Nested Rectangle Scallop w/ Holes die.
- Color the edges of the scallops using our grass ink and add dimensial foam tape to the back.
- Stamp the sentiment from our 36050 Christmas Berry Delight stamp using our Steele Ink and trim the sentiment down.
- Add dimensional foam tape to the back of the sentiment.
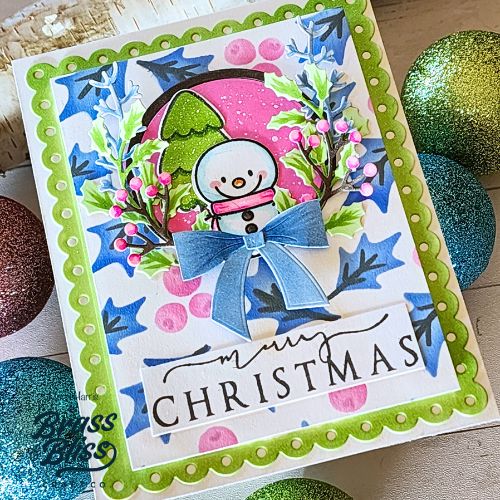
Assemble the card onto a 4.25″ x 5.5″ card base to complete the card.
We love how bright this card turned out, and how sweet the pinks and blues look around that adorable snowman. Marla did a fantastic job with this project and we just love seeing the ways our designers use the different items to make each card shine. Be sure to follow along with us all July, as we showcase fun Holiday cards and count down to our “Boughs of Joy” Release on July 23rd, 2025!