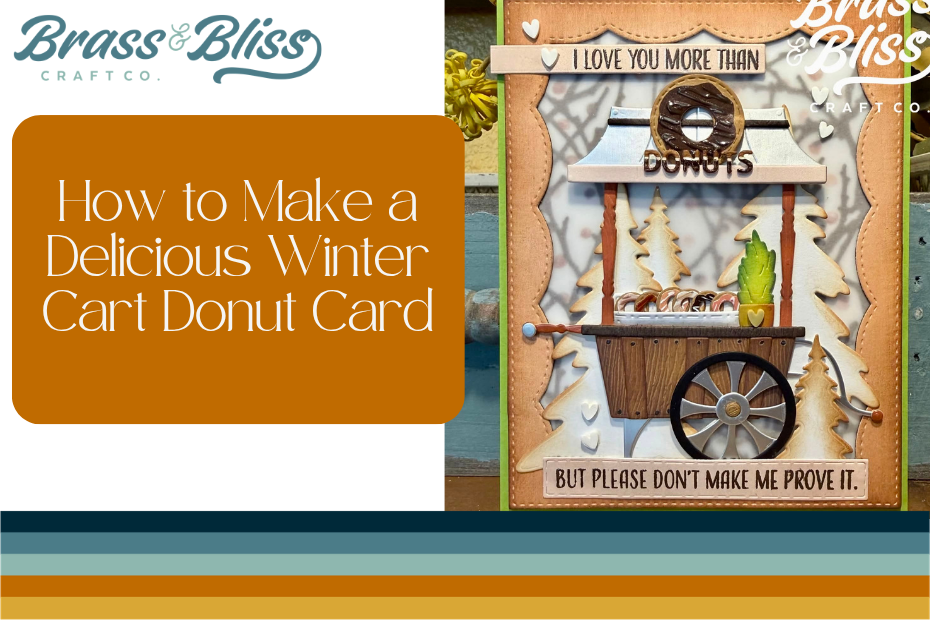
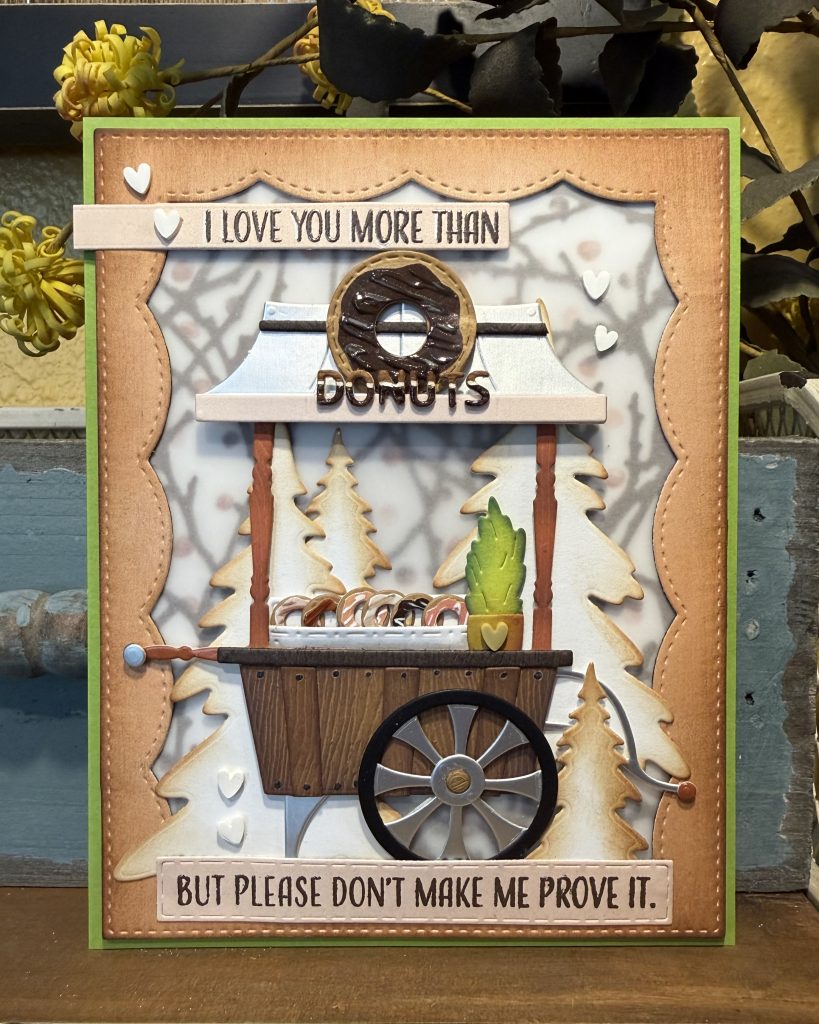
Looking for more ways to use the New Winter Cart Die? This adorable Donut card is making our mouth water and our hearts rejoice because it’s just so darn cute!
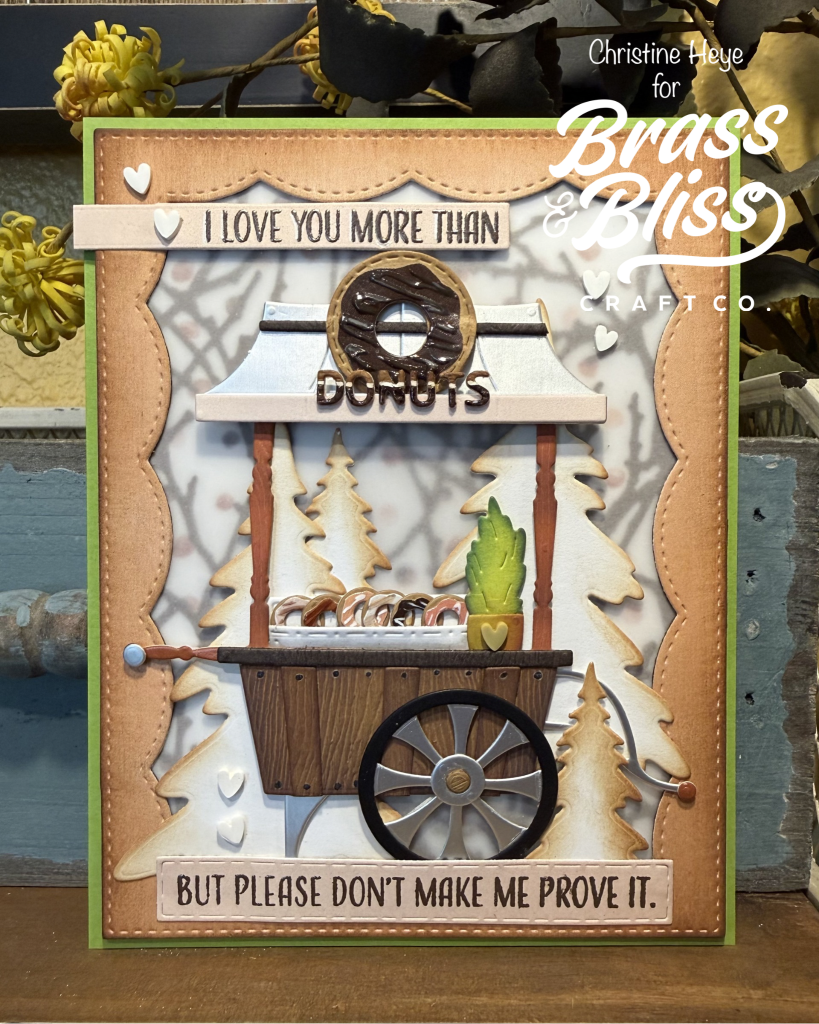
Today’s fantastic card inspiration comes from Christine who shared, “I’d love to be walking on a trail in the woods and stumble upon a delicious donut cart! You bet I would support that small business, for sure!” Today’s A2 card features the new and darling Winter Cart die and is supported by the new Winter Fir Trees and Winter Trees & Greenery die sets from our “Evergreen Wishes” Release. There are subtle layers, behind the cart to give the illusion of depth and deep woods; Christine is brilliant in the way she design things. This Winter cart die set is fun to create and has endless theme and design possibilities, for any time of the year! Follow along and see how to make a delicious winter cart donut card.
- cs= card stock, pp= paper pad, DO= distress oxide ink pad.
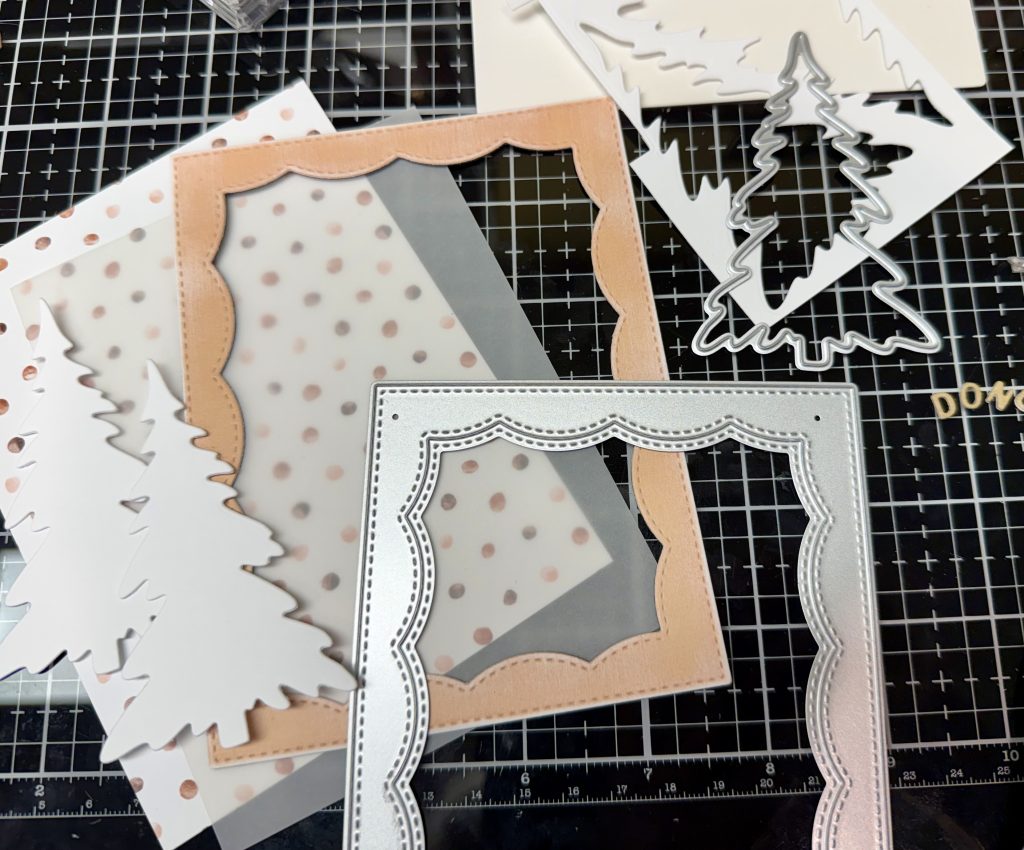
- Start by die cutting from chocolate cs- Twig Cover die. Cut a piece of patterned paper (I used the dots from But First Coffee 6×9 pp.) to A2 size (4-1/4”x5-1/2”). Add glue to border and a few larger spots of the Twig piece and adhere to the paper. Cut a piece of a lime green cs to 4-1/2”x5-3/4”. Adhere twig/paper layer to this layer, centered using glue.
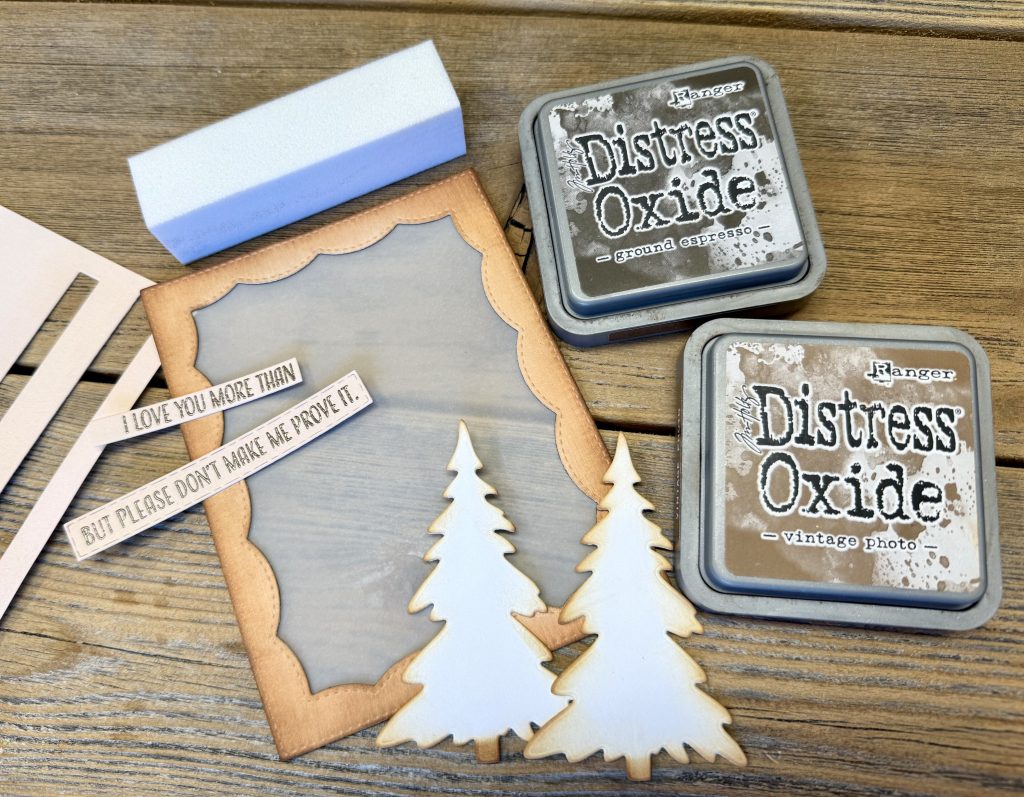
- Die cut Framed Scallop w/Stitch die from both the taupe patterned paper from But First Coffee pp and from 110# white cs. Adhere together (white on bottom) using glue. Using a sanding block gently sand the top edges and gently distress using a brown ink (Vintage Photo DO or your choice). Glue this directly to the base/twig layer. Set aside.
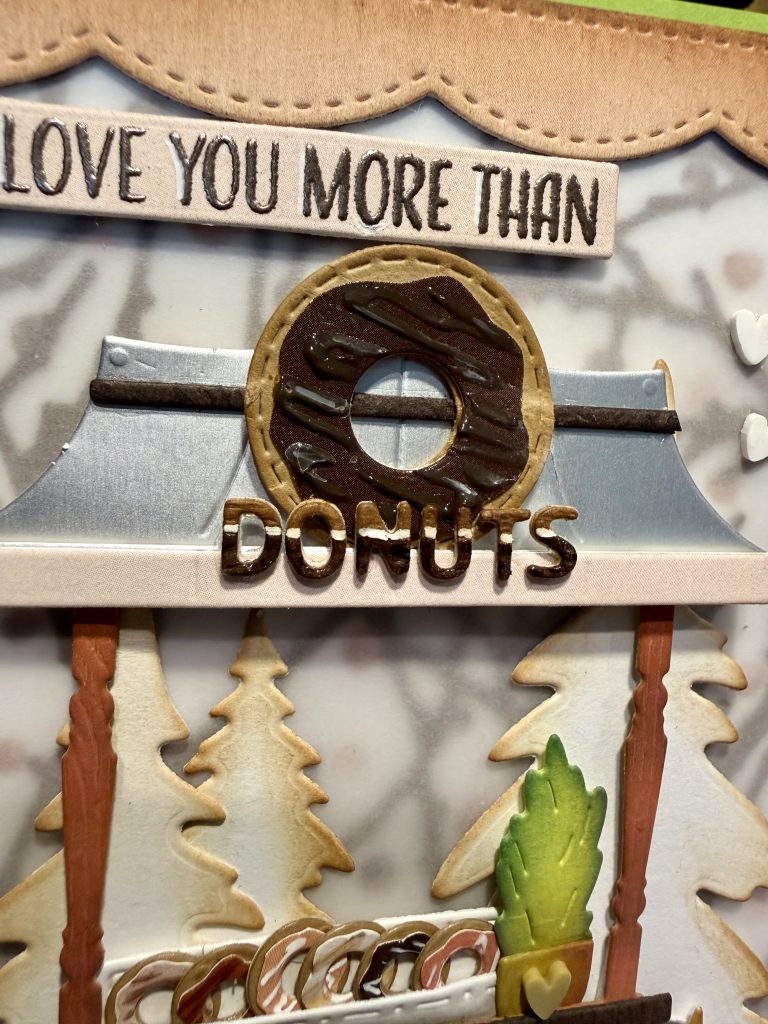
- Using the lightest pink patterned paper from the But First Coffee pp, wet emboss the sentiments of choice, using a chocolate colored embossing powder and versamark ink. I used the Let’s Meet for Coffee “Love you more than” sentiment. Die cut both out using sentiment strips or scissors. I kept the Love you section longer to hang over and add a clay heart. (See photos).
- Die Cut 4 trees (see photos) from the Winter Trees die set, using white cs. Gently distress using same brown ink. Set aside.
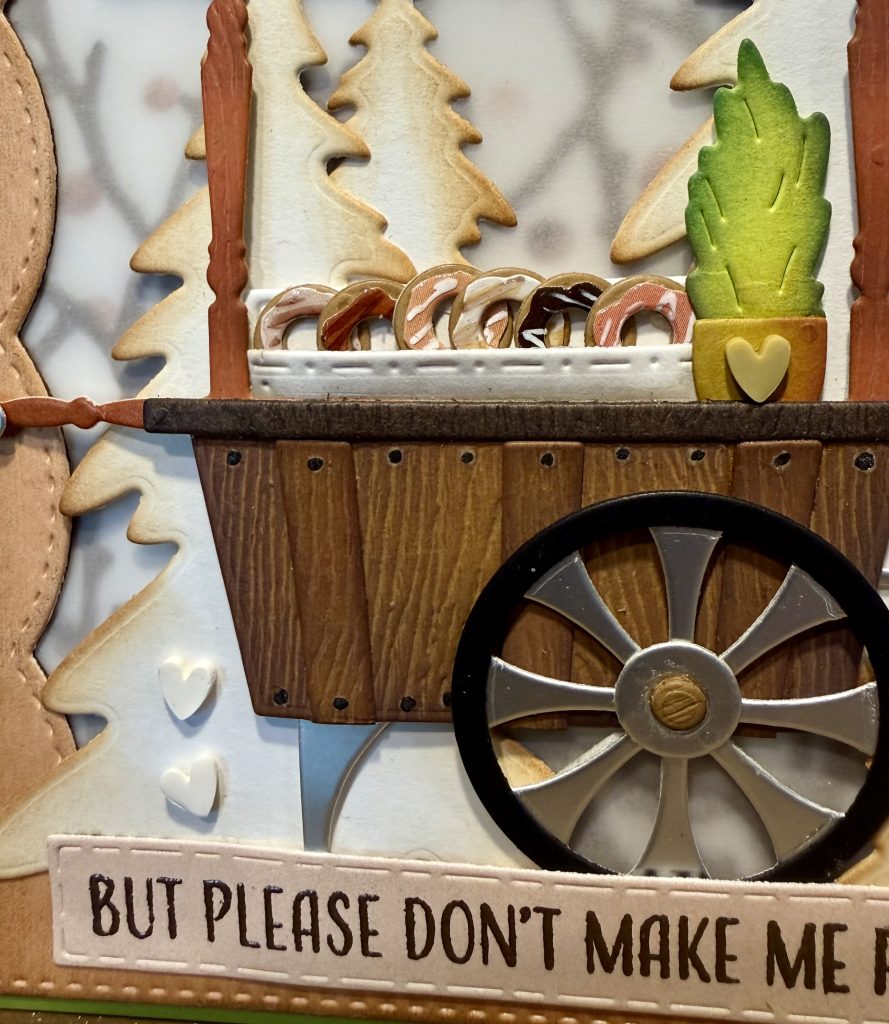
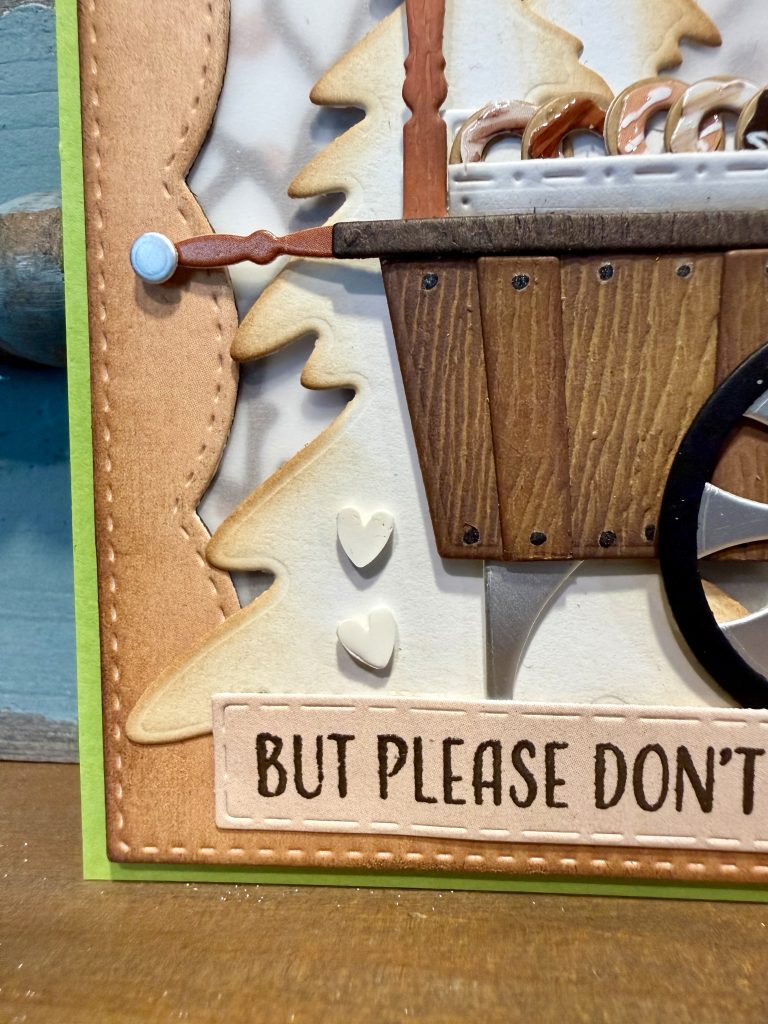
- Die cut all of the layers from the Winter Cart using preferred cs or even matte silver metallic cs. Build the cart as shown on the packaging. I used woodgrain cs, distressed with Ground Espresso, and Crackling Campfire DO inks. Also: Black (wheel), same light pink paper for the roof lip piece. After adhering add black gel pen dots to the woodgrain front.
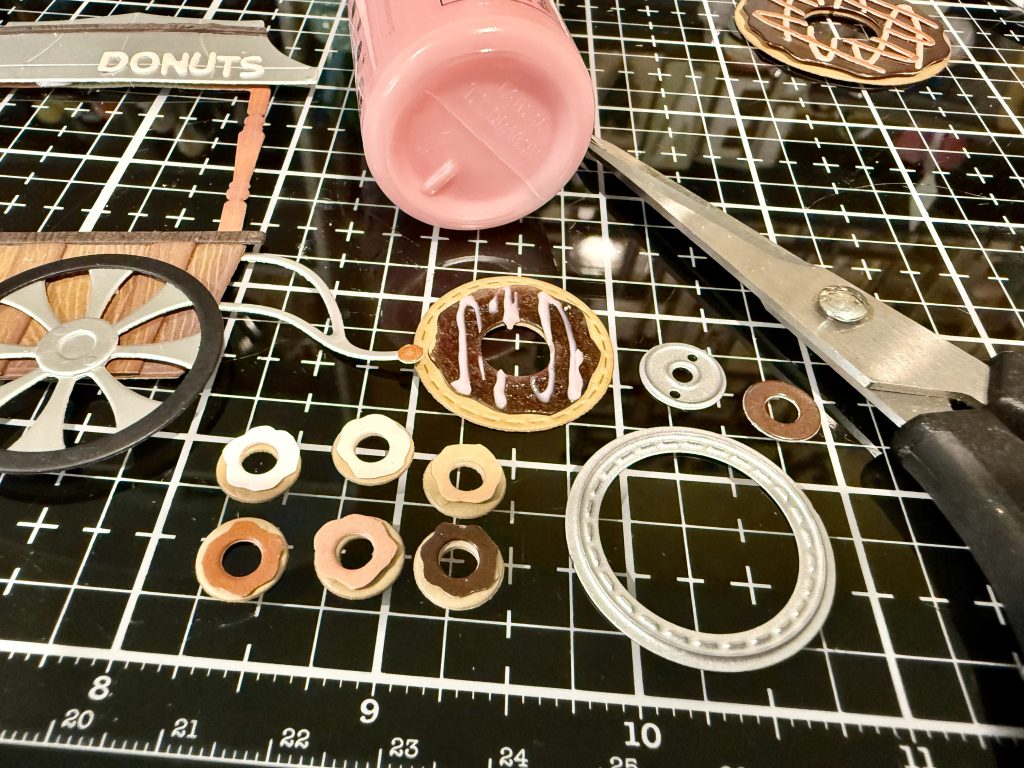
- Donut assembly: The large decor/roof donut is created from the Nested Circle Small Stitch die set. It is the smallest die cut from a light tan/kraft cs and cut again from the darkest chocolate color patterned paper from But First Coffee. This piece is fussy cut down with scissors to look like a glaze topping. Add a glaze drizzle using a liquid like Nuvo Drops or I used Pops of Color/Chocolate). The 6 mini donuts are created exactly the same way, but using the cart wheel CENTER as the donut and different patterned paper (using cart wheel center/fussy cut down for glaze). I used glossy accents to make it glazey, white gel and dark alcohol marker for drizzle lines). Cut a tiny white box front and back from same white cs using a stitched rectangle die. Added shadow lines with W3/W0. Glued donuts together in a stacked pattern. Glued to box front, then to box back. Lastly glued to backside of cart/shelf. Die cut the potted tree from same lime cs and distress with Rustic Wilderness DO or deeper green ink. Die cut tree pot from a green yellow cs and distress with Crackling Campfire & Vintage Photo DO inks. Glue together and glue to backside of cart/shelf. Using varying foam adhesives and using cart as a guide, adhere 3 trees in background. Layer cart over top- using foam adhesives on the top (roof) only and glue at the bottom. Put the last tree next to the wheel using foam at center and glue at bottom, tucked behind wheel.
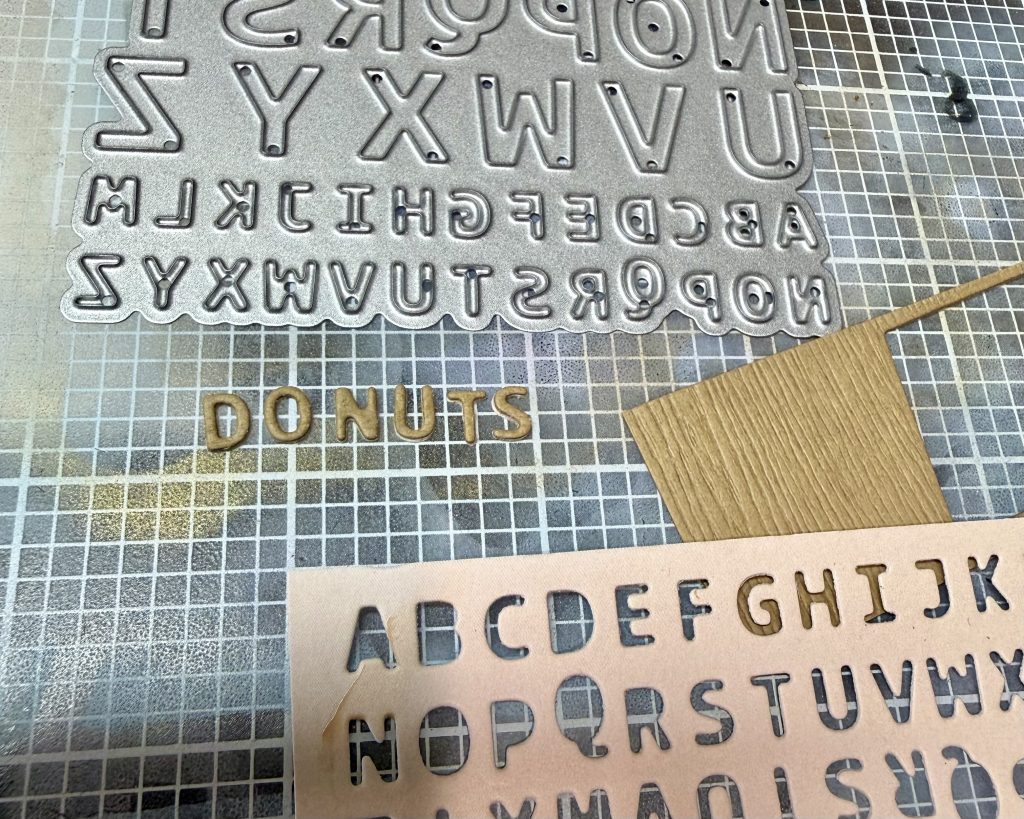
- Adhere larger donut to the roof with foam at top only, glue at bottom. Die cut the letter for DONUT 3x. Once from Kraft cs, 2x from same white cs. Adhere together. I embossed the bottoms only with versamark ink and a dark chocolate embossing powder, for a glazey/glistening look. Added a white line between the embossed side and the top kraft “donut” side. These are glued directly to the light pink patterned paper roof strip.
- Add sentiment strips, top sentiment with thin foam, bottom with liquid glue, just covering wheel and bottom tree. Add clay hearts to desired spots. Hope you had a fun time and are going out to find the right donut to satisfy your craving! :O)
- 5936-05D Winter Cart Die
- 5936-01D Winter Fir Tree Dies
- 5936-06D Winter Trees and Greenery Die
- 5852-01D Framed Scallop w/Stitch Die
- 5618D Small Classic Alphabet Die
- 36036 Let’s Meet for Coffee 4×8 Stamp Set
- 5012D Nested Circle Small Stitch Die
- 2206 Whispers of Fall 6×9 Paper Pad
- 2404 But First Coffee 6×9 Paper Pad
- 5841D Twig Cover Die