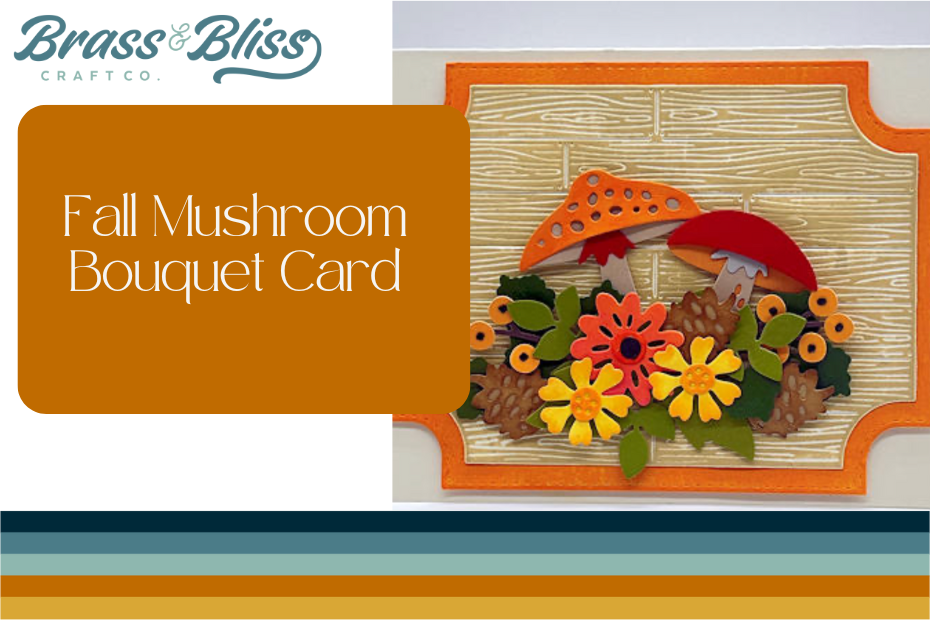
The Brass and Bliss Fall Mushroom Bouquet set is fun to play with and the versatile parts and pieces provide endless possibilities.
Today’s beautiful fall design is from Kittie, who makes everything 10x more beautiful when she touches it. This papercrafting goodness is such a fun autumn creation and we love how this card is perfect to send out for any fall occasion. Follow along for steps to recreate this fall mushroom bouquet card.
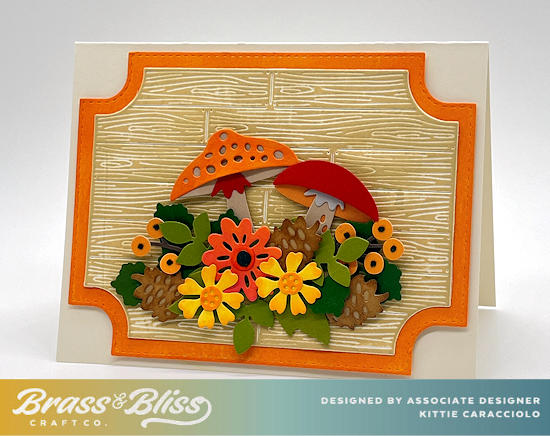
Cut the Nested Woodgrain Sign sections using orange and white cardstock. Apply light brown ink to the smaller white section using a wet baby wipe. Pro Tip: Applying ink with a wet baby wipe is a fast and easy technique when coloring large sections. Attach the two layers together using double stick tape and attach the signs to the card base using strips of mounting tape.
Assemble the mushroom pieces together. Cut the flowers and pinecones using white cardstock and color them using Color Fuse inks and blending brushes. Use green cardstock to cut the foliage sections.
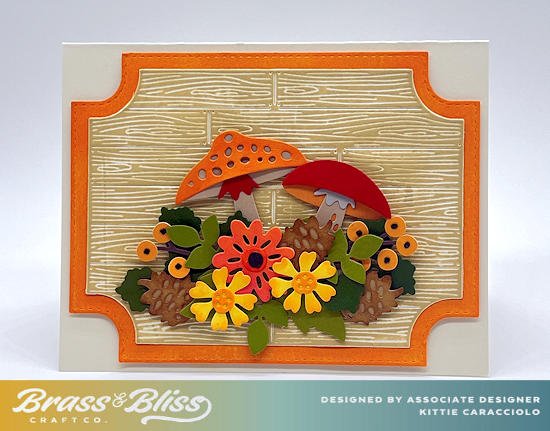
Begin the bouquet by attaching the mushrooms to the base using pieces of mounting tape. Use pieces of mounting tape to attach the three main flowers. Tuck the foliage sections under and around the flowers and attach using Nuvo adhesive. Tuck the pinecones under the foliage and flowers and attach using pieces of mounting tape.
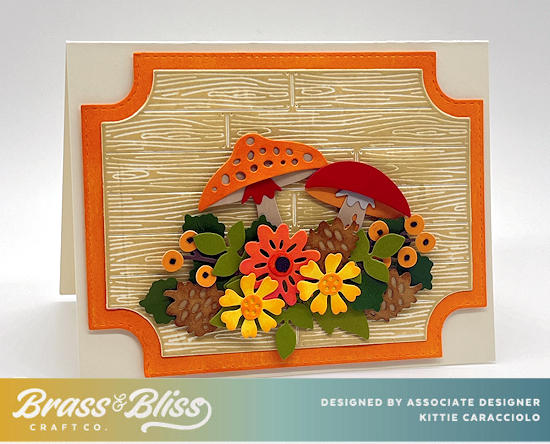
To make this card I used the Nested Woodgrain Sign, Fall Mushroom Bouquet,