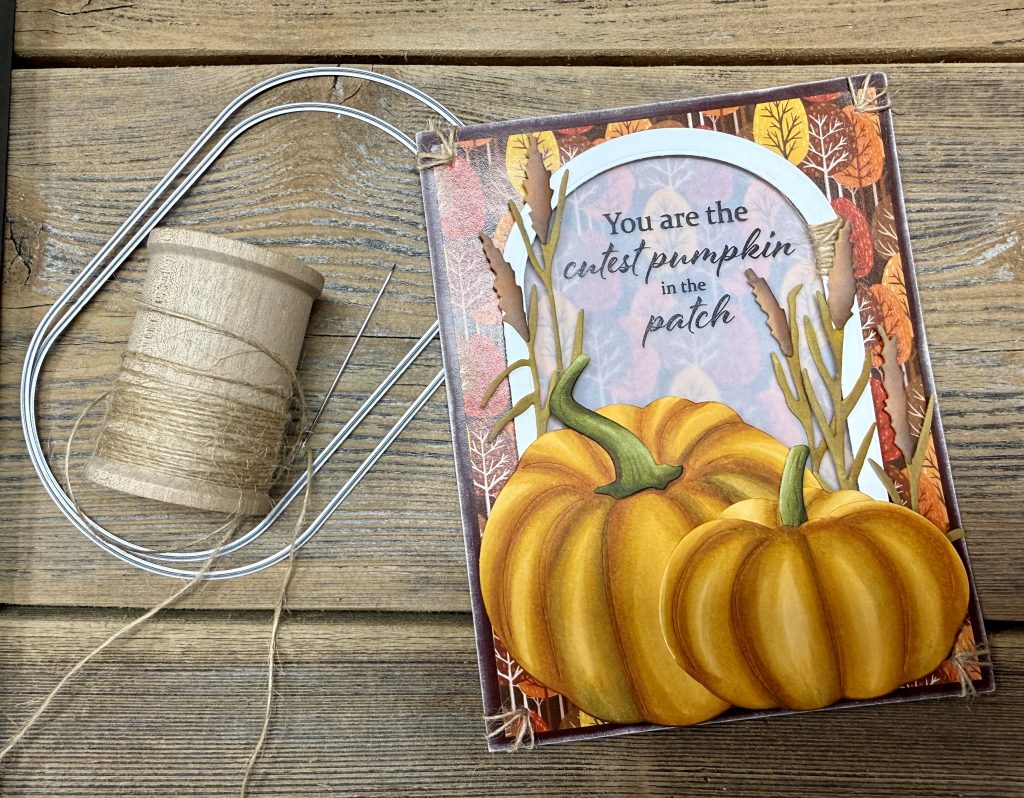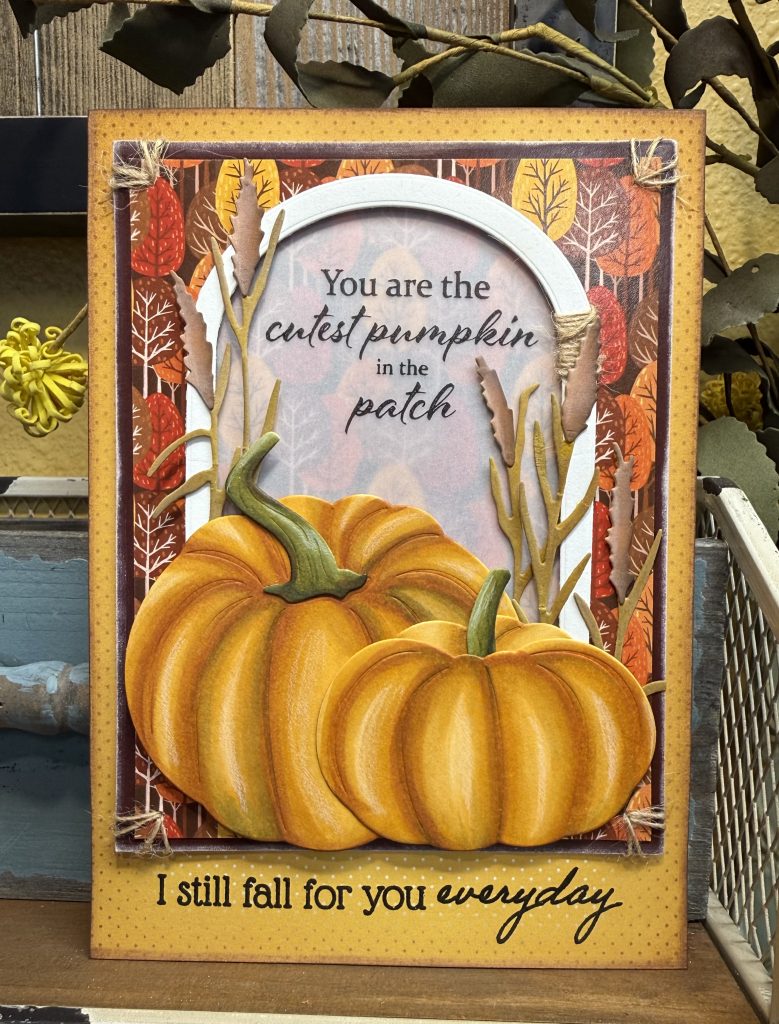
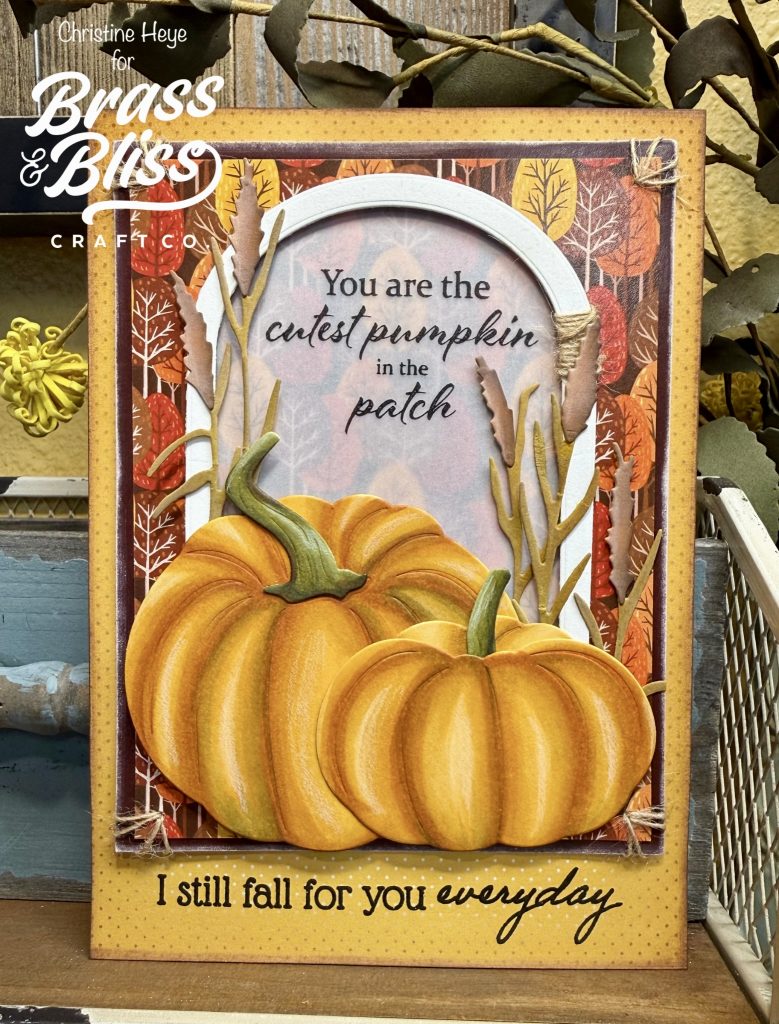
Got a cute “pumpkin” in your life? Possibly someone you “fall” for everyday? This Autumn themed card is the perfect way to share the love.
Today’s brilliant Autumn card is a blast to make and looks like a walk in the woods during September. Christine Heye did such a beautiful job coloring up these Fall pumpkins and setting them against a super interesting background. This tutorial features some coloring, quick sewing, die cutting, of course, stamping on vellum. We adore the idea of a “Love” themed card that’s not for Valentine’s Day, but instead full of all the warmth and thankfulness that fills the Autumn season. Follow us to the pumpkin patch and see how to make a flirty Autumn card for your pumpkin!
- Key: card stock = cs, paper pad = pp
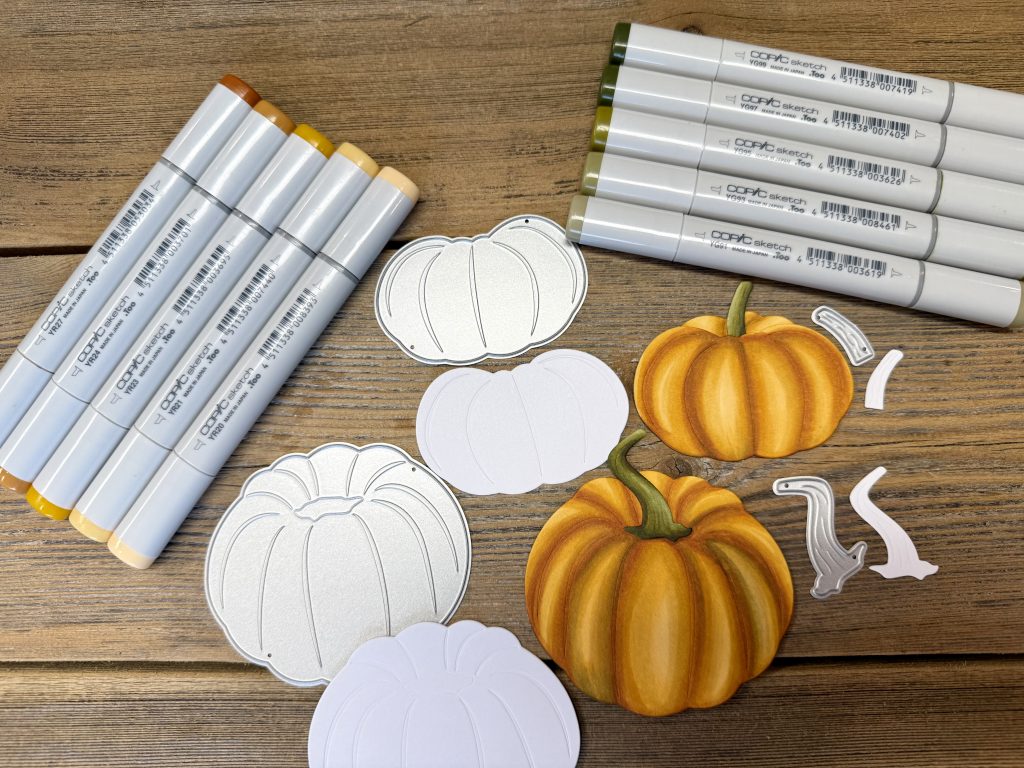
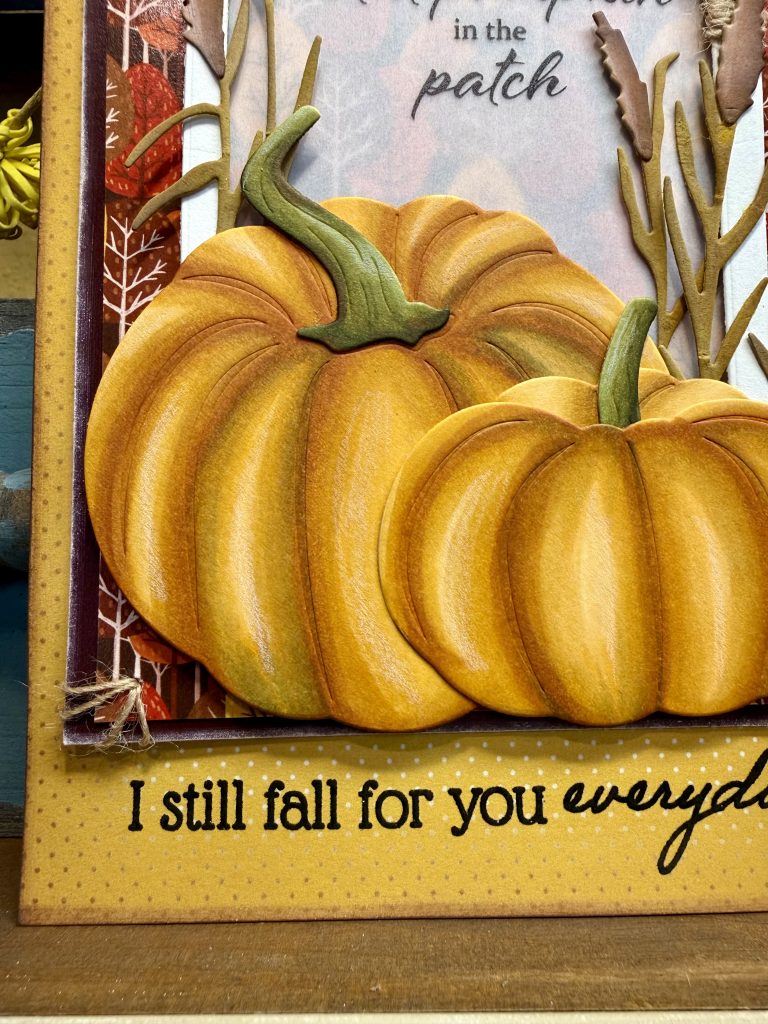
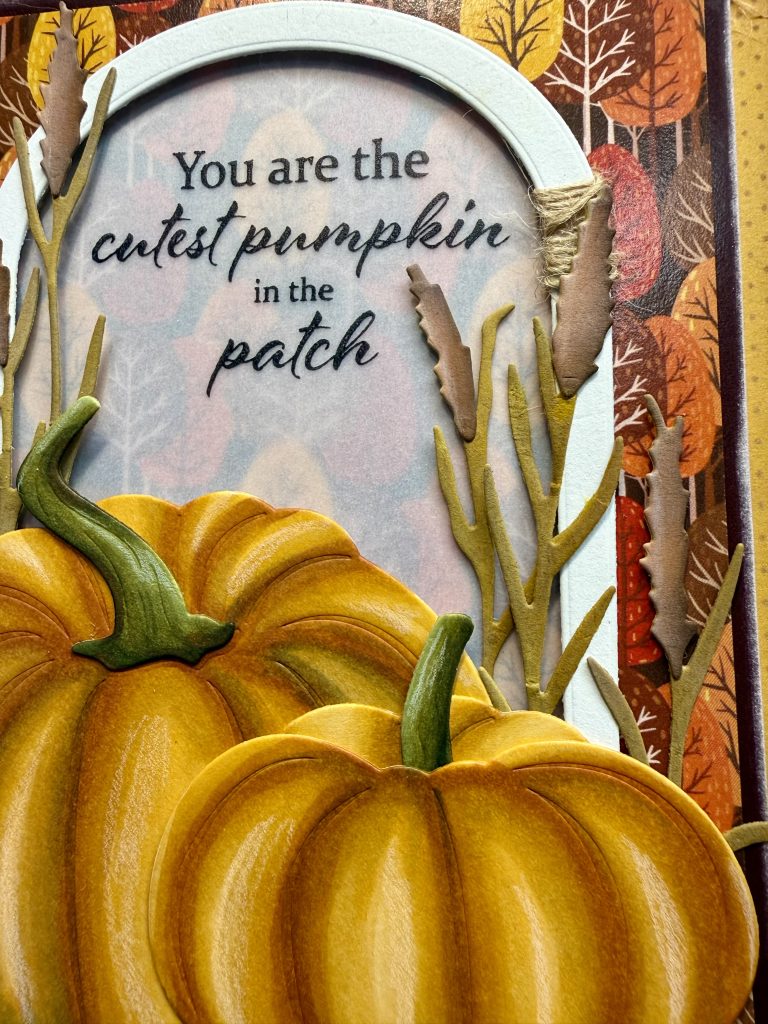
- Start by die cutting the Large Pumpkins die set (all 4) from a smooth white cs. (If you prefer you can cut from colored cs, rather than coloring.) Color the pumpkins and stems using alcohol markers. I put down some dark green in a few spots for a bit of realism. Putting the darkest colors into the embossed lines, the die creates, work your way out with lighter and lighter shades for the center to pop and look rounded.
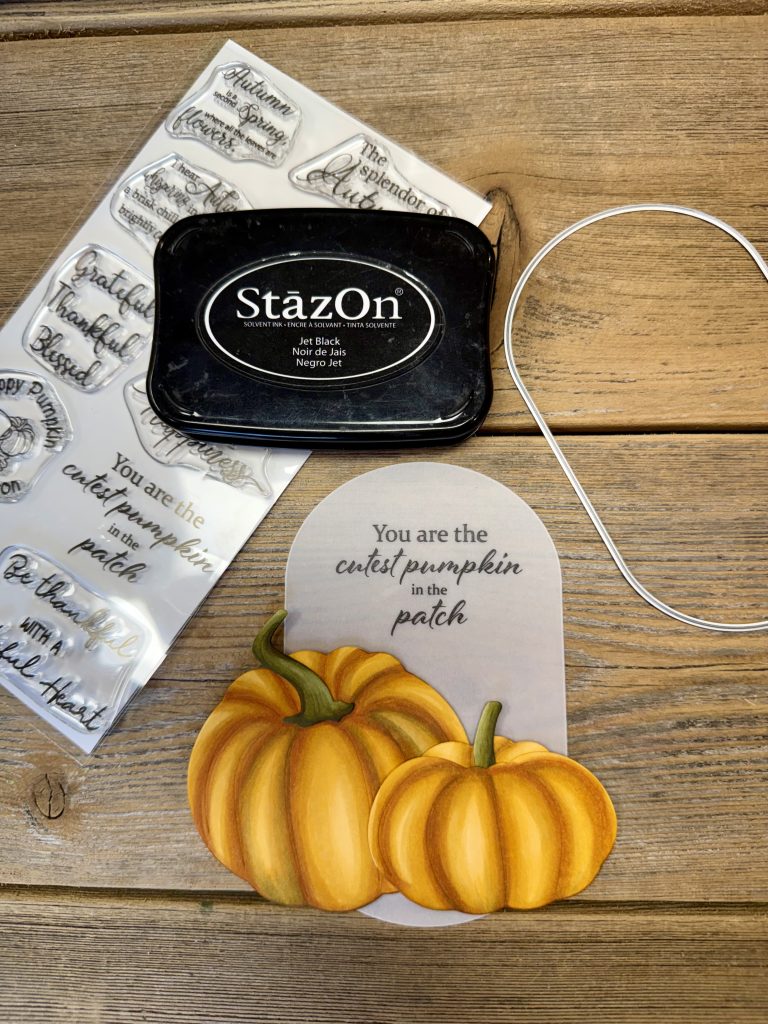
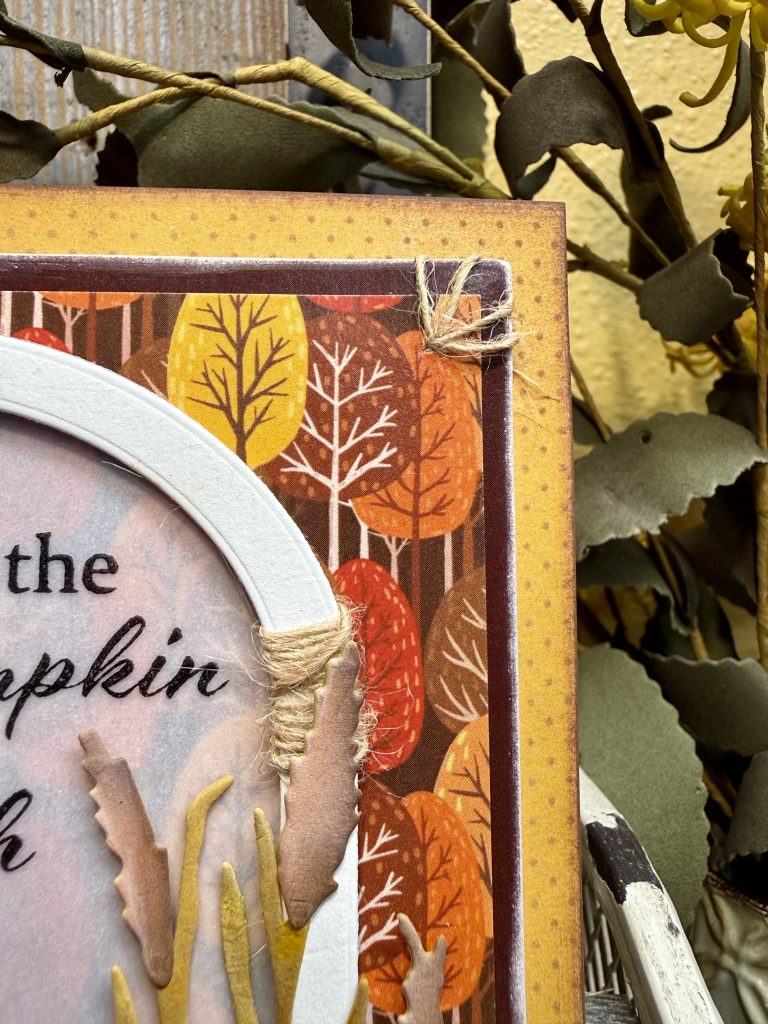
- Die cut from 110# white cs, the largest and 3rd largest Swanky Ovals dies to create an arch. Looks like an arch because the bottom is hidden under the pumpkins. :) Using largest Swanky Oval, also cut a piece of vellum. Stamp the “cutest” sentiment using Black Staz-on (best ink for vellum stamping). Glue this vellum layer onto the backside of the white oval. Wrap a bit of thin twine around the top right corner. Put a thin foam strip around entire backside, of oval only. Set aside.
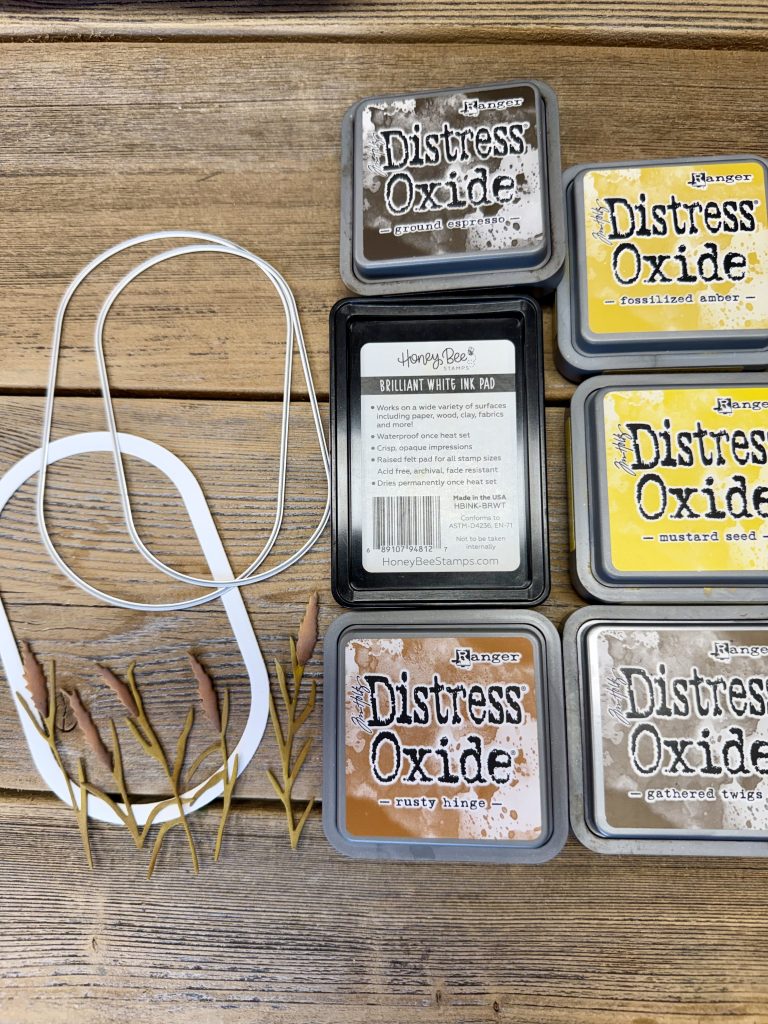
- Die cut the Wheat Grass die set (entire set) from either white and ink blend (that is what I did) or from colored cs. Glue together according to the package image.
- Cut the tree patterned paper from Whispers of Fall 6×9 pp down to 4-1/4”x5-1/2” (A2). Cut the deep burgundy solid color paper from the Autumn Leaves 6×6 pp down to 4-1/2”x5-3/4”. Lightly sand the edges. Glue the 2 pieces together. Pierce on hole in each corner. Thread a needle with the same thin twine. Add the stitching to each corner. Secure at the back. Add same thin foam strip to entire backside. Set aside.
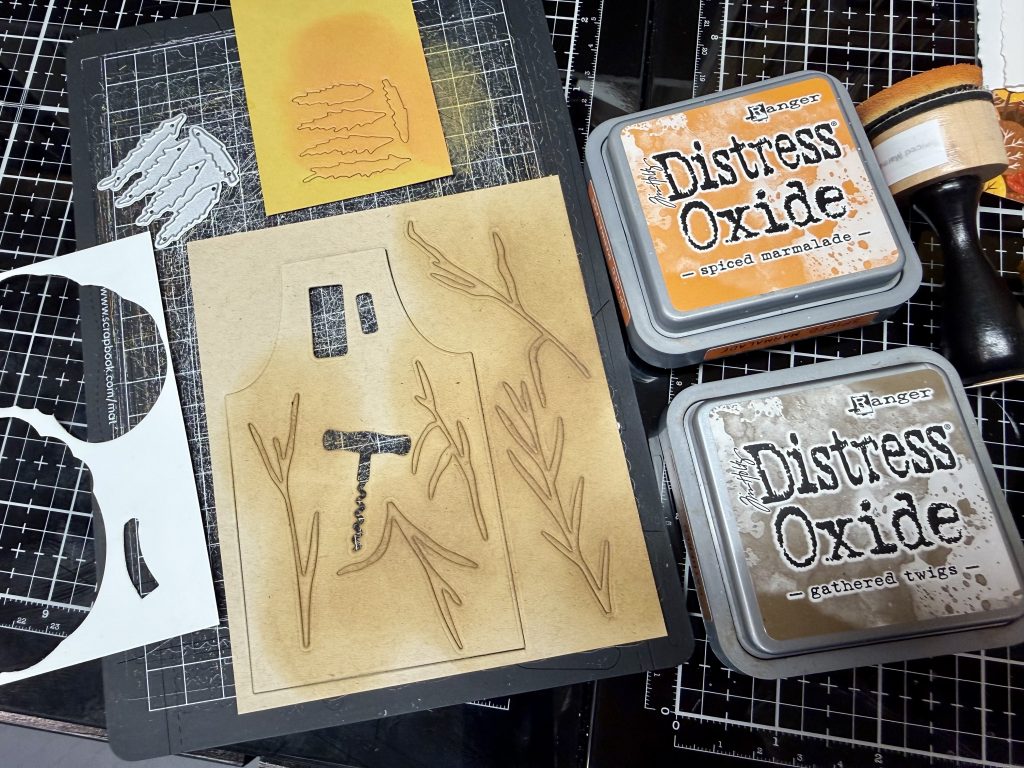
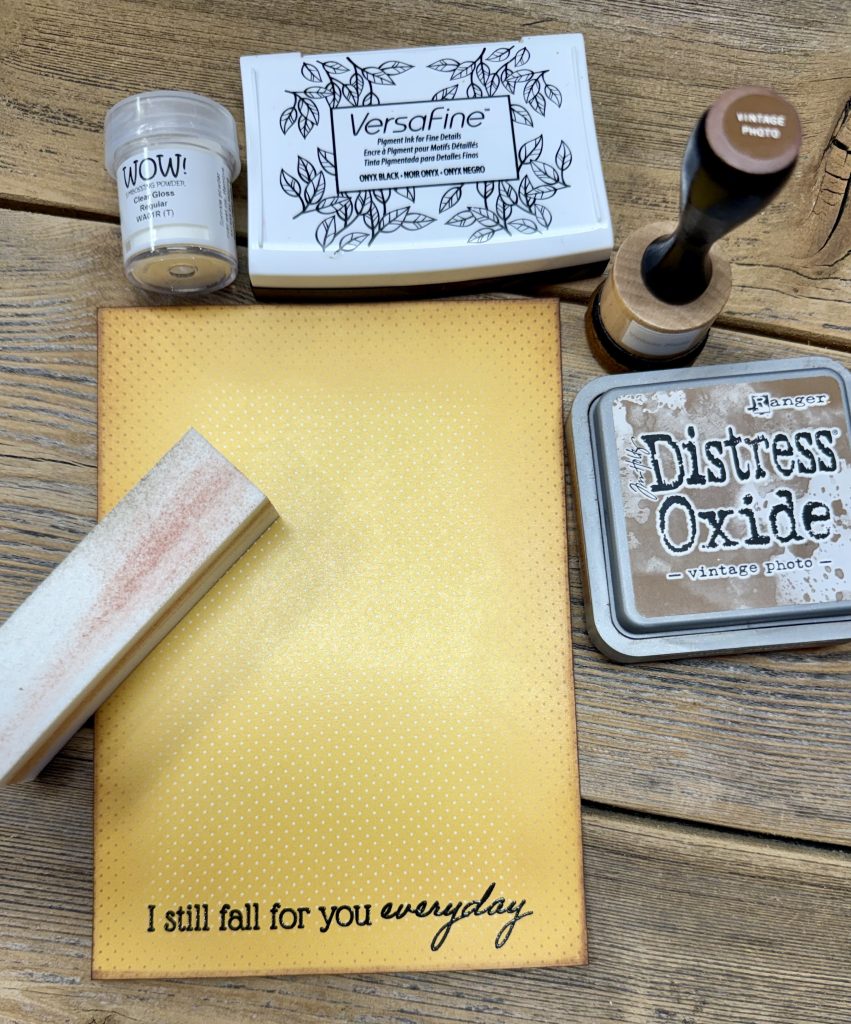
- Cut yellow w/white polka dots paper from Whispers of Fall pp to 5”x7”. Lightly sand the edges and add brown ink. I used Vintage Photo. This will make the dots pop too. Thoroughly dry or allow to dry before the embossing step. I cut my stamp apart to line up horizontally. Using black versafine or like ink and clear gloss embossing powder ink and heat set sentiment under where the tree paper will be. Use the paper as a guide.
- Assembly: Peel off foam adhesive strips and apply to the yellow dot paper. Same with arch, centered. Using a combination of thin and regular foam and glue adhere pumpkins and the wheat to frame the sentiment. ALL DONE! How was that for a refreshing Autumn walk through the pumpkin patch! :O)