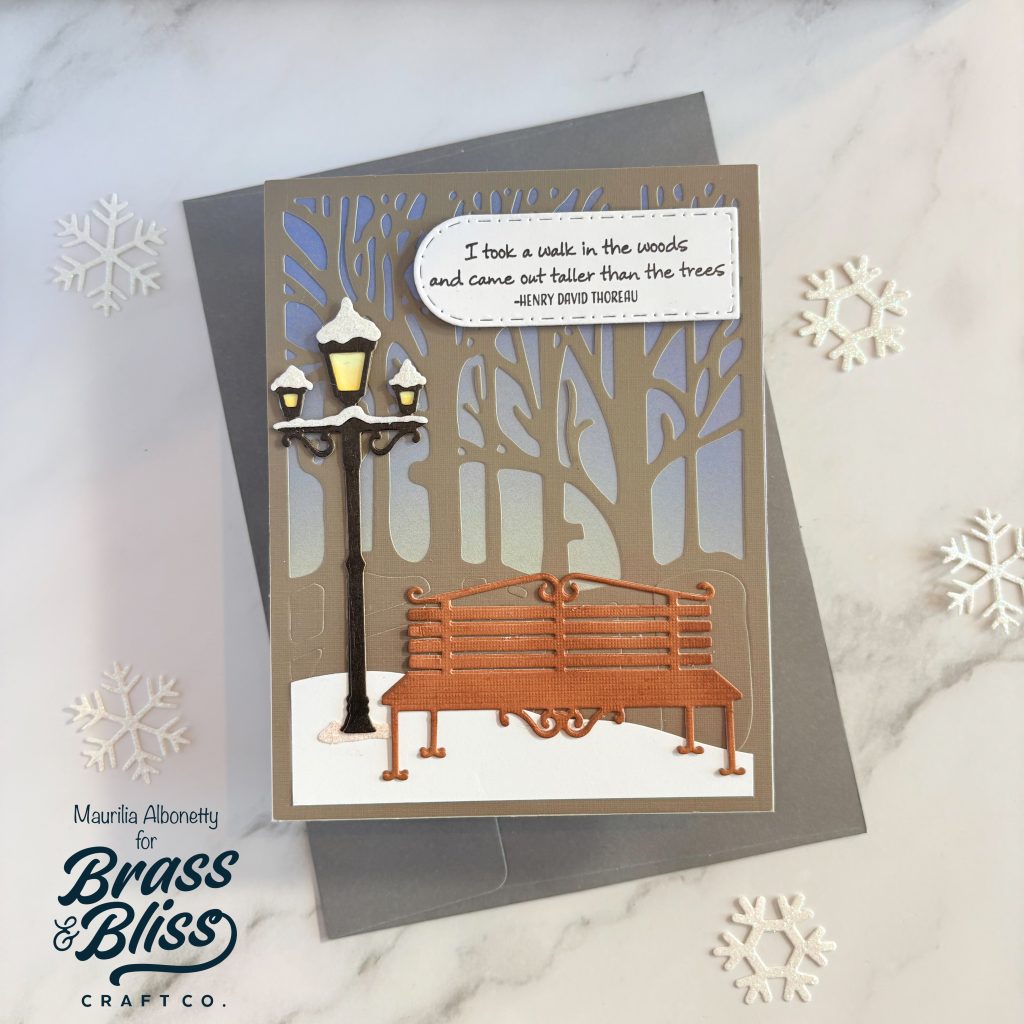
Looking for a tranquil card design that feels like a warm hug? This winter scene card feels peaceful and serene, perfect to send as encouragement or a quick note to a friend.
Today’s winter scene card is from our designer, Maurilia. She says, “There is something about the beauty of fresh fallen snow that offers a calm and peaceful break from the chaos of life. A time to collect and reflect on our thoughts from within in the stillness of a winter wonderland. That’s what inspired today’s card design”. We love this beautiful scene and its intentionality. Great job, Maurilia.

- Step 1 Using the largest 5003D classic nested rectangle die cut out a rectangle from the gray sheet in the 2004 festive farmhouse- 6×6 paper pad.
- Step 2 Next using an ink blender brush apply the color azure from color fuse set#7 to shade the upper half of the gray panel to create a night sky.
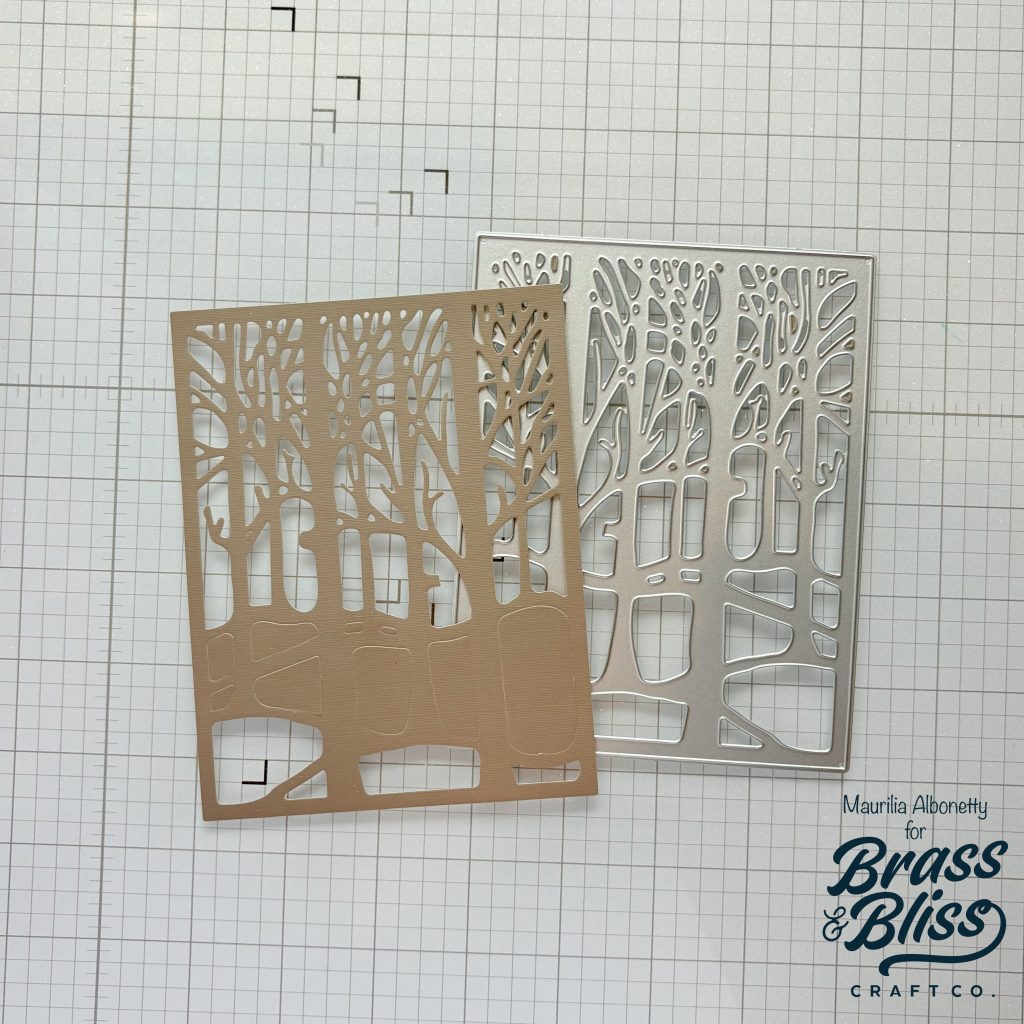
- Step 3 Next die cut the 5218-01D tree panel #3 die out of brown card stock. Adhere this panel to the blended night sky panel using glue. Insert and adhere all the die cut pieces below the trees as if you are putting a puzzle together to create a shadow background which will be behind the bench.
- Step 4 Next pencil an outline of the lowest hill out of white card stock. Simply cut along the line with scissors and square the sides and bottom so when placed on top of the tree panel and you are still left with a border. This will provide a snowy hill where the bench will be placed upon.
- Step 5 Next die cut a bench using 5217-10D bench and light post die from brown card stock. For stability, cut the bench twice and glue them together. To add depth, use a sponge dauber to add the color pecan from color fuse set#3 all around the bench.
- Step 6 Next die cut the lamp post from 5217-10D bench and light post die from black card stock twice for the post. Die cut the glass from both white card stock which you will color in shades of yellow. Also cut the glass from vellum to soften the glass glow. Lastly sandwich the vellum and yellow glass in between the two black posts by gluing them together. Die cut the lamp post snow from white glitter card stock and adhere to the lamp post.
- Step 7 Stamp the Henry David Thoreau sentiment from the 3460 pine tree set in black ink.
- Step 8 Next using the smallest in the set of 5821-05D stitch dot nested arch die from white card stock.
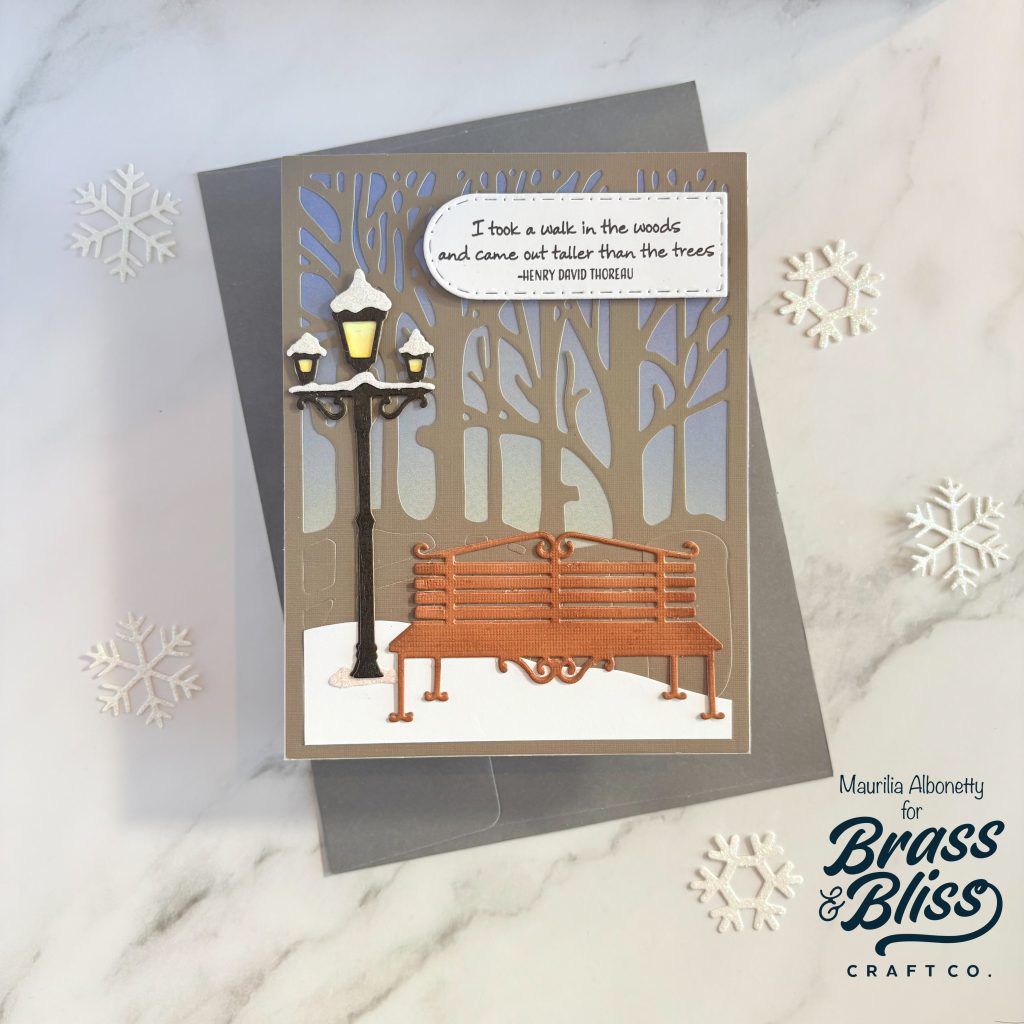
- Step 9 Adhere the tree panel onto an A2 card base. Adhere the bench in the lower right hand corner while adhering the lamp post in the lower left hand corner. Adhere the sentiment label in the upper right hand corner to finish the card.