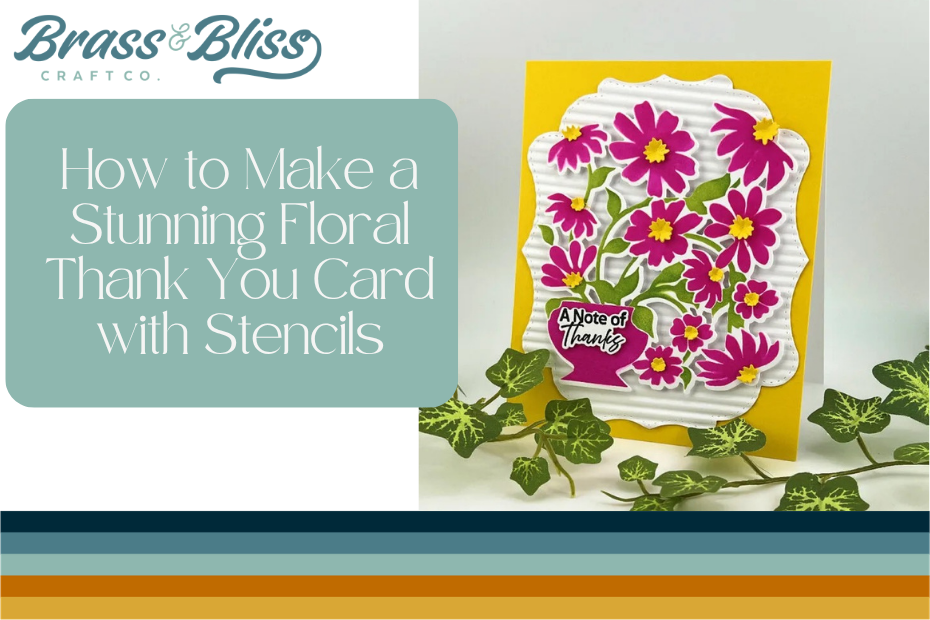
Create colorful stenciled images using a Layered Spring Florals Stencil and Coordinating Die.
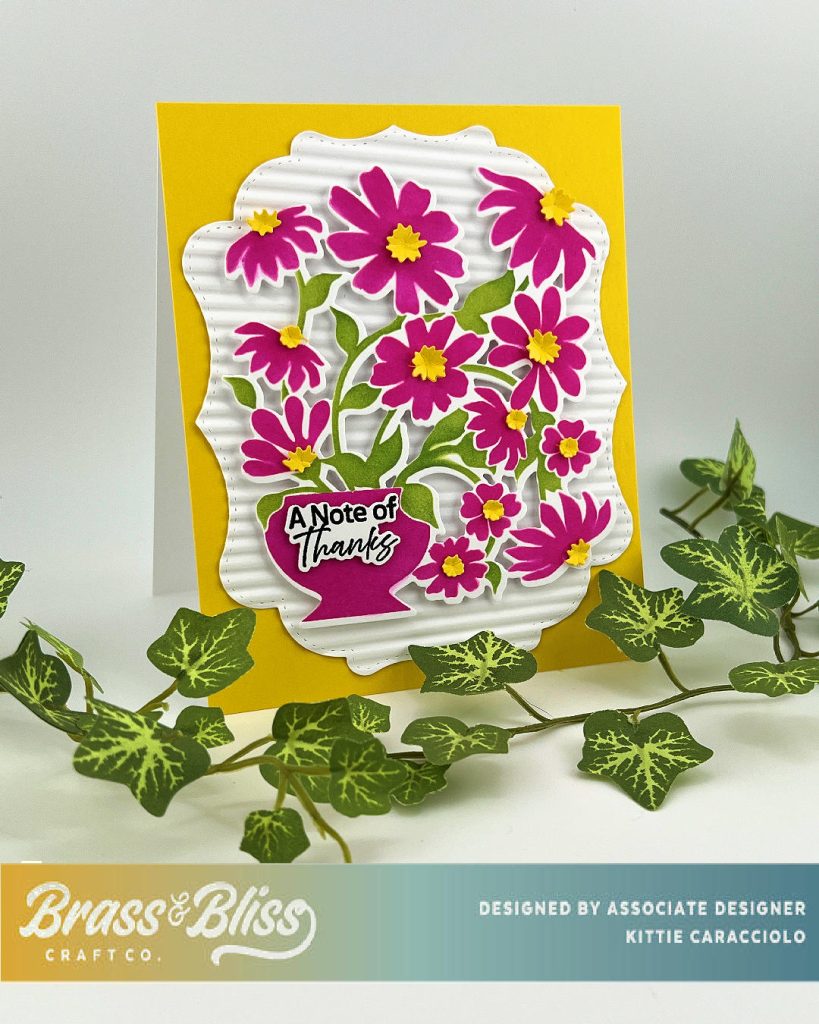
Todays stunning card design comes from Kittie, who created this beautiful stenciled floral Thank You Card. Kittie shared, “I don’t use stencils very often but I was intrigued with the Layered Spring Florals Stencil. I used the Layered Spring Florals Coordinating Die to cut the images and finished the project with the Build a Bloom Clematis, Victorian Label Nested, Thankful For You Stamps and Thankful For You Coordinating Die.” We love how this bright and happy card came out. Check out the details to recreate this design from the comfort of your own craft room.
Stencil and Ink
- Secure the white cardstock and first stencil in place and apply Fuchsia ink to the flowers using a blending brush.
- Secure the second stencil in place and apply Fern and Grass ink to the foliage.
- Line up the coordinating die and cut the floral image.
Card Base, Flower Centers and Sentiment
- Create an A2 sized card base bright yellow cardstock.
- Cut the label using white cardstock. Pro Tip: I love adding dimension using my old fashioned crimper. Dust your crimper and keep it close at hand when you need just a touch of dimension to your project.
- Apply double stick tape to the back of the label and attach it to the card base.
- Apply small pieces of mounting tape to the back of the flowers and foliage and attach them to the crimped layer.
- Cut several small flower centers using the bright yellow and form them using a molding pad and round stylus.
- Apply Nuvo glue to the back of the flower centers and attach them to the flowers.
- Finish the colorful stenciled images project by adding a sentiment.
This really is such a lovely card. Kittie always creates magic when she works with our products and we adore each and every design. We hope you feel inspired to recreate this look from home. Be sure to follow us on Instagram to see more projects and tag us in any of your designs to be featured.