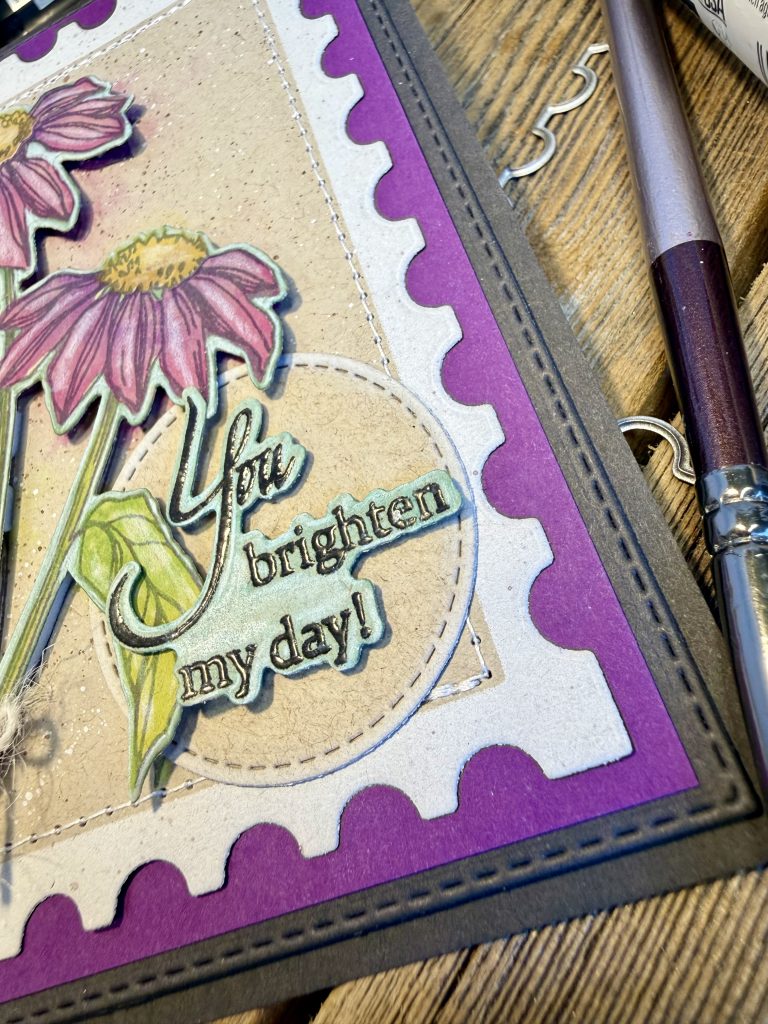
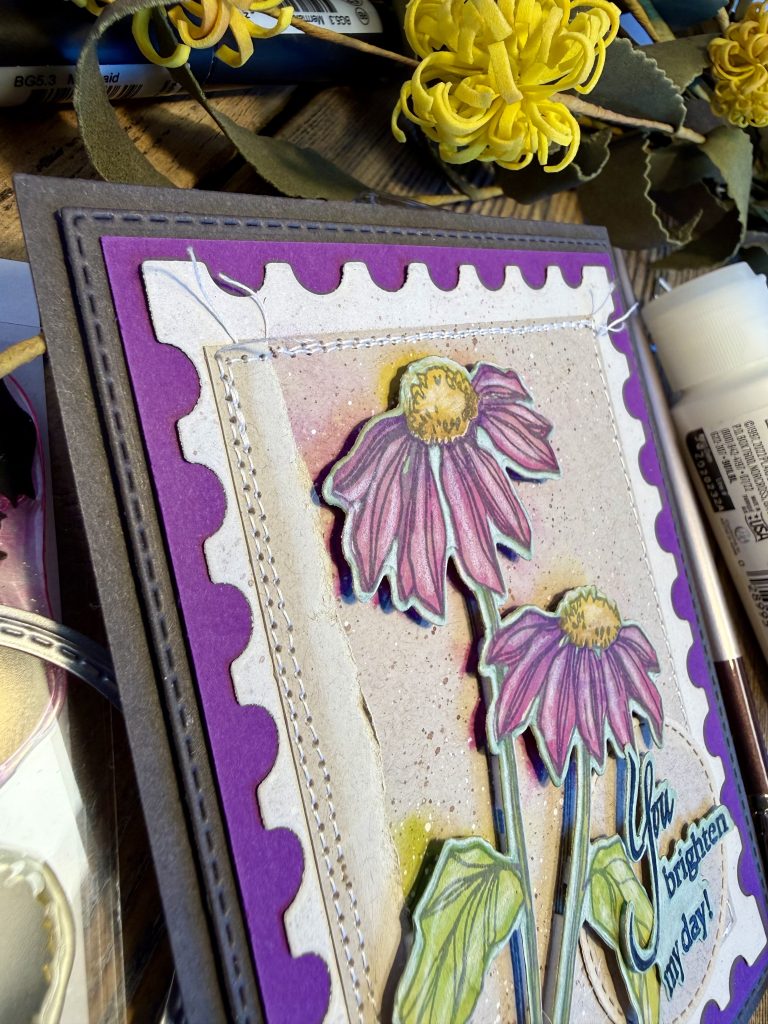
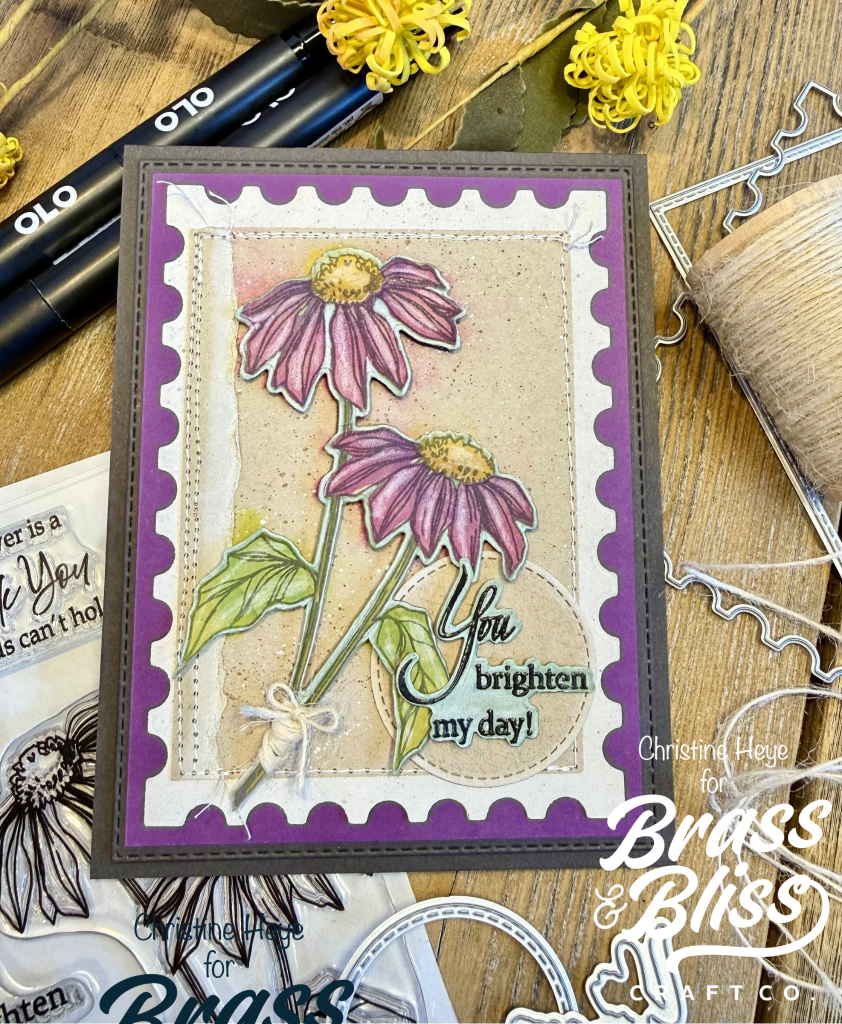
Take those cards to the next level by adding some actual stitching to your paper hugs, and create tons of interest and character with these layered florals.
Today’s beautiful card design is from Christine who is bringing a sweet postage vibe with an awesome stitched detail. This rich layered floral display is sure to brighten anyones day! Christine is using our new 38023 Layered Echinacea set from the new “Petals & Promises” Release. We love this set for its easy layering features, making crafting easy and quick. Follow along as she makes this cheerful card that’s fun-to-create & something to feel proud to give!
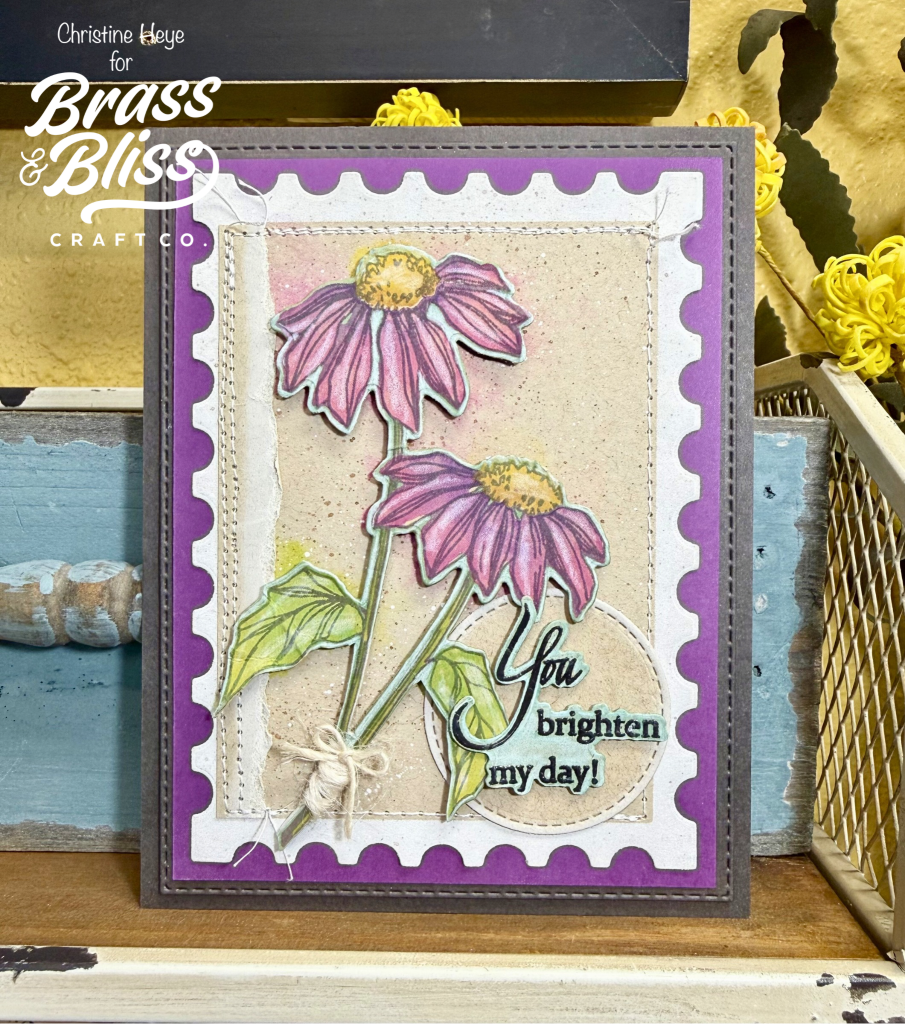
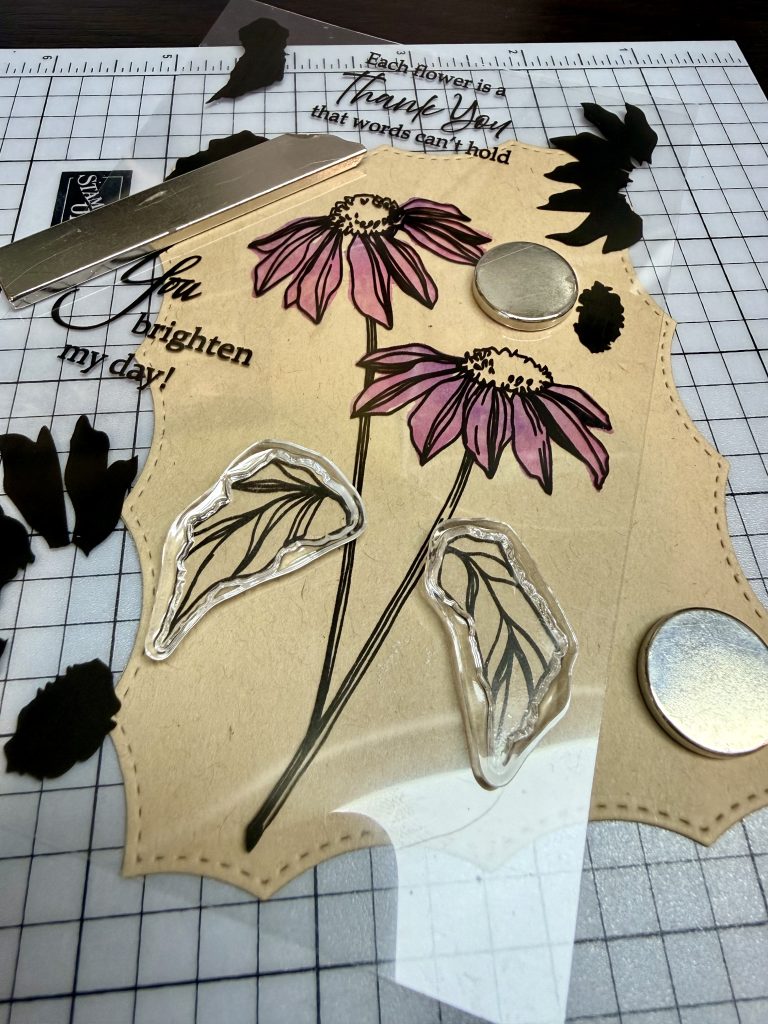
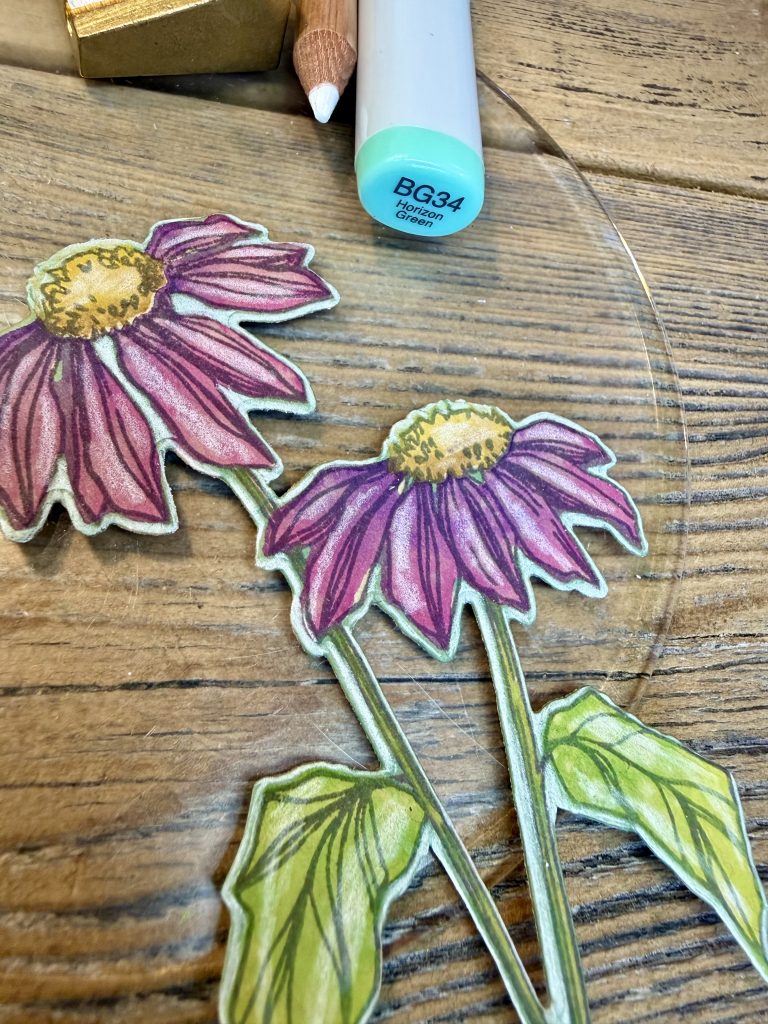
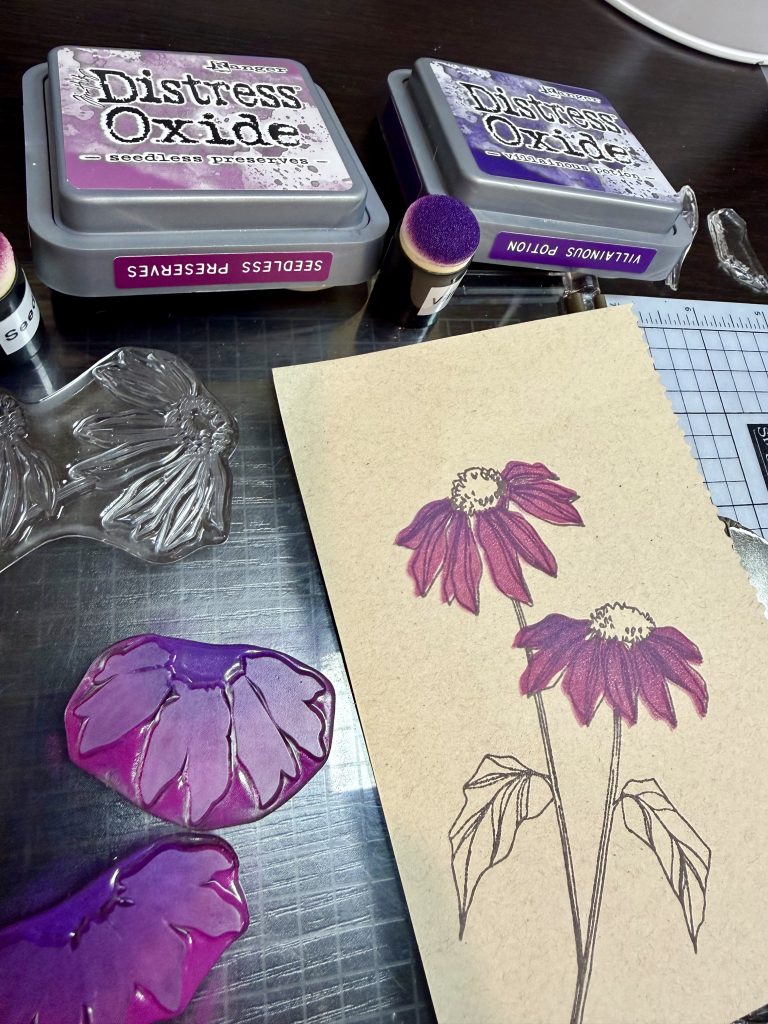
- Onto a piece of kraft card stock stamp the floral outline image from the Layered Echinacea stamp set using a water safe ink, such as versafine. Heat set. Using purple (see photos) oxide inks stamp the floral inner/bold parts onto the outline layer image. Line up the leaves and flower centers. Ink in desired oxide colors to desired richness, mist VERY LIGHTLY with a water spritzer and set aside to dry. After completely dry, die cut image out using coordinating dies. I colored the edges with a white colored pencil, followed by soft BG34 to enhance edges. Also, gently added white pencil to highlight areas of the entire image.
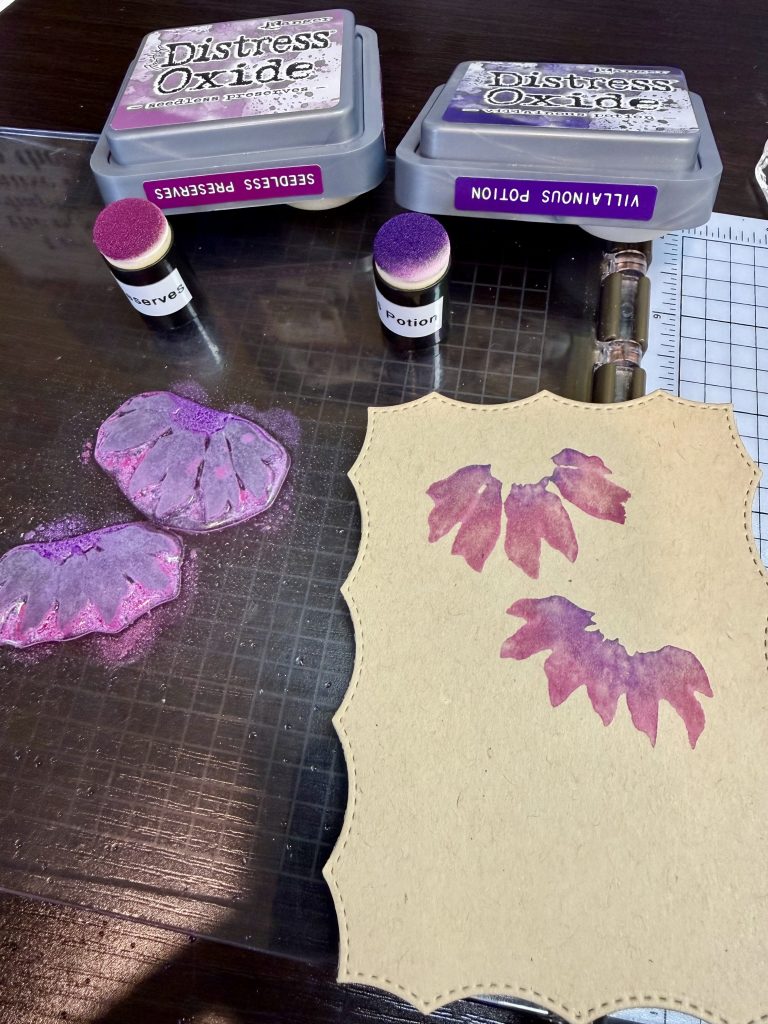
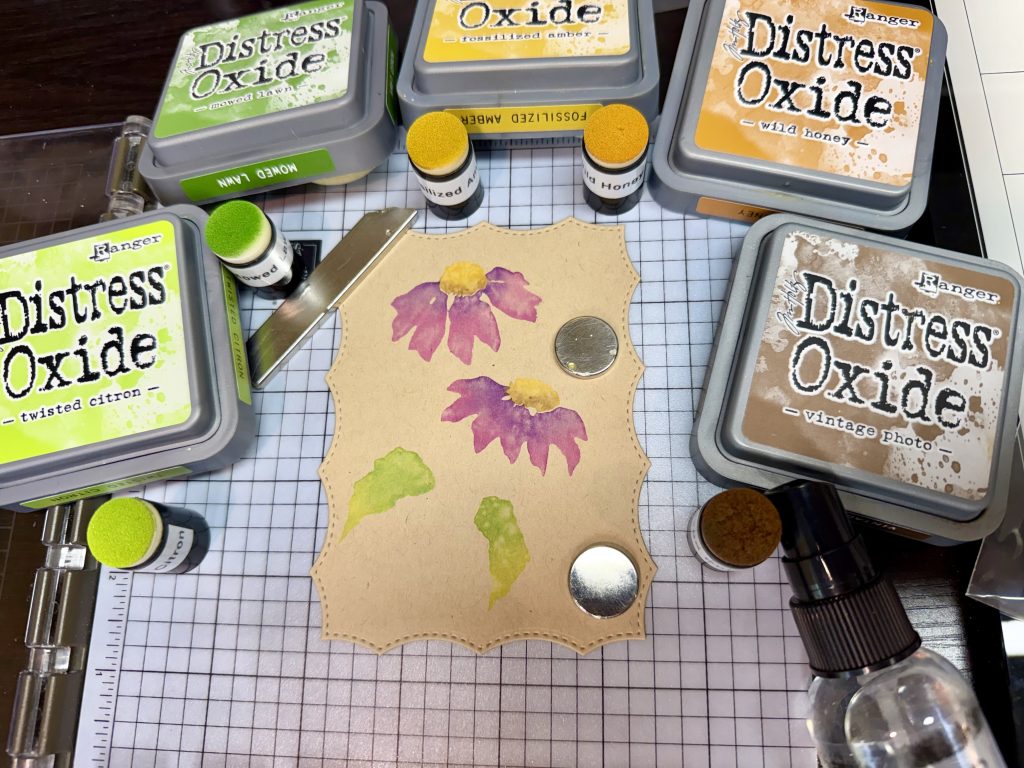
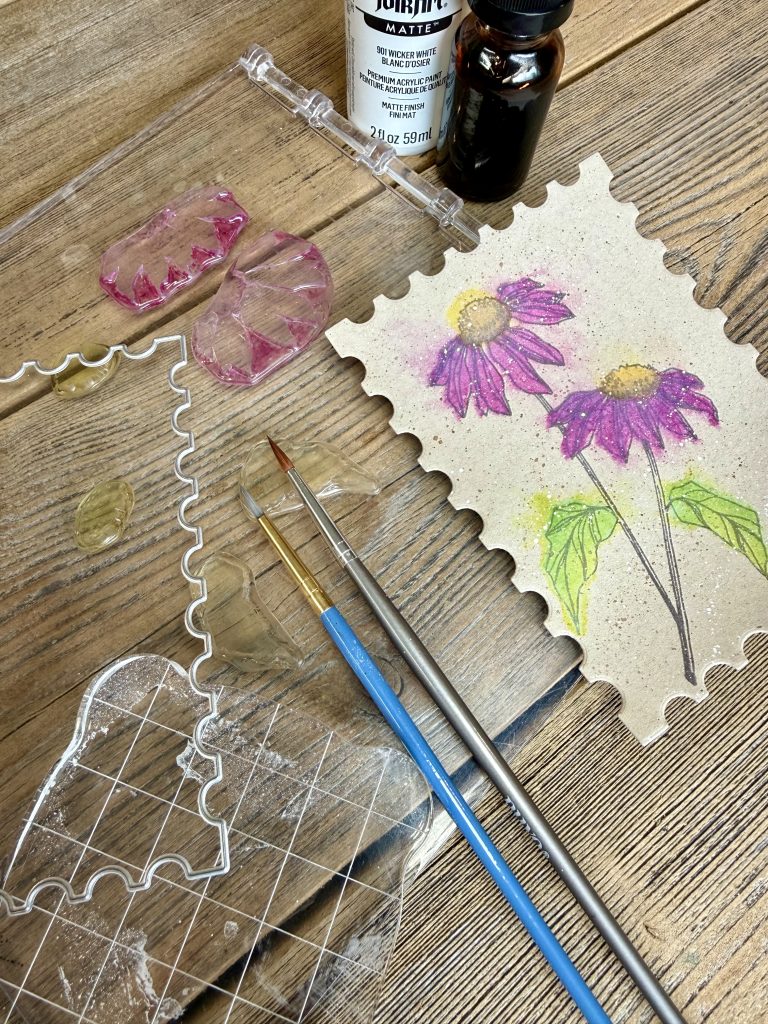
- On a 2nd piece of kraft using same purples stamp the bold flower images, again, but spray/mist first with water to create a mottled watercolor. Lining up the stamp packaging acetate image over top of the watercolor image, line up the leaves & flower centers onto the acetate…pick up with the door of your stamp positioner. Remove acetate, ink leaves with green oxides and flower centers with yellow and brown oxides (see photos). Mist with water and stamp. I reinked 2x with each color to get a messy, watercolor look. This is the color coming from the backside of the layered florals on top, in finished product. Feel free to mist directly onto the kraft cardstock, as well, if a messier look is desired. Let dry and if desired for lining up purposes you can stamp the outline image over the top of the watercolored images. I did, but found it wasn’t a necessary step. Splatter entire piece of kraft with white and a nice brown or bronze ink. Once COMPLETELY DRY, die cut (image centered) out using the 2nd largest Postage Stamp Nested die.
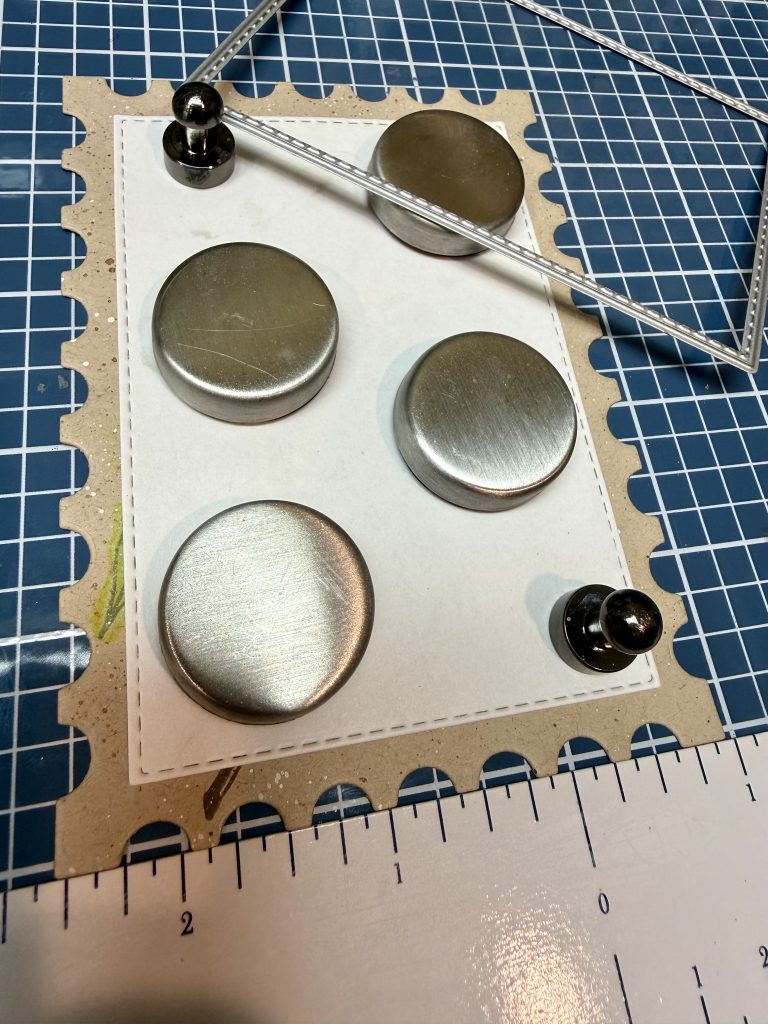
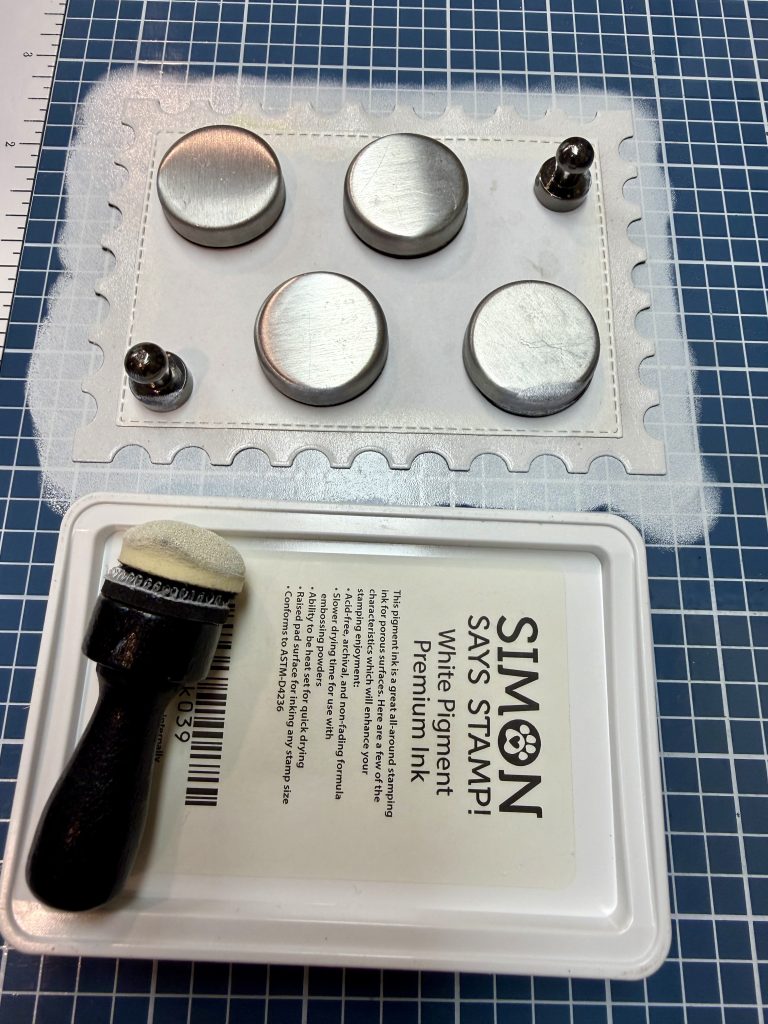
- Using the 4th largest Nested Rectangle Small Stitch die- die cut a MASK from masking paper or thin copy paper. Secure down. Brush/ink blend white pigment ink onto entire edges (see photo). Allow to throughly dry. I sped this up with a dryer heat tool or embossing gun on low. Carefully remove the mask and sew with machine onto a piece of deep purple cardstock measuring 3-3/4”X5”. I had taken a strip of kraft cut it to 4-1/16th” and tore the sides. Added white ink and sewed that onto the postage piece as well. I was covering some zig zag stitch I didn’t like (LOL):O)
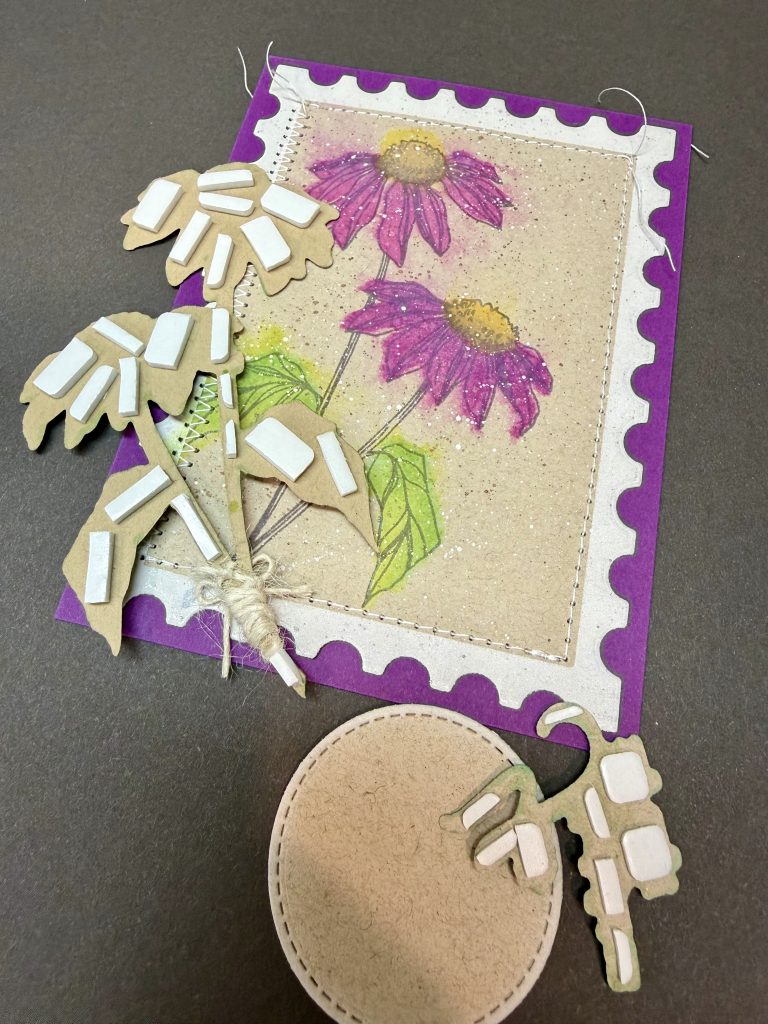
- Add thin foam pieces to entire back side of die cut floral image. Add a thin twine tie/wrap around to bottom of bouquet and secure with glue and reverse tweezers until thoroughly dry.
- Emboss sentiment from same stamp set, using same versafine onyx black ink and clear embossing powder on scrap of kraft. Die cut with coordinating die. Add foam adhesive to backside, minding leaf overlap.
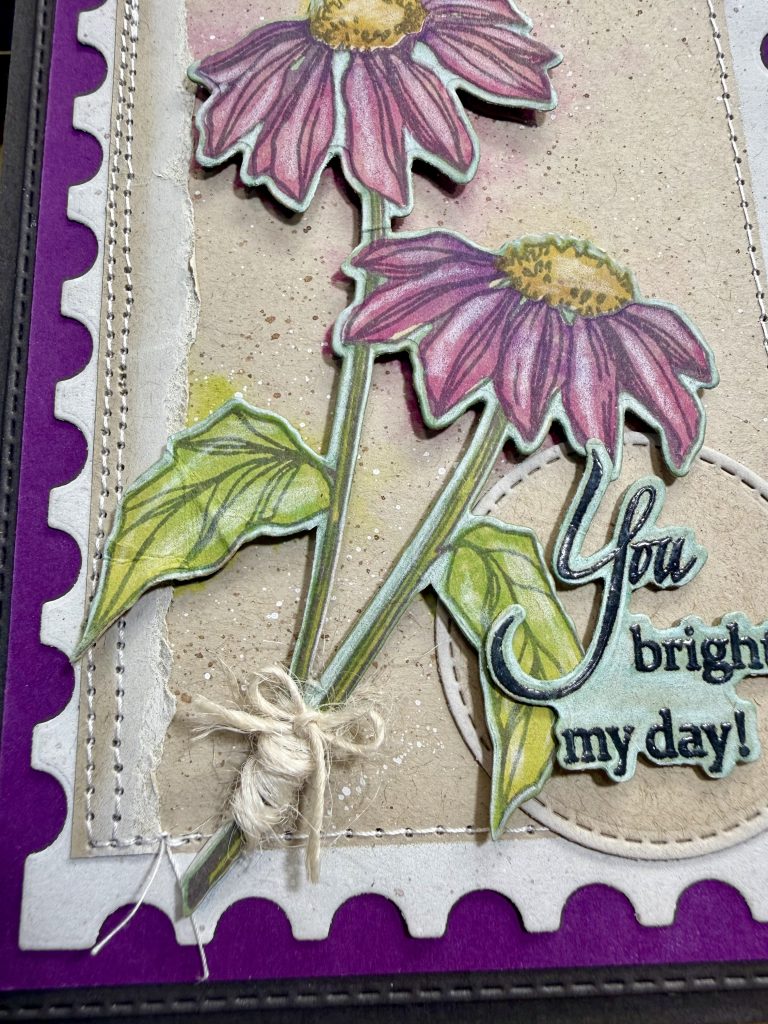
- Using the 3rd smallest Nested Circle Small Stitch die- die cut out a circle from same kraft. Lightly brush edges with white pigment ink. Glue directly to card front. Attach florals over top of the watercolored florals on the Postage kraft piece. Also add the sentiment, keeping in mind any overlap onto leaf.
- Using largest of the Nested Rectangle Small Stitch dies- die cut out of a dark gray card stock a layer for the purple panel. Layer this onto a final dark gray (same color) cardstock, measuring 4-1/4”X5-1/2”. All Done!