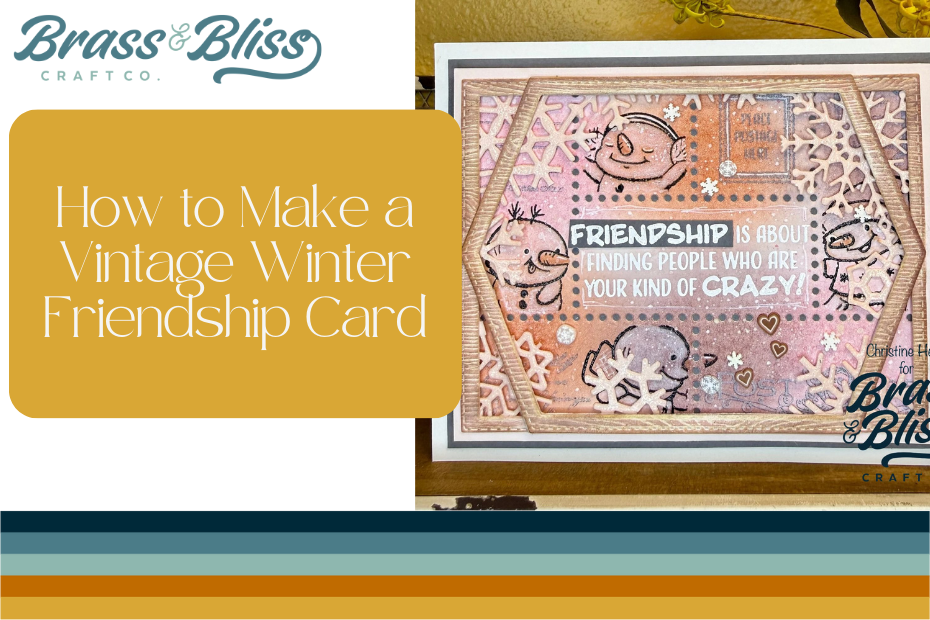
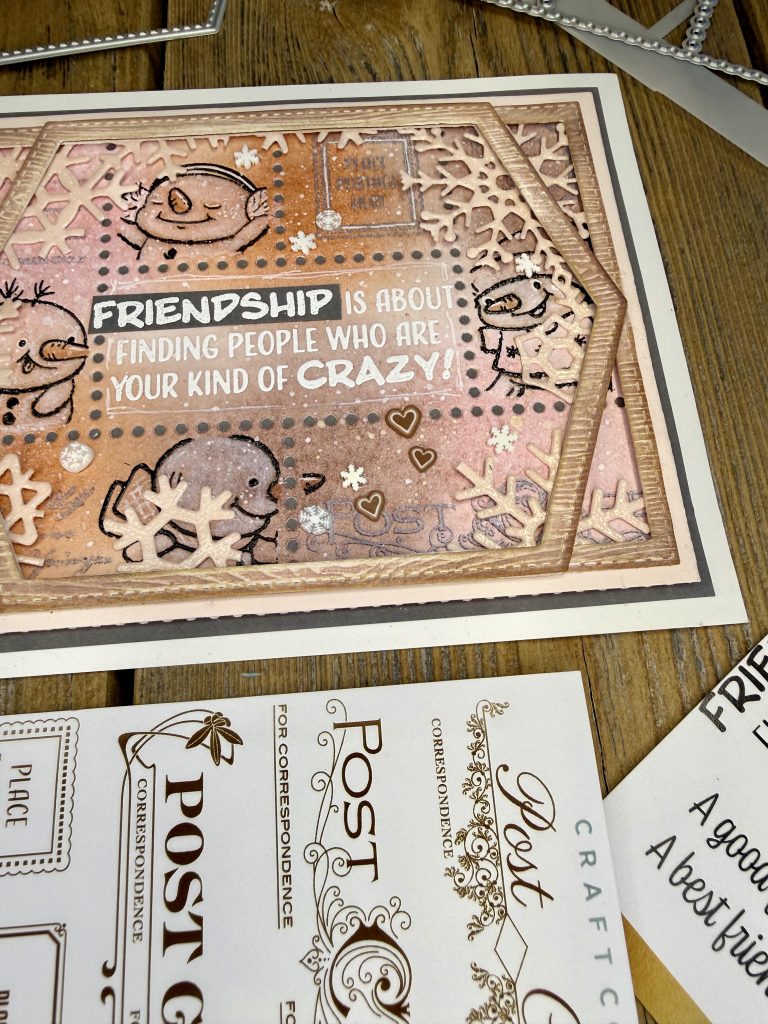
Winter months don’t have to be so glum. Send some uplifting winter cheer to a friend with this vintage snowman card.
Today we have this fabulous winter creation from Christine. We love using snowmen for more than just Christmas, and love sending cards out in winter as a “pick-me-up” for when those seasonal blues set in. Christine said, “I wanna look out a window and see some crazy snowmen having a dance party! Postage vibes on cards is definitely a win! This vintage, wintry, happy snowmen, postage card brings a smile to my heart, for sure! And your “craziest” friend- the one who really gets you- will treasure it forever!” We love her enthusiasm and her creative eye. She captures fun and creates magic one card at a time. Follow along and see how to recreate this vintage winter friendship card.

Steps to recreate this card:
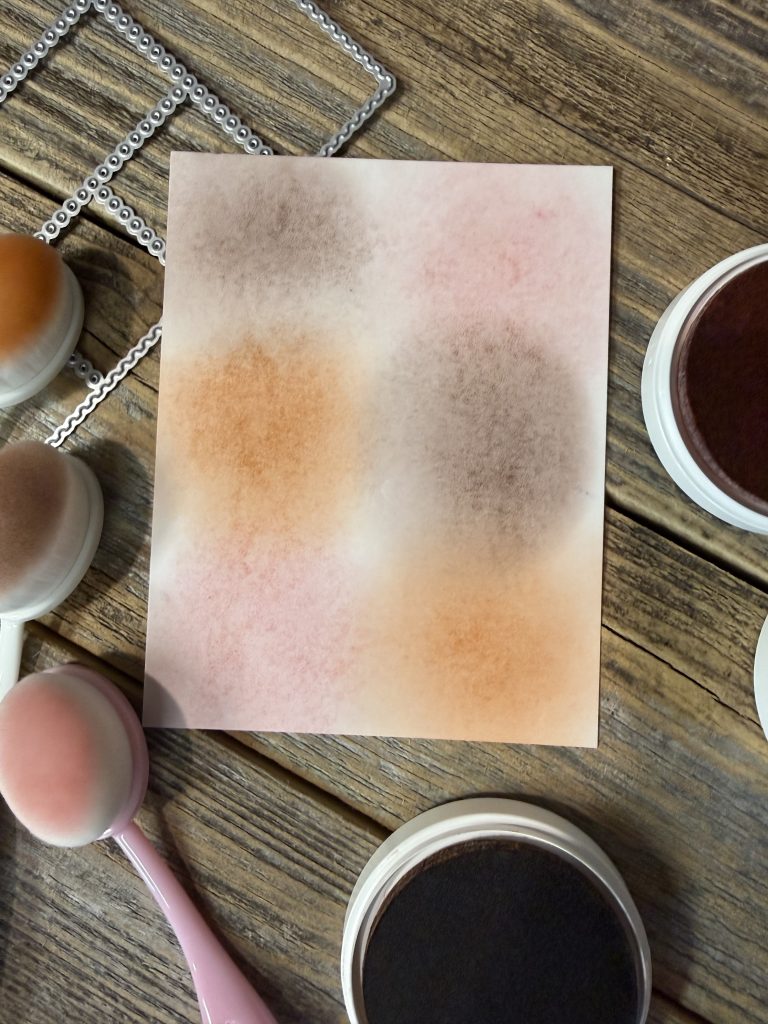
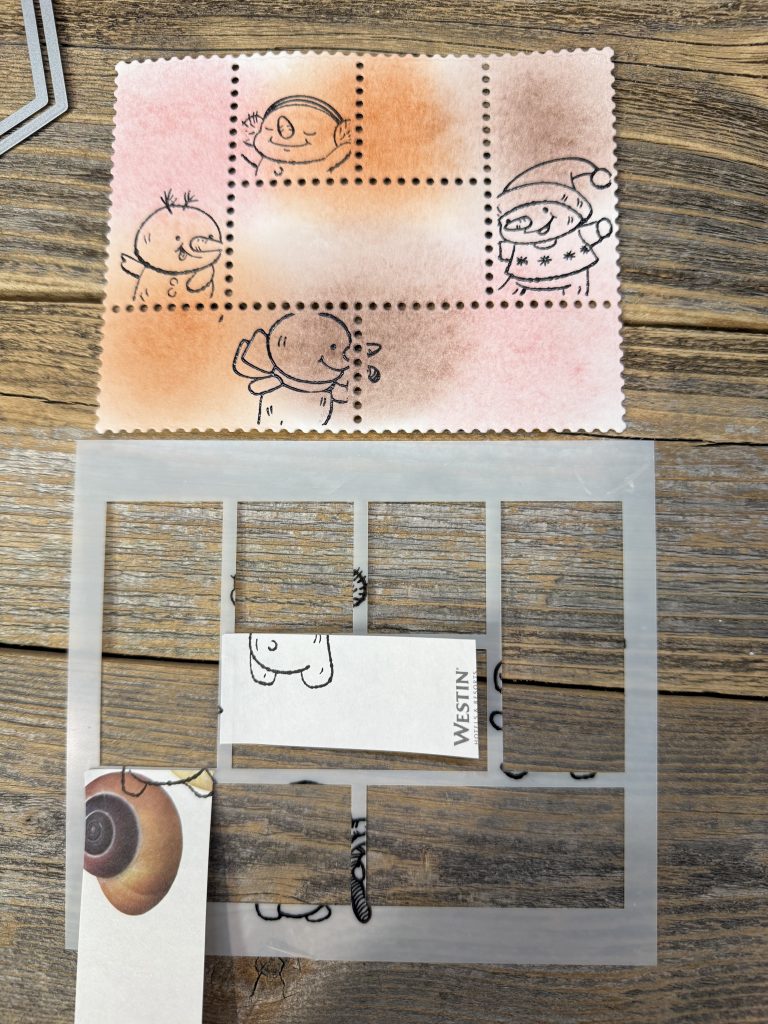
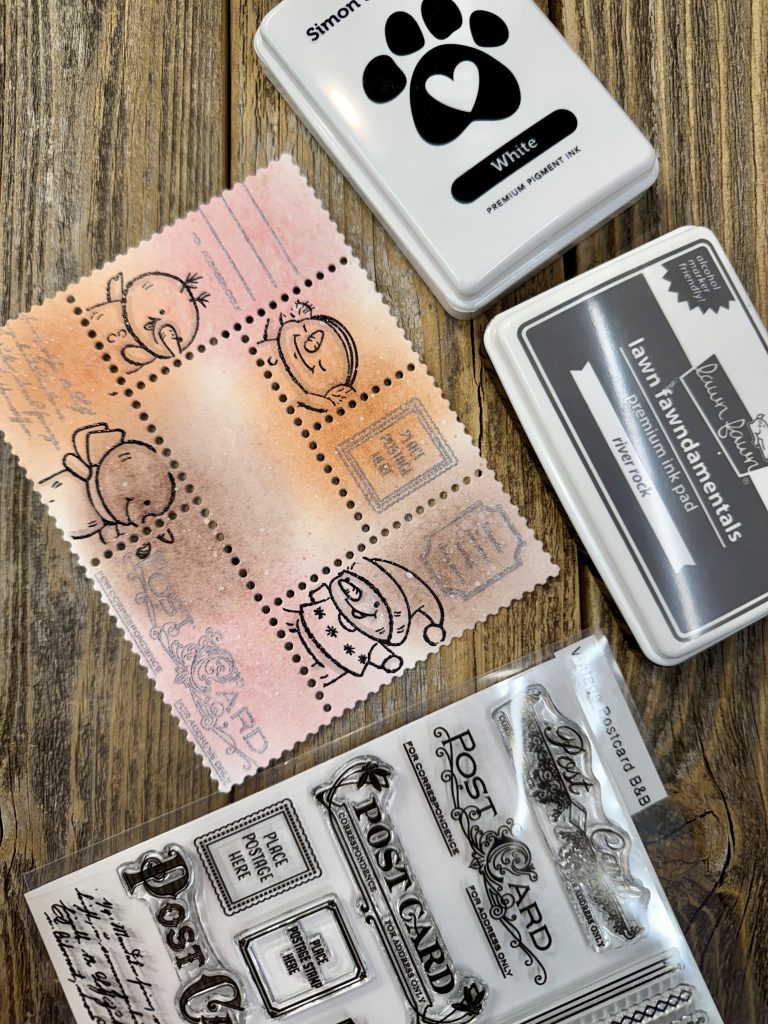
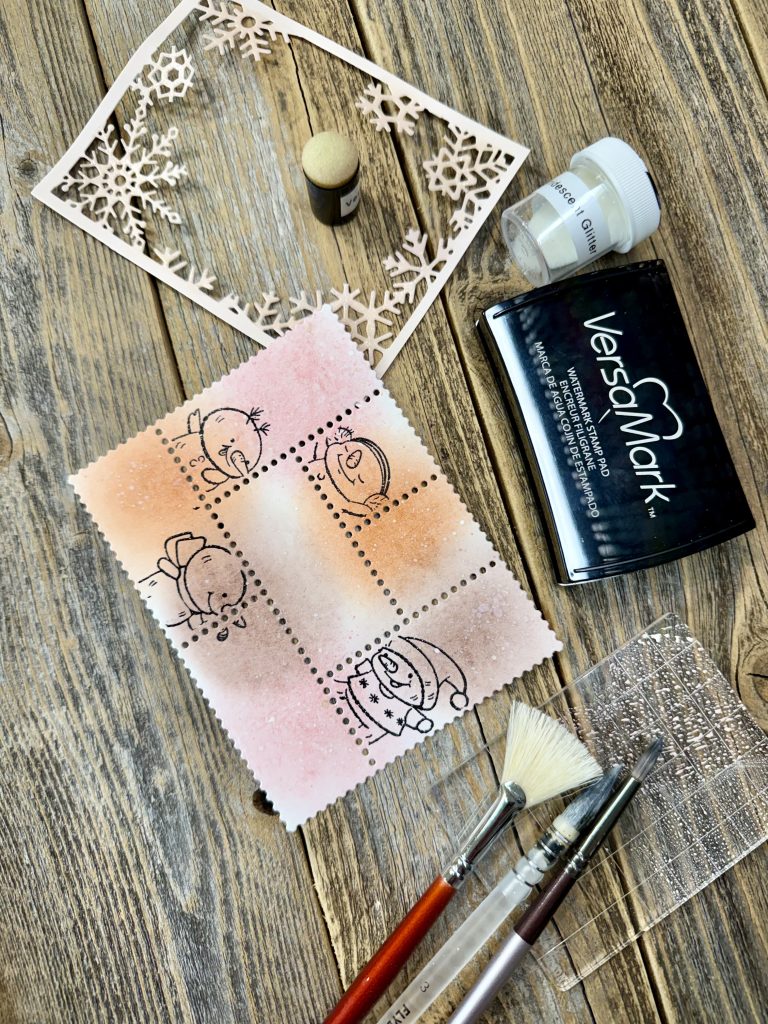
- Ink blend 3 colors of ink in spots on A2 sized Bristol smooth or like white cardstock. (see photo). Die cut using the Postage Stamp Cover die (frame only). Using Postage Stamp Layering Stencil cover postage lines and secure. Mask anywhere needed w/post it notes to avoid any over stamping. Stamp all snowmen, at once, with positioning tool, using black versafine pigment ink or like and heat emboss w/clear embossing powder. Color snowmen gently w/white pencil to make pop from background. Add shading to snowmen w/gray marker (copic W3). Add color to cheeks, white highlighting and color to noses, if desired.
- Also, using a stamp positioner, place Vintage Postcard stamp images on card front, where desired, and stamp all at once using white pigment ink. Stamp a second time for even coverage. Moving nothing, let dry a bit. Carefully without removing, clean stamps and stamp again, using a dark gray (lawn fawn River Rock).
- Place in splatter box and splatter using white paint and gold and/or silver metallic paint. Set aside to dry.
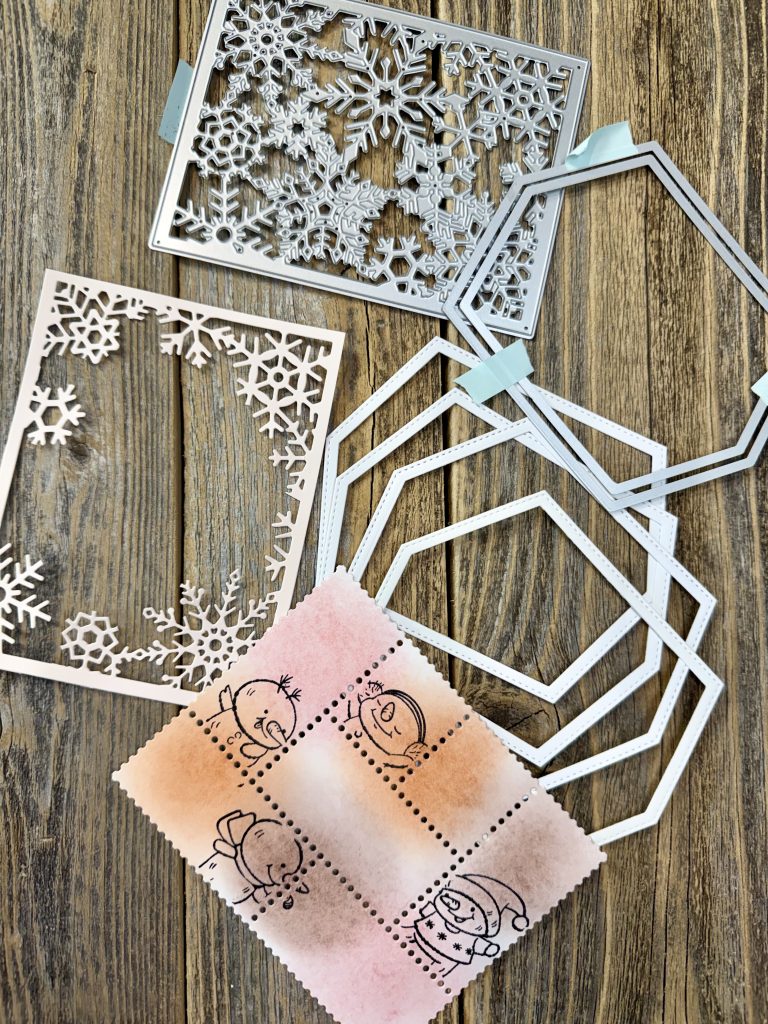
- Die cut Snowflake Cover from white card stock. Push out all pieces. Cut out desired sections to create an overlay/frame- careful to avoid snowman faces. Using finger dauber, carefully apply generous amount of embossing ink to remaining frame/snowflakes and heat emboss using a CLEAR glitter powder.
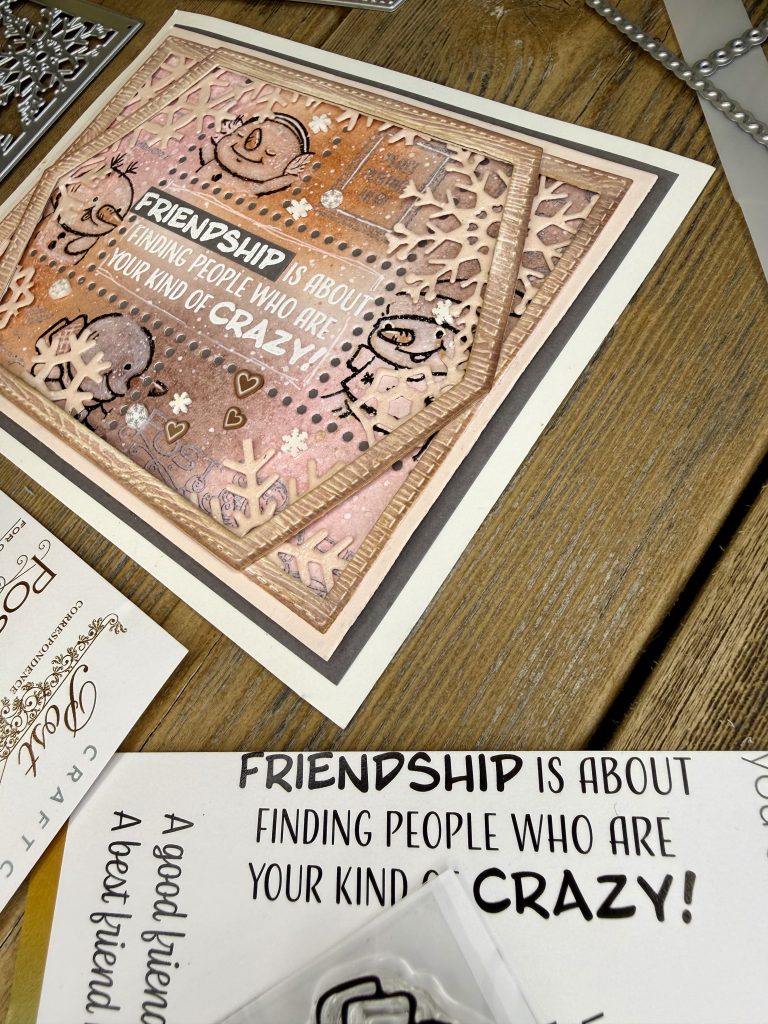
- Create by die cutting 2 frames (keeping dies taped together) from white wood grain cardstock. 1st using largest and 3rd largest Tall Hexi nesting dies. 2nd using largest and 2nd largest Nested Rectangle Small Stitch die set. Cut additional rectangle frame from white cardstock and adhere under wood grain frame, for stability. Do the same for the hexi, but cut 3 additional and adhere all under wood grain frame. Take same light pink and use direct to paper technique (use pad to lightly brush on ink) over both frames, going with the grain. Add white pigment ink w/same technique. Dry thoroughly and gently apply Vintage Photo or like brown ink with a foam brush. This gives the vintage soft look.
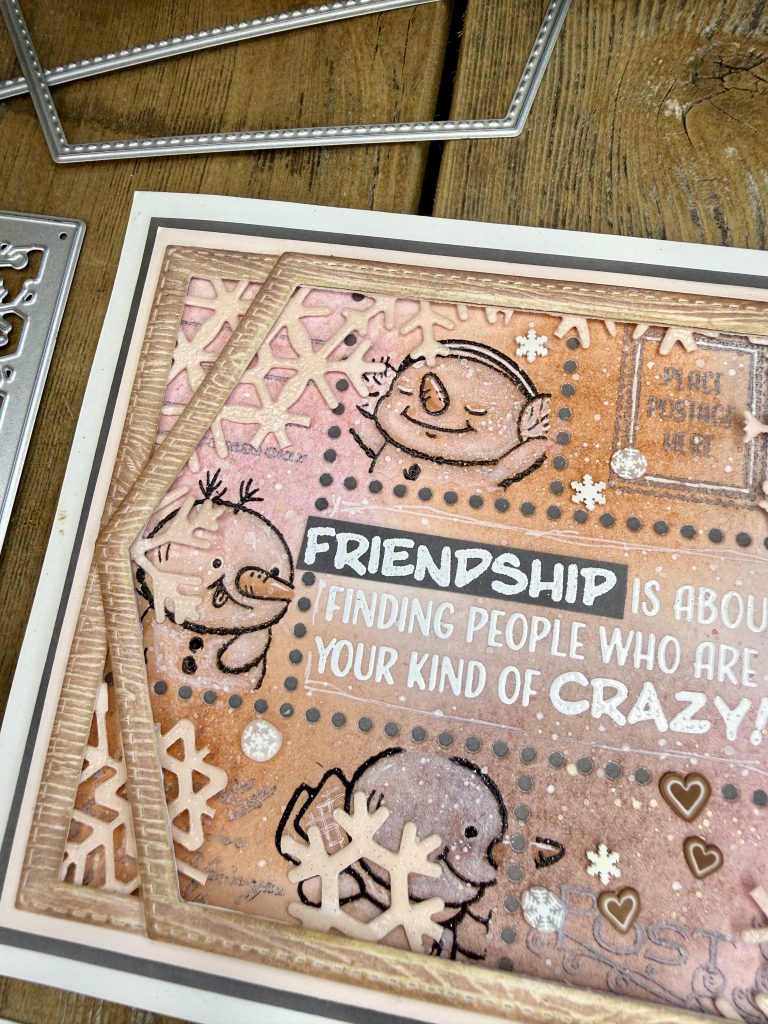
- Using embossing ink and white embossing powder, heat emboss sentiment onto snowman piece and onto a gray piece of card stock. Cut word friendship from gray in a rectangle to place over w/glue the sentiment.
- Carefully glue rectangle wood grain frame to created snowflake frame, then both to top of snowman postage piece (again making sure not covering snowmen’s faces), using either glue or thin foam adhesive.
- Layer postage scene onto a complimentary pink card stock and then a gray (same as sentiment), lastly onto white, using personal border preferences.
- Lastly, glue hexi wood grain frame over top of rectangle wood grain frame.
- Add any hearts, snowflakes or embellishments desired.

Supplies Used:
- 3499-02 Cute Snowmen -4×6 Stamp set https://brassandbliss.com/products/3499-02-cute-snowmen-4×6-stamp-set?_pos=2&_sid=e2e44cbcd&_ss=r?ref=christine_heye
- 36017 Vintage Postcard Set 4×6 Stamp set https://brassandbliss.com/products/36017-vintage-postcard-set?_pos=1&_sid=164e2277b&_ss=r?ref=christine_heye
- 5828D Snowflake Cover Die https://brassandbliss.com/products/5828d-snowflake-cover-die?_pos=7&_sid=ebce724d4&_ss=r?ref=christine_heye
- 5851D Postage Stamp Cover Die https://brassandbliss.com/products/5851d-postage-stamp-cover-die?_pos=1&_psq=Postage+stamp+cover&_ss=e&_v=1.0?ref=christine_heye
- 5851S Postage Die Layering Stencil https://brassandbliss.com/products/5851s-postage-die-layering-stencil?_pos=1&_psq=Layering+stencil&_ss=e&_v=1.0?ref=christine_heye
- 35061 BFF Phrase set #3 4×8 Stamp Set https://brassandbliss.com/products/35061-bff-phrase-set-3-4×8-stamp-set?_pos=1&_psq=BFF+&_ss=e&_v=1.0?ref=christine_heye
- 5819-02D Tall Hex Nesting Dies https://brassandbliss.com/products/5819-02d-tall-hex-nesting-dies?_pos=1&_psq=Tall+hex&_ss=e&_v=1.0?ref=christine_heye
- 5013D Nested Rectangle Small Stitch Die Set https://brassandbliss.com/products/5013d-nested-rectangle-small-stitch-die-set?_pos=2&_psq=Nested+rectangle+small&_ss=e&_v=1.0?ref=christine_heye
- 3499-02D Cute Snowmen Coordinating Die https://brassandbliss.com/products/3499-02d-cute-snowmen-coordinating-die?_pos=3&_psq=Cute+&_ss=e&_v=1.0?ref=christine_heye