Looking to make a mesmerizing floral card suited for a gardener? Try this weaved background technique to add the WOW factor to your next project!
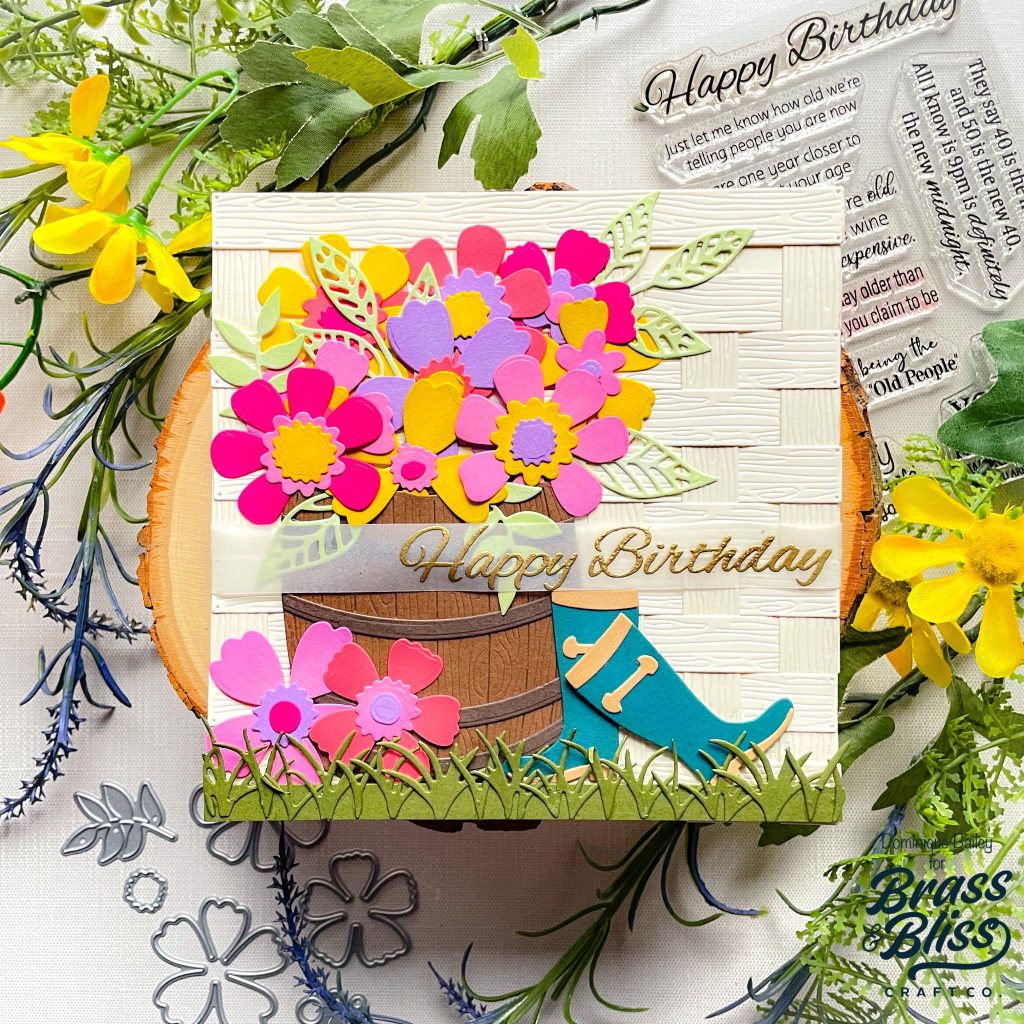
Hello friends! In today’s post our designer, Dominique, is going to show you how to make a card featuring lots of florals and a weaved background. This card would be perfect for any gardener or flower lover in your life! This is such a fun technique and looks fabulous with our wood-plank die. Follow the steps below to recreate this fun garden card.
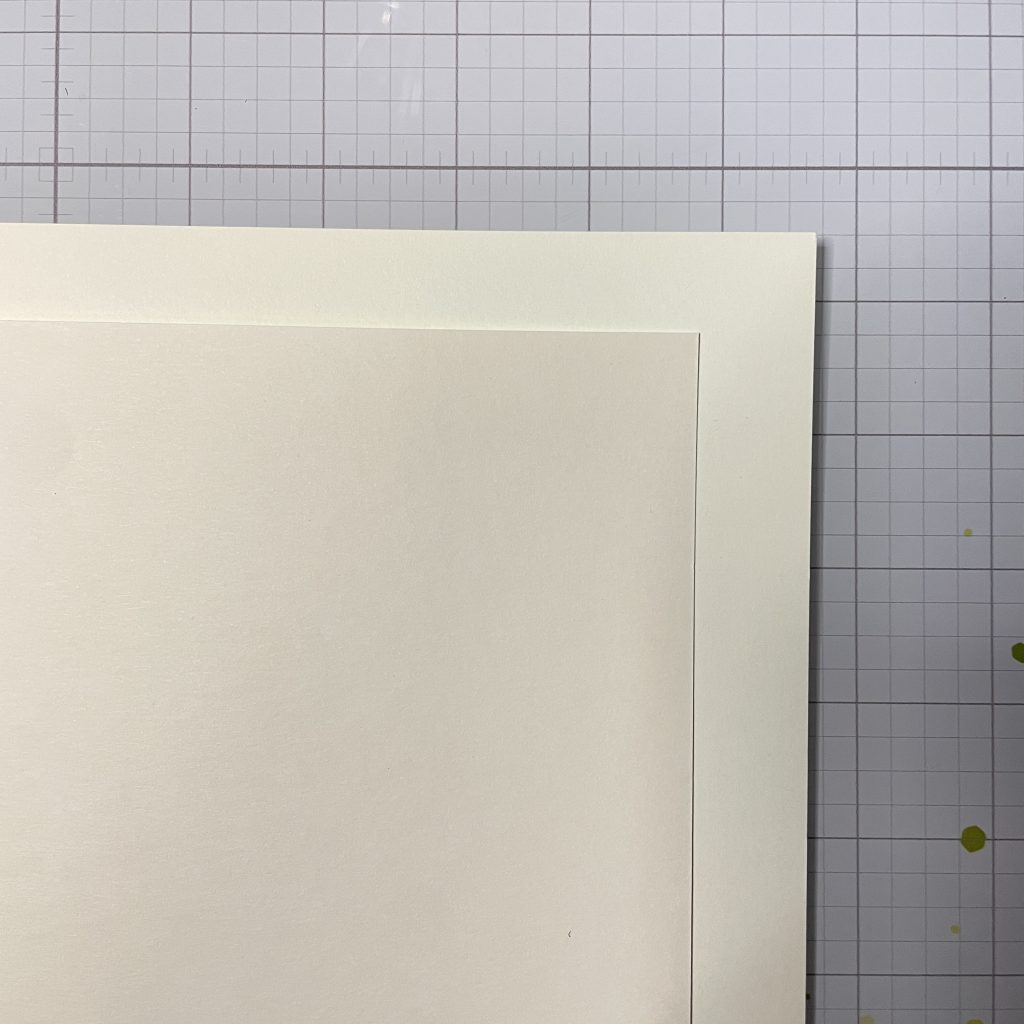
- Start with two sheets of paper that are very similar in color to create a subtle variation in the weave pattern.
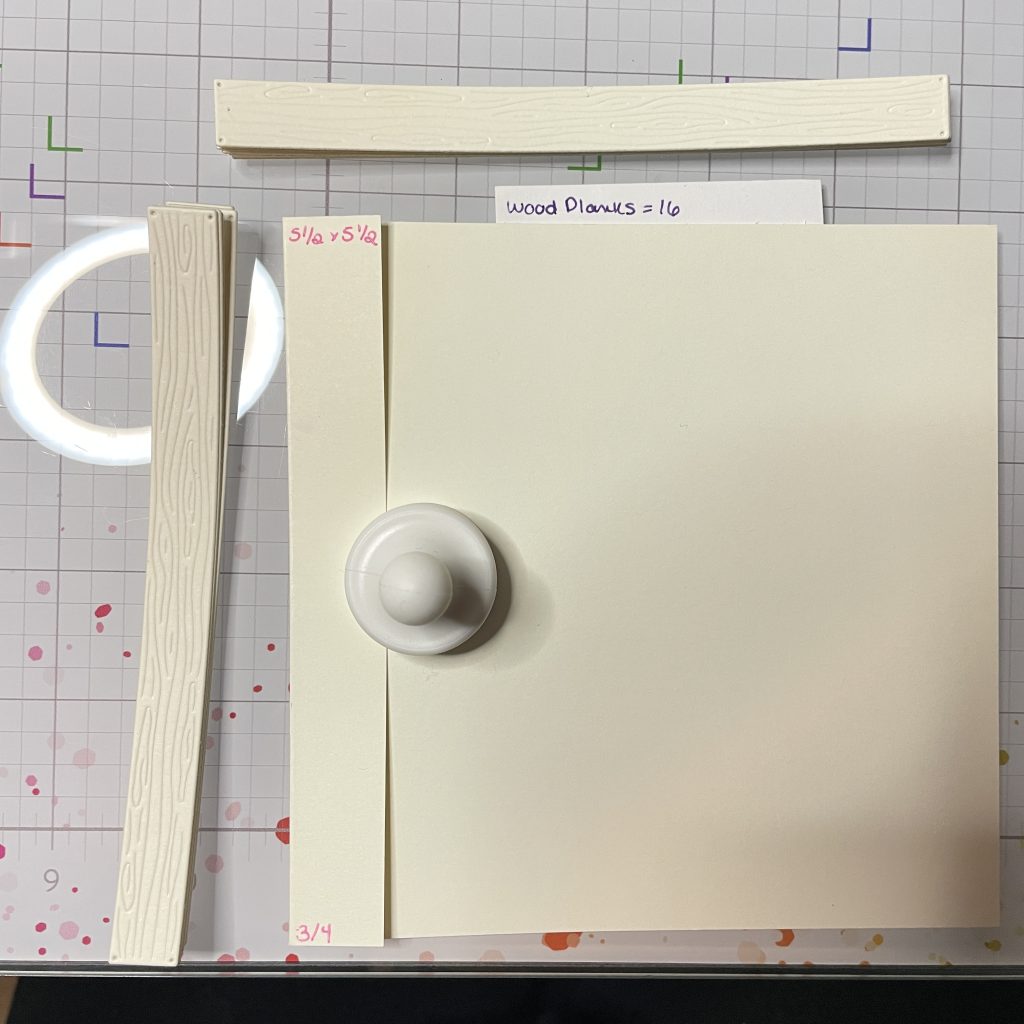
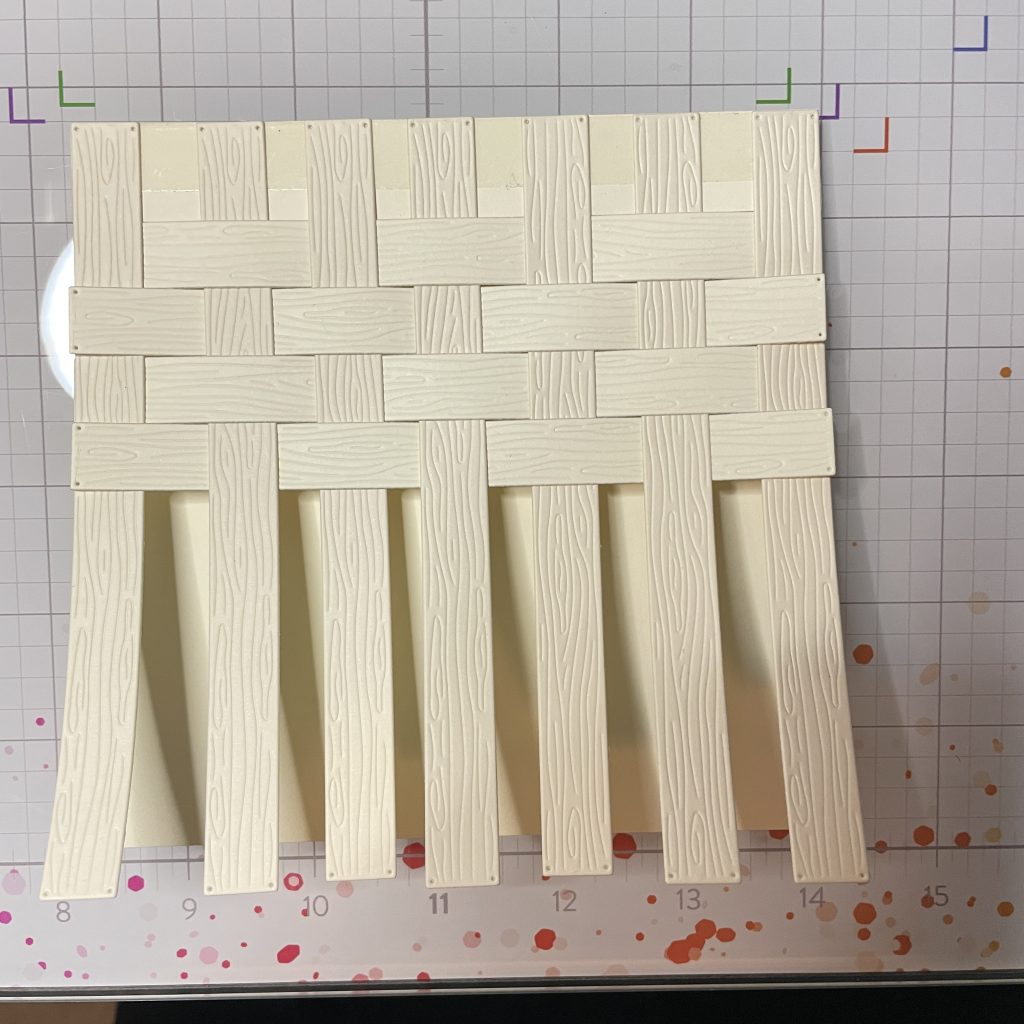
- Die-cut 17 planks using the longest die in the 5708-02D Wood Planks Die set (10 from the lightest color and 7 from the darker color). I originally cut 16 but realized at the end I needed one more plank, so ignore the 16 mentioned in the picture below.
- Cut your card base to 5 1/2 x 5 1/2 inches. Then, trim the top flap down to just 3/4 inches.
- Glue down your vertical darker-colored planks onto the 3/4 flap, spacing them as evenly as possible. Start weaving in your horizontal, lighter-colored planks, completing the weave until you reach the bottom.
- Glue an extra plank at the top and another at the bottom of the panel to cover the ends. Apply glue to the loose ends on the left and right sides of the card front.
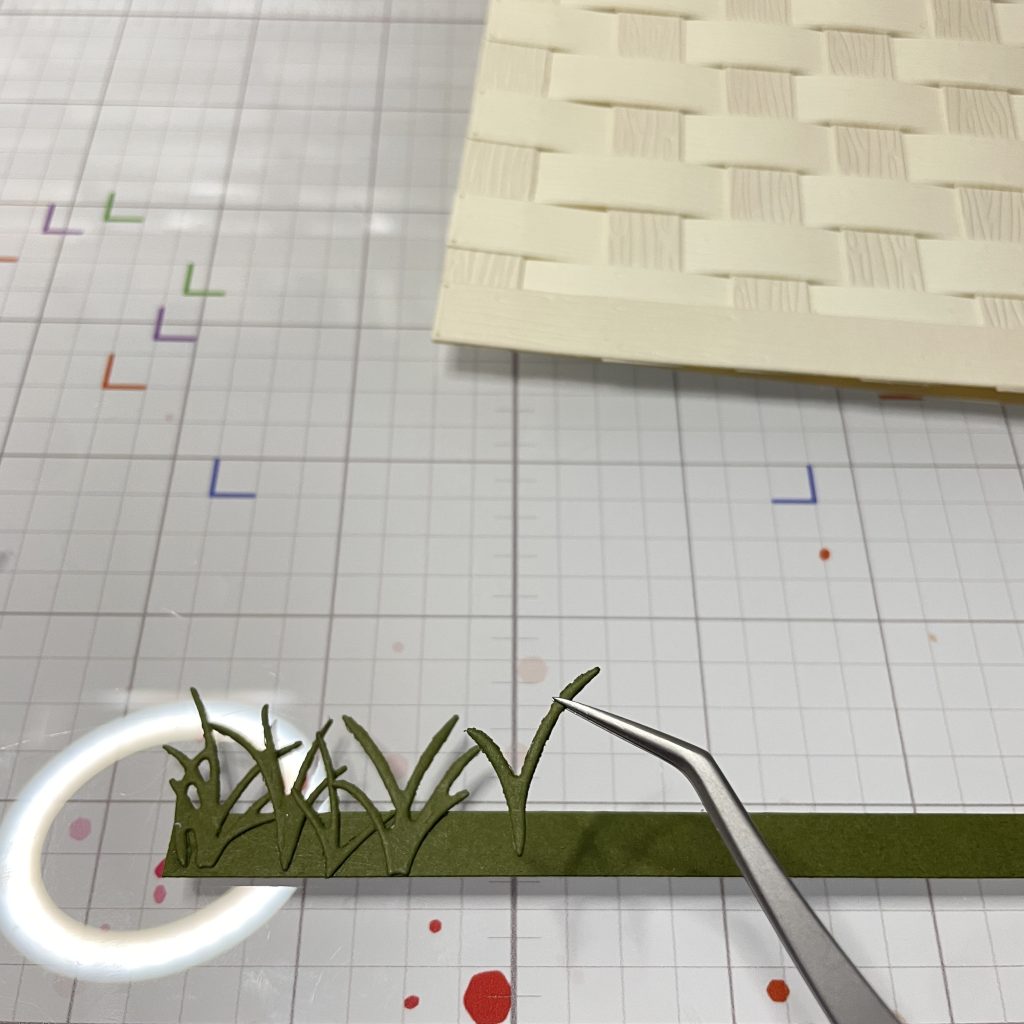
- Create a grassy ground by cutting a 1/4-inch strip of green paper, 5 1/2 inches long. Die-cut grass using the
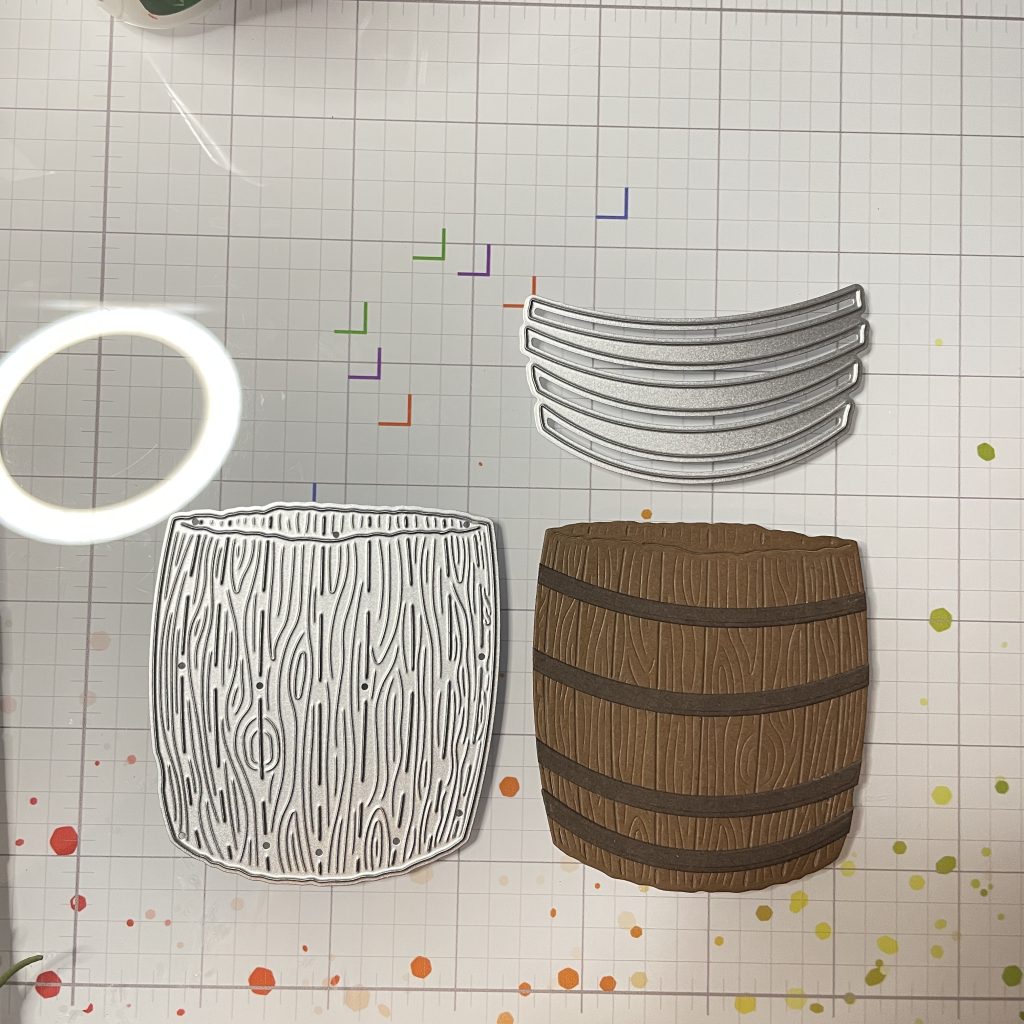
5210-02D – Grass #2 Die and glue it onto the green strip. Once complete, add double-sided foam tape to the back of the strip and attach it to your card. - Create a wooden barrel using the 5708-04D Wooden Barrel and Crate Die. Die-cut the barrel from brown cardstock and the hoops from a darker brown. Glue the pieces together, then add double-sided tape to the back of the completed barrel and attach it to your card.
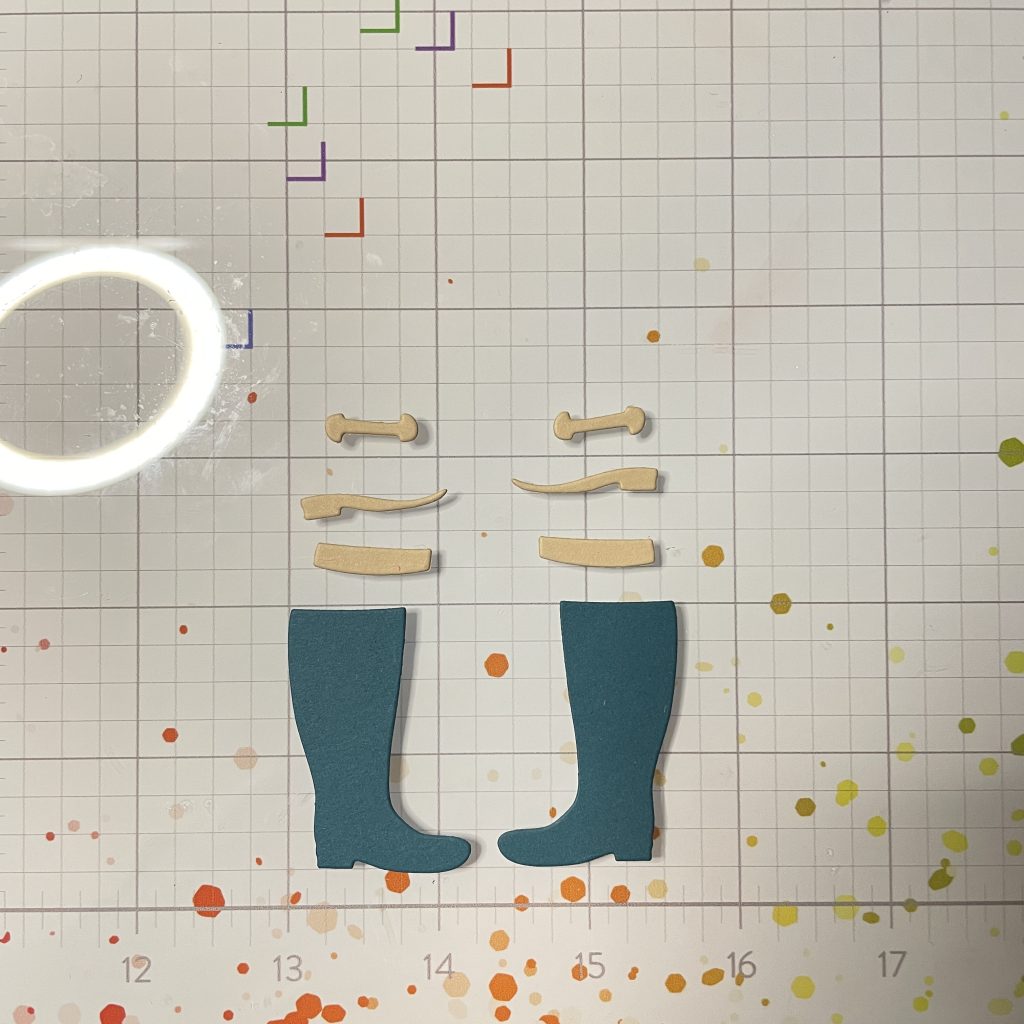
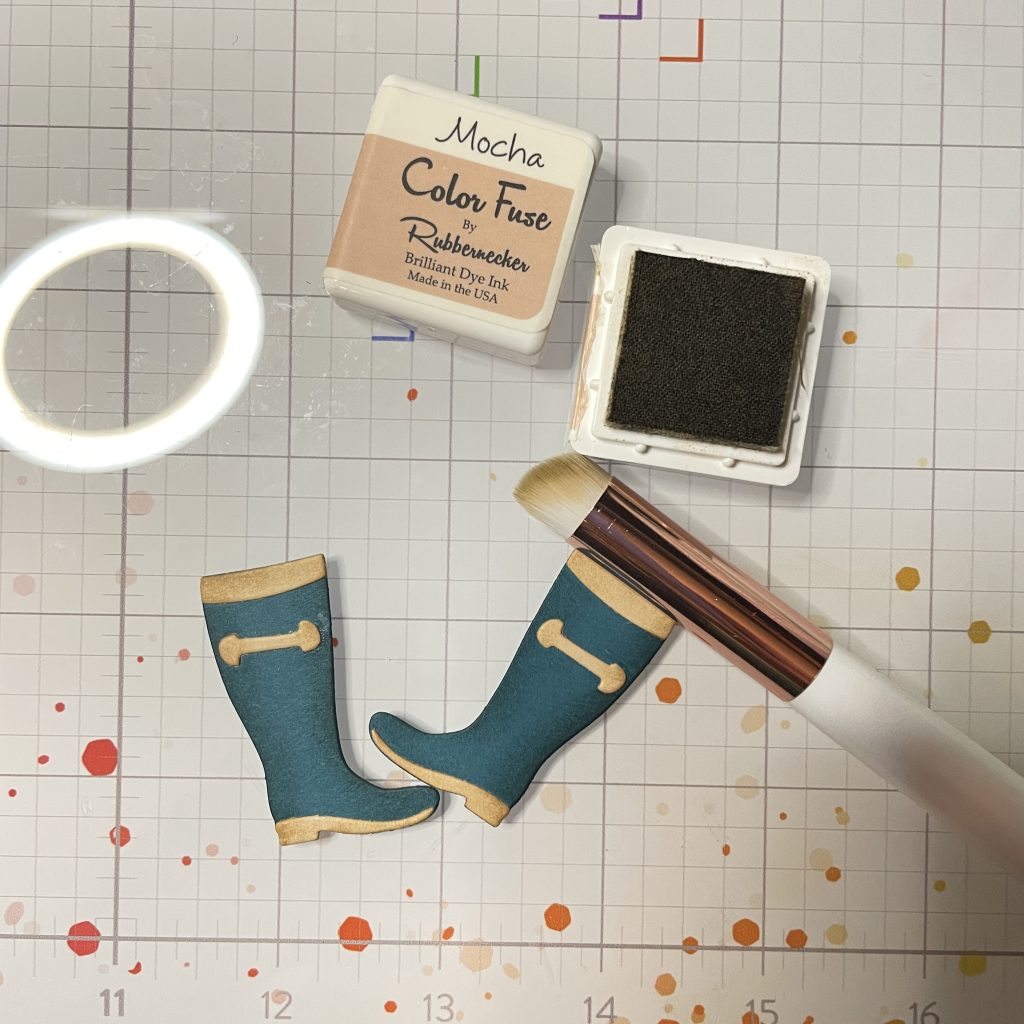
- Work on the rain boots using the 5423-12D Rain Boots with Umbrella Die. Die-cut the boots in dark teal and the other parts in tan. Glue the pieces together and shade using a blending brush and Mocha from
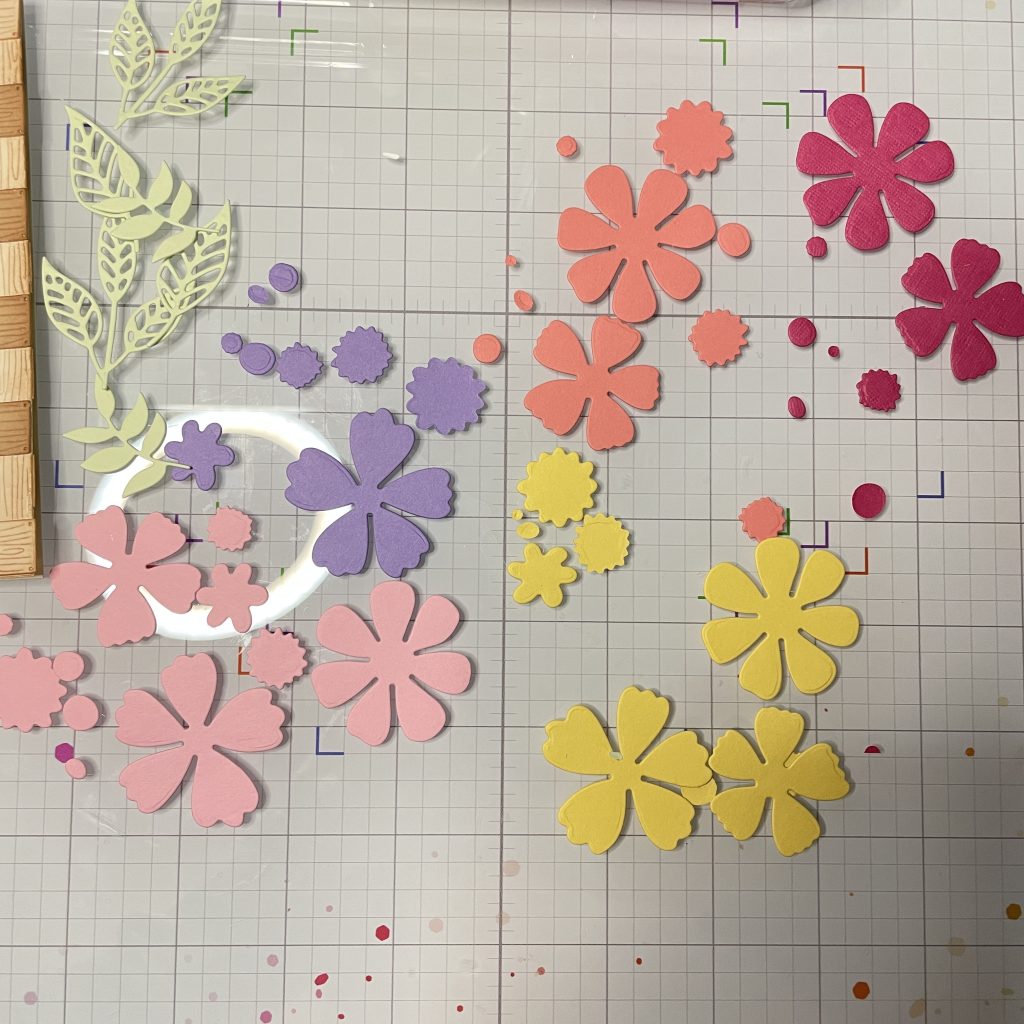
Color Fuse Set #3. - Die-cut several flowers in multiple colors using the 5709-02D Spring Flowers Die, and cut out some green foliage using the 5611-06D Open Greenery #2 Die. Add shading to all the flowers using corresponding Color Fuse Inks, then piece them together with glue.
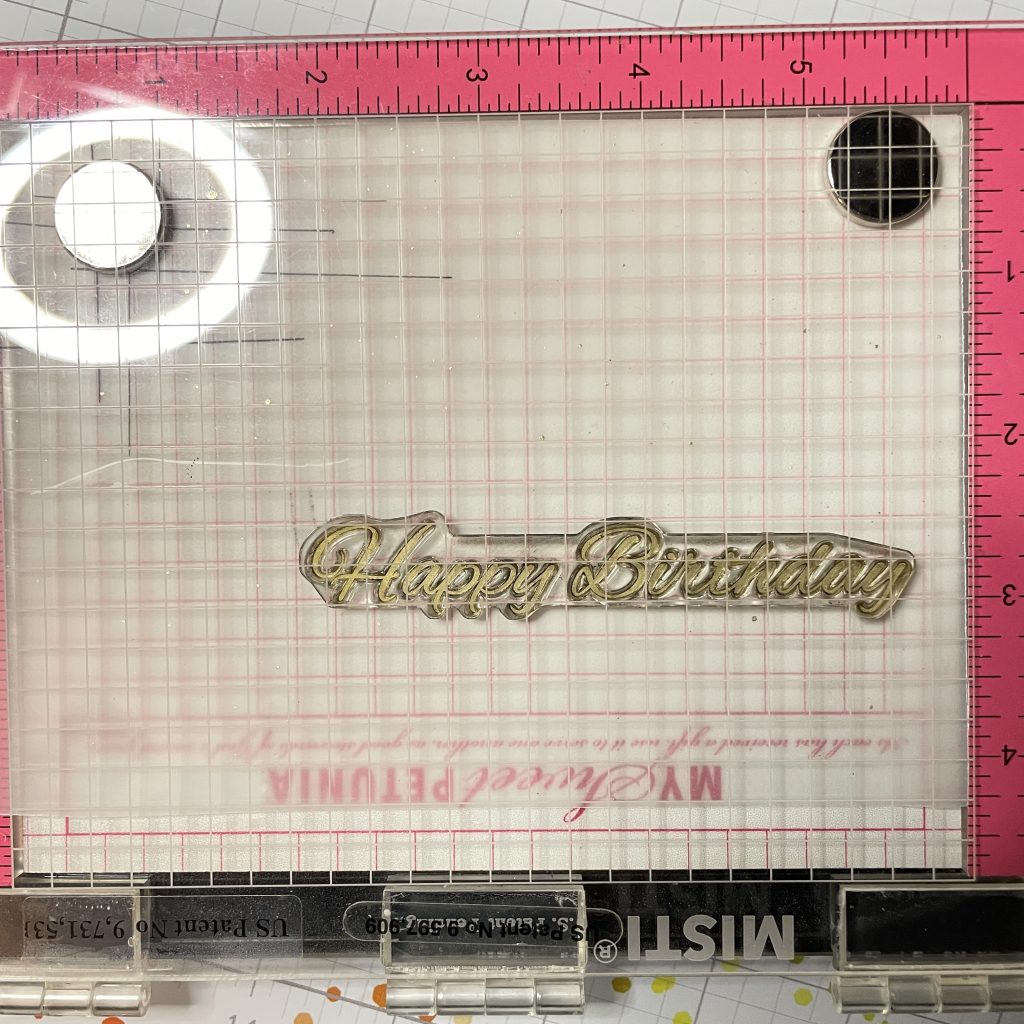
- Stamp the Happy Birthday sentiment from the 36062 I Thought You Knew stamp set onto a piece of vellum treated with an anti-static tool using Versamark ink. Sprinkle on antique gold embossing powder and heat set it. Cut down the strip to fit the sentiment, ensuring it’s longer than 5 1/2 inches to wrap around the side of the card. Glue the folded portion to the inside of the card.
- Arrange the florals on the barrel and position the boots against the barrel.

Now you’re all done! Dominique did not complete this card in one setting as it took her a while to create this. If you decide to recreate this card, or create something similar, allow your self to take a few breaks. We hope you enjoyed today’s weaved background card and if you are looking for more inspiration using wood planks, check out these projects!