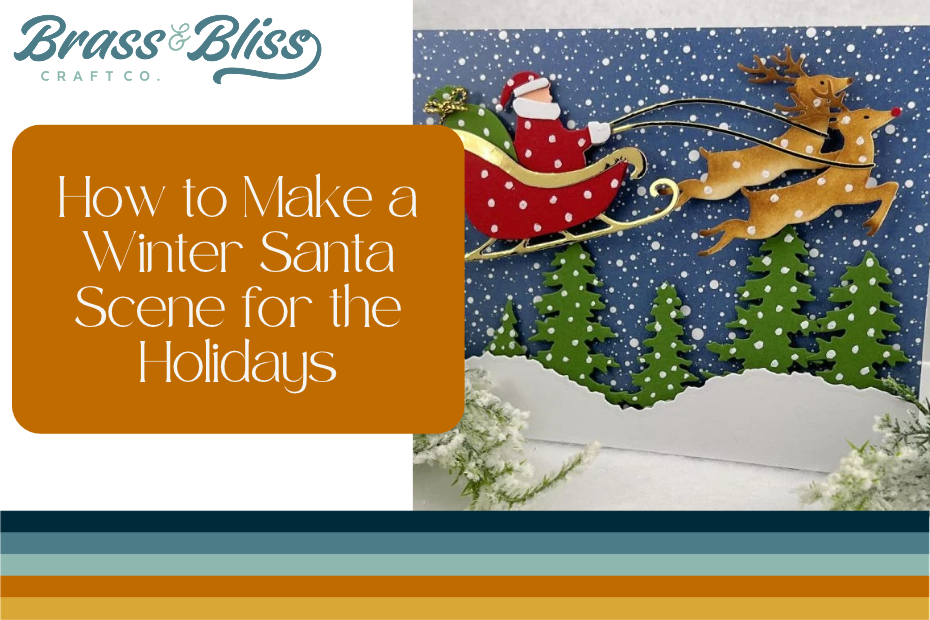
Christmas will be here before we know it. Starting early to create your cards for everyone on your list will help with the last minute holiday rush.
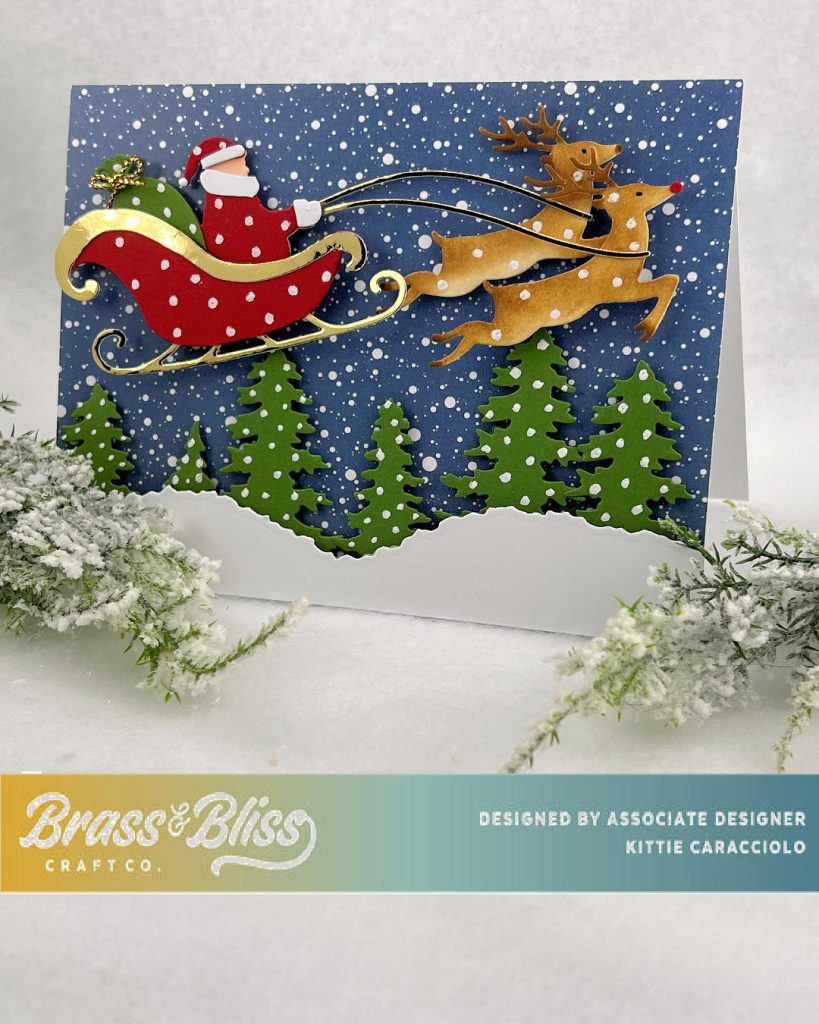
Today we have a wonderful card design from Kittie. She shared, “I never tire of creating snowy winter scenes especially with Santa and his reindeer as the main focal theme. The Santa and Sleigh were paper pieced together to add interest and lots lots of dimension.” We love this design and hope it inspires you and gets you into a festive crafty mood.
Santa and Reindeer Elements
I cut the Santa and sleigh image with red, white, green and gold cardstock and cut and paper pieced images to add dimension.
- Cut the Santa and sleigh in white to use as the base for paper piecing the sections.
- Cut the image out again with red cardstock and trim the sections to layer over the white base.
- Attach the jacket to the base using Nuvo glue.
- Apply small pieces of mounting tape to the red sleigh section and attach it to the base. Pro Tip: I trim a little off all around the white base , except for the face so the pieced sections don’t show any of the base.
- Cut the bag using green cardstock and the sleigh border and runner using gold cardstock.
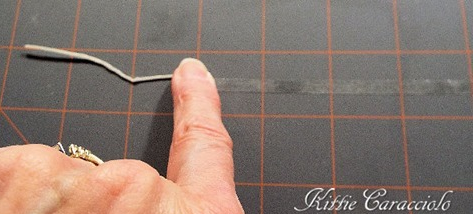
- Attach the bag using Nuvo glue and the gold runner and border using thin strips of rolled up double stick tape.
- Cut the reindeer using white cardstock and light and darker shades of brown using detail blending brushes.
- Add snowflakes to the images using a white gel pen.
Card Base, Trees and Snow Layer
- Cut a white A2 sized card base and a 5.50″ x 4.25″ piece of designer paper.
- Attach the designer paper to the card base using Nuvo glue.
- Cut a deckle hill section using white cardstock to create the snow layer and attach it to the card base using a strip of mounting tape.
- Use green cardstock to cut several tree section, apply snowflakes with the white gel pen and trim them to fit behind the snow layer.
- Apply small pieces of mounting tape to the back of the trees, tuck them in behind the snow layer and attach to the base.
Finish the Santa Scene
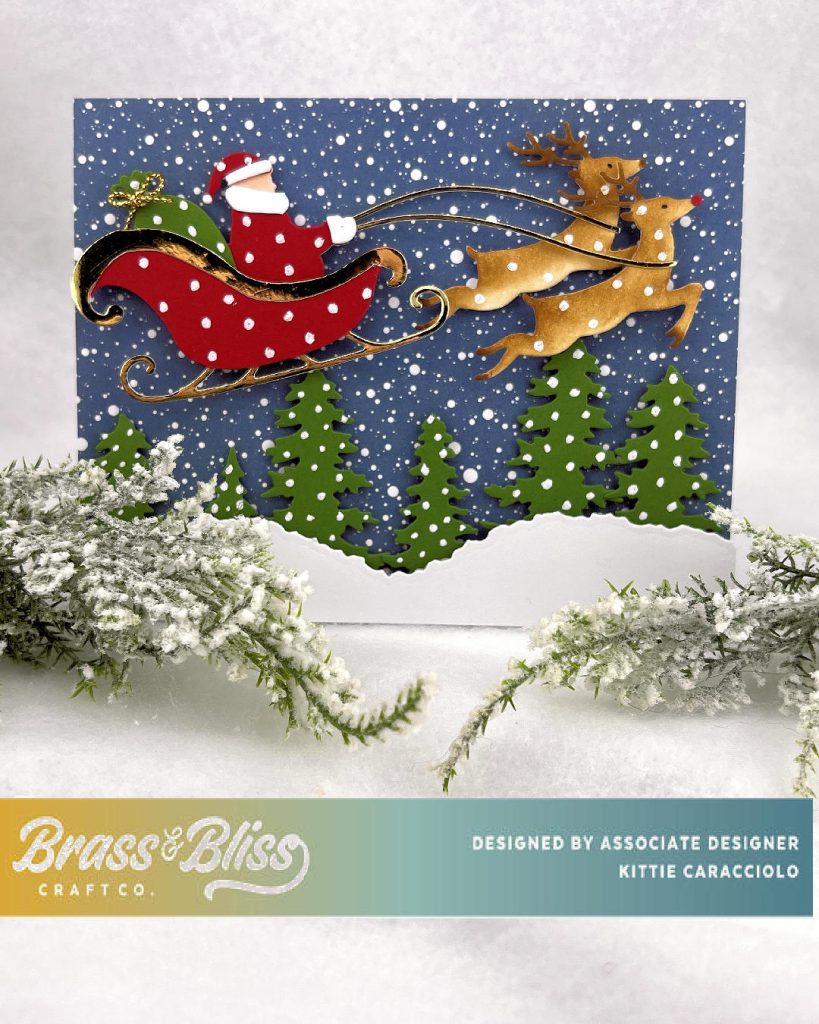
- Use glue dots to attach the gold string reins to the necks of the reindeer.
- Attach the reindeer to the scene using pieces of mounting tape. Pro Tip: I attach a double layer of mounting tape to the front deer to create distance from the second deer.
- Attach the Santa and sleigh to the base using pieces of mounting tape.
- Cut the reindeer using white cardstock and light and darker shades of brown using detail blending brushes.
- Add snowflakes to the images using a white gel pen.
- Card Base, Trees and Snow Layer
- Cut a white A2 sized card base and a 5.50″ x 4.25″ piece of designer paper.
- Attach the designer paper to the card base using Nuvo glue.
- Cut a deckle hill section using white cardstock to create the snow layer and attach it to the card base using a strip of mounting tape.
- Use green cardstock to cut several tree section, apply snowflakes with the white gel pen and trim them to fit behind the snow layer.
- Apply small pieces of mounting tape to the back of the trees, tuck them in behind the snow layer and attach to the base.
- Finish the Santa Scene
- Use glue dots to attach the gold string reins to the necks of the reindeer.
- Attach the reindeer to the scene using pieces of mounting tape. Pro Tip: I attach a double layer of mounting tape to the front deer to create distance from the second deer.
- Attach the Santa and sleigh to the base using pieces of mounting tape.
Supplies use:
Adorable design!
Thank you so much for your comment, Cathy.