
Come see how to make a Z Fold card with die cut windows with an arrangement of flower pots and a colorful spring floral background.
Making a Z Fold card may look intimidating but it really is quite easy. We love how pretty the windows and window boxes look with flowering pots against the lovely floral designer paper. Our Associate Designer, Kittie, is always wowing us with her intricate die work, and these florals are simply stunning set against this crisp white window. Follow along with these steps to recreate the look.
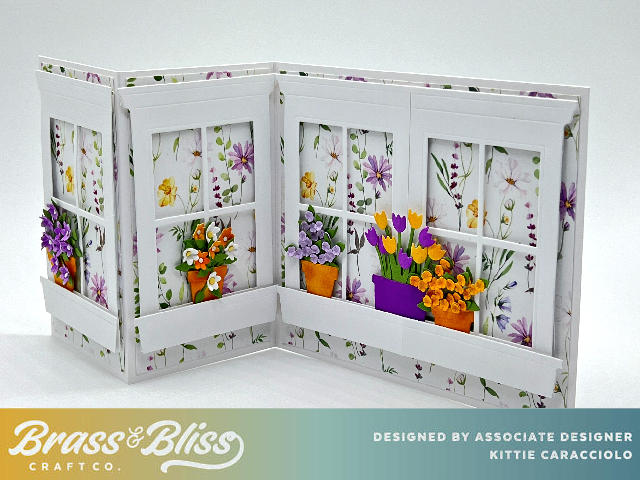
Z Fold Card Windows Base
- Cut designer paper layers.
- Two 2.50″ x 4.00″ layers for the left front and “side” and one 5.25″ x 4.00″ layer for the background.
- Apply double stick tape or glue to the back of the layers and attach them to the card base.
- Use a bone folder to crisp the folds.
Windows and Flower Boxes
- Cut four windows and window box sections using white cardstock.
- Cut the right and left sides off of four of the windows to create pairs.
- Apply double stick tape to attach one of the pairs together and attach them to the back base using strips of mounting tape.
- Apply mounting tape strips to the back of the second pair and attach them individually to the left sides. Pro Tip: Cutting the sides off of the front windows allows the card to fold without interference.
- Trim off the left and right sides of two of the window boxes and attach them together using double stick tape. Attach a double layer of mounting tape strips and attach them to the back window base.
- Trim the left and right side of the two remaining box sections and attach them to the front window bases.
Terracotta Pots
- Use bright yellow cardstock to cut the Wide Terracotta pots.
- Apply a light shade of Autumn ink around the borders of the pots using a mini applicator.
- Apply light touches of Pumpkin ink around outer borders of the pots but leaving some light-yellow space in the pot centers.
- Continue by adding very light touches of Pecan ink to the outer edges to reinforce the terracotta color.
- Finish by gently applying a light shade of Autumn ink over the whole pot to smooth the color lines.
- Note: I cut one of the vases from the tulip set using purple cardstock.
Flower Arrangements
- Cut the stems using green cardstock and the flowers using bright yellow, purple and lavender.
- Form the flowers using a tiny small stylus and molding pad by pushing down in the centers.
- Attach the stems to the back of the pots using Nuvo glue to create a foliage base.
- Adhere the flower stems to the foliage bases using Nuvo glue.
- Apply pieces of mounting tape to the back of the pots, tuck them in behind the flower boxes and attach to the windows.
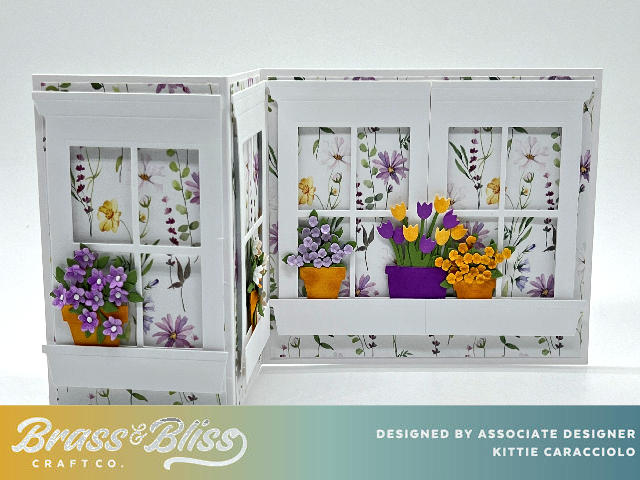
Here are the products Kittie used to make this fabulous Z Fold card with windows.
Spring Garden Starter Set, Spring Tulip Starter Set, Window 4 Pane and Welcome Spring 6×6 Paper Pad. The card base is from The Paper Cut Z Fold Kit.
Love this composition using the window dies and Z Fold card base!
Thank you so much Linda. I’m so happy you like it.
Very pretty. Love the finished card.
Thank you so much Edna.