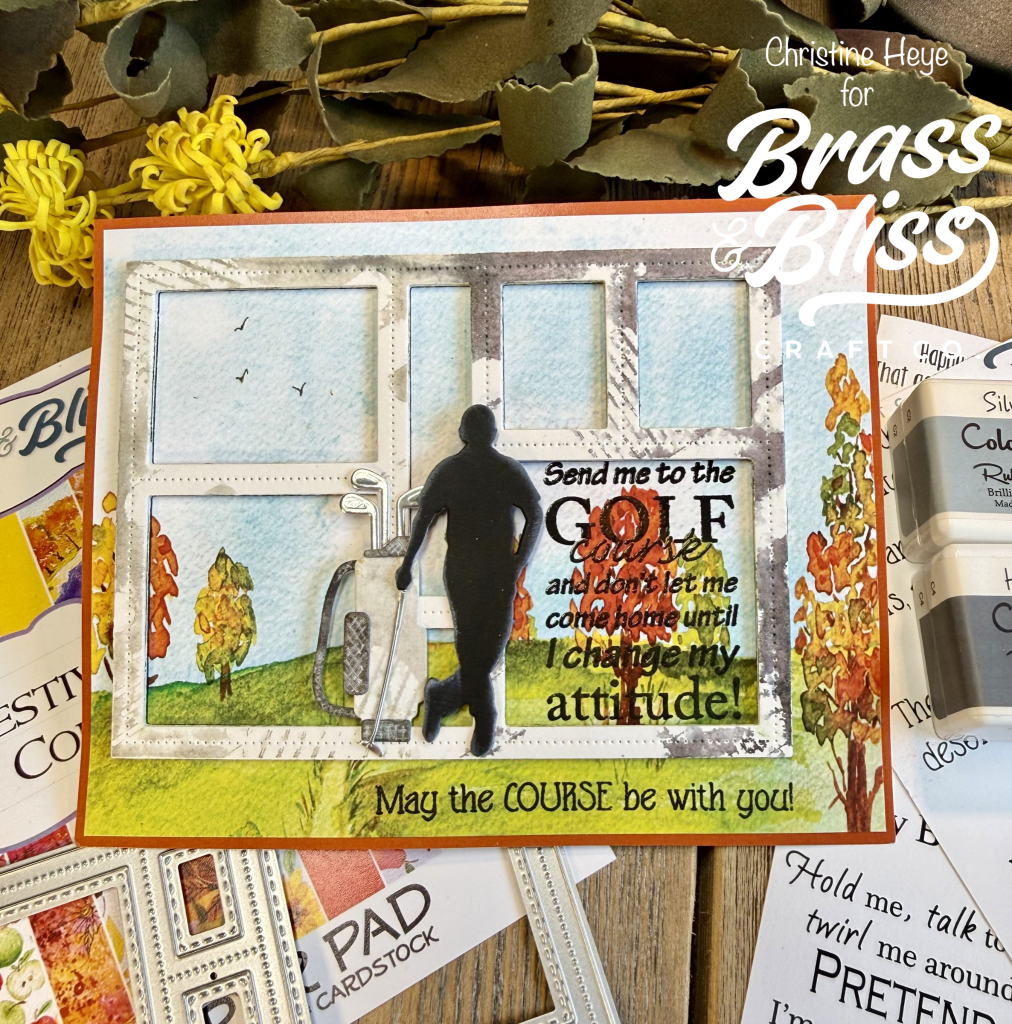
Golfing and laughter should go hand in hand; the best things in lift often do. Check out this fun golf-inspired card that is par above the rest.
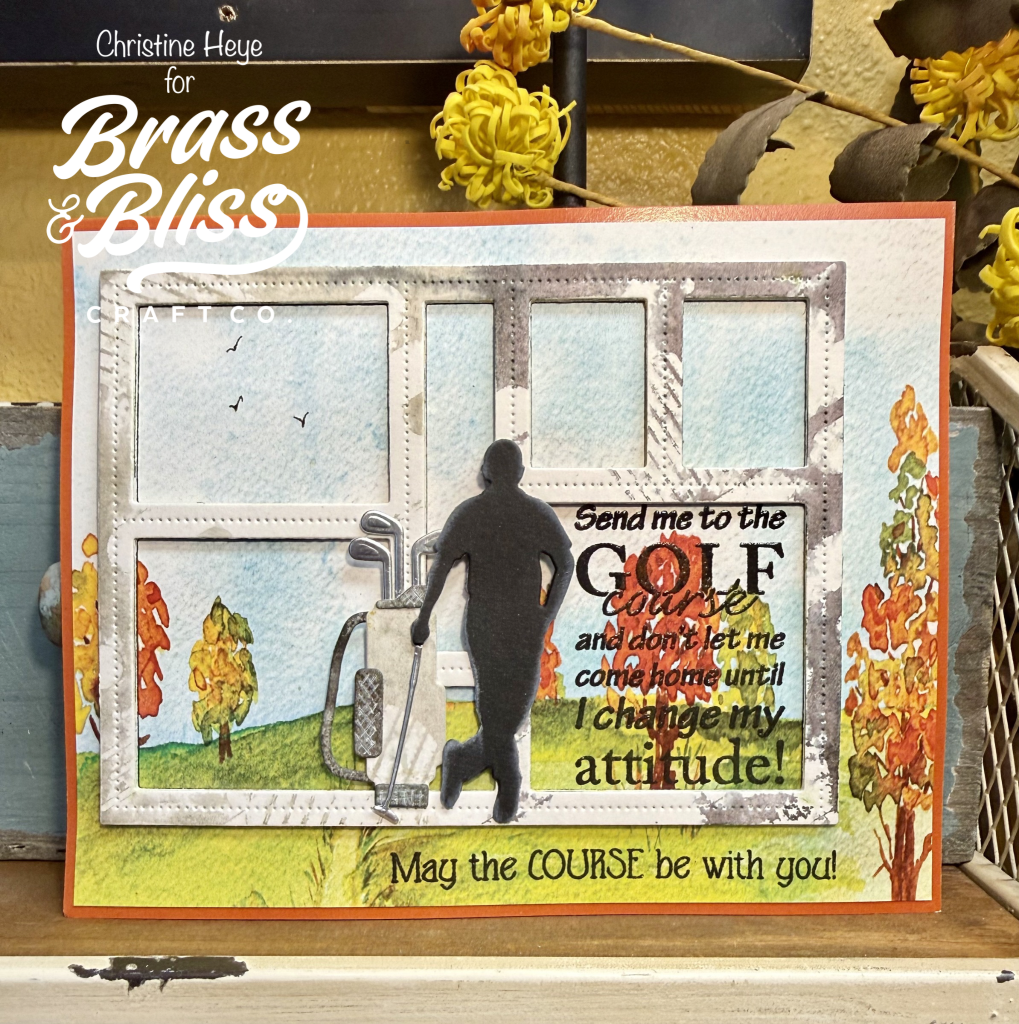
Today our designer Christine has created the perfect Golf card with a bit of humor. Christine said, “This card is perfect for the outdoorsy, golf loving man or woman. This cool silhouette die set features 4 images; men and women in various golf poses so you can pick the perfect one. This is a simple and quick card utilizing a beautiful paper pad to do the heavy lifting, a bit of heat embossing and some easy die cutting.” We love this awesome creation and think this is a colorful scenery golf card that is sure to be a hole in one. Follow along as Christine walks us through the steps to recreate this unique card!
Steps to recreate this card:
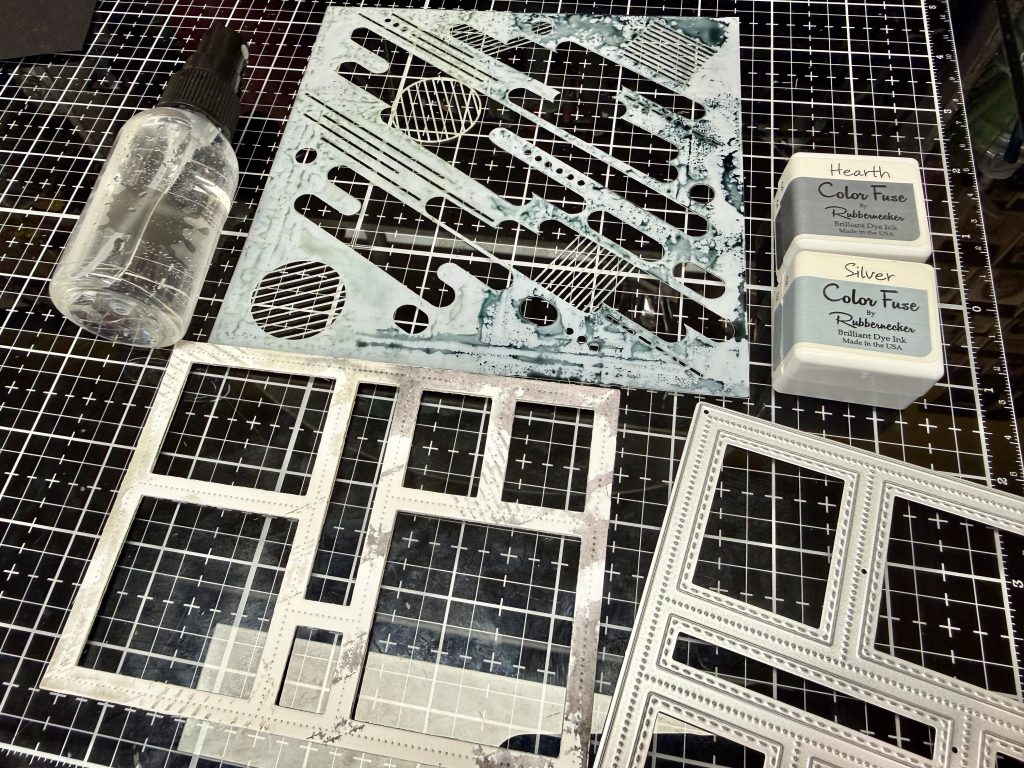
- Start this card by selecting one of the many lovely scene papers. This one is from the Festival of Colors 6×6 paper pad. Next die cut the 7 window frame die. You will leave the pieces in the heavy weight cardstock for the stenciling step. Ink up the preferred side of the 80s Retro stencil using Silver & Hearth inks (direct to stencil). Gently mist the die cut cardstock and the stencil (more liberally). Place over top of the frame. Using a paper towel, carefully press the stencil down- try to lift straight up. This is not meant to be a perfect image, but rather a blotchy, partial image in two gray shades. Heat set gently and push out pieces (save them to create the golf bag). Die cutting 2 or 3 additional frames from white cardstock. I use 3 heavyweight for dimension. Glue these layers together and glue the dry, stenciled one on top.
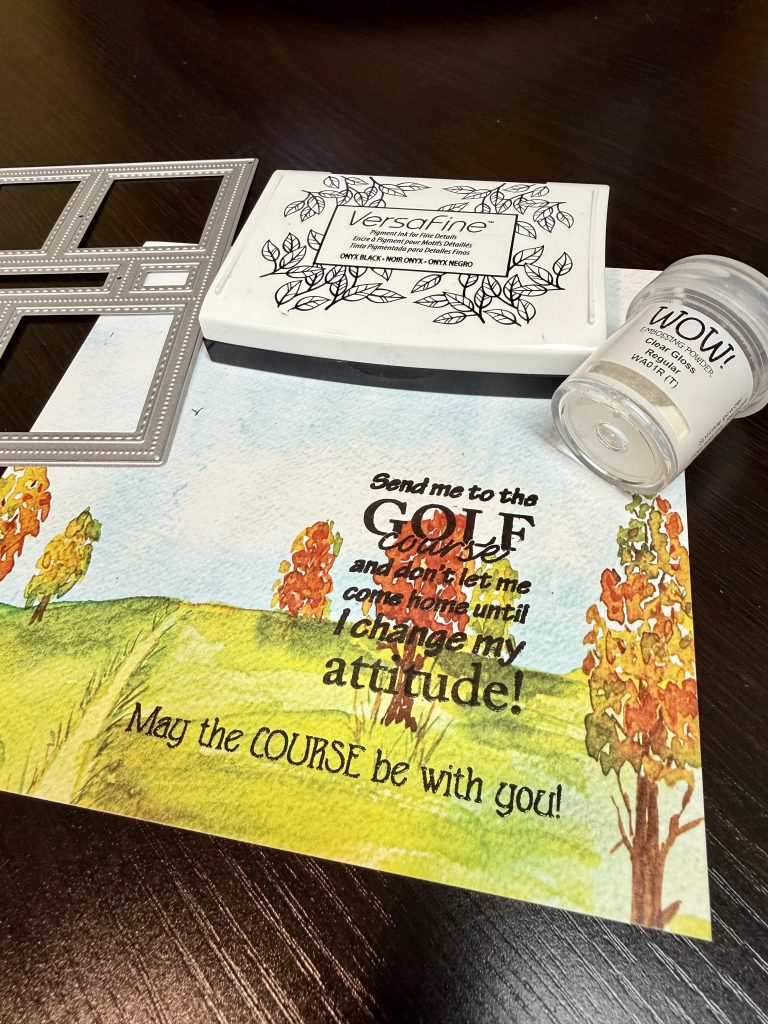
- Using this layered frame lay over top the section you wish to emboss the sentiment, for guide in stamp placement. Using a stamp positioner, place 1 stamp over opening and second (subsentiment) under. Carefully pick up with the tool door and remove the frame piece. Using an anti-static tool, brush area to be embossed. Wet embossed using versafine or black pigment ink and clear gloss powder.
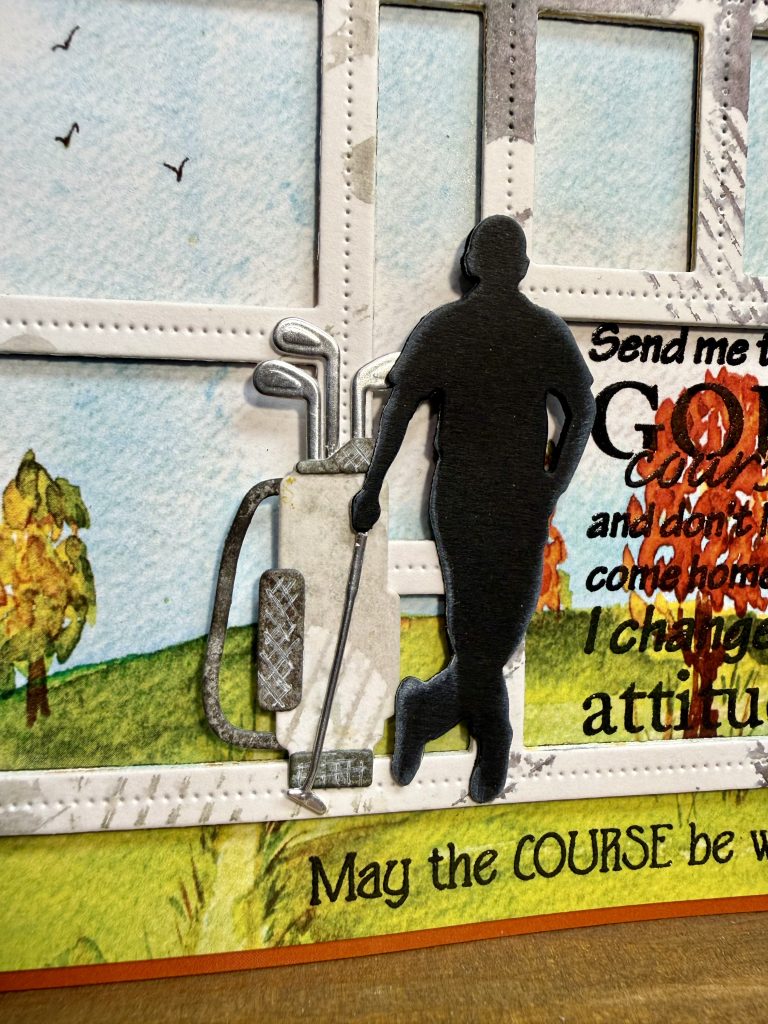
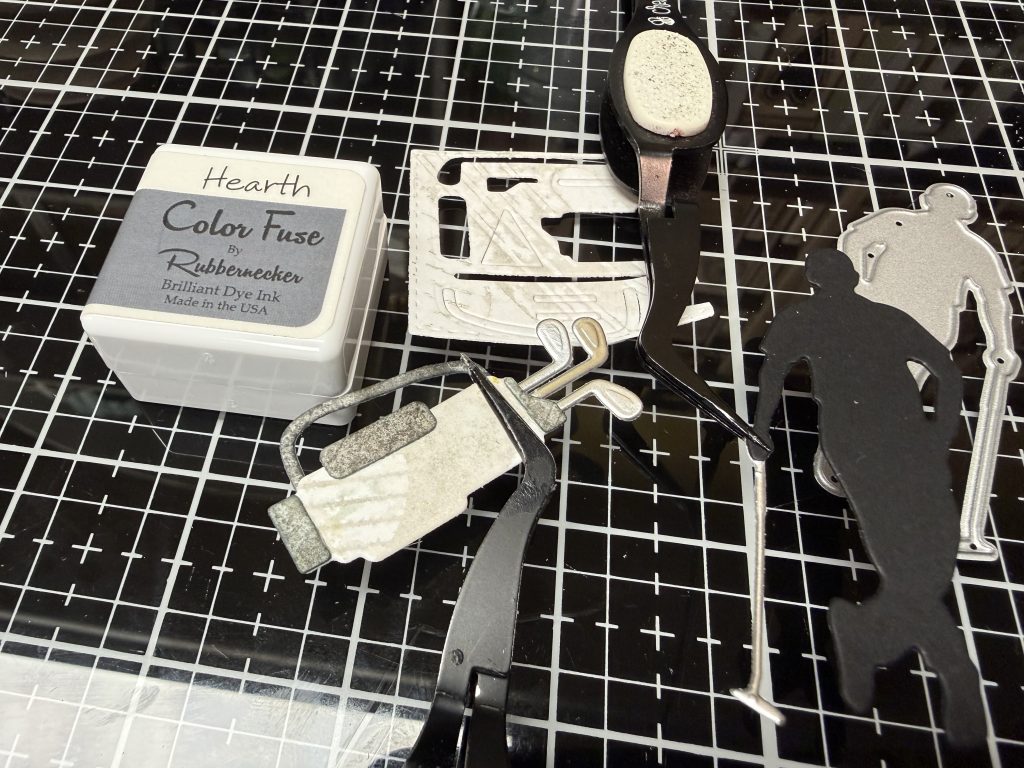
- Taking the extra/window pieces, die cut the golf bag from it. You can use what sections you like. I used Hickory Smoke oxide to deepen the bottom, top, handle and “ball holder, zipper compartment” of the bag. Glue pieces together, referencing the packaging.
- Die cutting the clubs, including the silhouette golf club from Metallic silver cardstock. Die cut the person from black card stock. Glue the silver die cut club he is holding, over top of the black die cut. Brush the person with a bit of white pigment ink for lighting/shadowing. Glue the clubs onto the backside of the golf bag. I added hash marks to the bag for detail and pattern.
- Glue the frame piece to the background paper, carefully positioning over & above the embossed images. Now to carefully cut down the background paper, as desired. I left mine a bit more on the right, to show the pretty trees. This is slightly larger than an A2, but I’m a rule breaker. lol. Layer this onto a piece of Whispers of Fall 6×9 paper pad (you can either cut before adhering to about 3/8” or 1/4” larger than card front piece or trim after glueing) There are several colors to choose. I used the rust color. Now using a combination of glue and thin foam adhesive, attach the golf bag, then person to the card front. All Done- Now you can send someone to their room “to adjust their attitude” HA! Happy May the 4th….May the course be with you!