
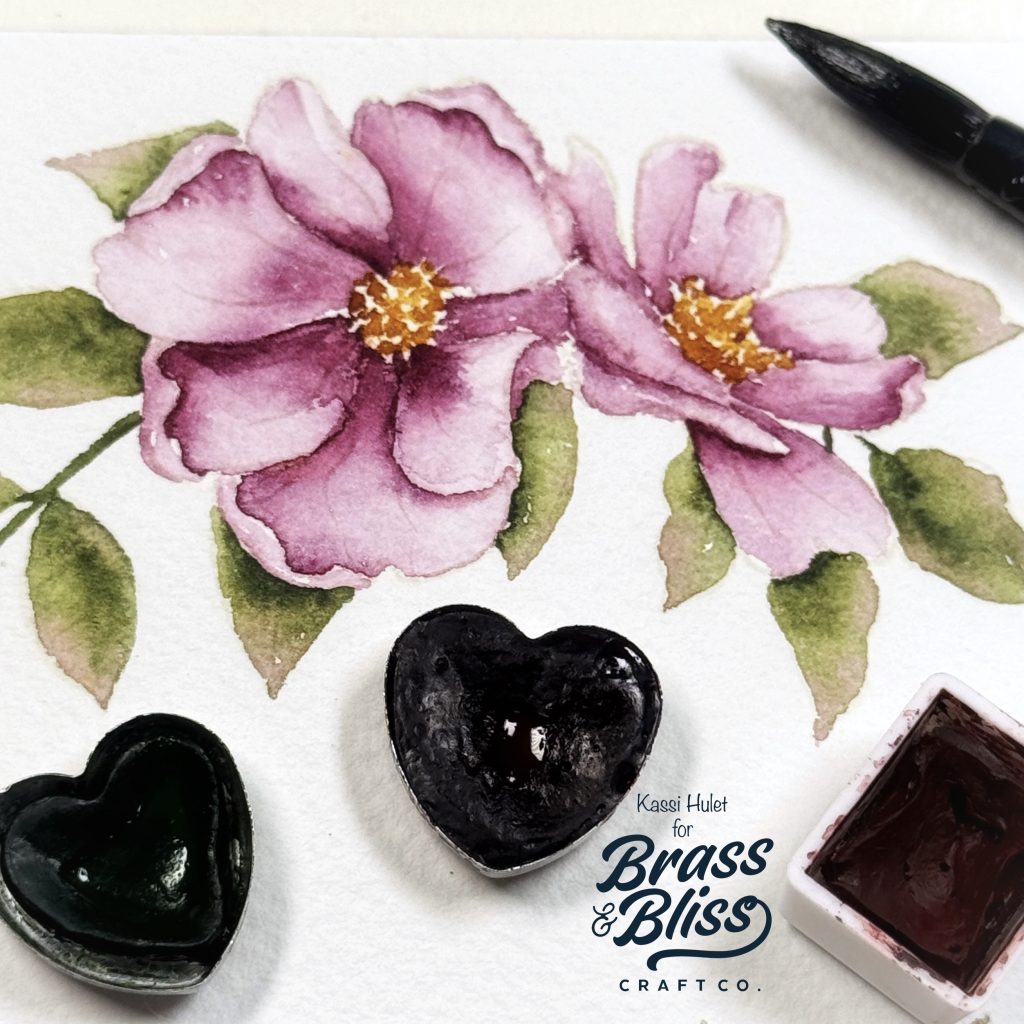
Looking for a step-by-step tutorial on watercolor florals? This elegant Anniversary Card creation is breathtaking and must be recreated!
You guys are in for a treat today!! Our very talented designer Kassi has created this step-by-step tutorial showing us how she creates her gorgeous florals using stamp sets! Spring is the perfect time to learn how to paint flowers! Kassi said, “Everyone has their own way of painting (and that’s great!), but for those who are just starting out and feeling a bit unsure where to start, I thought I’d share the basics of how I paint flowers. While you can always add more layers, colors, and complexity, this is the basics of how I start painting any floral stamp.” Be sure to pin this post, as we know you will for sure want to come back to this when we release all our new spring floral stamps!

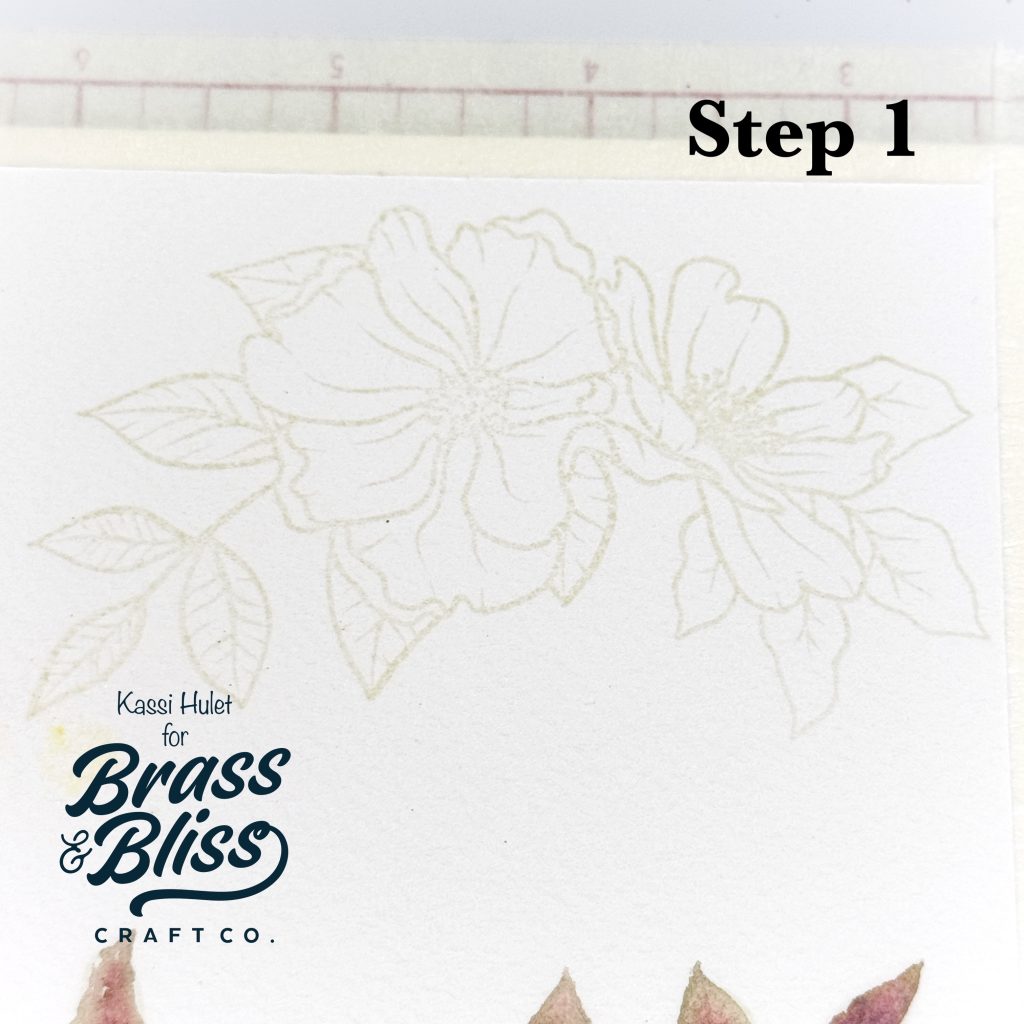
- Stamp your image using a light colored waterproof ink on to watercolor paper. I used 38005 Birthday Wishes & Blooms for my flower.
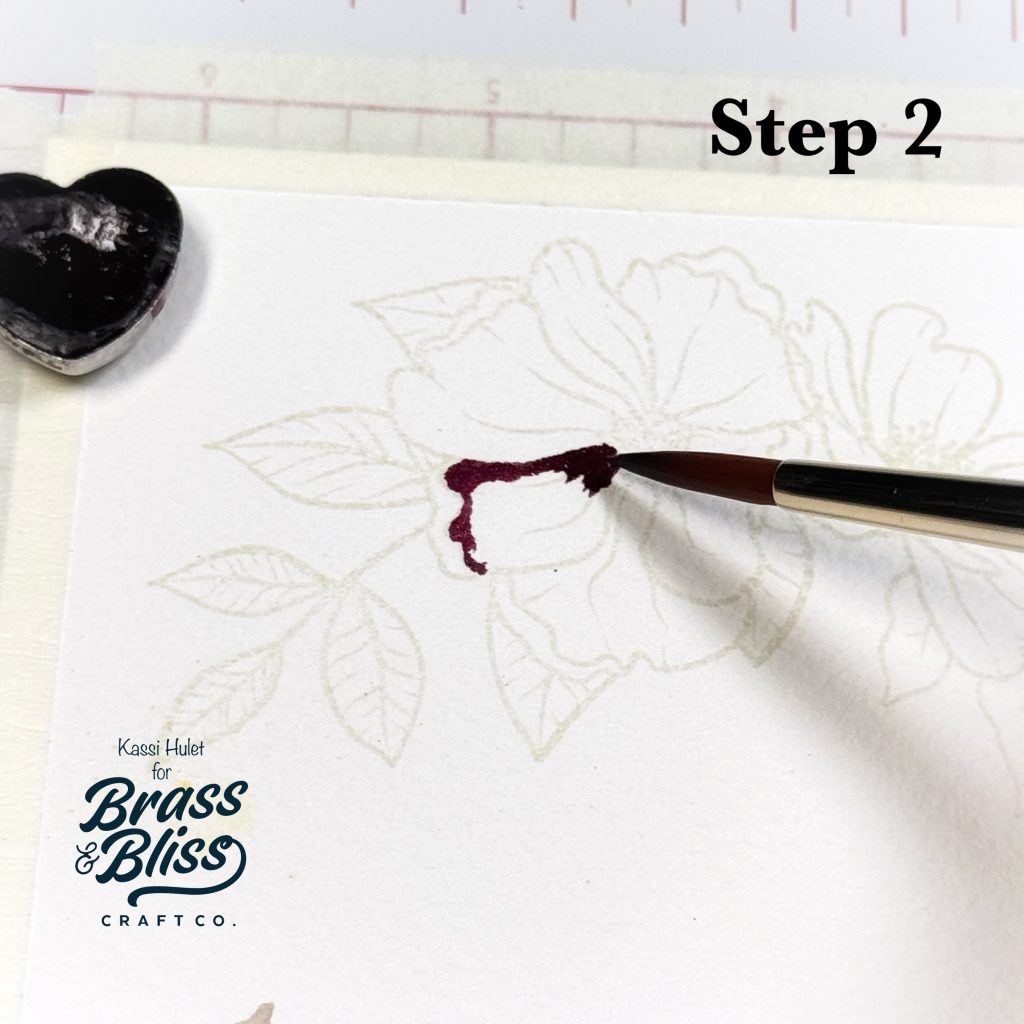
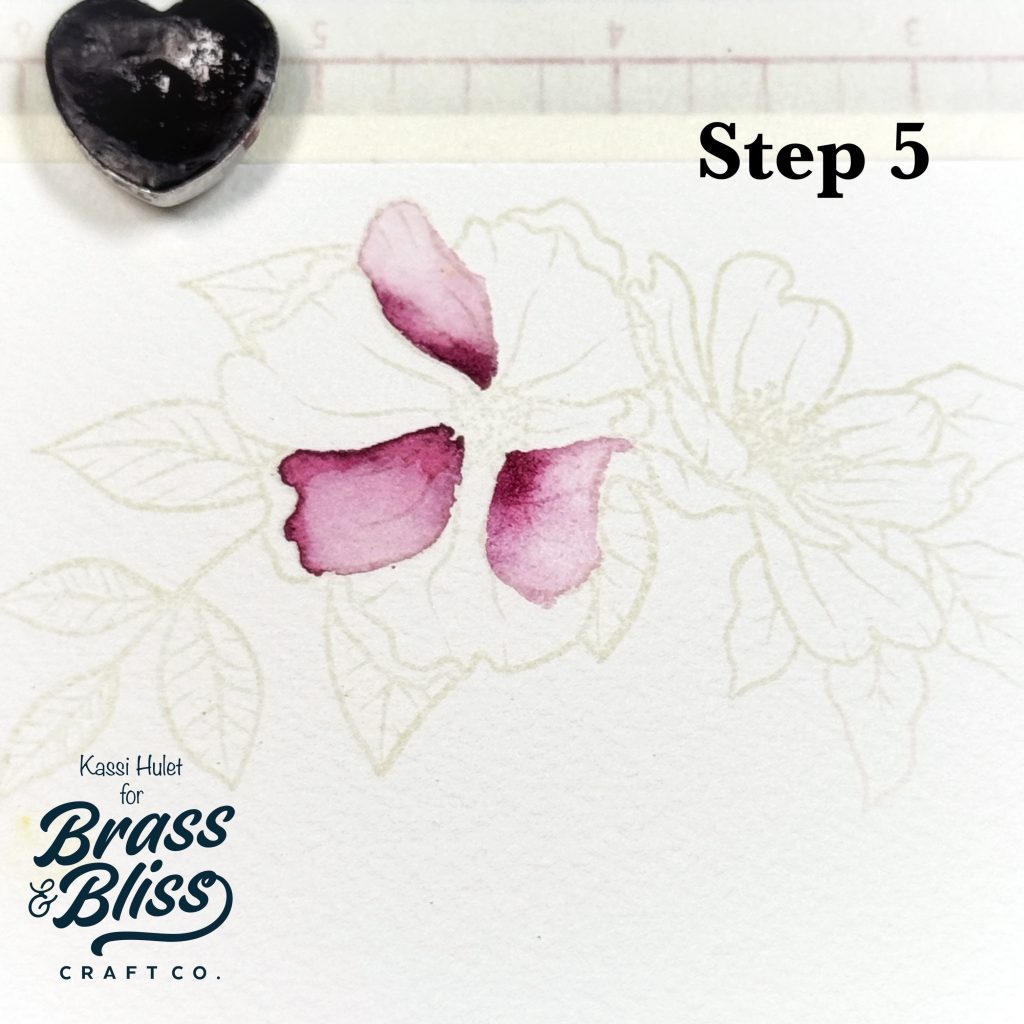
- Add a small amount of dark watercolor at the base of the first petal as well as any shadows (where a petal overlaps or curls over).
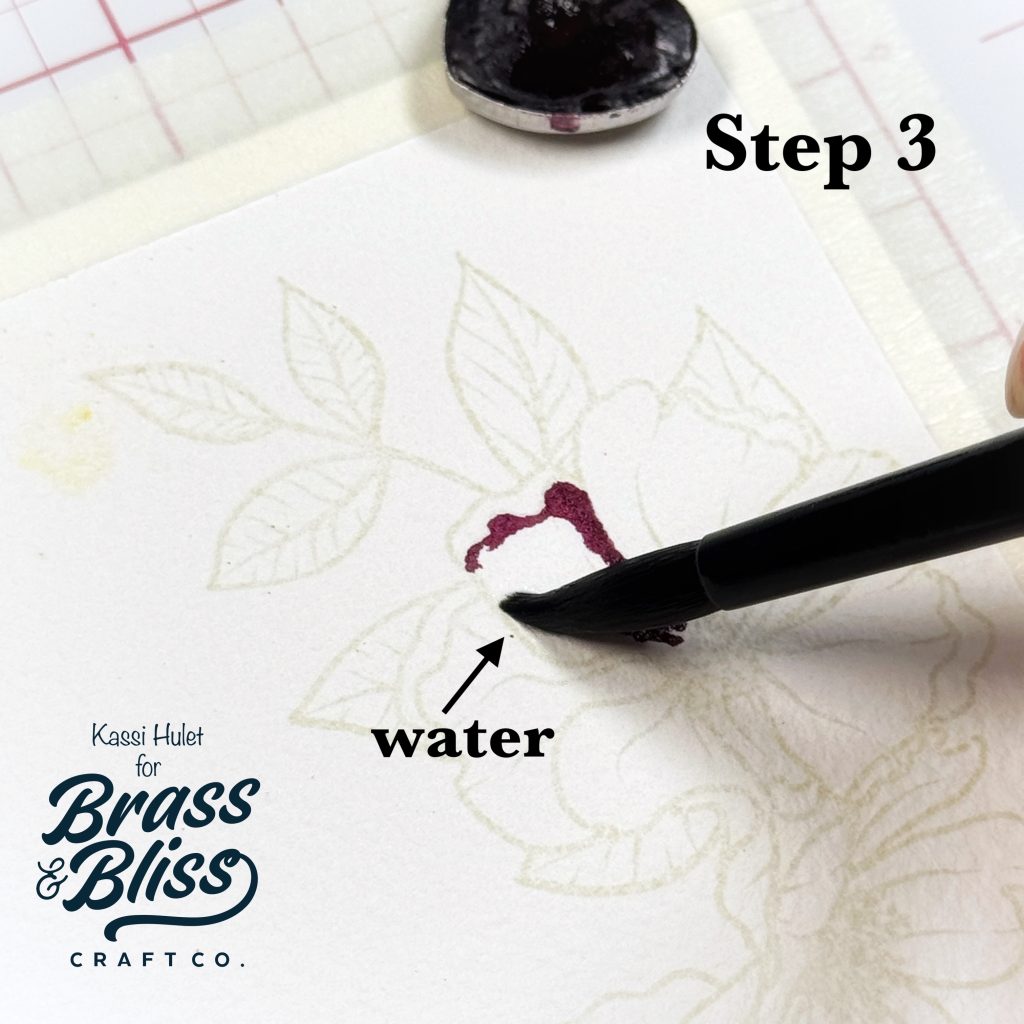
- Add clean water to the opposite edge of the petal.
- Gently work the water towards the edge of the paint. When they touch, gently ease the paint into the wet area of the petal. Remember this is meant to be a gradient, not even color, so leave the darkest color in the shadows and just a tint of color in the highlights.
- Repeat steps 2-4 for each petal. Skip around the flower so you are never working next to a wet petal.
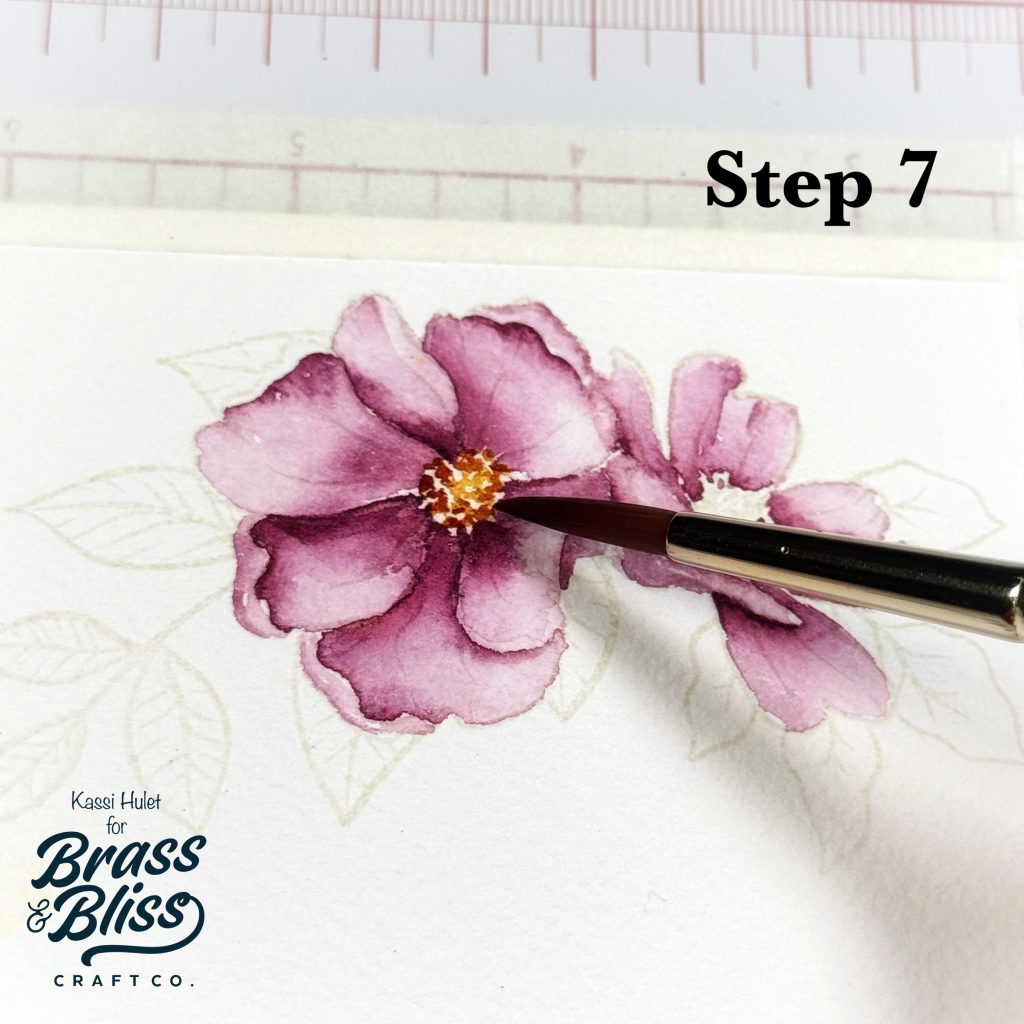
- Continue until all petals are painted. When the petals are dry, you can deepen the shadows if any got lost.
- Paint the centers of the flowers by dotting in the color in tiny ‘c’ shapes. Leave small white spaces for highlights.
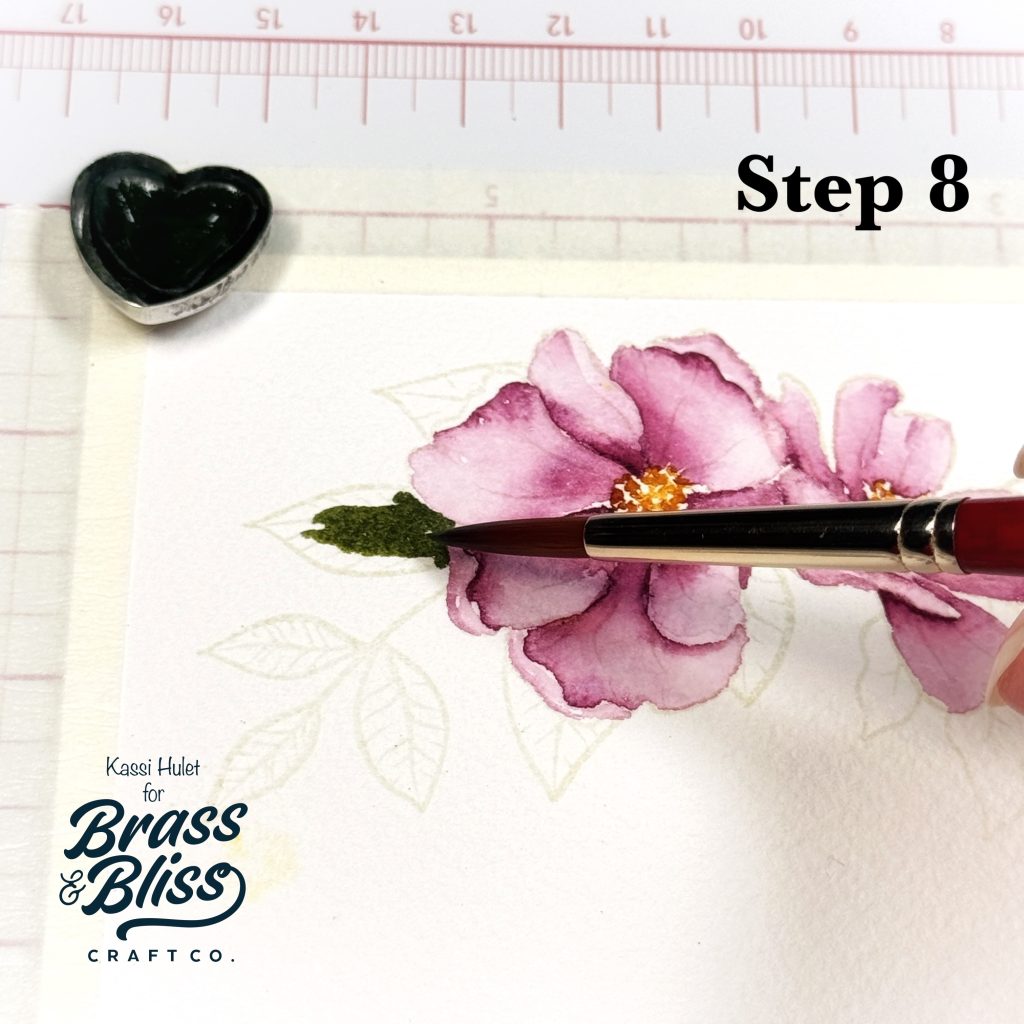
- Repeat a similar process with the leaves. I like to add more paint to the leaves so they are darker.
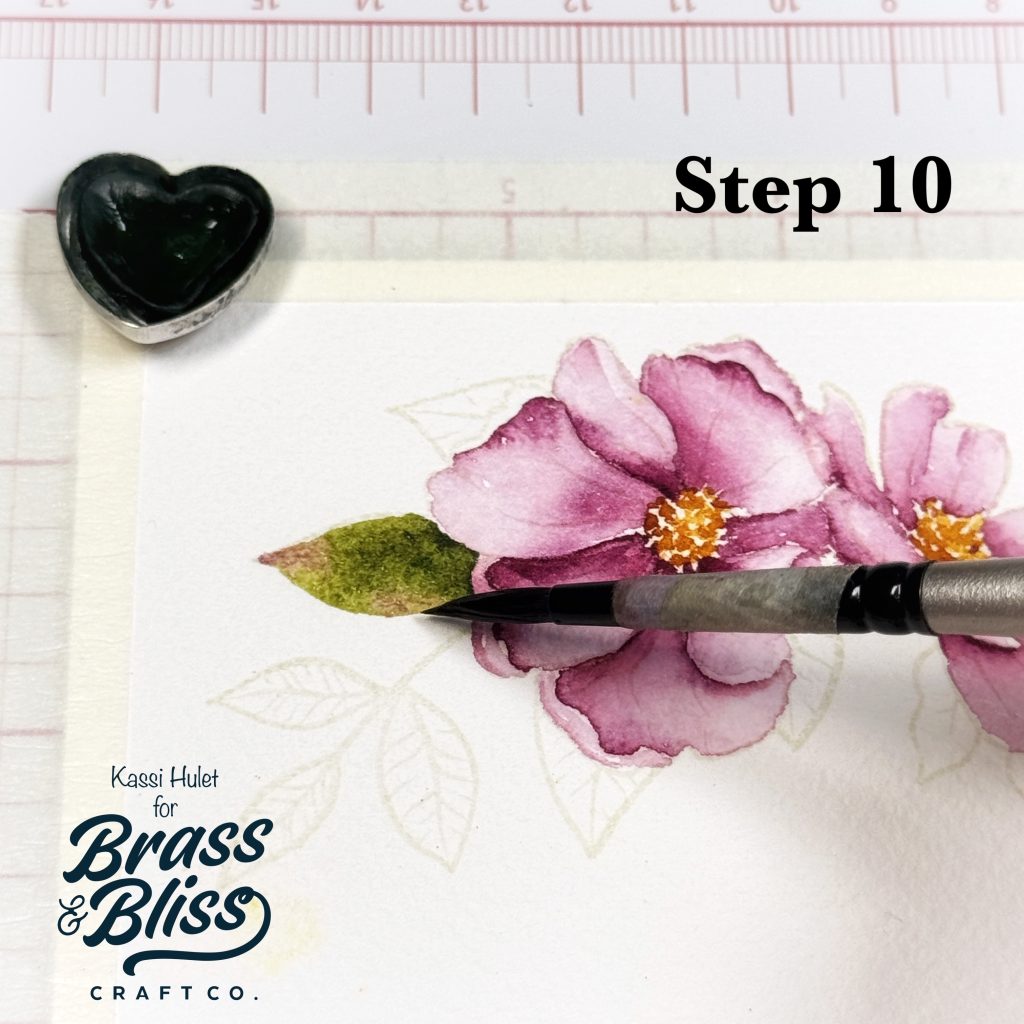
- Add clean water to the edges of the leaf, move it towards the paint, then pull the paint out to the edges like you did with the petals
- While the leaf is still wet, add a tiny bit of the petal color to the tip and one edge of the leaf.
- Repeat for all the leaves
- To create the card, die cut out the painted flowers using 38005D Birthday Wishes and Blooms die.
- Create a loose splashy watercolor background on some watercolor paper
- Die cut it with the background using 5013D Nested Rectangle Small Stitch die and 5304-03D Honeycomb die.
- Stamp some random script using 3487-09 French Script BG and Chill ink from Color Fuse #12.
- Adhere the flowers onto the watercolor background.
- Stamp a sentiment from 3029 Best Wishes Etc. using Versafine Clair Nocturne ink
- Adhere panel to A2 card base using foam tape.



WOW! We are so impressed by this, and feel like we are so ready to jump in and try to recreate this gorgeous floral design. Kassi, you are so talented and we are so thankful you chose to share your awesome technique with us! This project is so lovely and you make it look so easy! Can’t wait to play around and try this out in our own craft room!