
Looking for ways to use those paper cutouts in a fresh way? Learn How To Make Flowers From Negative Die Cuts and have less waste.
Today’s beautiful card is from our Associate Designer, Kittie, who is our die-cut guru. All of her cards are so inspirational and really make us want to get into our craft room and make a ton of handmade cards using her techniques. Follow along as Kittie walks us through the steps to Make Flowers From Negative Die Cuts.
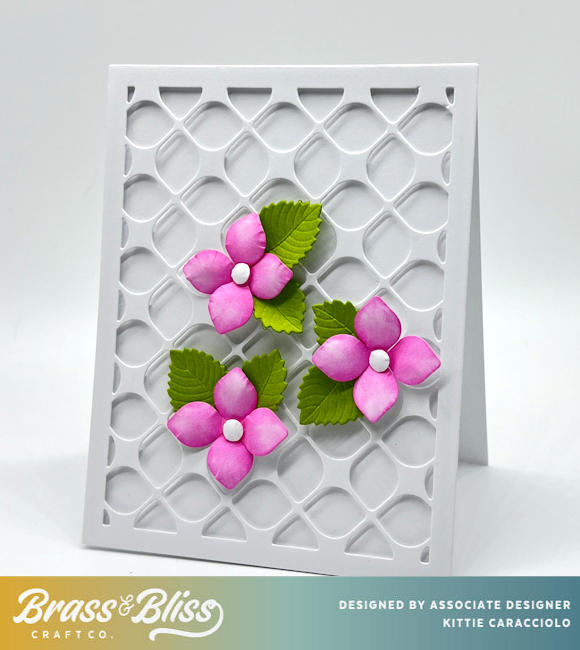
When I first cut out the Brass and Bliss Round Petal Cover die I saw an opportunity to show you the simple steps for how to make flowers from negative die cuts. I added foliage using the leaves from the Stackable Flowers and Leaves #1 to complete the arrangement.
Card Base and Cover
Step 1: Use white cardstock to cut an A2 sized card base and the Round Petal Cover.
Step 2: Apply strips of mounting tape to the back of the frame borders and small pieces of mounting tape to the back of a few key spots. Pro Tip: Adding pieces of mounting tape to several spots on the cover to keep it from collapsing on the card base.
Step 3: Attach the cover to the card base.
Form the Flowers
Step 4: Apply color to the petals using Color Fuse Ink #5 and detail blending brushes. Note: I’m sorry that I failed to take pictures of the coloring step.
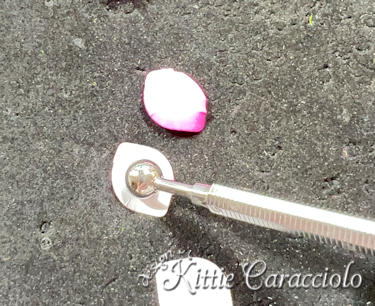
Step 5: Place the petals face down on the molding pad and form them using a large round stylus.
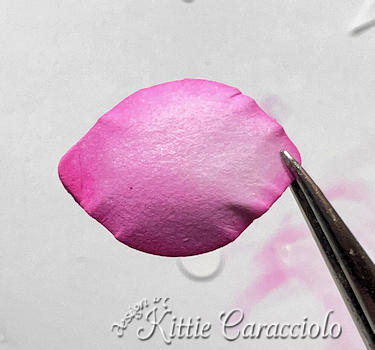
Step 6: Bend one corner of the petal.
Step 7: Punch out a 1/4″ circle to use for the flower base.
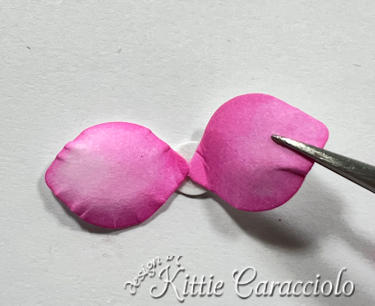
Step 8: Attach the petals to the circle base using flossy accents.
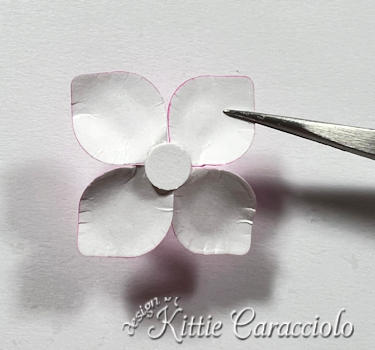
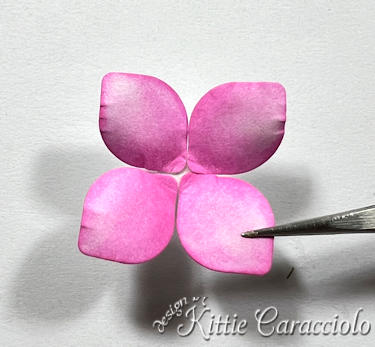
Step 9: Apply glossy accents to the back of the flowers and attach them to the cover base.
Step 10: Use green cardstock to cut the leaves from the Stackable Flowers and Leaves #1.
Step 11: Gently bend the leaves with your fingers, tuck them in behind the flowers and attach using glossy accents.
Step 12: Attach negative die cut circles to the flower centers. Pro Tip: I keep the negative circles cut from my eyelet border dies to use as flower centers, snowflakes, etc.
Step 13: Apply a small piece of mounting tape to the back of each flower section and attach them to the card base.
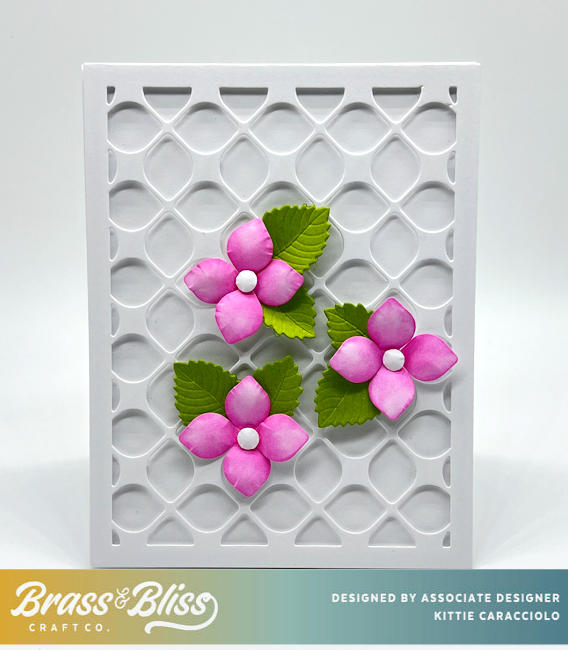
I’m always looking for different ways to get more uses from my dies. Are you inspired to take a look at how to make flowers with negative die cuts? You may be surprised with what you can come up with. Check out this fun floral card for some additional inspiration!
Supplies:
Brass and Bliss 5713D Round Petal Cover Die
Brass and Bliss 5508-01D Stackable Flowers and Leaves #1