
We adore a fresh fun fold to jazz up our handmade cards. Check out this fantastic Happy Birthday card that is colorful and delightful!
Hello, Hello, Crafty friends. Our designer Kendra has another fun fold birthday card to share today! It happens to be Kendra’s birthday today so we are giving her a BIG shout out and hope her day is as fantastic as this perfect card she made! Follow along with Kendras steps and see hwo to make a happy little fun-fold card of your own!
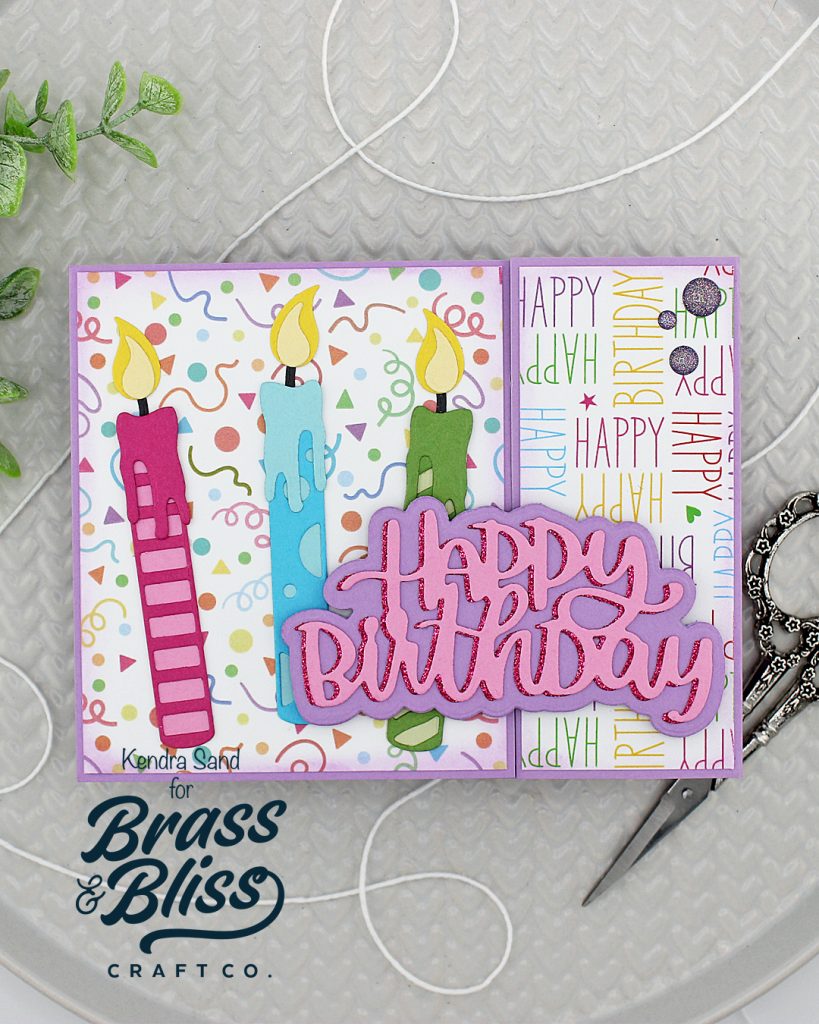
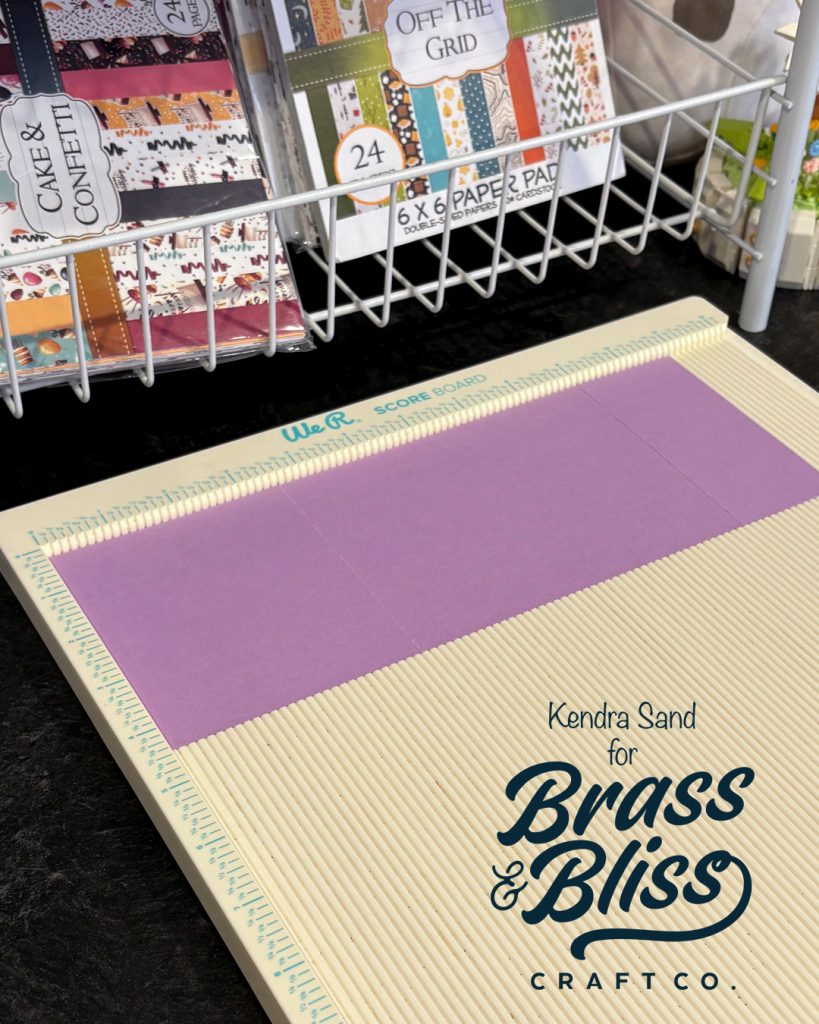
- Create card base from a piece of purple card stock 11″ x 4 1/4″, scored at 3 5/8″ and 9 1/8″.
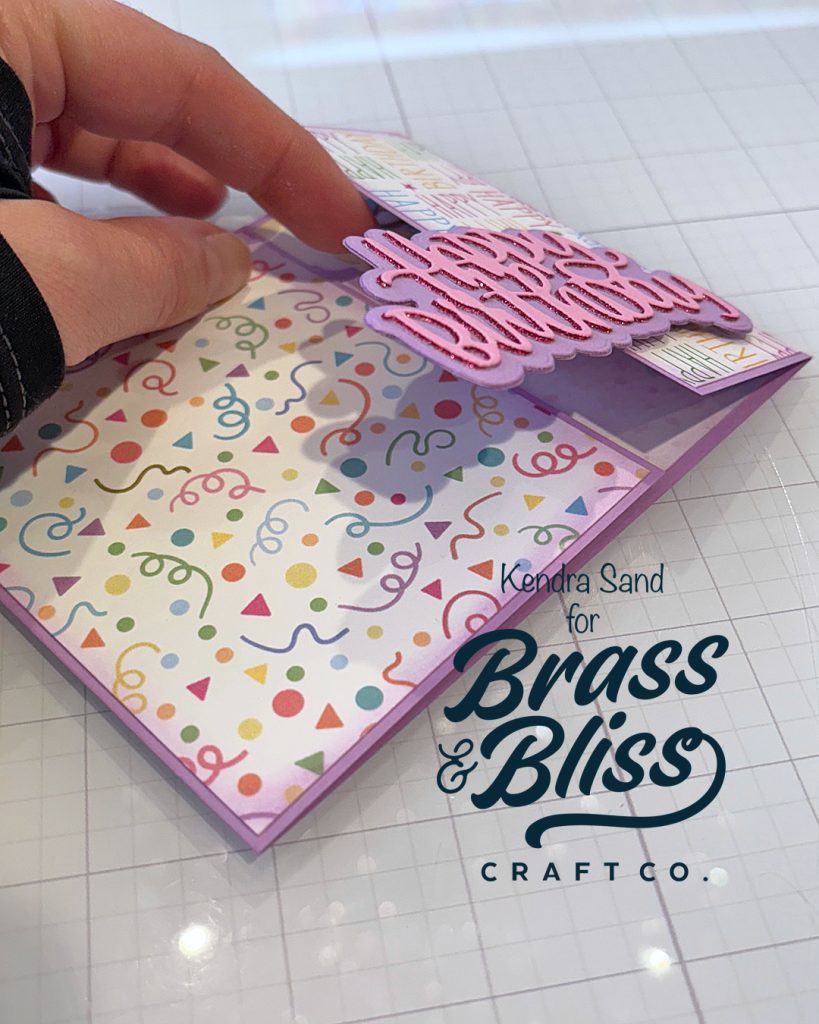
- Cut a piece of confetti paper from the ‘2012 It’s Party Time‘ 3 1/2″ x 4 1/8″. Ink edges with ‘Lavender’ ink from the ‘Color Fuse Set 6‘ with a ‘Large Blending Brush‘. Adhere to left panel of card base.
- Cut a piece of happy birthday paper from the ‘2012 It’s Party Time‘ 1 3/4″ x 4 1/8″. Ink edges with ‘Lavender’ ink from the ‘Color Fuse Set 6‘ with a ‘Large Blending Brush‘. Adhere to right panel of card base.
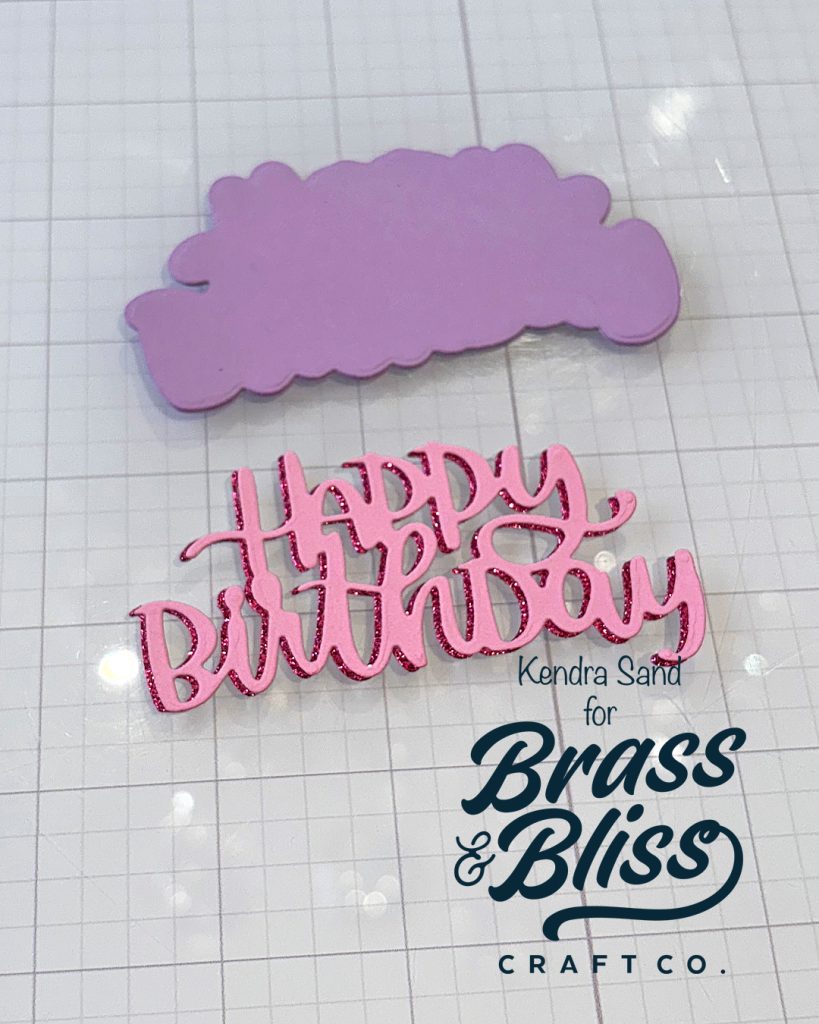
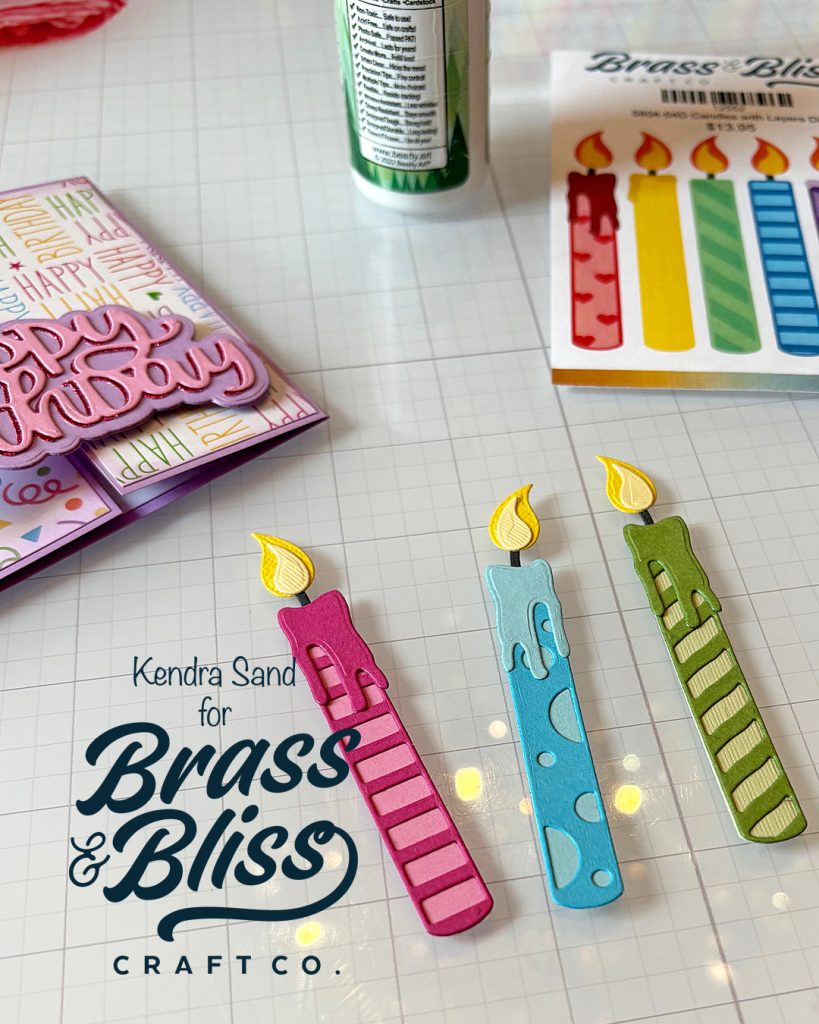
- Die cut the shadow layer from the ‘5749-01D Happy Birthday Die‘ from purple cardstock three times. Adhere layers together. (This is optional to cut this many times, but Kendra likes to do this for a little more stability). Die cut the birthday sentiment from dark pink glitter and light pink cardstock. (Again, this is optional, you can cut just once if you’d like from either color). Adhere the light pink sentiment piece slightly offset to the right of the glitter. Adhere to shadow layer. Adhere to right flap ONLY with pop dots.
- Die cut and assemble three candles from the ‘5804-04D Candles with Layers Die‘. Adhere to the left panel.
- Finish by adding enamel dots to the top right of the right flap.
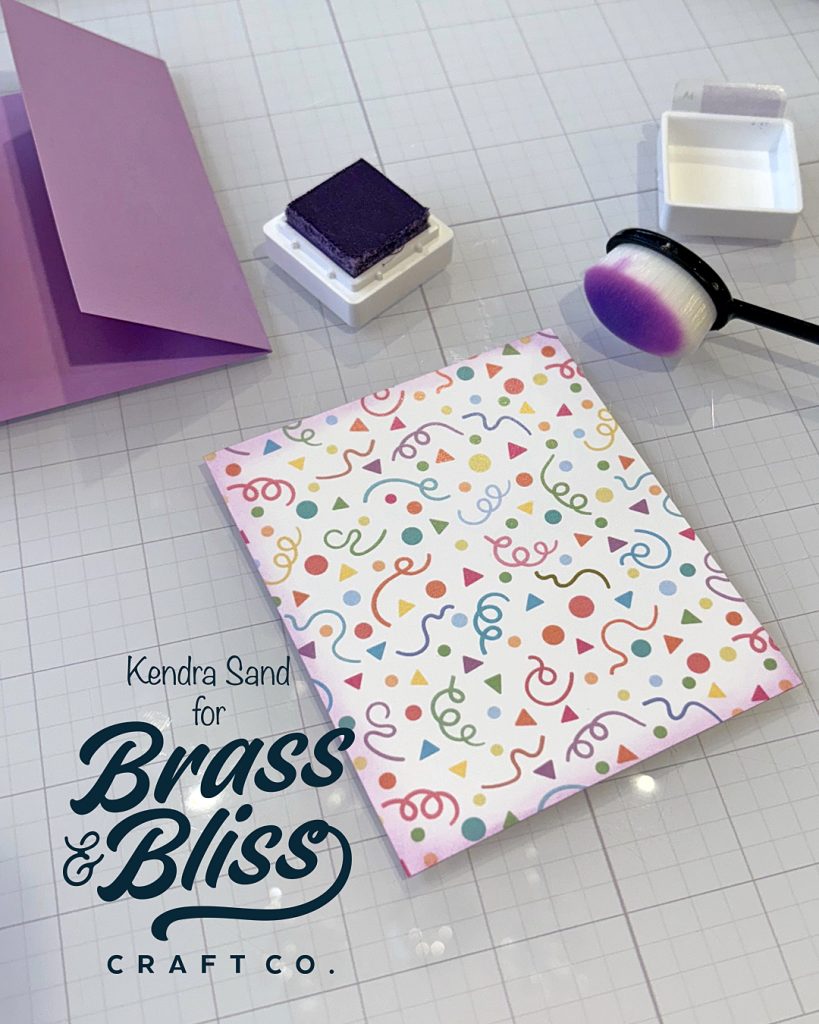
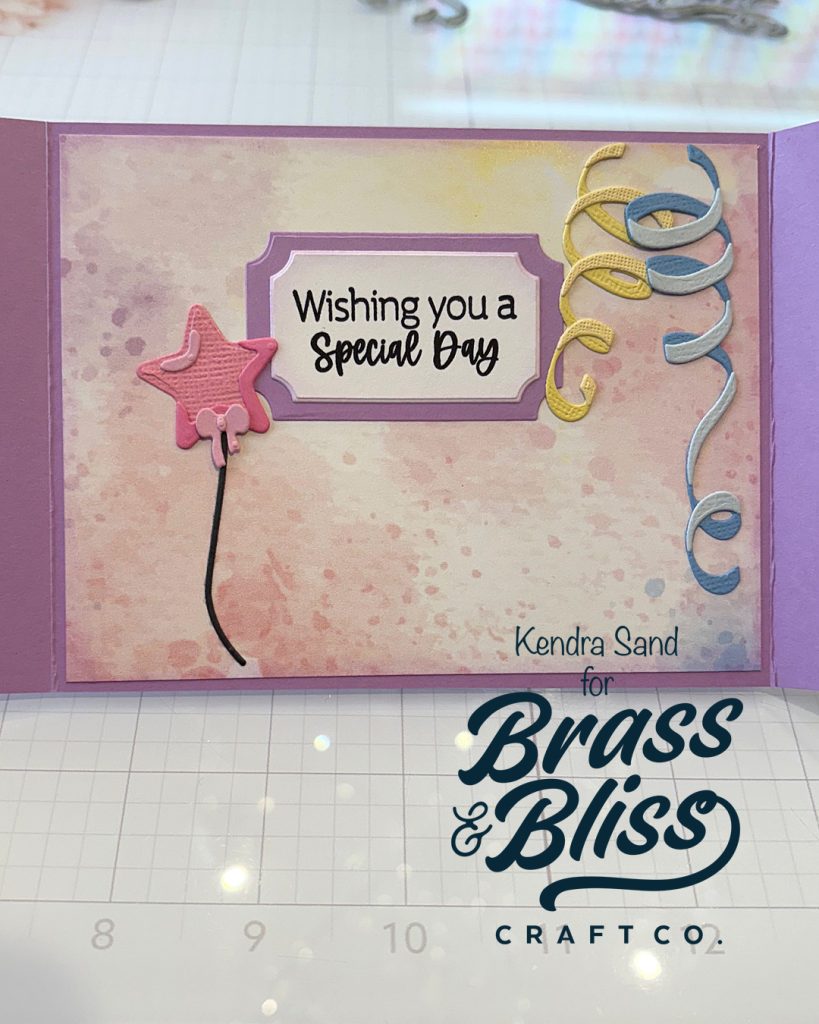
- Open card: Cut a piece of watercolor paper from the ‘2012 It’s Party Time‘ 5 1/4″ x 4 1/8″. Ink edges with ‘Lavender’ ink from the ‘Color Fuse Set 6‘ with a ‘Large Blending Brush‘. Adhere to the inside.
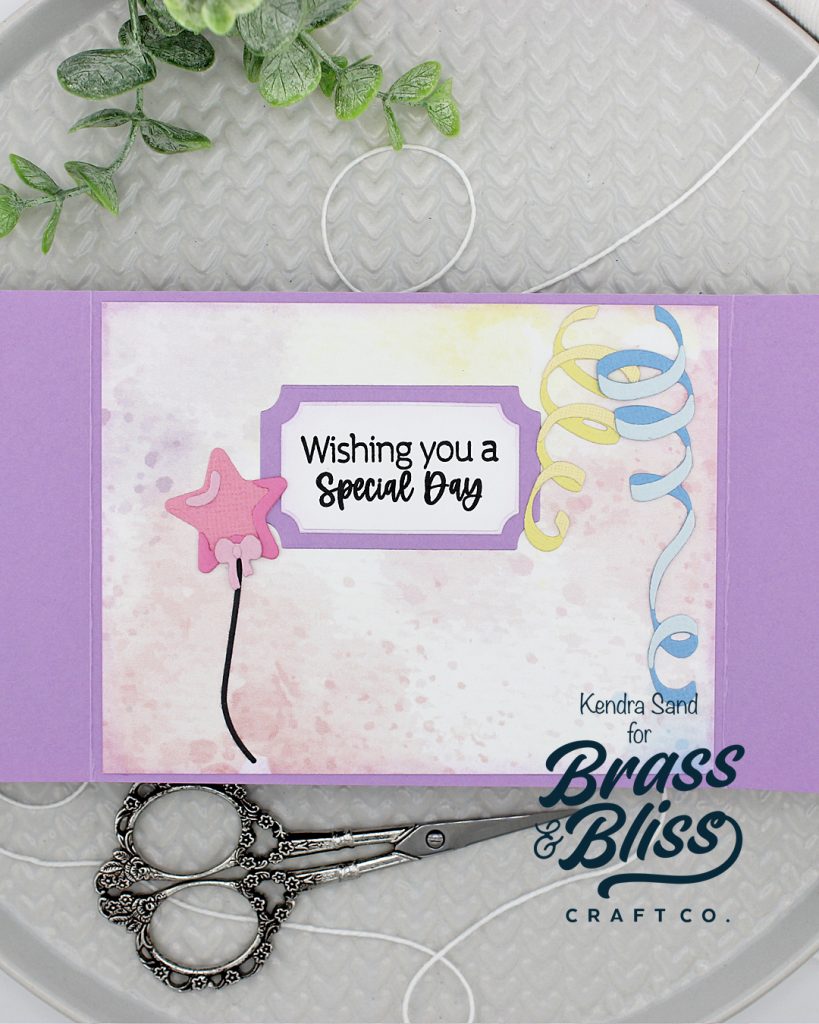
- Cut the largest rectangle tag from the ‘5704D Nested Tag Dies‘ from purple cardstock. Cut the middle sized rectangle from white cardstock. Stamp the ‘Wishing you a special day’ sentiment from the ‘37009 Spring Greetings‘ in black ink. Ink edges with ‘Lavender’ ink from the ‘Color Fuse Set 6‘ with a ‘Large Blending Brush‘. Adhere to the purple shadow layer. Adhere to the upper center of the inside of the card, to leave room below if you’d wish to write something.
- Die cut and assemble a balloon from the ‘5804-01D Birthday Balloons Die‘. Adhere to the left of the sentiment.
- Die cut the tiny bow pieces from the ‘5813-05D Farmers Market Winter Add On Die‘. Assemble and adhere to balloon.
- Die cut two of the streamers from the ‘5804-03D Streamers Die‘ from shades of blue and yellow. Assemble pieces together and adhere to the right of the sentiment.
- To help keep the card closed, Kendra added magnets. Kendra placed the one to go behind the birthday sentiment on the left panel with the sticky side up to find a good placement. Close the flap to adhere the magnet behind the sentiment. Place the other part on the magnet, remove the covering to reveal the adhesive and close the flap to adhere the other magnet to the left panel. (This was a last-minute idea, if Kendra would have thought of doing this sooner, she would have added the magnet on the left flap behind the pattern paper of the left flap to hide it)

Wow! Such a fun creation! We love this bright colorful fun-fold and are excited to add this to our crafty card-making tool belt for future use! If you love these fun-folds, be sure to check out these other designs for fresh and creative ways to bring your cards to life!
Love this simple birthday card because i can use it for male and female!
I’m glad I have the Birthday Candles die set–it comes in handy so often. Thank you for giving the measurements and instructions for this card–it’s beautiful!