
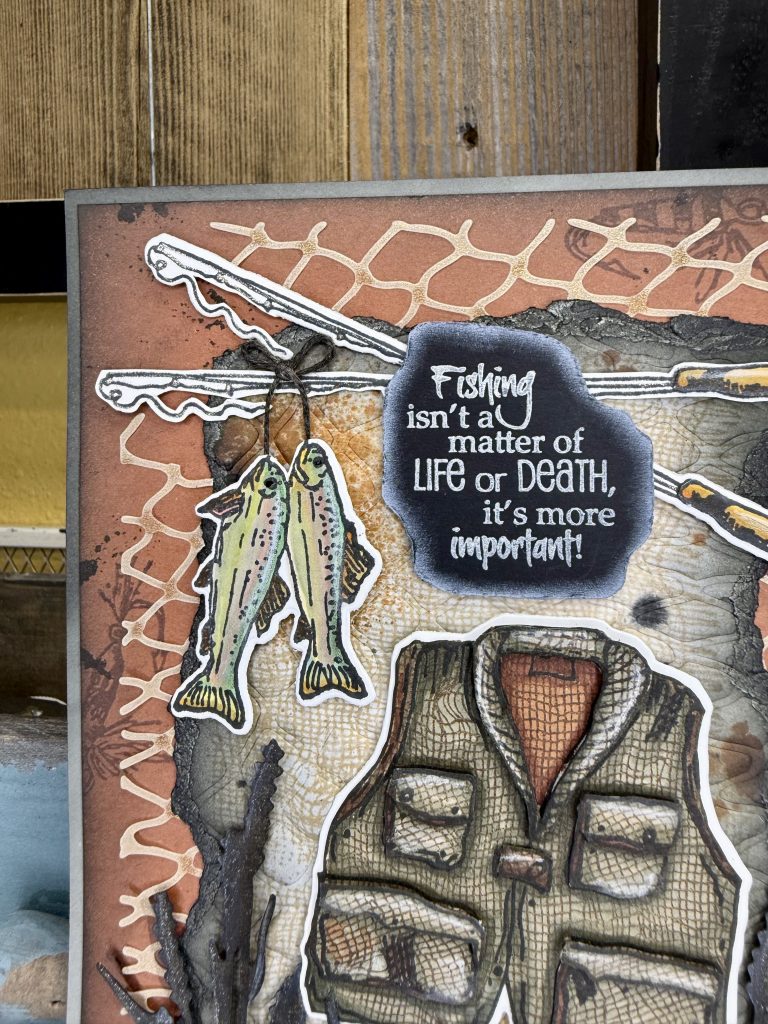
Have a fishing enthusiast in your life? This handmade card is perfection and is sure to hook and delight the recipient!
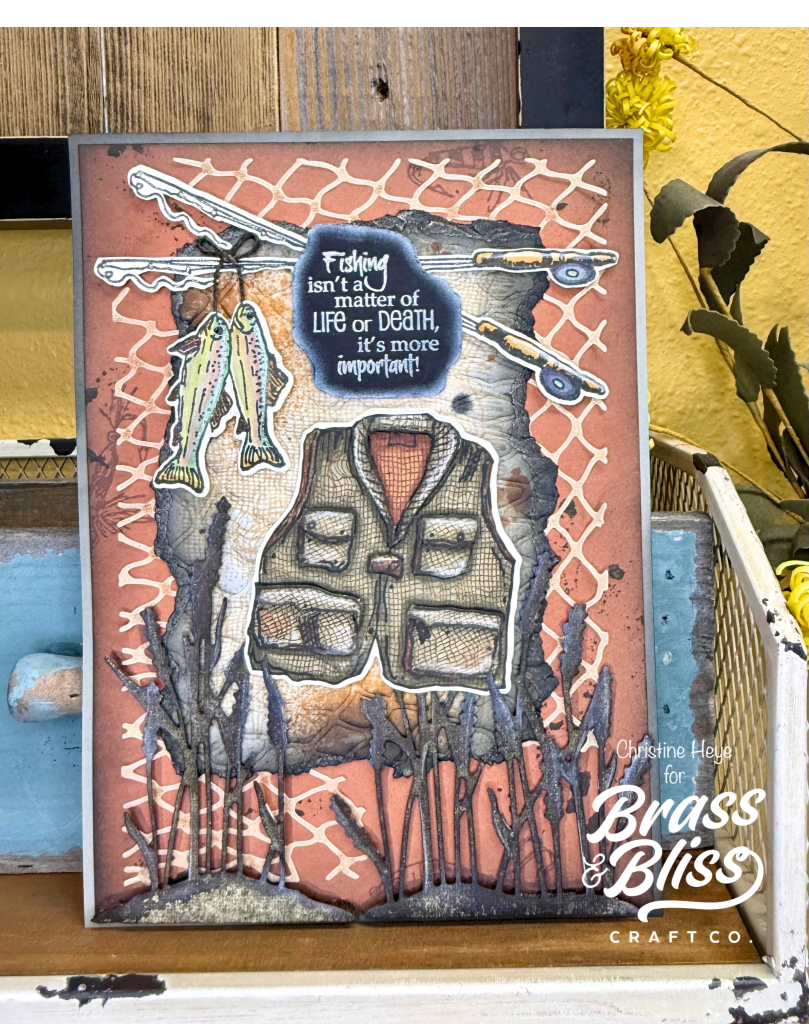
What’s more important than fishing? Probably a lot of things, but to the right fisherman, this masculine 5×7 card would be a “great catch”! Today Christine has created the most gorgeous fishing card that is truly worthy of a frame! Sea Grasses, a dimensional fishing vest and of course some already caught, rainbow trout…..giving more time to relax and enjoy a beer. This card has a bit of tearing, stamping, coloring, die cutting and of course inking. A bit of a mixed media vibe…perfect for that outdoorsman! Follow along with these steps below learn how to make the perfect masculine fishing card!
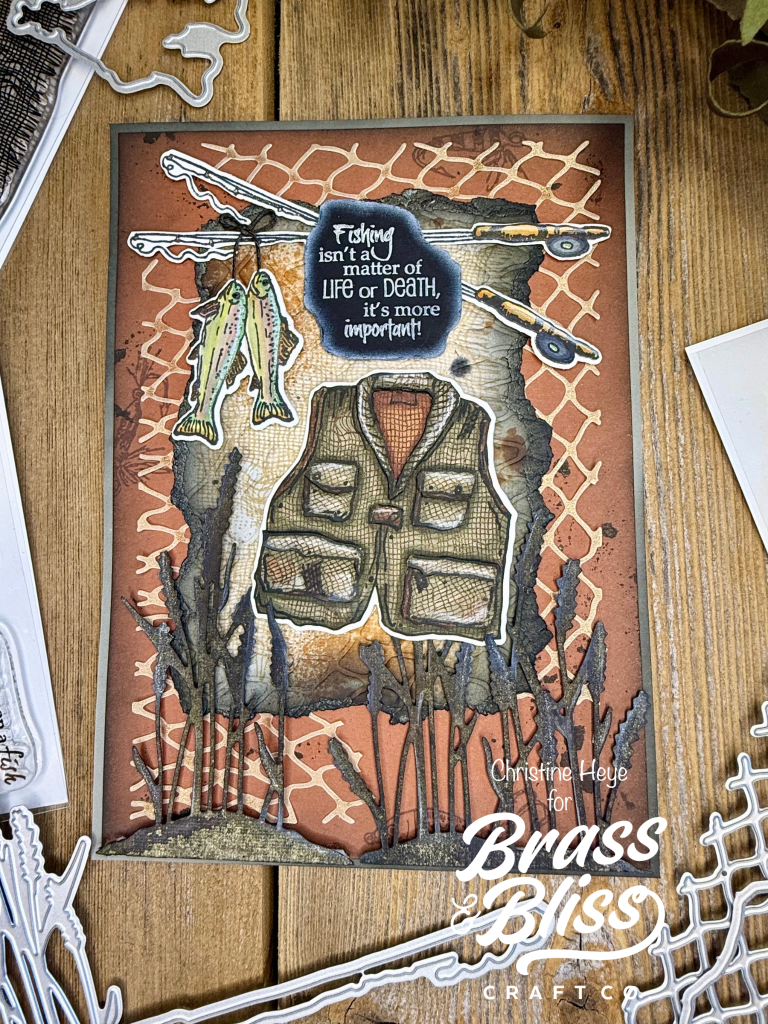
Steps to recreate this card:
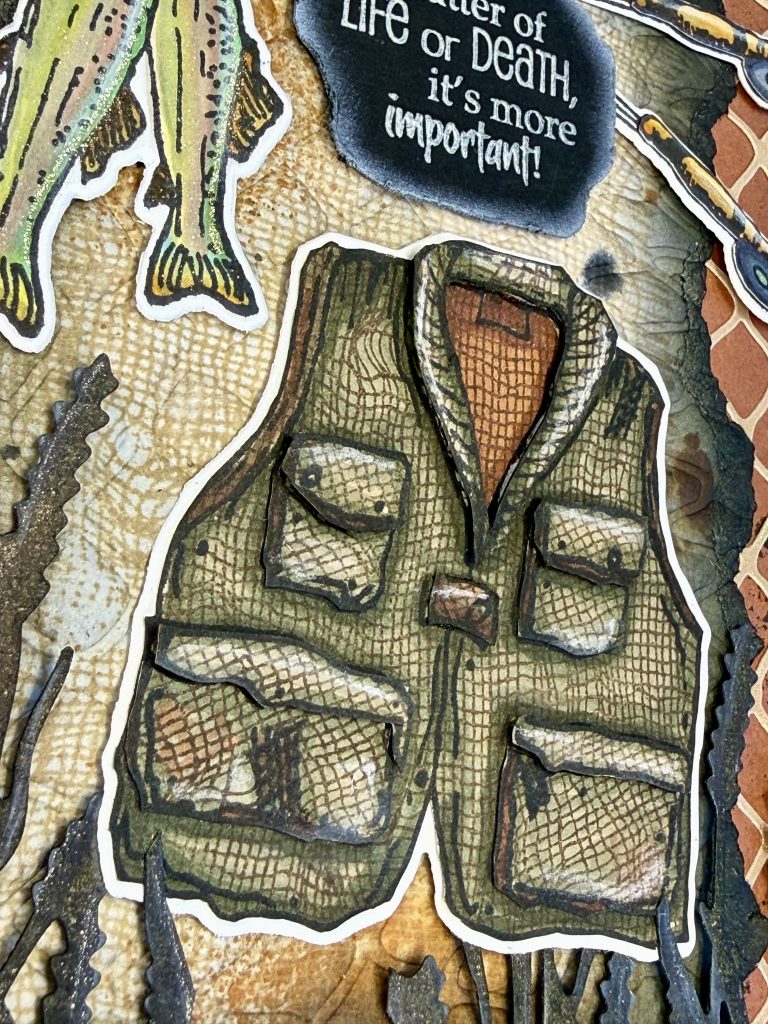
- Stamp vest onto kraft cardstock 2X w/black alcohol friendly ink. Stamp the Cheesecloth background stamp using a brown alcohol friendly ink, onto both vests, being careful to change direction. Color 1 vest using green markers (BG99,96,93). Fussy cut entire vest out. Color only the pockets and collar, using same colors, on the 2nd vest and cut out the pockets (cut the top of the pockets from the bottoms, too) and collar. Color the neck area with rust colors. If desired, add a bit of rust to various areas on vest. Assemble pockets to vest. Bottom of pocket is glued down, top is mounted with thin foam adhesive. Add touches of white pencil highlights to various spots on vest. Using vest coordinating die, cut a shadow layer from white cardstock.
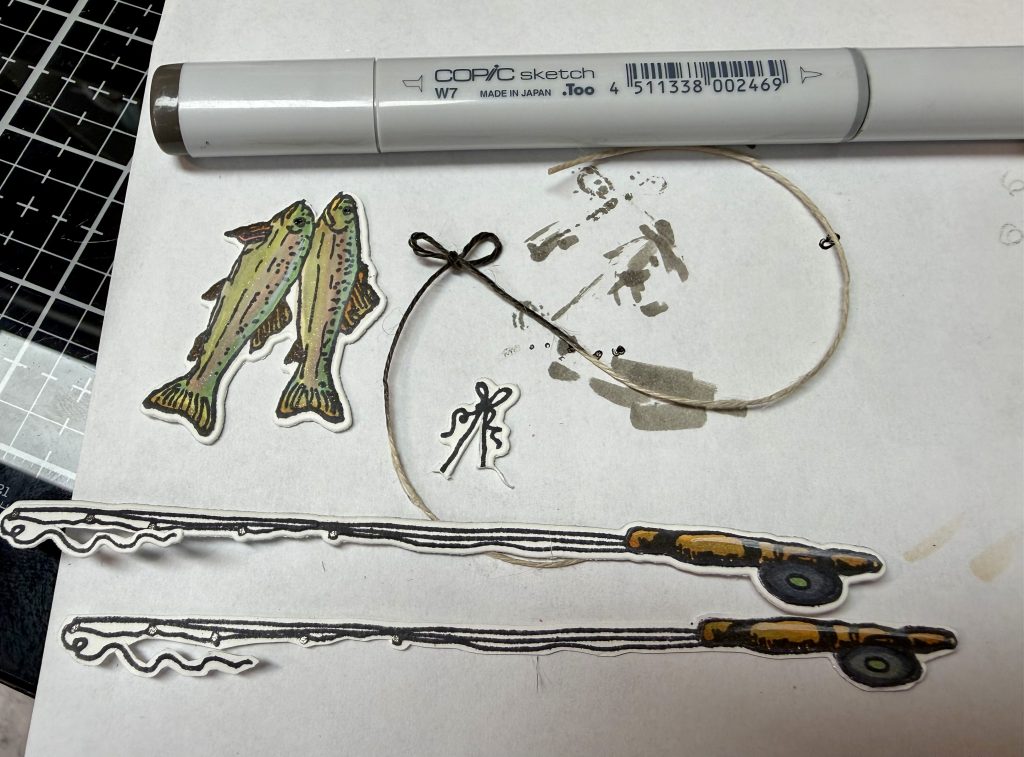
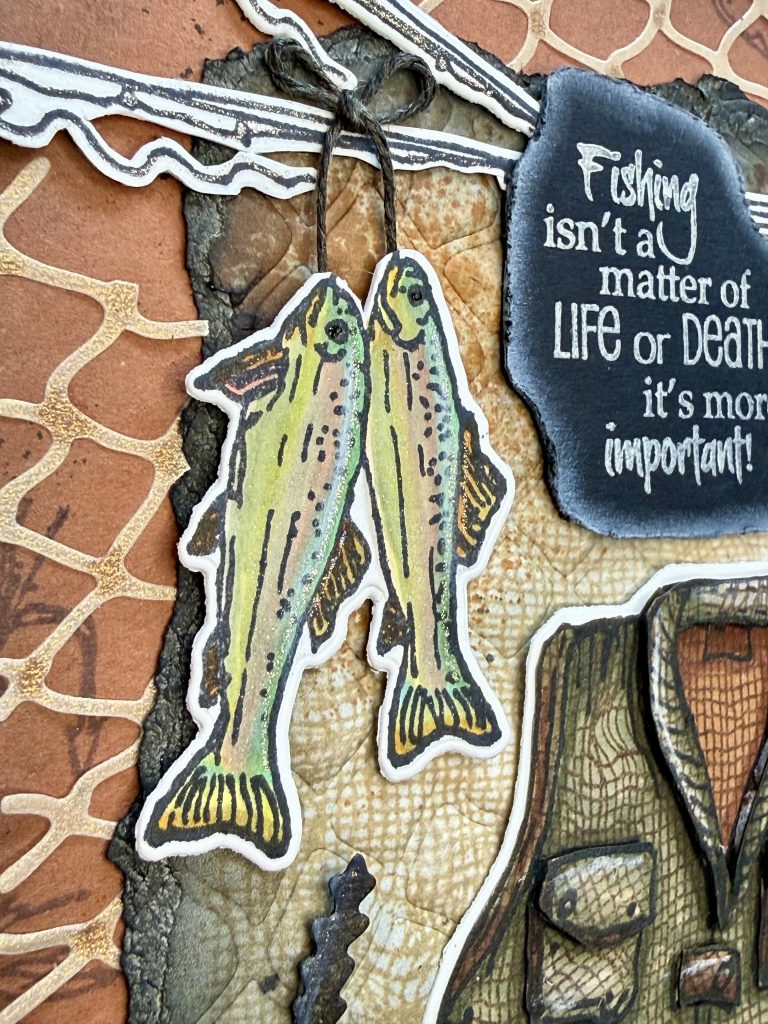
- Stamp fish and 2 poles onto white cardstock (I use blend-it express or Neenah for smoothness and ease of coloring) using black alcohol friendly ink. Die cut all out. Color images. I added BG93 over top of these images to tone down the brightness and ensure the compliment the vest.
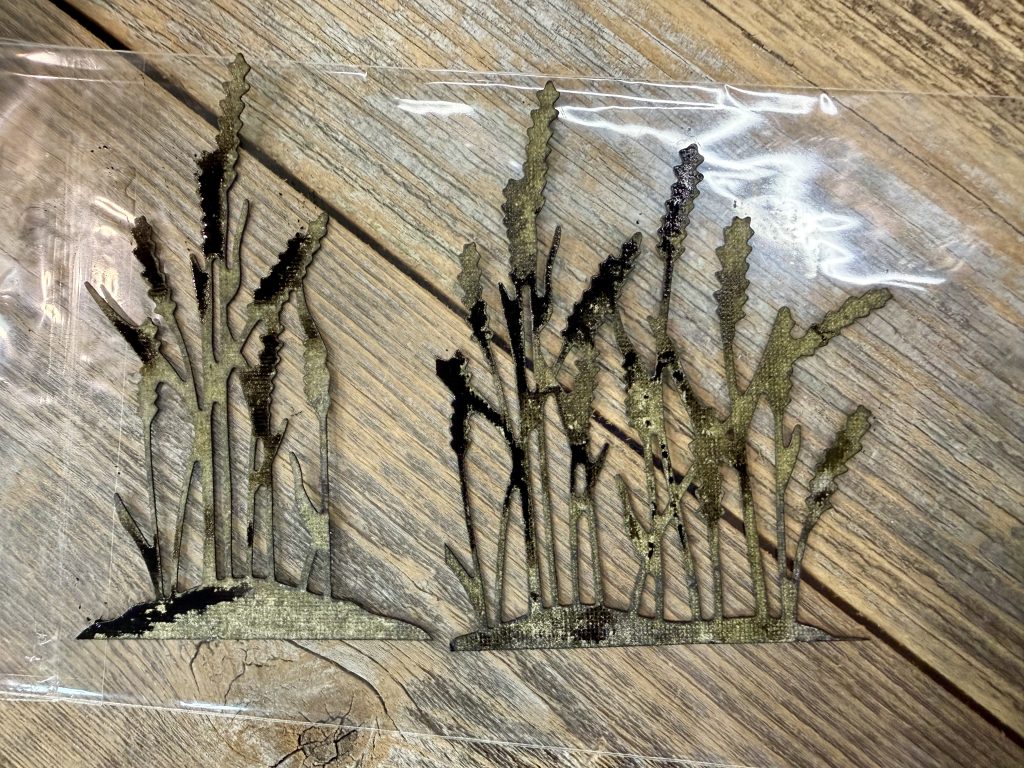
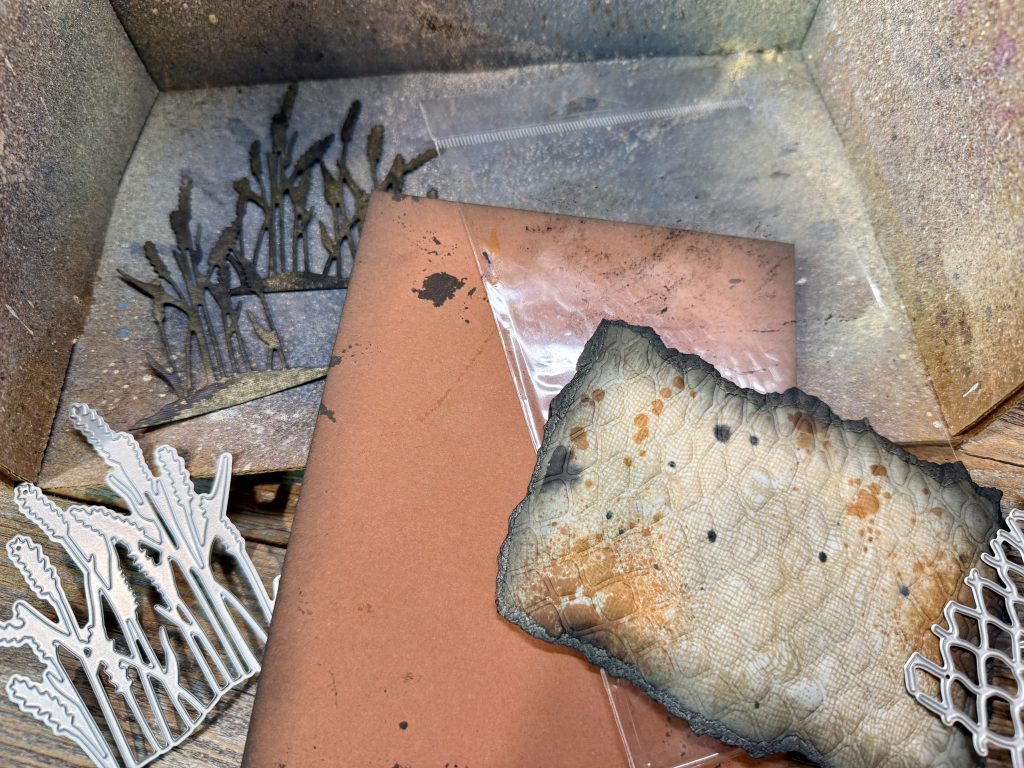
- Using an ivory cardstock, die cut 2 Sea Grass. Place in splatter box. Spray w/Black Soot distress spray (not oxide). Set aside to thoroughly dry.
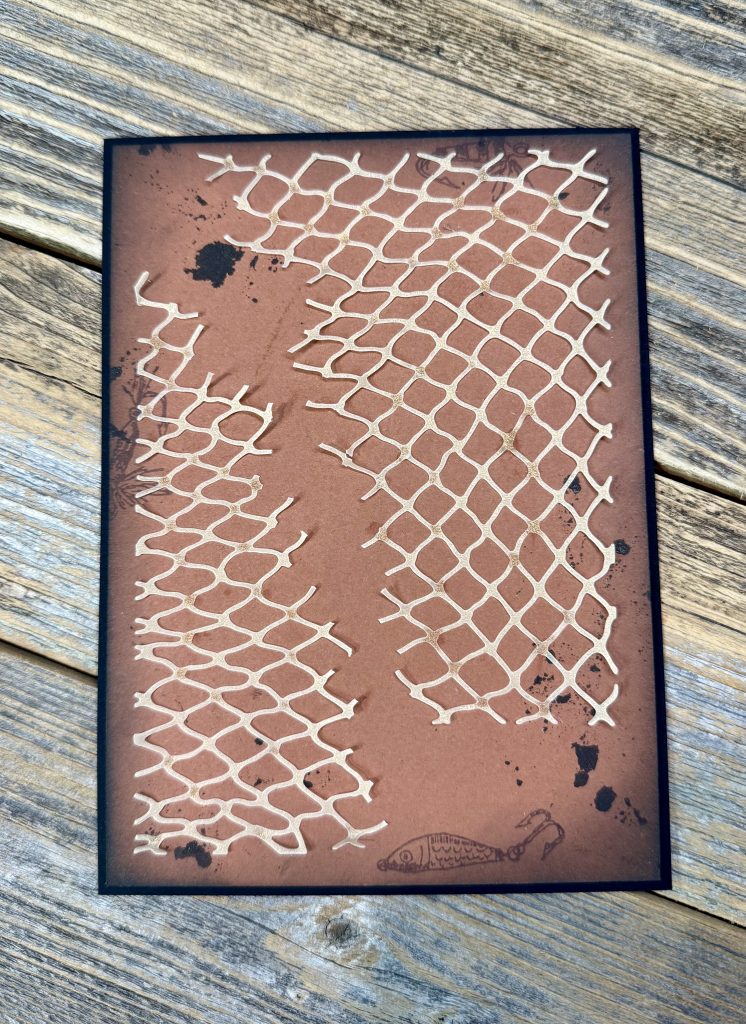
- Cut a piece of rust cardstock to just under 5×7 (3/16th shy each side). Stamp bait/flys onto edges with same black ink (memento). Sponge edges w/Black Soot oxide ink. Place in splatter box and add droplets of Black Soot distress spray, by ink smooshing (using a plastic packaging sheet) and splatter of same black soot. Cut a gray cardstock to 5×7. Sponge edges w/Black Soot oxide ink, only on upper left corner and lower right corner and a bit along those sides. Basically, leaving 2 corners clean of ink. Adhere rust to gray layer.
- Die a gold vellum or inked vellum using the Netting die. Tear it where desired to serve as a background for the next step (below). Glue these pieces onto the rust layer as desired, with tiny dots of liquid glue, mostly in center, as the next step will completely cover the center, hiding the glue under the vellum.
- Take a 5×7 piece of watercolor cardstock or mixed media cardstock, place in splatter box. Wet w/some water then spray in a few spots w/Rusty Hinge & Black Soot distress spray. Add more water if desired. Dry with heat tool or air dry. Hand tear edges to desired height & width (I wish I had torn off less and left mine a bit larger). Sponge these roughed up edges throughly with Scorched Timber & Black Soot oxide inks. Take same Netting die and run this watercolor piece through die-cutting machine Using the EMBOSSING Sandwich- Do not cut out, just impress. Adhere to rust/netting layer with liquid glue, just above center.
- Add small pieces of foam adhesive to all feasible spots of the Sea Grass pieces. Adhere to the bottom edge of the rust layer. Keep any you wish to sit on top of the vest not adhered yet.
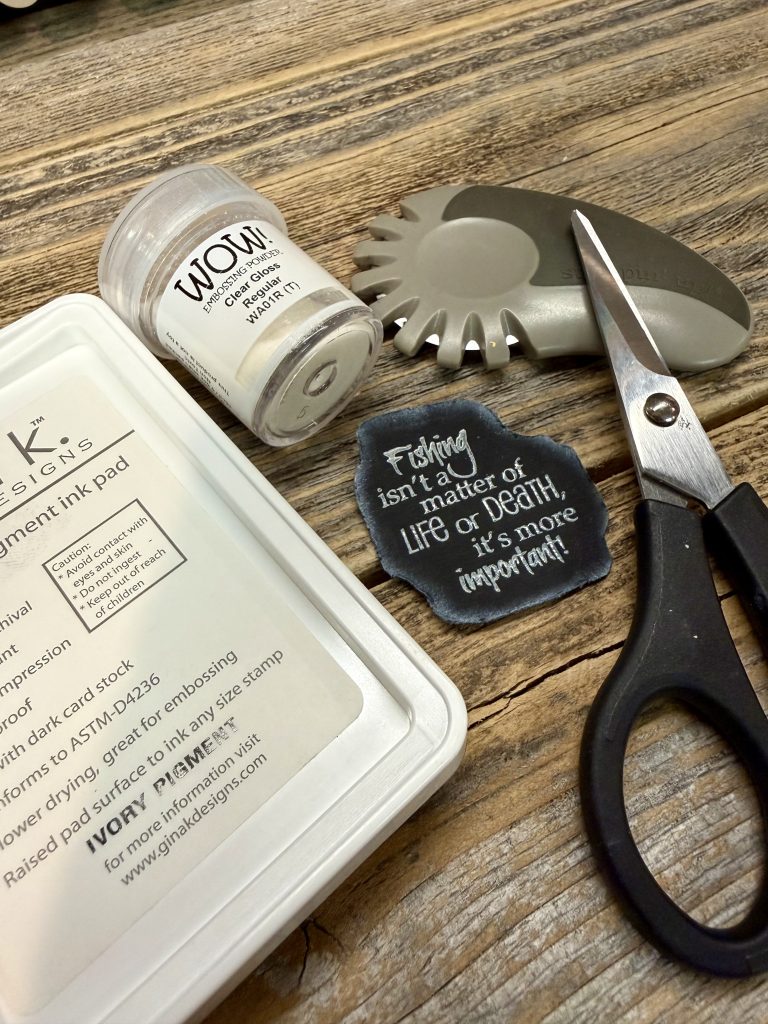
- Using Ivory pigment ink (my fav is Gina K) w/clear gloss powder emboss sentiment onto a rich/dark black cardstock. Fussy cut out sentiment, leaving a large border. Using a finger dauber, sponge edges only w/same ivory pigment ink, giving a chalkboard like look. Ivory w/clear gloss is more chalk like than white.
- Cut string part off of the hanging fish image. Create your own tiny twine bow, leaving tails a bit long. Color with (W7 copic) dark gray alcohol marker, or distress ink spray. Let dry. After dry you will glue twine tails to the back of each fish. After completely dry, cut tails.
- Add foam to fish, poles, vest and attach to card front. Adding liquid glue to the bow secure it to the pole string (see photo), holding it in place with reverse tweezers, until completely dry. Carefully add foam to backside of sentiment, avoiding the poles, for even dimension. If you’re braver than I am, splatter card front w/white and maybe black splatters. Card Finished.
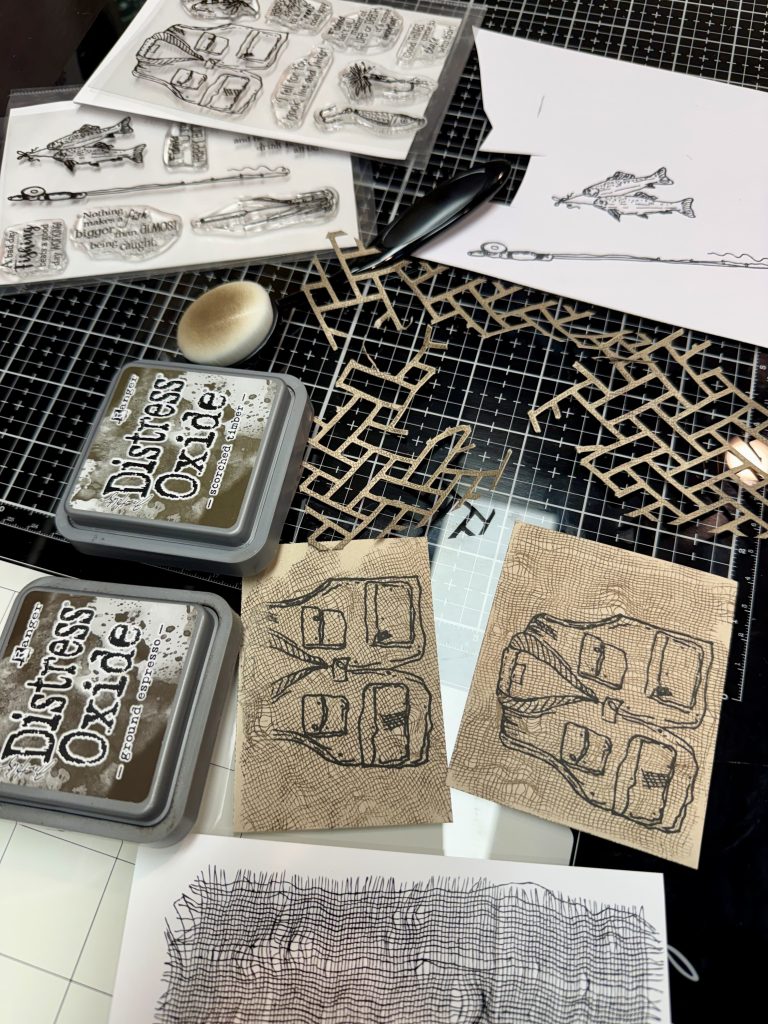
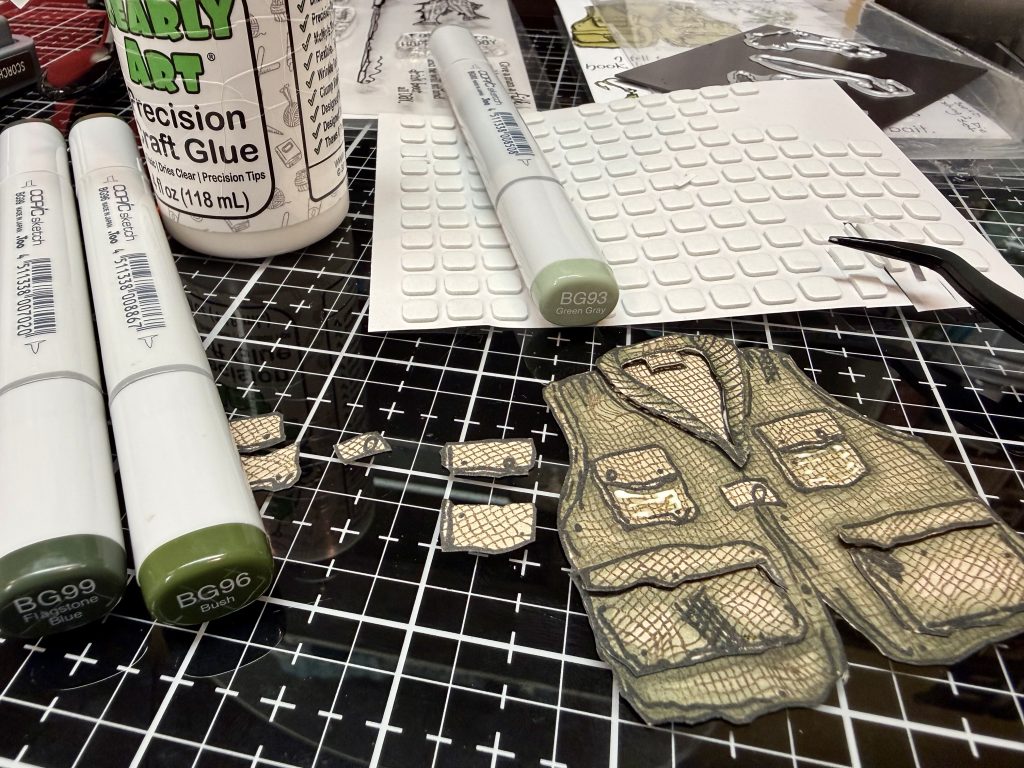
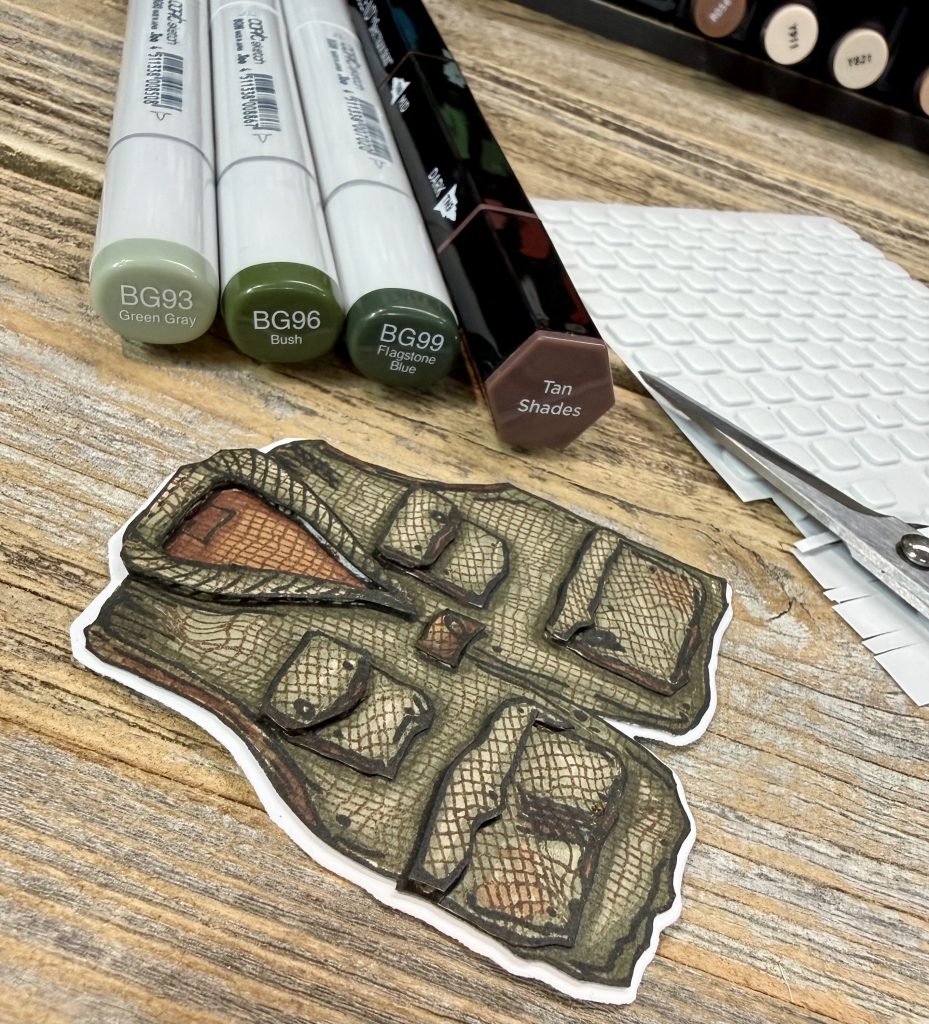
Supplies Used:
- 3003 Fishing #1 4×6 Stamp set https://brassandbliss.com/products/3003-fishing-1?_pos=3&_psq=Fishing&_ss=e&_v=1.0?ref=christine_heye
- 3003D Fishing #1 Coordinating Die https://brassandbliss.com/products/3003d-fishing-1-die?pr_prod_strat=pinned&pr_rec_id=253f9fc5e&pr_rec_pid=8997898846521&pr_ref_pid=8997004738873&pr_seq=uniform?ref=christine_heye
- 3004 Fishing #2 4×6 Stamp set https://brassandbliss.com/products/3004-fishing-2?_pos=1&_psq=Fishing&_ss=e&_v=1.0?ref=christine_heye
- 3004D Fishing #2 Coordinating Die https://brassandbliss.com/products/3004d-fishing-2-coordinating-die?pr_prod_strat=pinned&pr_rec_id=04ec0fc90&pr_rec_pid=9021935223097&pr_ref_pid=8997970051385&pr_seq=uniform?ref=christine_heye
- 3487-07 Cheesecloth Background 4.25×5.5 Stamp https://brassandbliss.com/products/3487-07-cheesecloth-background-4-25×5-5-stamp?_pos=1&_sid=bcb00ecb0&_ss=r?ref=christine_heye 5816-01D Netting Cover Die https://brassandbliss.com/products/5816-01d-netting-cover-die?_pos=1&_psq=Netting&_ss=e&_v=1.0?ref=christine_heye
- 5206D Sea Grass Die Cut https://brassandbliss.com/products/5206d-sea-grass-die-cut?_pos=1&_psq=Sea+grass&_ss=e&_v=1.0?ref=christine_heye