
Stretch those craft supplies and find a fresh new way to use your Cover Dies!
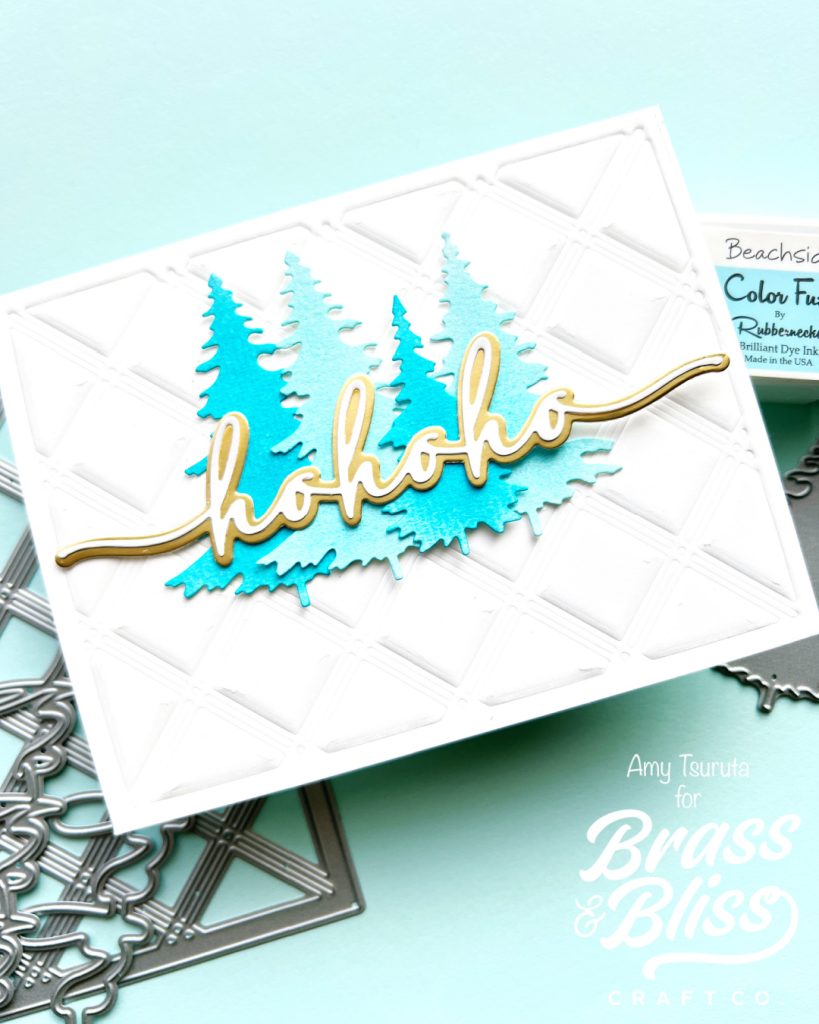
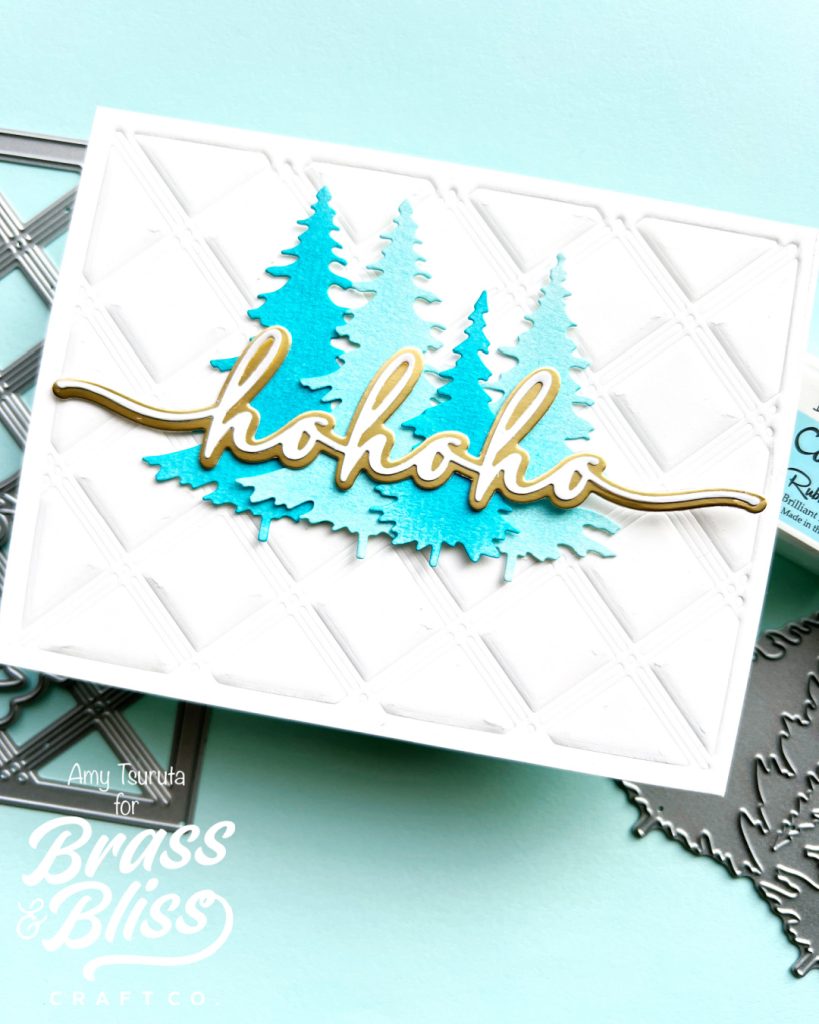
Today’s fun card creation is from our designer, Amy, who said, “I’m such a fan of dies and especially cover dies. I was reminded about the technique using cover dies and the embossing mat; what a great way to stretch our supplies!” We love this clean and simple look with those vibrant blue Colorfuse trees! This card feels so wintery and fresh, and we are headed straight to our craft room to see what cover dies we can emboss with next!
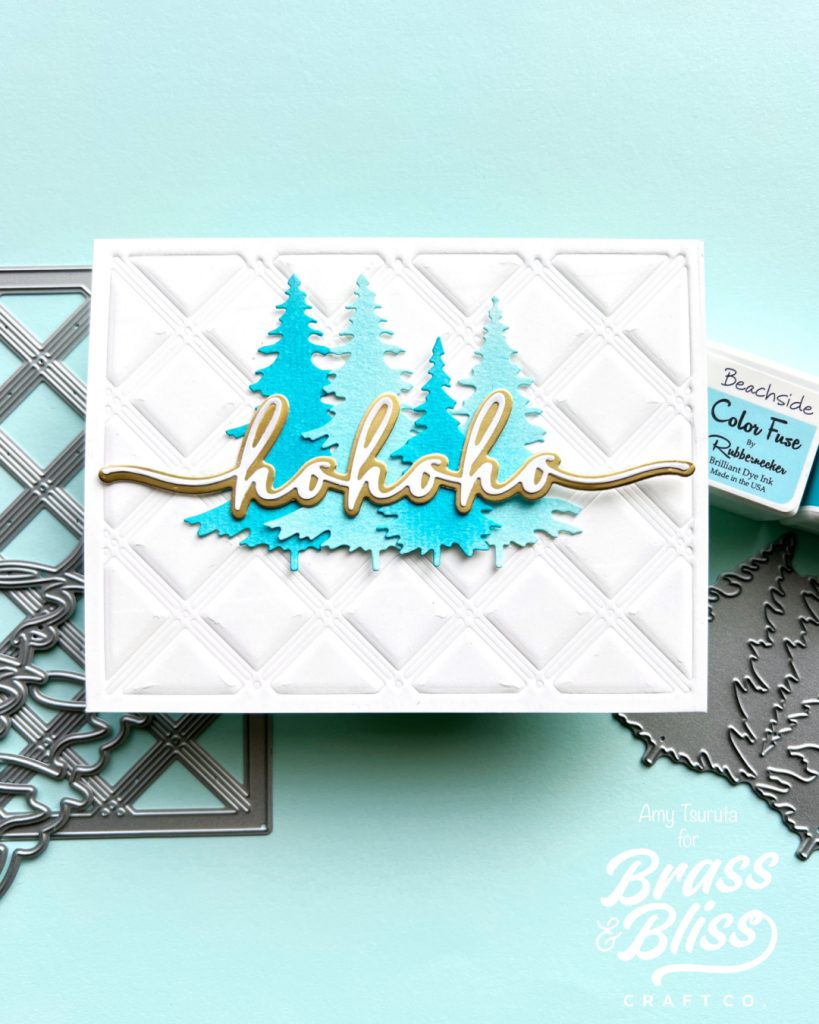
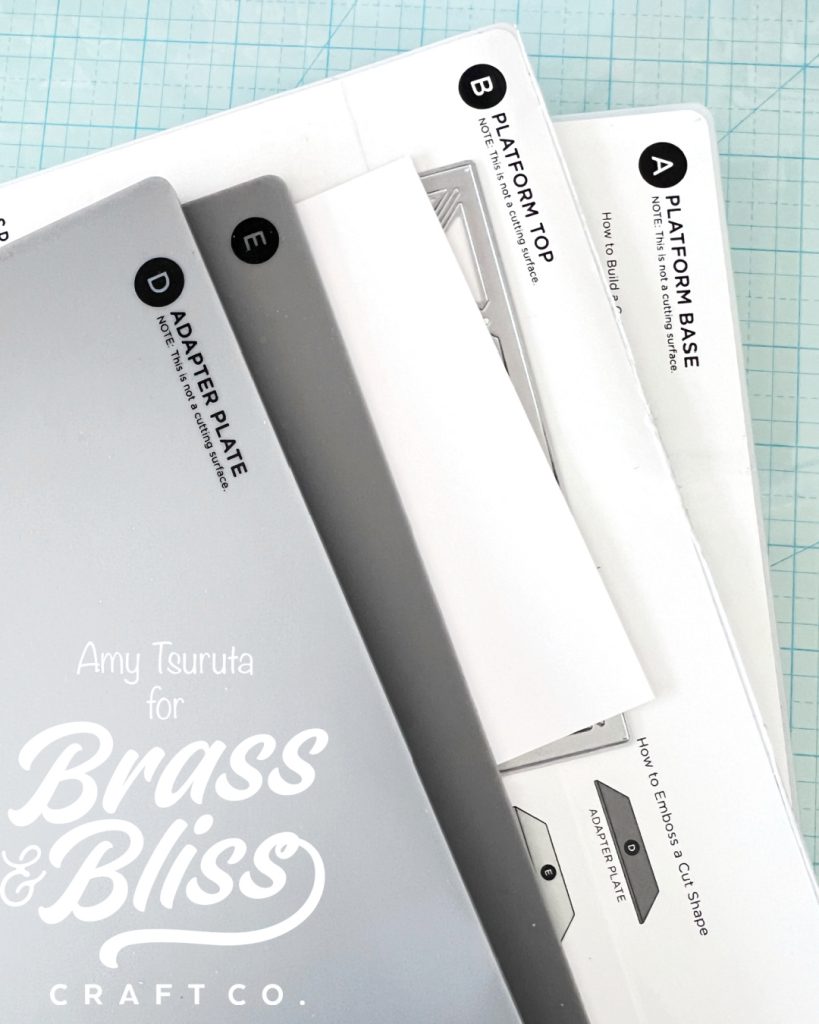
- Follow your die cutting machine’s instructions on how to properly use the embossing mat. I dry embossed the Crosshatch Cover die.
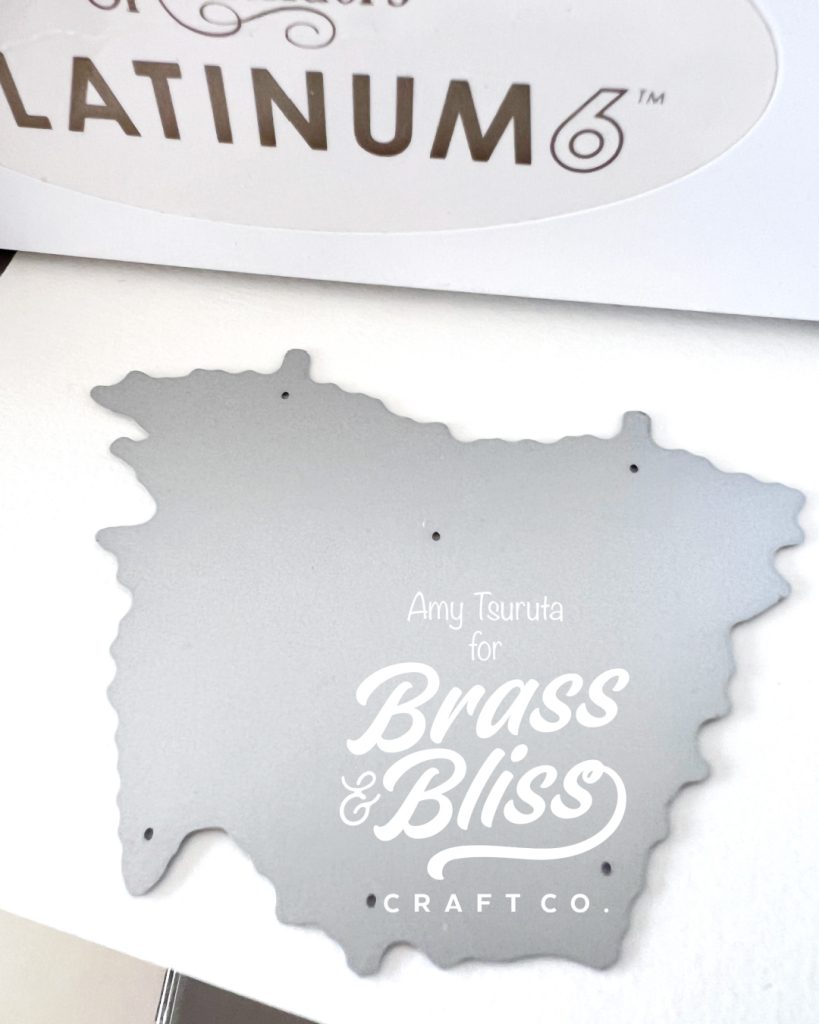
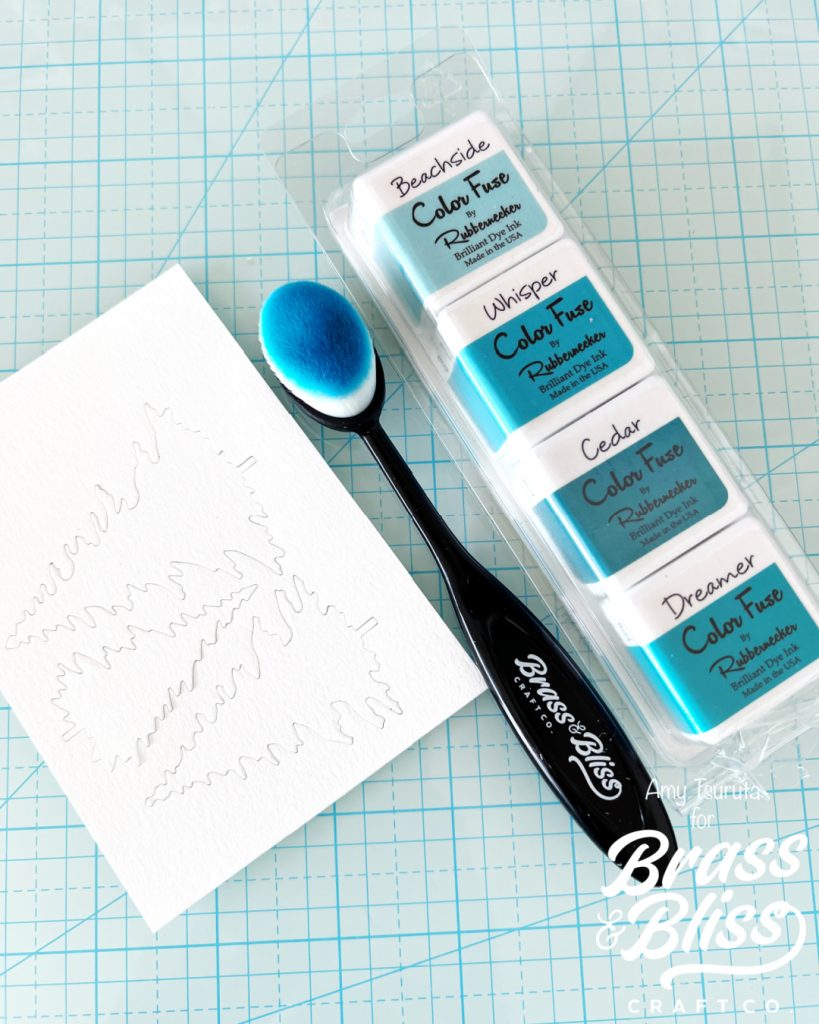
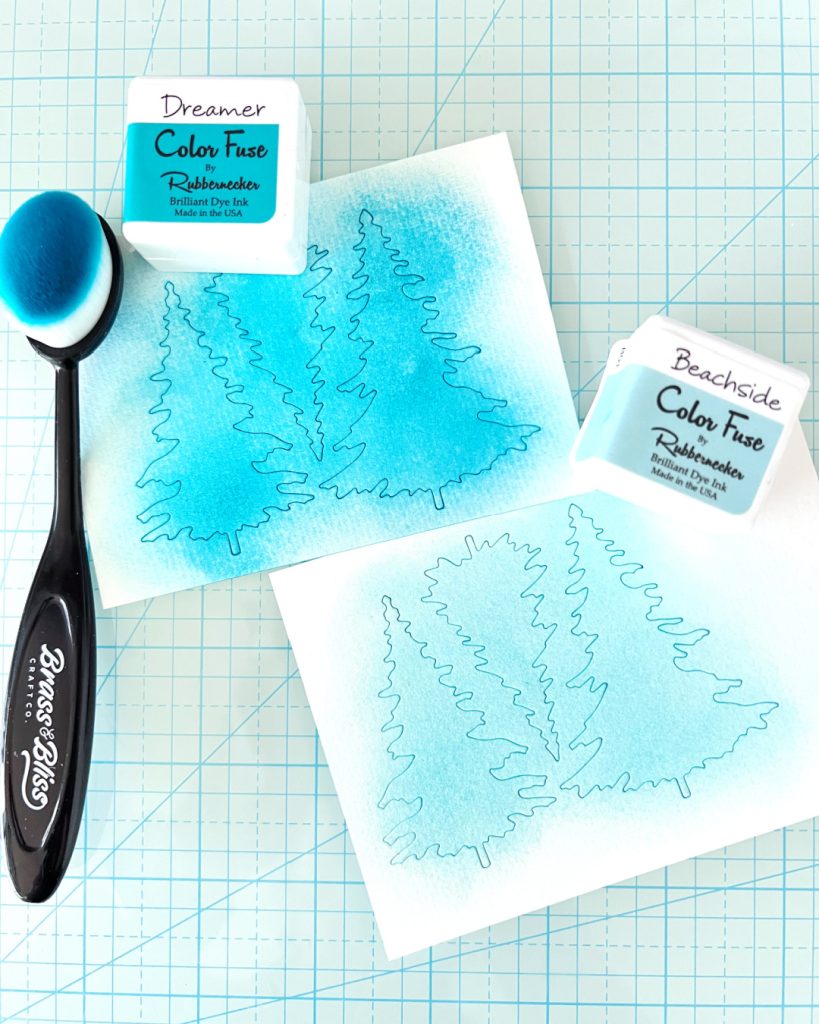
- die cut the Evergreen Trees in watercolor paper.
- I tend to do all my ink blending with watercolor paper. It makes it so easy to blend.
- I did not pop out the trees but left them intact and ink blended with Beachside and Dreamer inks.
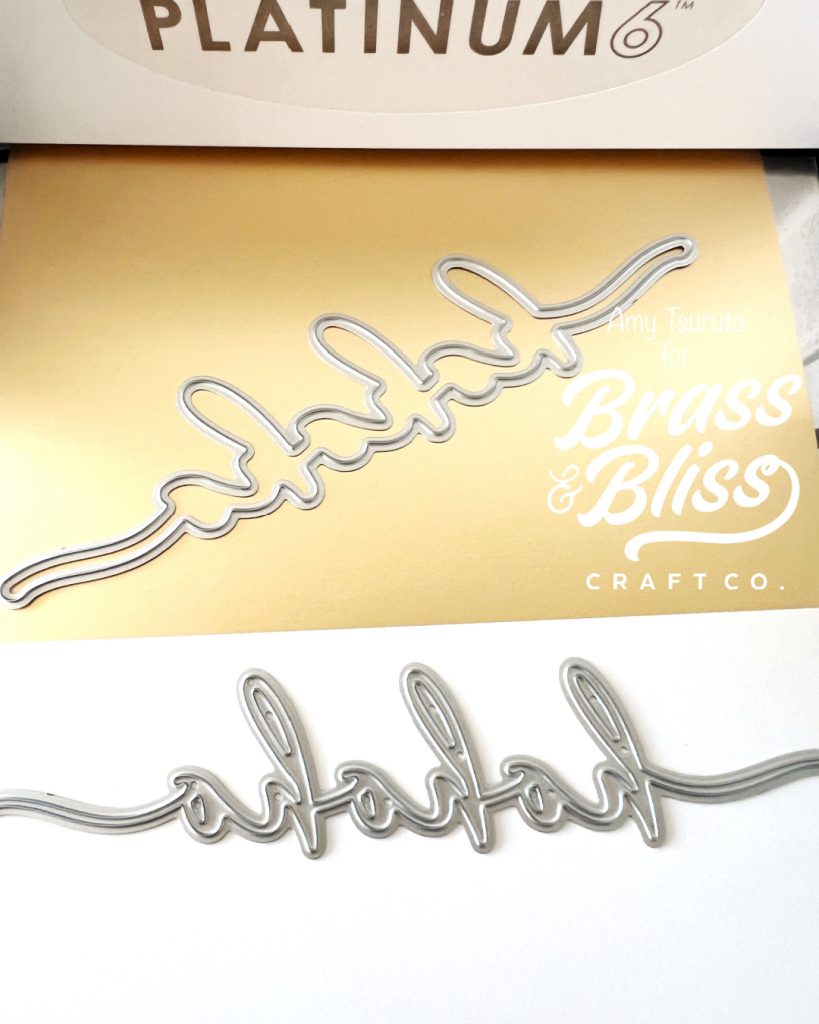
- I cut the Ho Ho Ho sentiment dies in white and matte gold. I used the Glue Press to adhere the two pieces together.
- Starting from the bottom, layer the pieces:
- Dry embossed Crosshatch Cover panel
- Arrange the trees with the base going landscape.
- Top off the card with the Ho Ho Ho sentiment.
Supplies used:
Where do you get an embossmat to use with dies?