Looking for a fresh new background for your handmade cards? Try “stamping” with your background dies and get more out of your craft stash!
If you’re looking for an easy way to create an interesting background that’s not too busy, you should consider stamping with your background dies. Today our designer Marla is showing us this fun technique that’s sure to spruce up your backgrounds! Dura-Lar is a product that is slightly thicker than vellum that not only works great for this technique but can also works well as a stencil. To stamp, all you need to do is tap your ink pad to the die cut, spritz with a little water and stamp onto your cardstock. You can also use your spray stains instead of an ink pad if you prefer. Follow along for the full tutorial.
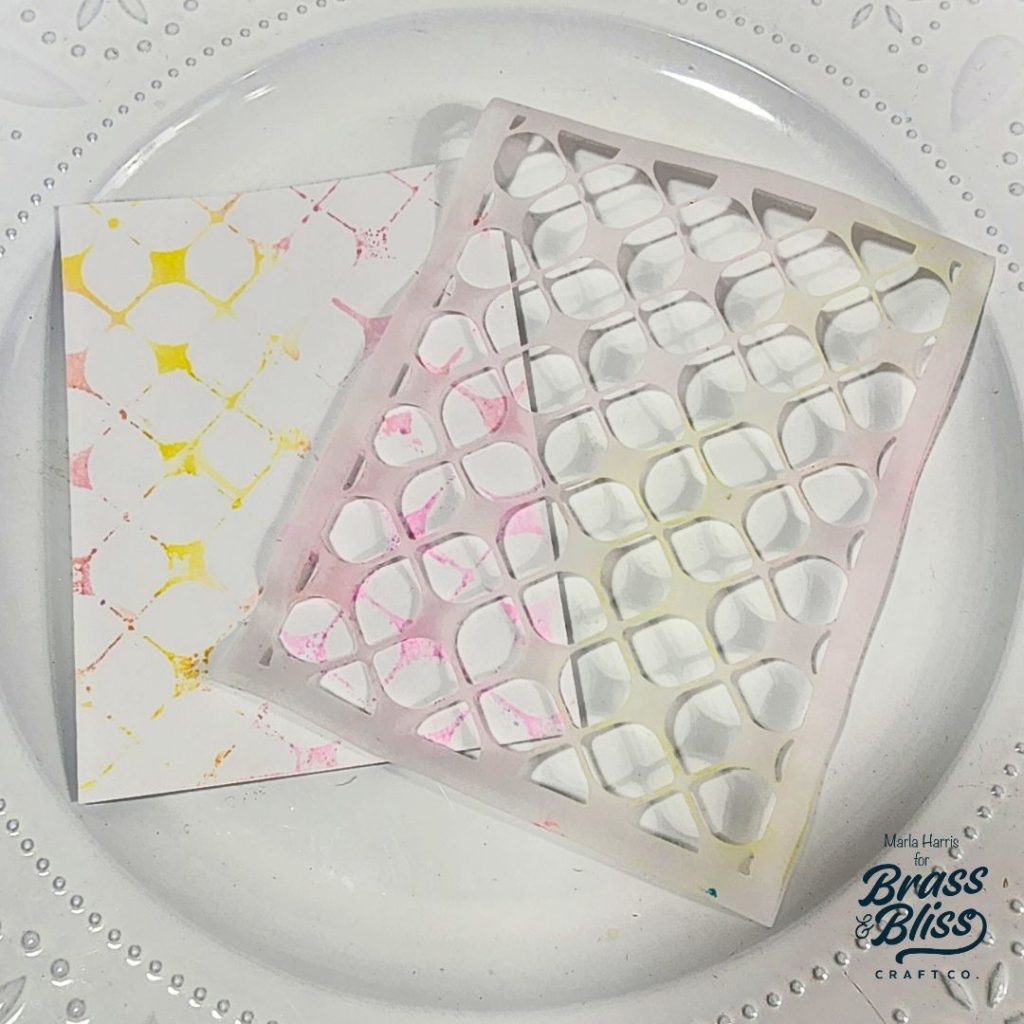
- Using velum or Dura-Lar and 5713D Round Petal Cover Die to cut a faux stencil.
- Add Rose Petal, Lemon and Posey ink to the stencil and spritz with water before stamping onto a piece of white cardstock.
- Cut the panel down to 3.5″ x 5″ and add dimensional foam to the back.
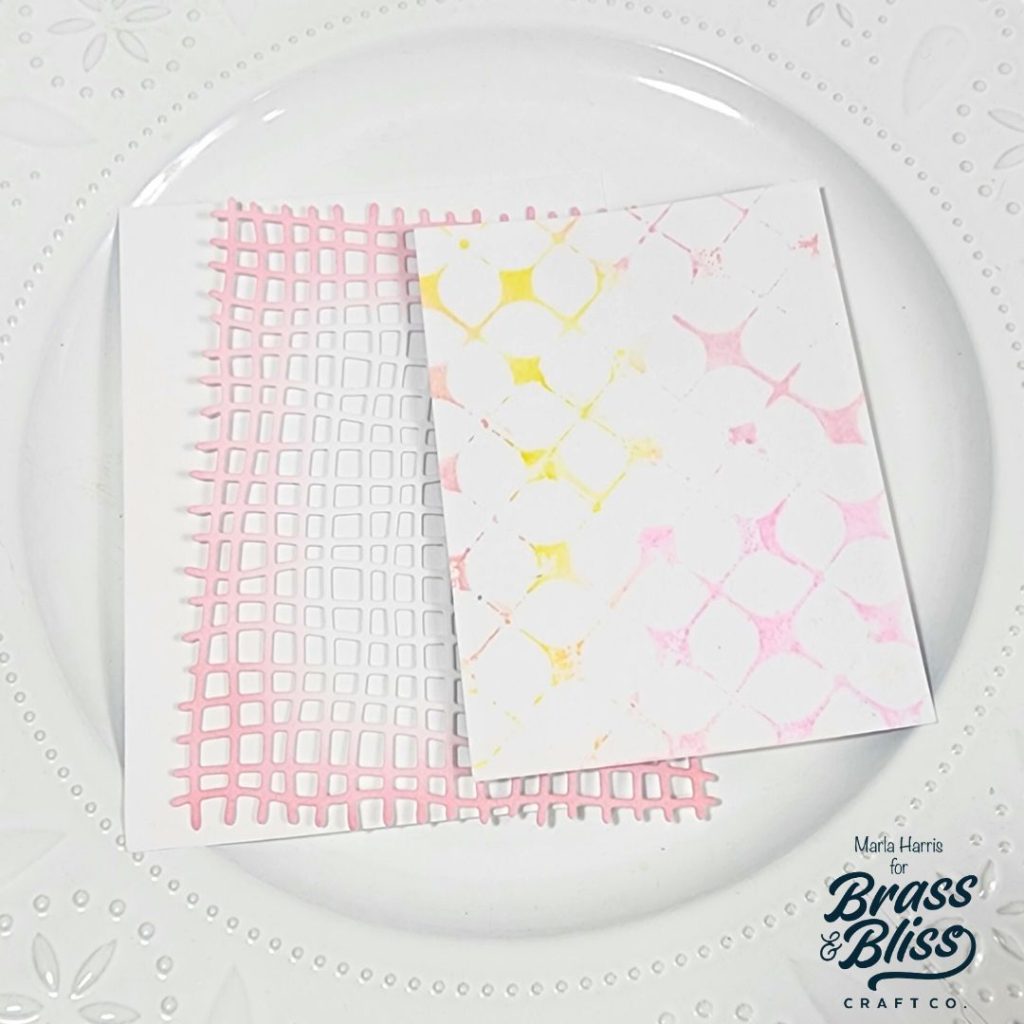
- Ink the edges of a white piece of cardstock cut to 4.25″ x 5.5″ with Posey ink.
- Using the 5827D Cheesecloth Die, cut the inked cardstock.
- Adhere the cheesecloth panel and inked panel to an A2 card base.
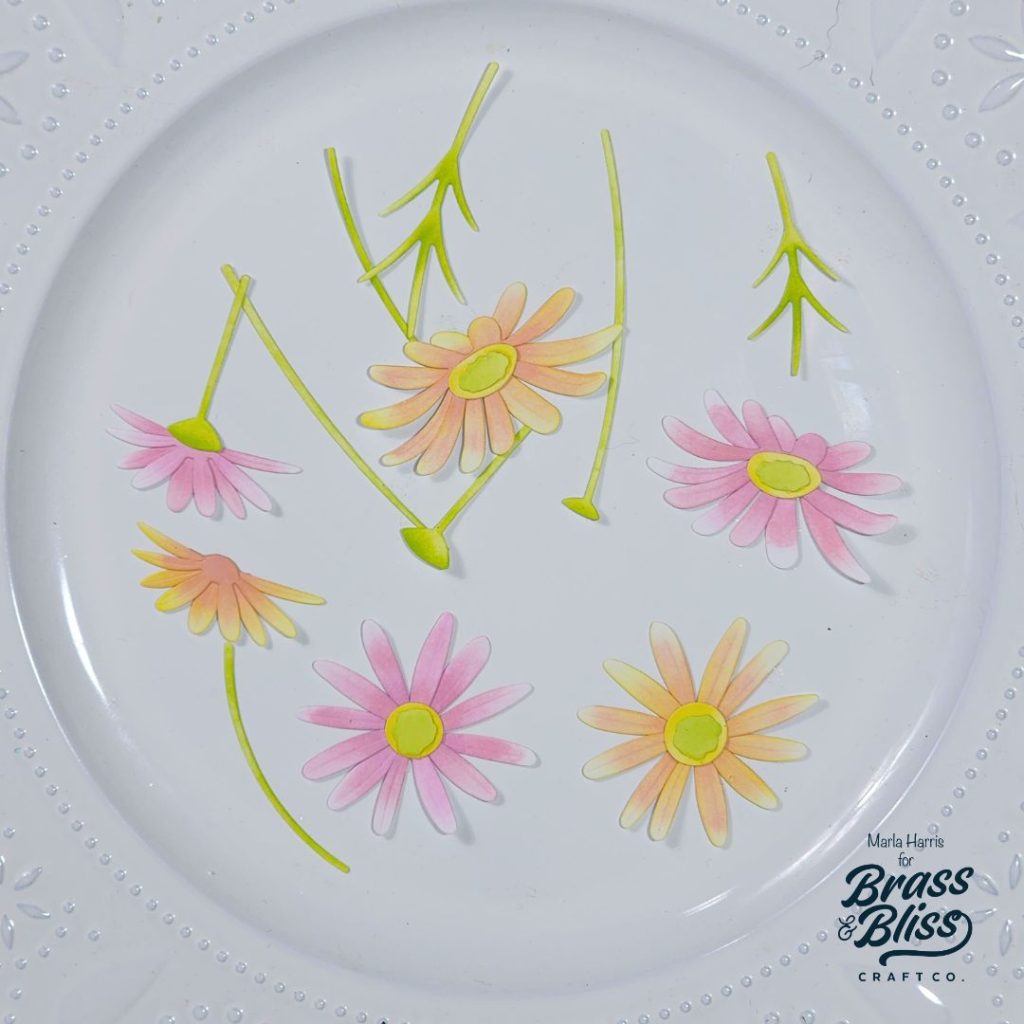
- Cut two sets of flowers and stems using the 5914-02D Build a Bloom Chamomile Die.
- Ink the petals with the following color combinations: Lemon and Posey ink and Rose and Posey Ink.
- Ink the stems using Melon and Fern ink and the centers with Lemon and Melon ink.
- Assemble the flowers
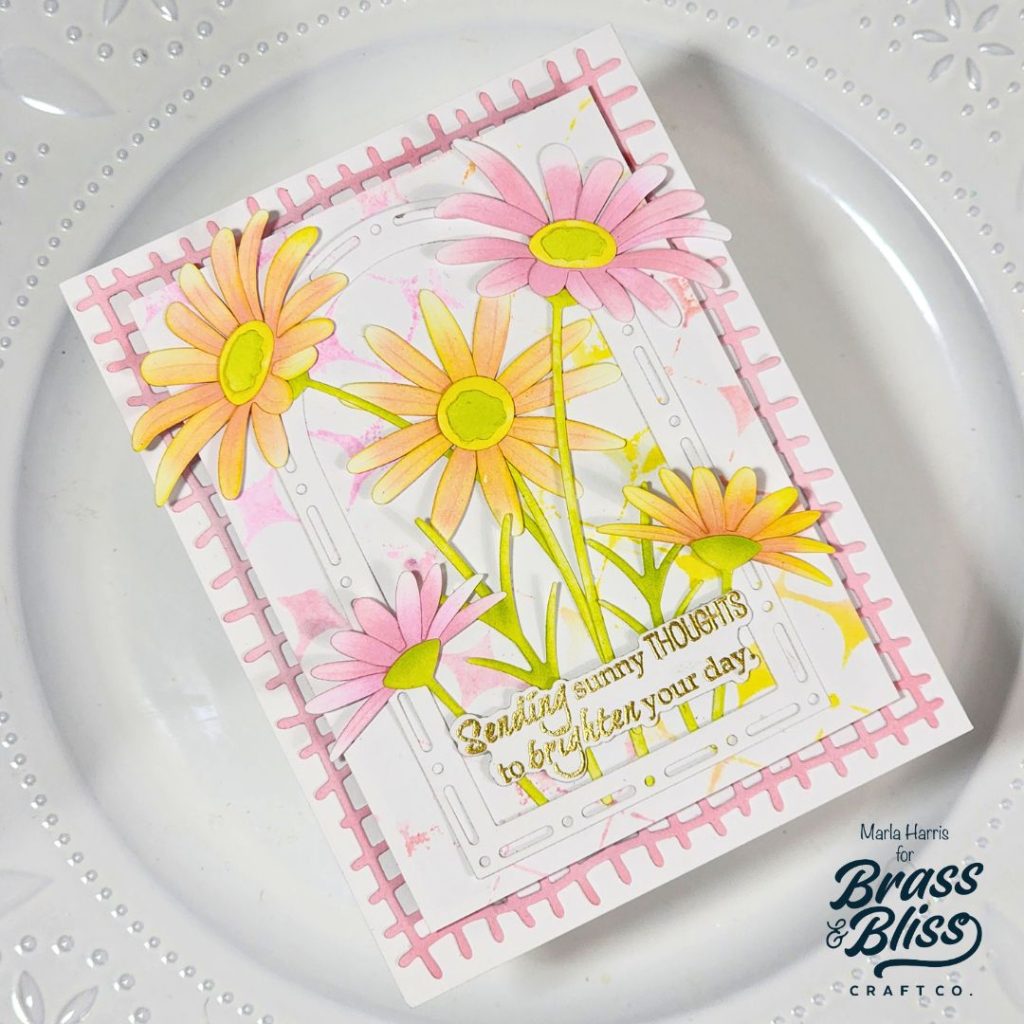
- Using two of the mid-size arches from the 5802-05 Dash Dot Nested Arches Die and white cardstock, create a frame.
- Dust antistatic powder onto a scrap piece of white cardstock.
- Stamp the sentiment from the 38018 A Day Full of Blooms stamp set onto white cardstock using Versamark ink.
- Add gold embossing powder and heat set.
- Use the coordinating die to cut out the sentiment.
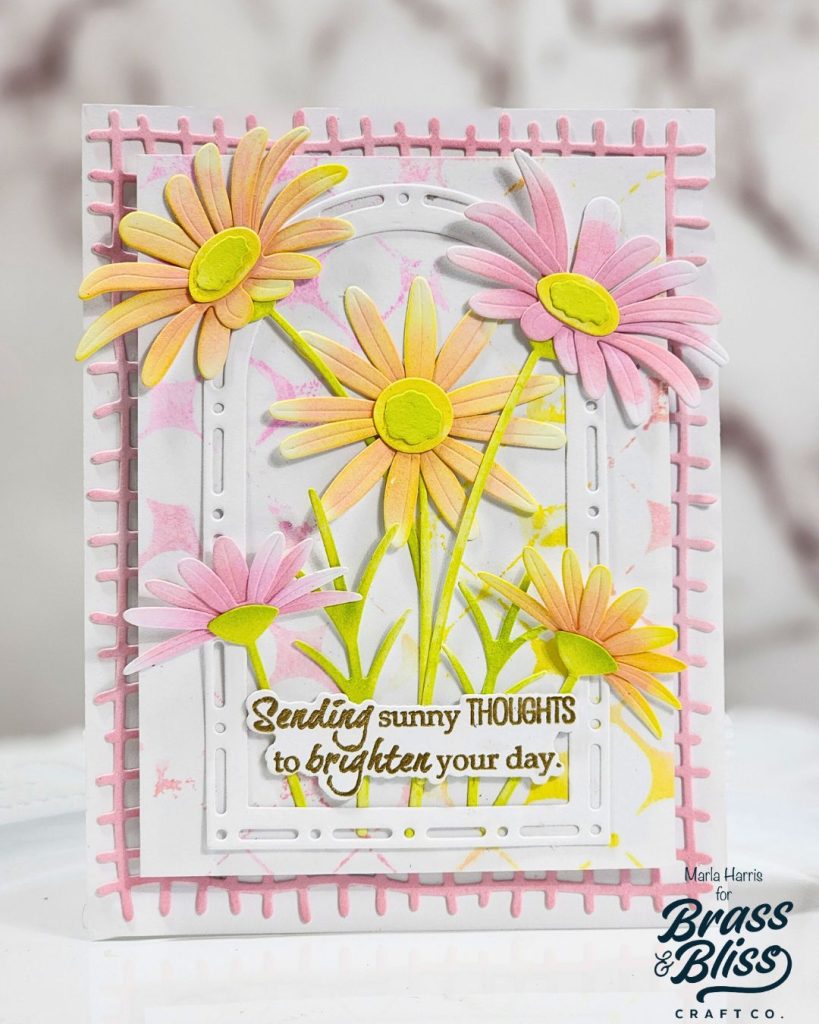
- Finish assembling the card.
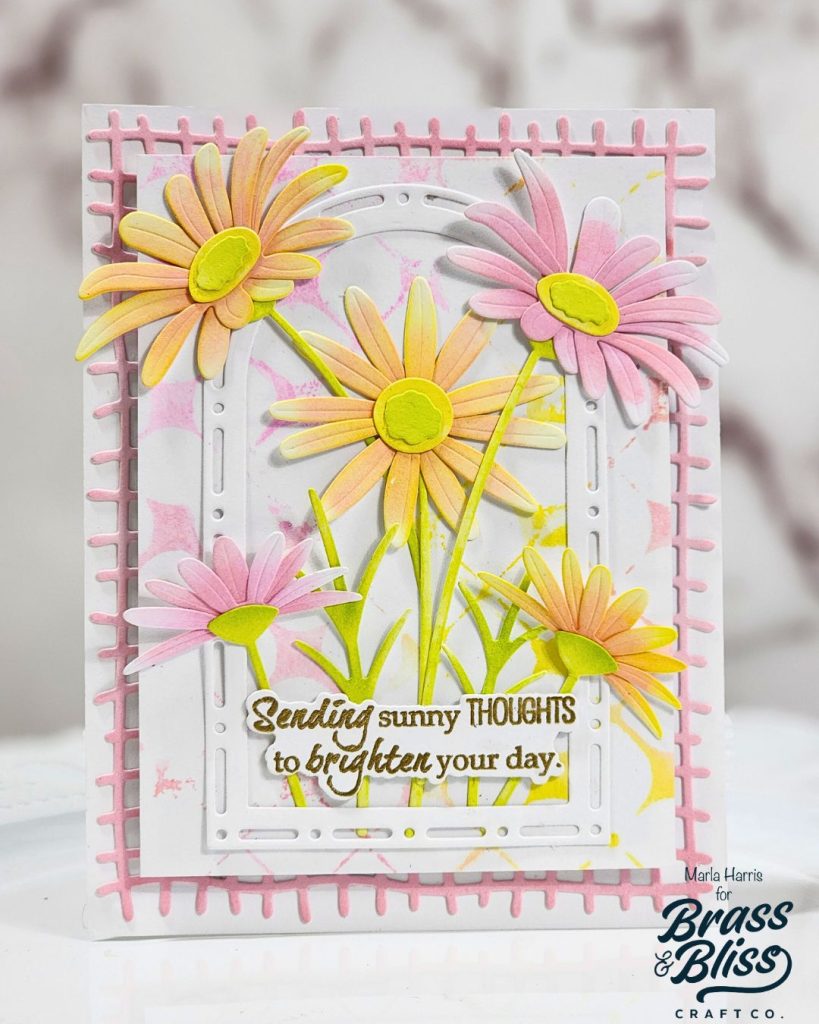
We love this pretty spring card and hope you do too.