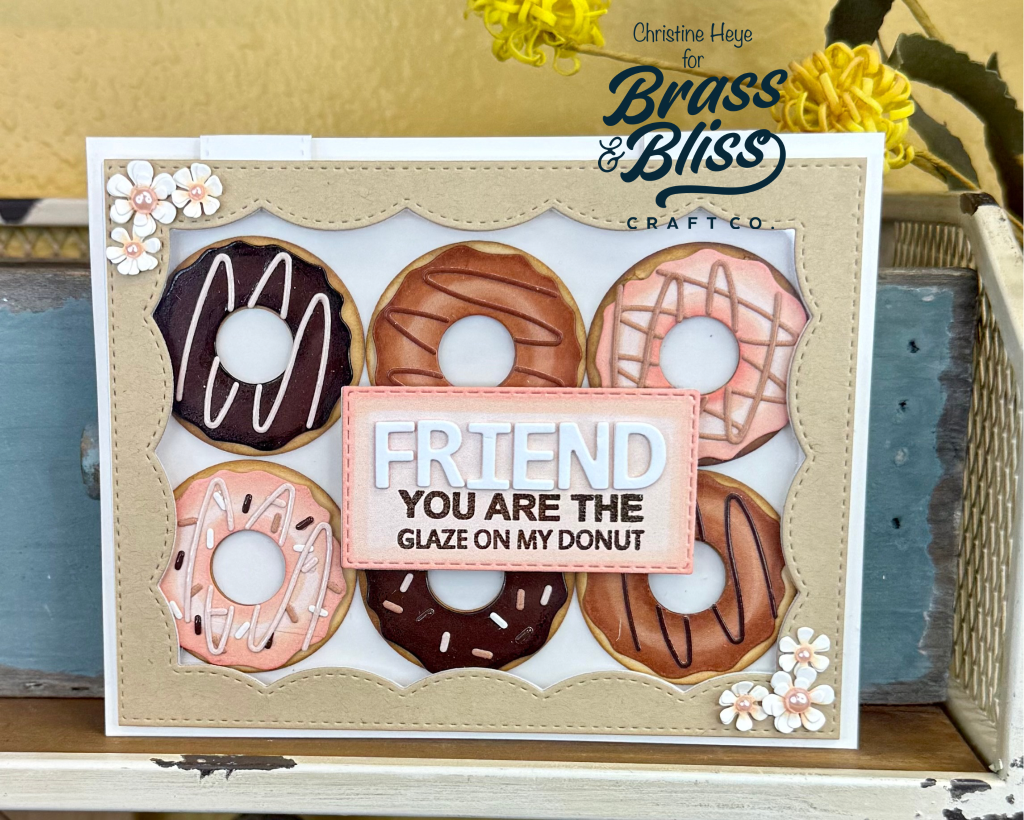
Looking for a super SWEET and creative card idea for a friend? This insanely creative Donut card is just what you’ve been looking for!
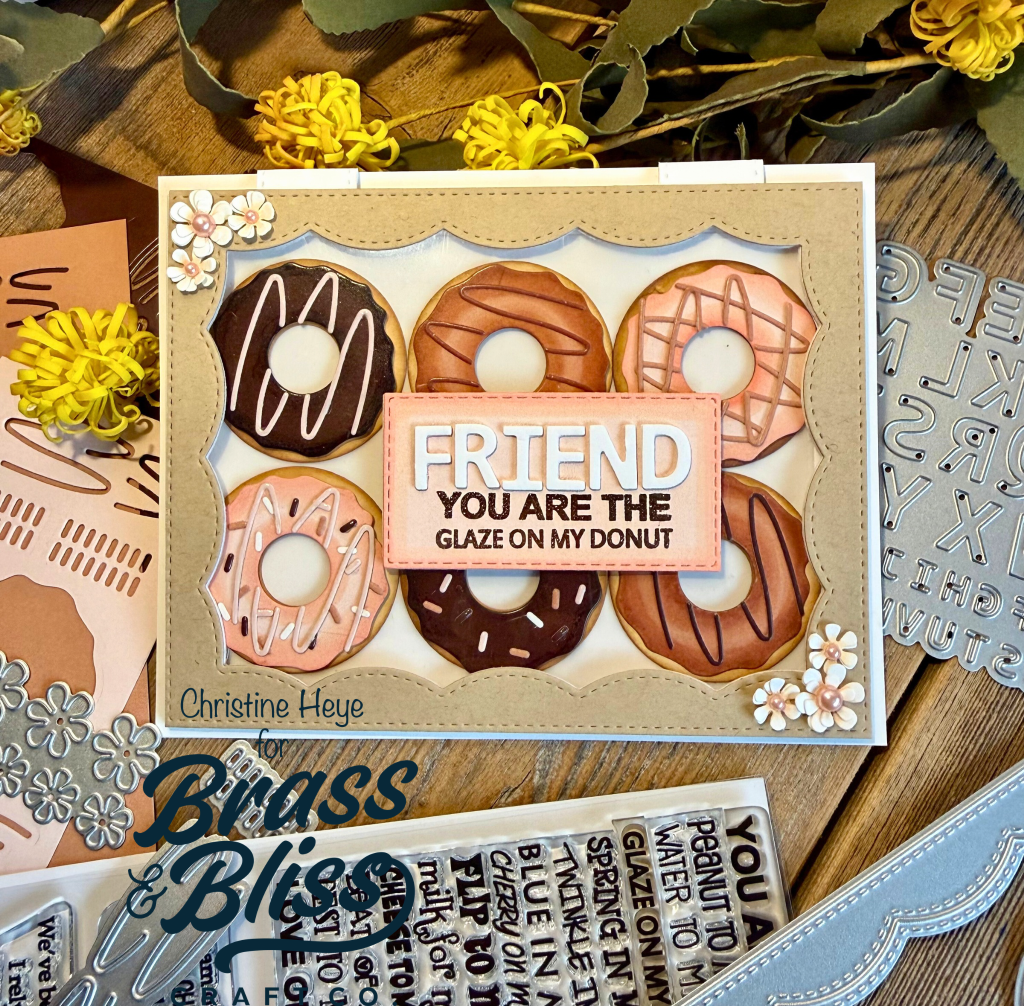
Today we have a brilliant card by our designer, Christine, that you just have to see to believe. Christine playfully asks us if we would like some calorie-free donuts? Our response…Where’s the sign-up sheet? We will take a dozen, please! This fun, colorful, interactive box card filled with yumminess is the perfect design to fill your craft table with, and even more fun to send to that friend that truly is the “glaze on your donut”!
Steps to recreate this card:
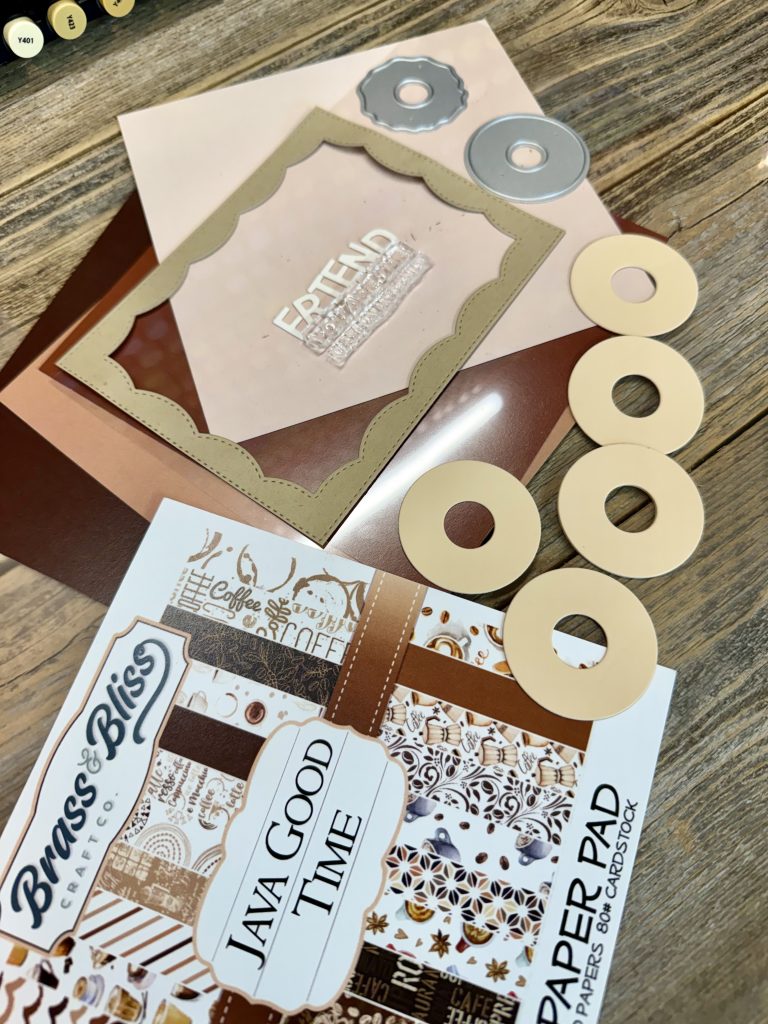
- Die cutting instructions: Cut everything first, with/minimal assembly, than decorate…
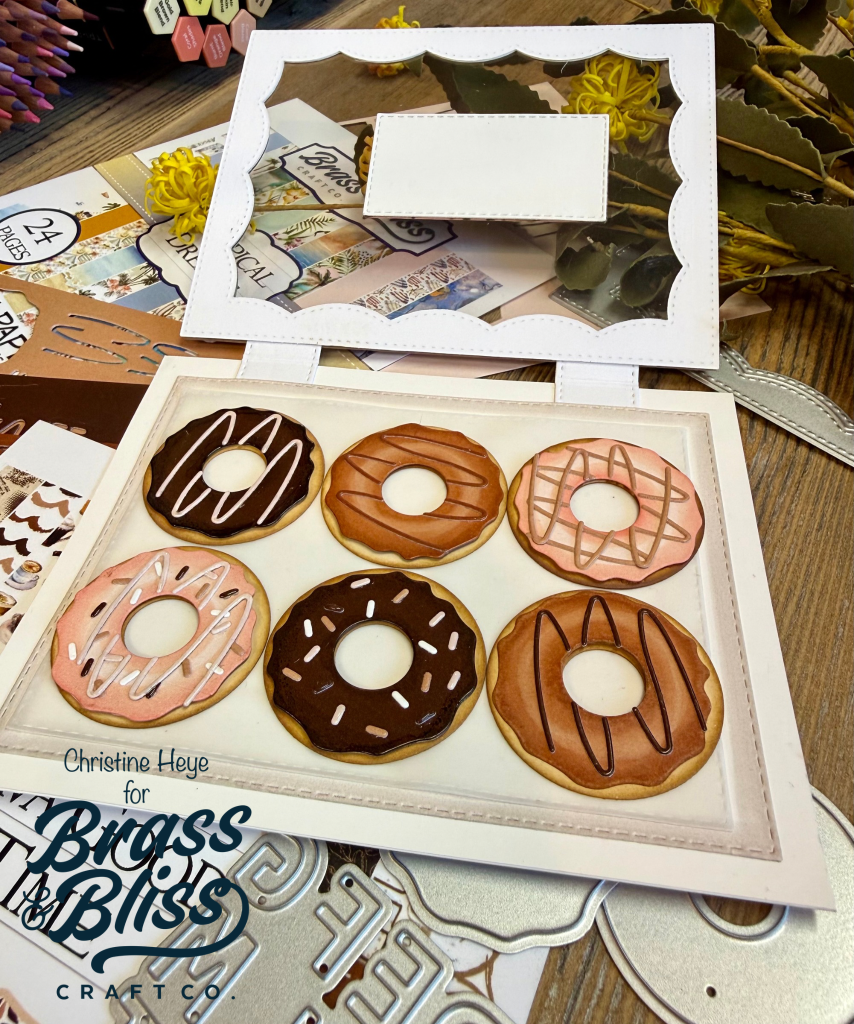
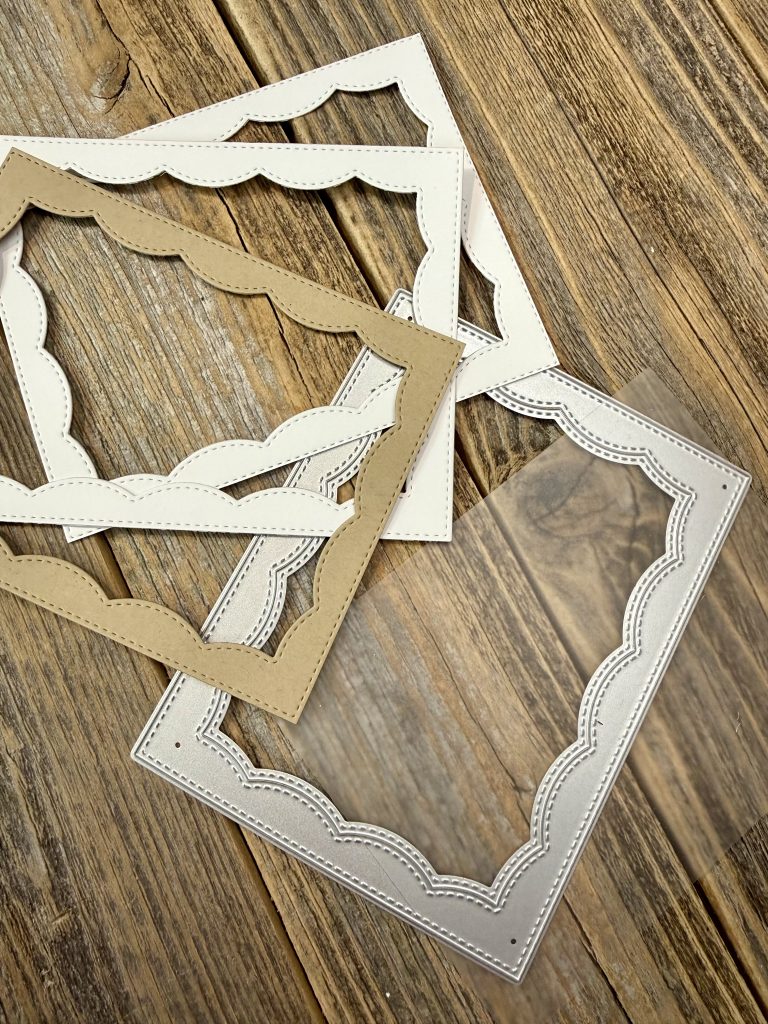
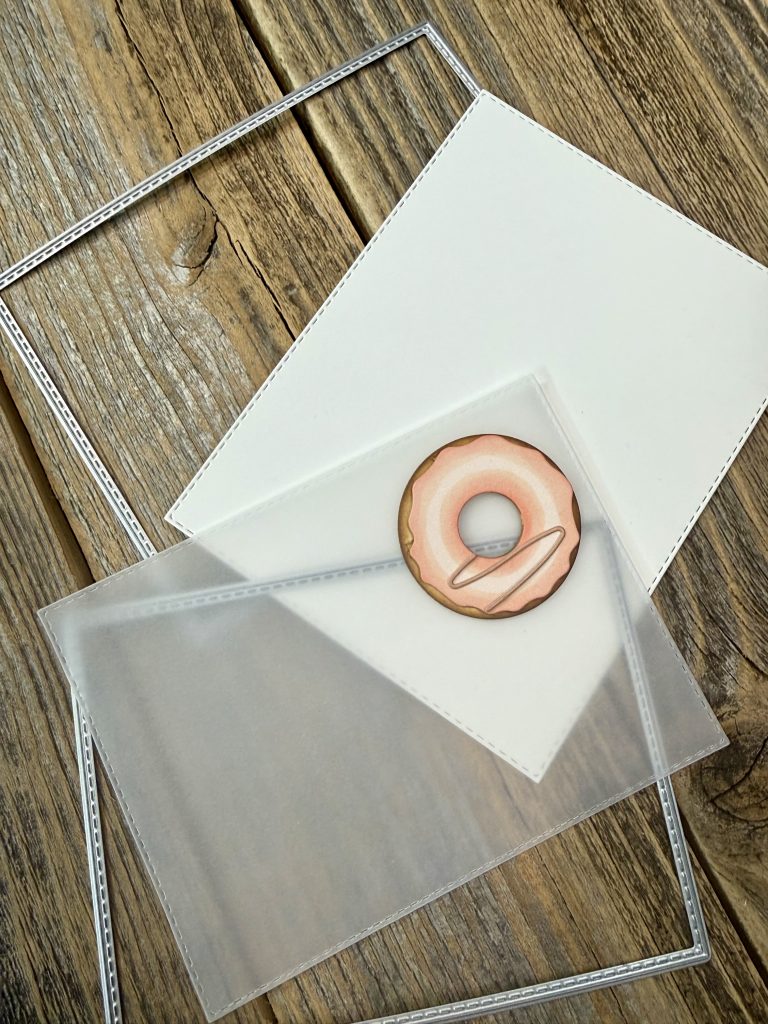
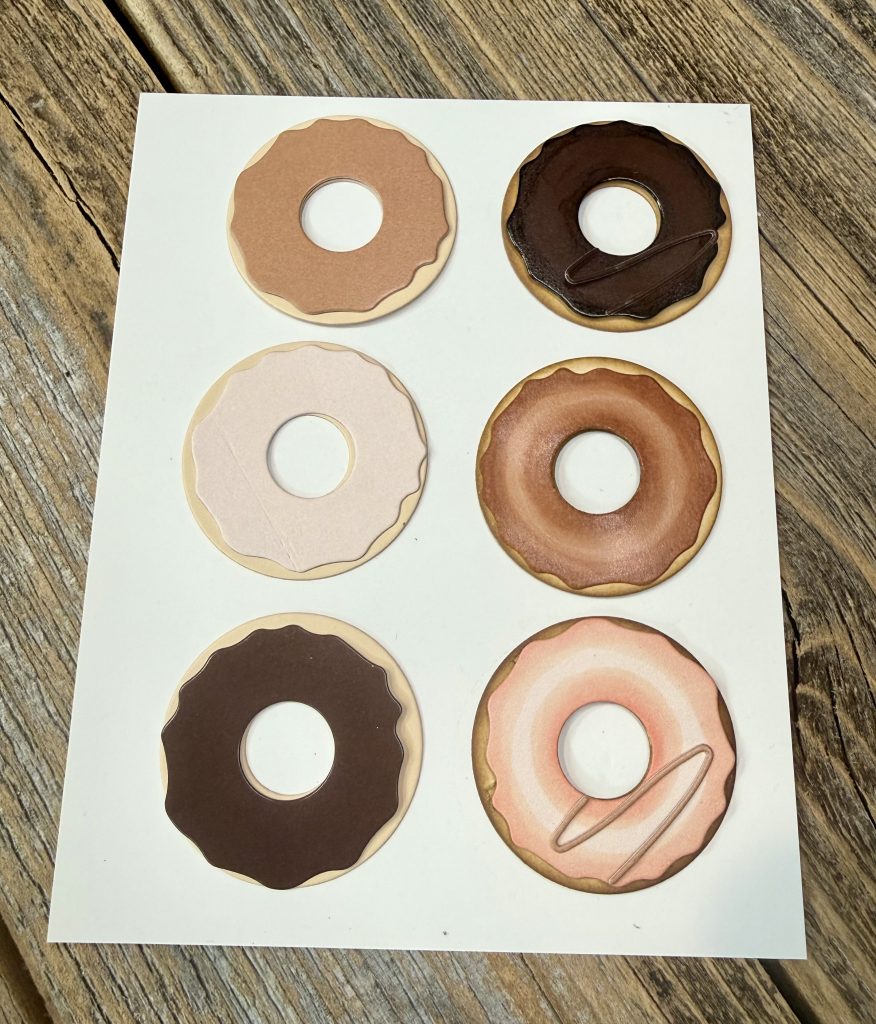
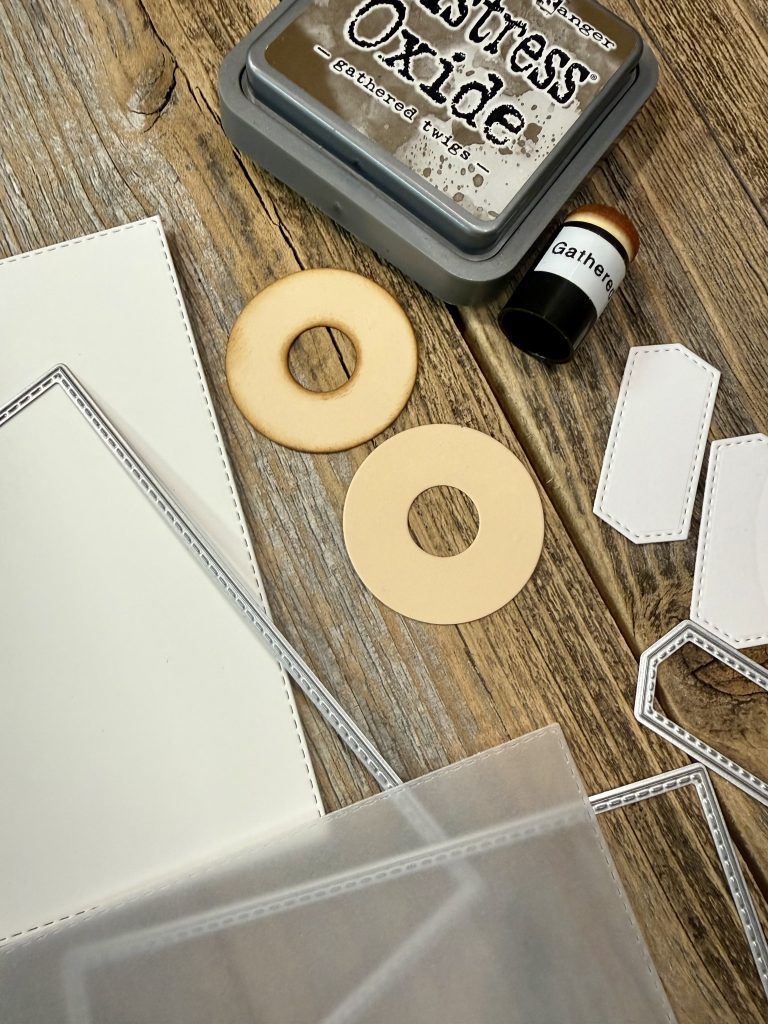
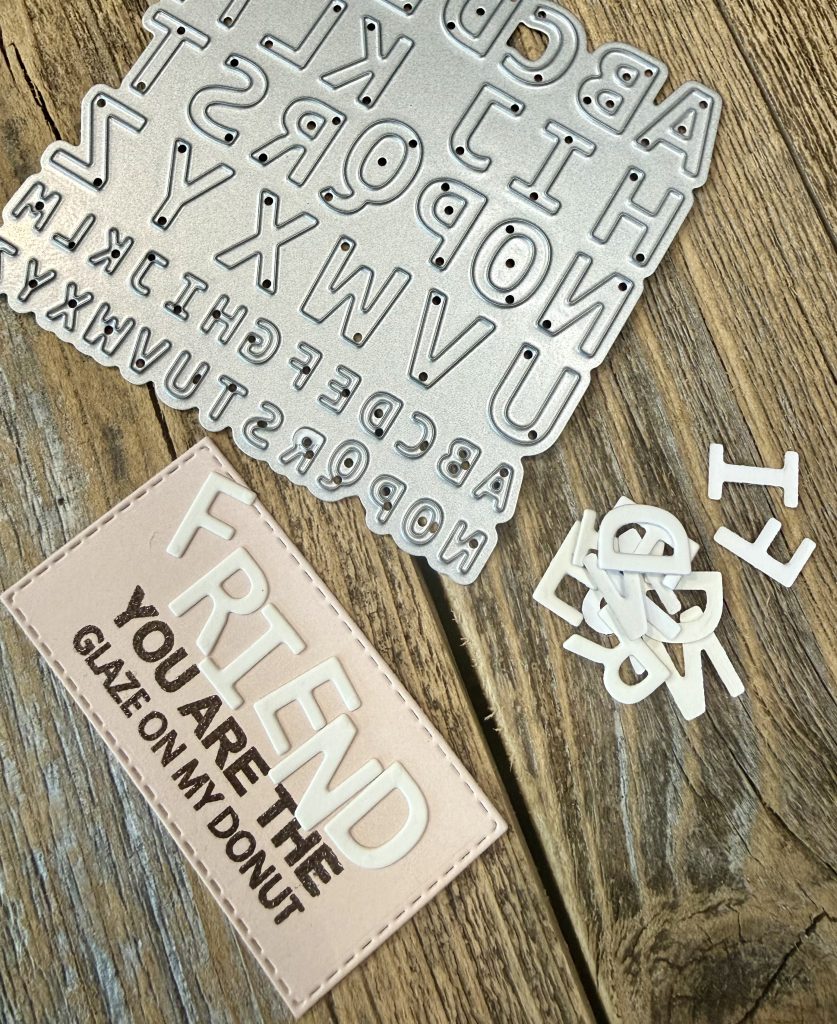
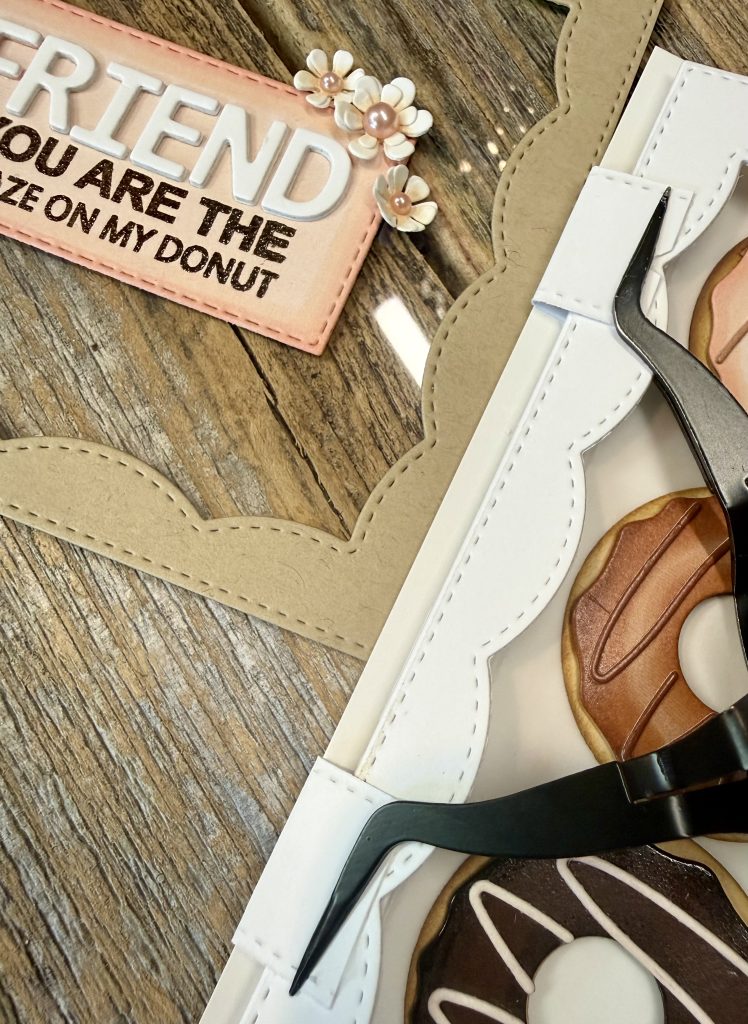
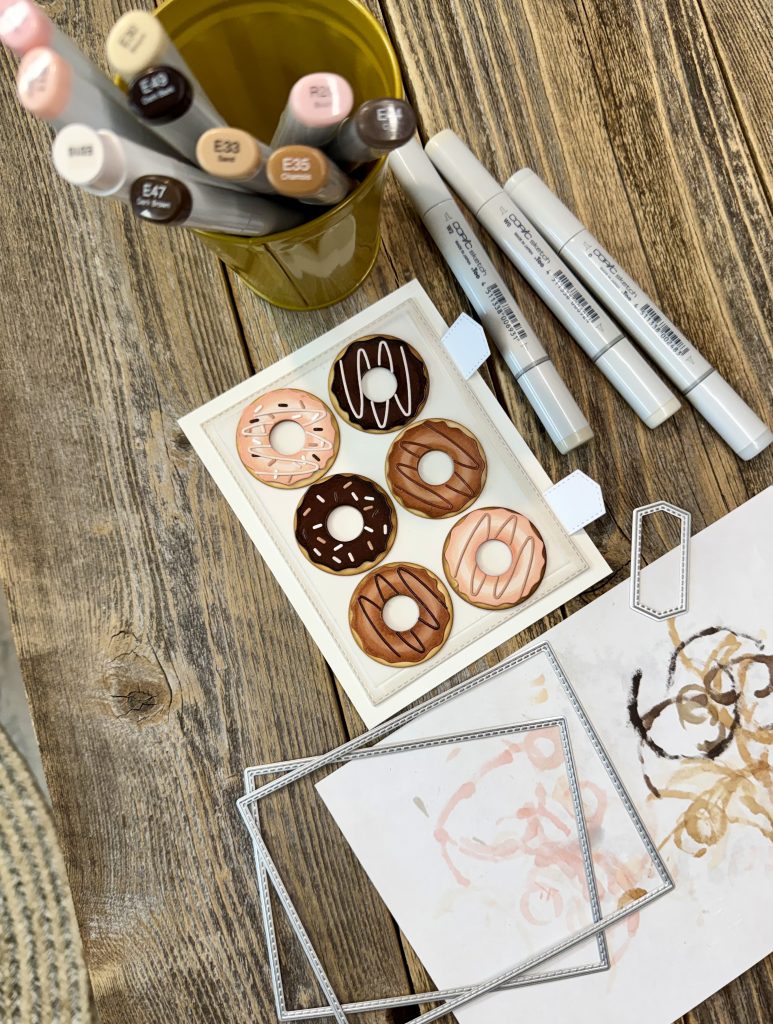
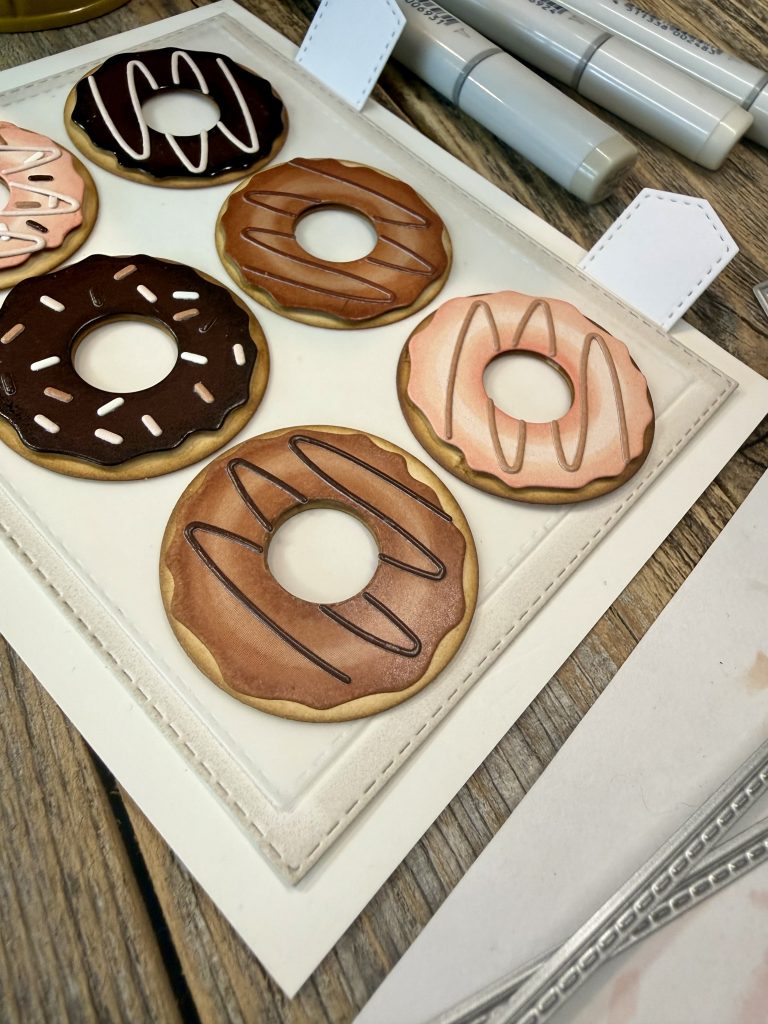
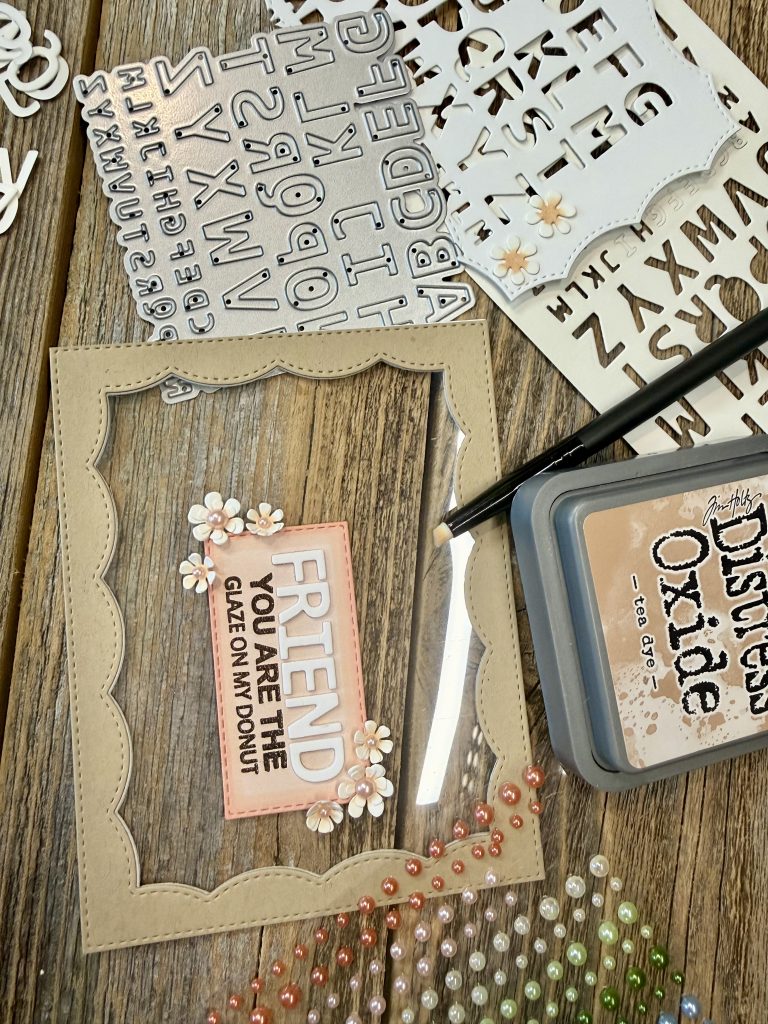
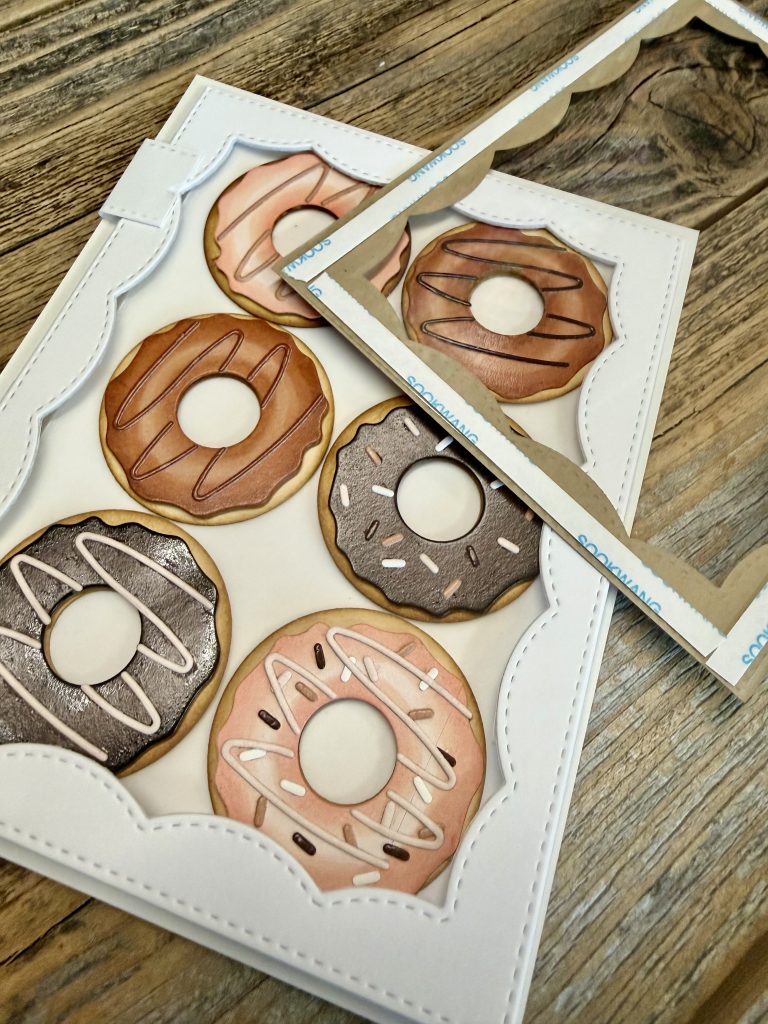
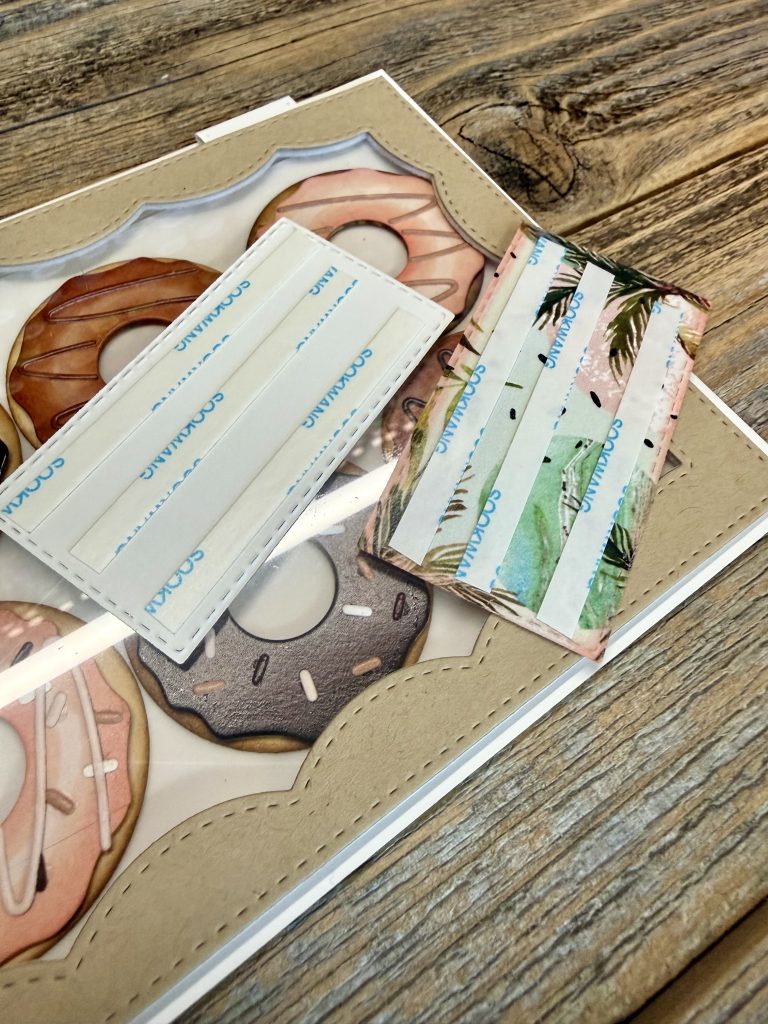
- Die cut 6 donuts from a tan card stock. Cut the glaze tops from Java Good Time (chocolate/maple) & Tropical Dreams (pink) paper pads. Die cut glaze drizzles and sprinkles from rust paper (java good time) and any papers desired. (See photos). Die cut letters F, R, I,E, N, D from white (3x) using Small Classic Alphabet Die. Glue layers together. Die cut 1 kraft and 2 heavyweight white box lids from Framed Scallop w/Stitch die. Cut a piece of acetate for box lid (same size as lid). Using strong double-sided narrow adhesive, attach acetate to underside of kraft box lid layer. Using same adhesive, layer to 1 of the white layers. Using Nested Rectangle Small Stitch Dies die cut a box bottom layer (this will cover the lift up flaps) from white cardstock & a vellum layer (liner) using sizes shown in photos. Also die cut 1 sentiment box from heavy white cardstock & 1 from same pink paper. Die cut 2 smallest size Tall Hex Nesting dies from heavyweight white cardstock. Score exactly in the middle. Die cut flowers from Sunlit Blossoms die. Both sizes are on one day- so convenient! When done you will need 10 small flowers and 2 large. You will layer the flowers. Die cut from heavyweight white card stock your box/card bottom, measuring 4-1/2”X5-3/4” This allows the white border, when box closed. SEE BOTTOM LAYERS GUIDE before adhering- Measure twice cut once….LOL. And See all PHOTOS to guide. :O)
- Beginning w/donuts- using a brown ink, carefully finger dauber the centers and outermost edges of each. Using alcohol markers color the outermost edges and innermost circle edge of each glaze topping. See photos. Assemble donuts using very thin foam adhesive (glaze to donut) and liquid glue (drizzle & sprinkles to donut glaze tops). THAT WAS THE FUNNEST Part! :O)
- Adhere pre-scored hex tabs piece to box bottom piece. Center and adhere the box bottom layer over hex tabs. Now is the time to adhere the last white layer over the tabs to conceal the tabs. LAYERS are: Bottom of box, hex tabs bottom half, white stitched box layer, vellum layer, donuts (after assembly and decoration), centering donuts, as desired, first white frame, top of scored/folded hex tab, 2nd white layer, acetate, kraft box lid.
- Heat emboss You are the glaze on my donut sentiment (BFF phrases 2) using brown pigment ink and clear powder. Adhere “friend” (centering over embossed sentiment) letters onto pink sentiment box (coloring/inking edges, if desired). Using strong double-sided adhesive attach to box (acetate layer) where desired. Add with same adhesive white layer underneath acetate to conceal upper sentiment box.
- Gently sponge soft pink ink onto centers of each top layer of flowers. (6 small). Glue layers together and press into a pad w/stylus, if wishing dimension. Add a soft pink pearl embellishment. Add to box corners and DONE!
Supplies Used:
- Sweet Treat Dies 5604-123D https://brassandbliss.com/products/5604-123d-sweet-treat-dies?_pos=1&_psq=sweet+treats&_ss=e&_v=1.0 ?ref=christine_heye
- Framed Scallop w/Stitch Die 5852-01D https://brassandbliss.com/products/5852-01d-framed-scallop-w-stitch-die?_pos=3&_psq=Framed+scallop&_ss=e&_v=1.0?ref=christine_heye
- Java Good Time 6×6 paper pad 2020 https://brassandbliss.com/products/2020-java-good-time-6×6-paper-pad?_pos=1&_psq=Java&_ss=e&_v=1.0?ref=christine_heye
- Tropical Dreams 6×6 paper pad 2207 https://brassandbliss.com/products/2207-tropical-dreams-6×6-paper-pad?_pos=1&_sid=c06f10b51&_ss=r?ref=christine_heye
- BFF Phrases Set #2 4×8 stamp set 3431 https://brassandbliss.com/products/3431-bff-phrases-2-4×8-stamp-set?_pos=1&_psq=BFF+2&_ss=e&_v=1.0?ref=christine_heye
- Small Classic Alphabet Die 5618D https://brassandbliss.com/products/5618d-small-classic-alphabet-die?_pos=1&_psq=Small+classic&_ss=e&_v=1.0?ref=christine_heye
- Sunlit Blossoms Die 5811-03D https://brassandbliss.com/products/5811-03d-sunlit-blossoms-die?_pos=1&_psq=Sunlit&_ss=e&_v=1.0?ref=christine_heye
- Nested Rectangle Small Stitch Nesting Dies 5013D https://brassandbliss.com/products/5013d-nested-rectangle-small-stitch-die-set?_pos=1&_psq=Small+stitch+rectan&_ss=e&_v=1.0?ref=christine_heye
- Tall Hex Nesting Dies 5819-02D https://brassandbliss.com/products/5819-02d-tall-hex-nesting-dies?_pos=1&_psq=Hex&_ss=e&_v=1.0?ref=christine_heye