
Grab those cover dies and ink them up into an abstract background that really wows!!! This tropical summer card is sure to delight.
Aloha…since it’s August and we are enjoying the summertime still, we thought it would be fun to use some background and nested dies to make a tropical postcard that gives some serious vacation vibes! Today’s stunning card is from our designer, Shelly who has used our Sundays Stained Glass Die to create a background scene for her flamingo. We love that it feels abstract in the way its color blocked with our fabulous Color Fuse Inks. The waves, the sun, and the beautiful sunset sky are all represented in the way she chose to color up the sections of the stained glass. We think this is a genius way to use this die and are excited to try to create some fun scene backgrounds using this and the other similar dies like it.
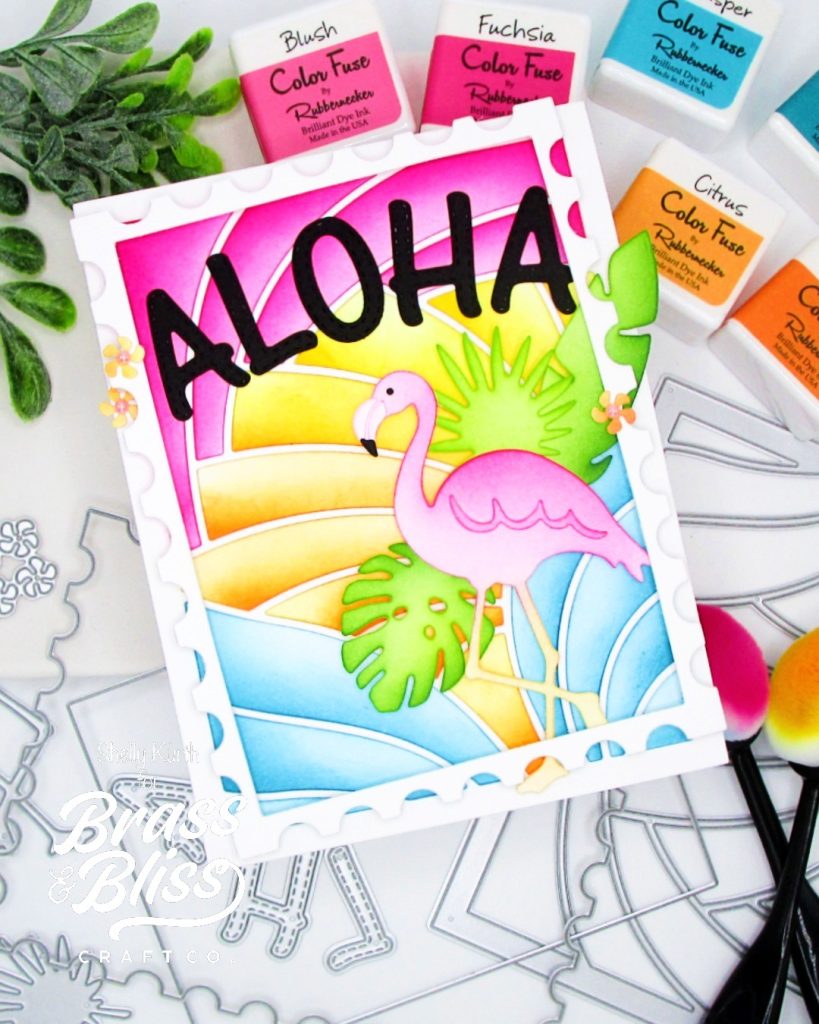
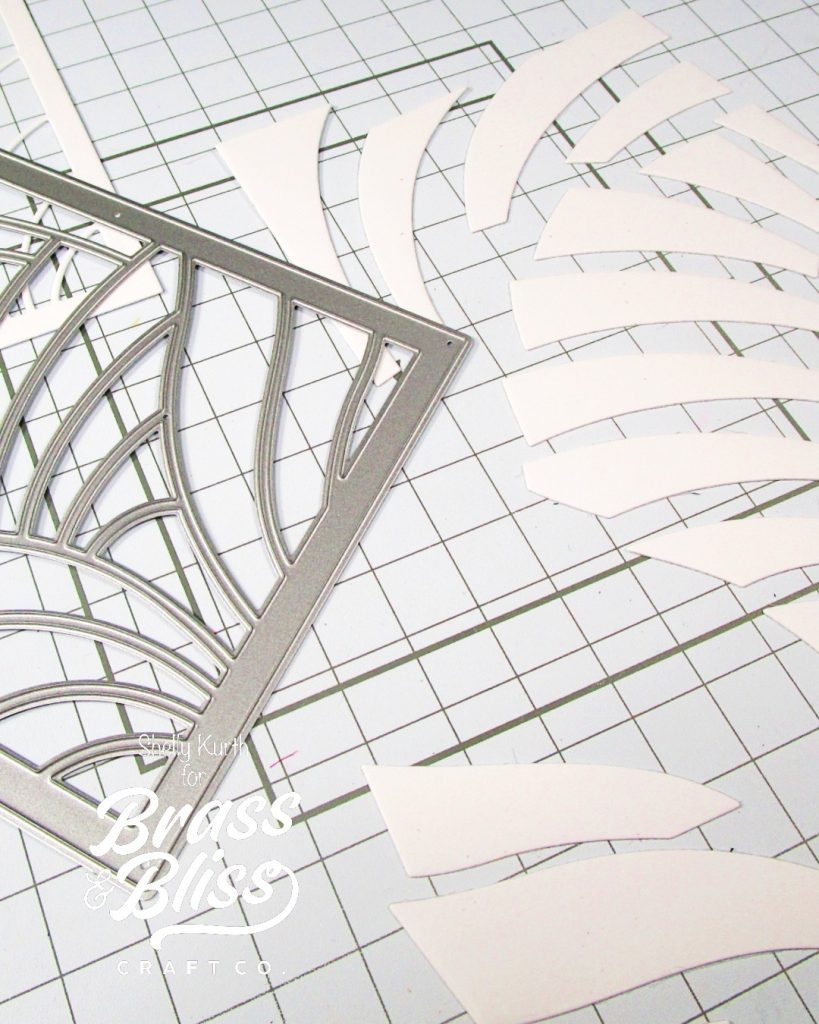
- Start with using white cardstock along with the 5747-03D Sunrays Stained Glass die.
- Separate the pieces into sections.
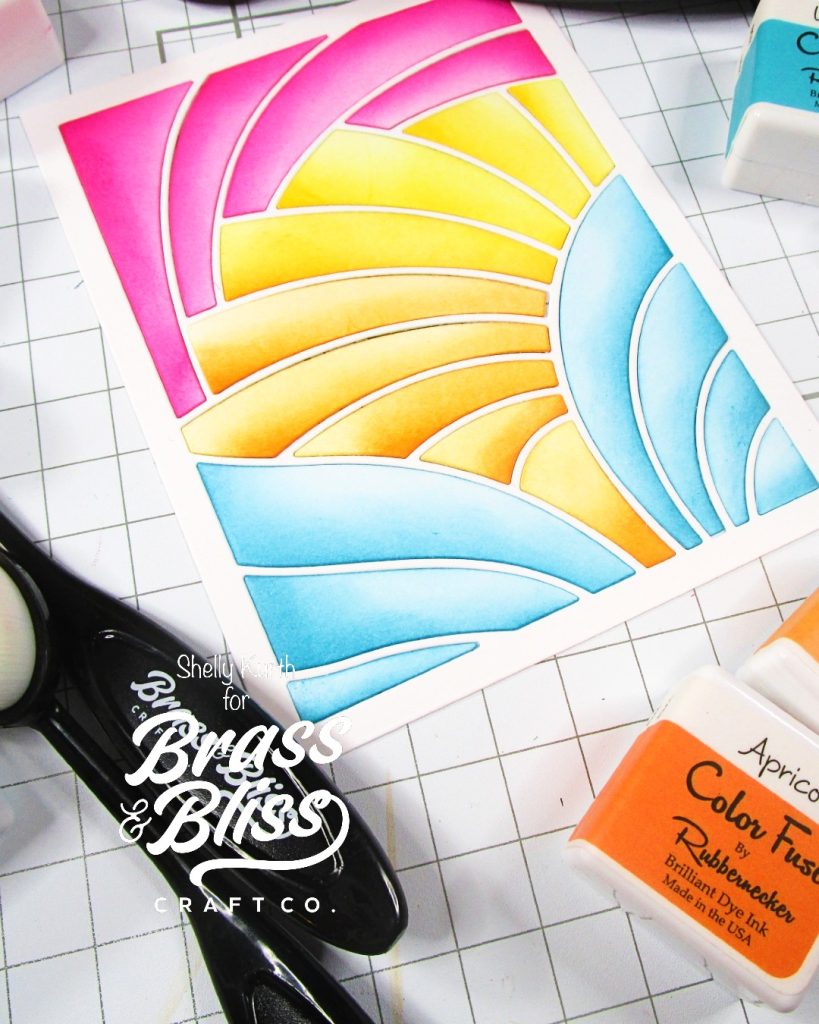
- Blend each section with Color Fuse Inks and a large blending brush. In this case, Blush & Fuchsia, Whisper & Cedar, Lemon & Autumn, Citrus & Apricot, and Grass & Basil.
- Adhere the ‘sunrays’ die cut and ink blended pieces to a white cardbase.
- Set aside.
- Using white cardstock, die cut flamingo and leaves using the 5817-01D Tropical Birds and Leaves dies.
- Blend flamingo and leaves using some of the same Color Fuse Inks as prior. (Blush & Fuchsia and Grass & Basil)
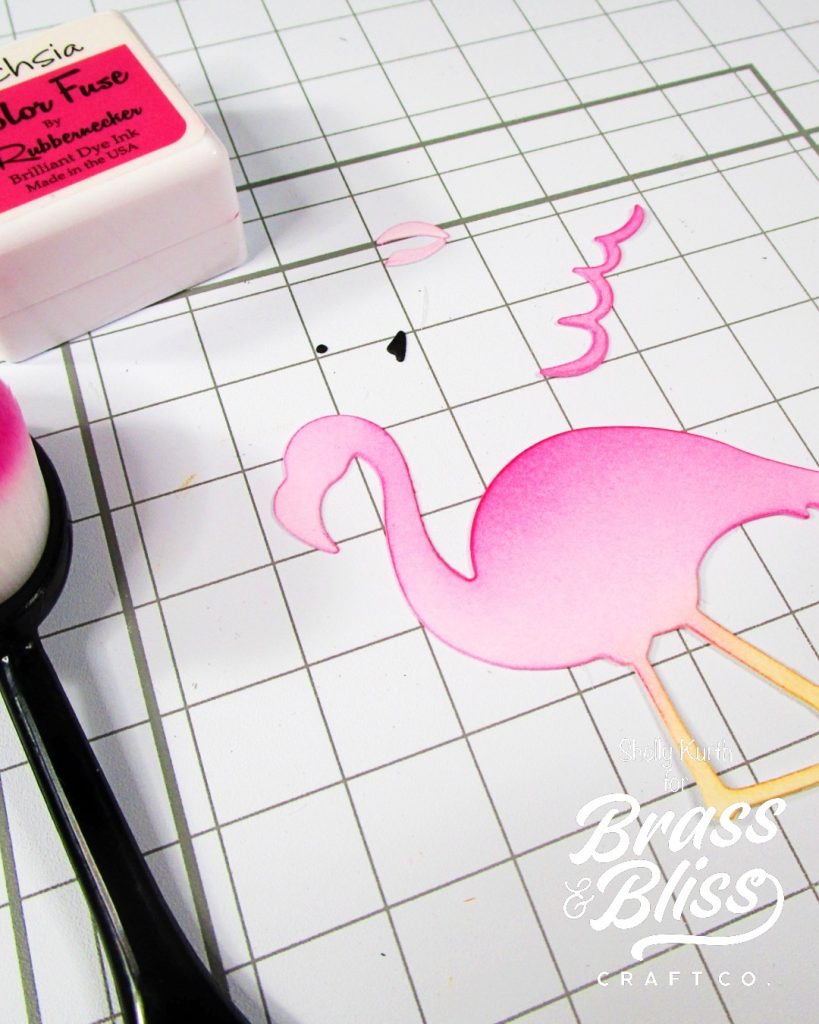
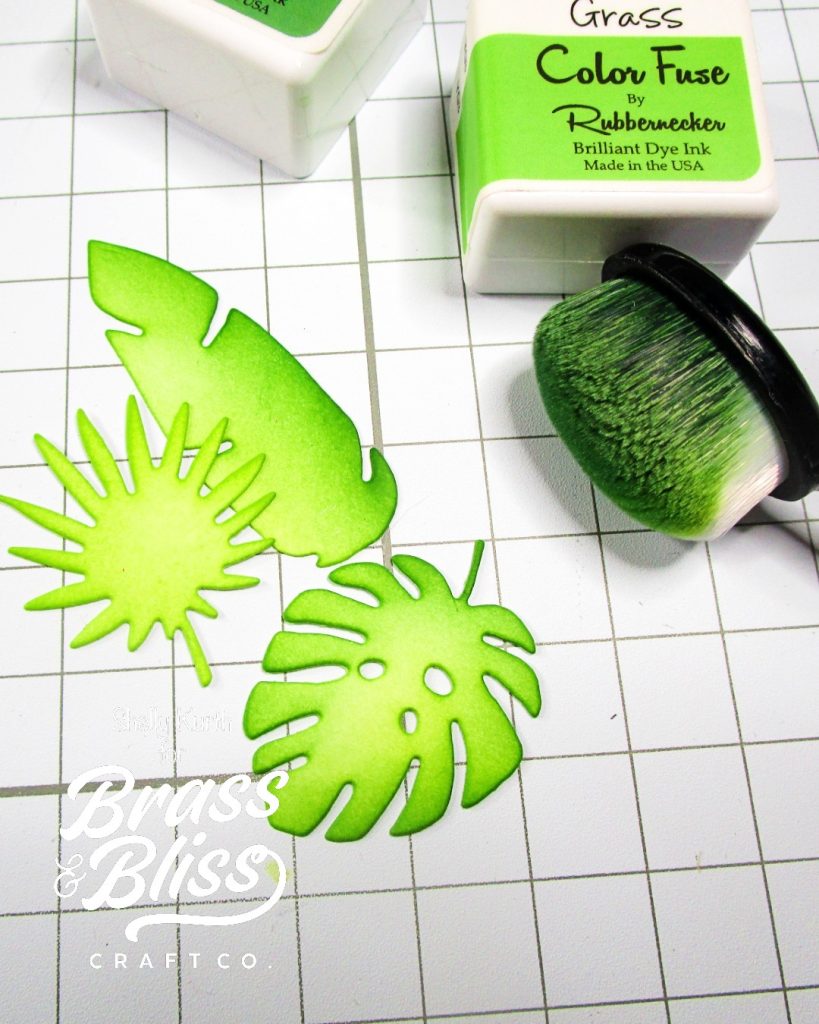
- Assemble flamingo.
- Set things aside.
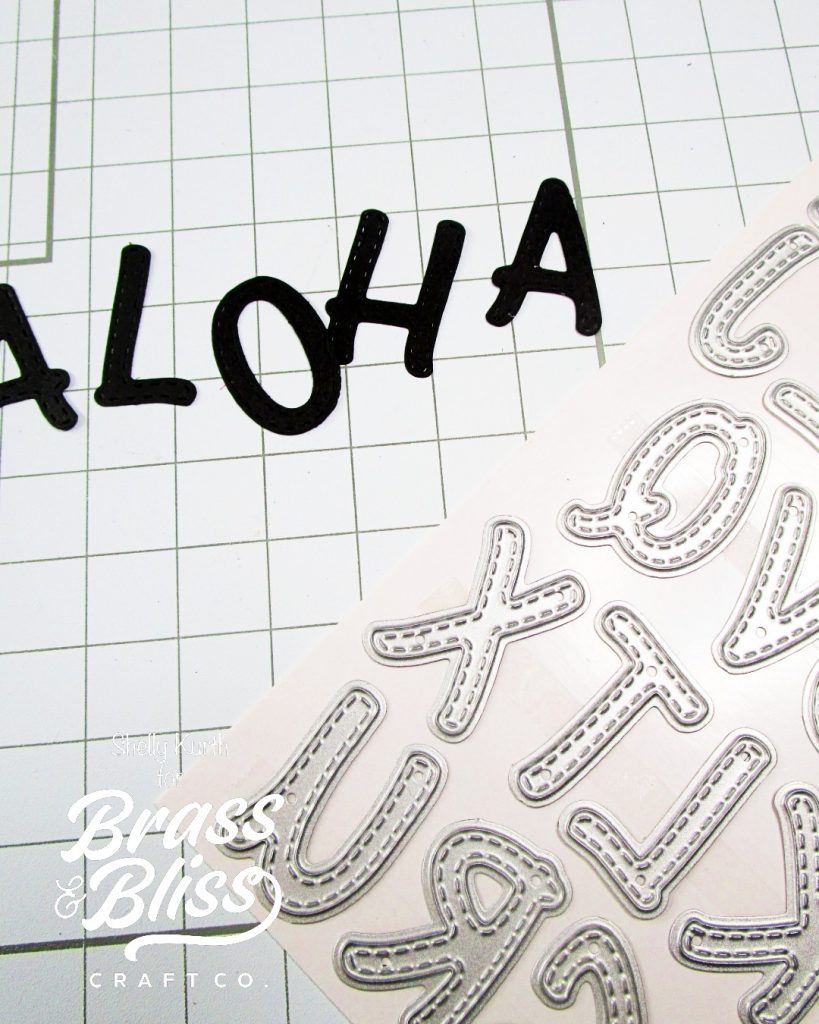
- Using black cardstock and the 5140-01D Upper Case Alphabet dies, use letters A (2x), L, O, and H. (to spell aloha)
- Set aside.
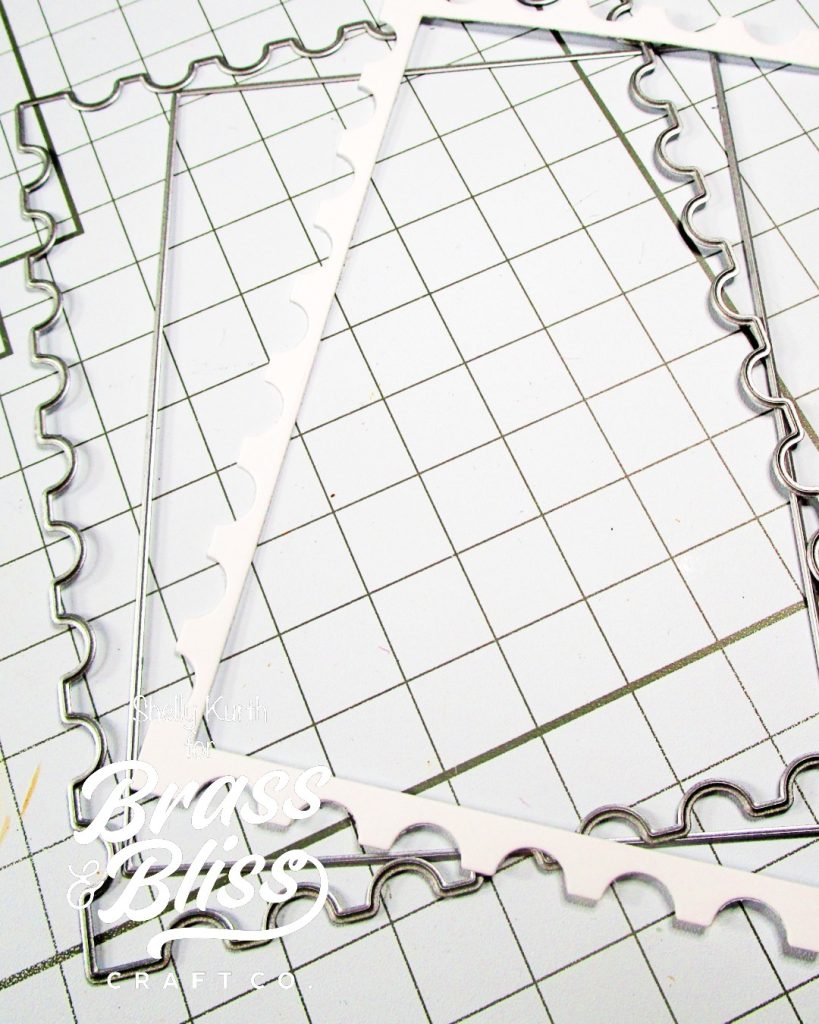
- Using white cardstock, make a postcard frame using the 5003D Nested Rectangle die and the 5806D Postage Stamp Nested die.
- Set aside.
- Arrange your placement of things onto the cardbase without adhering anything. (You just want an idea of where things are going to be.)
- Take the ‘postcard frame’ made earlier and add foam tape to the back of the frame. *note: some areas on the frame will need to be left without foam tape so the leaves/flamingo can fit underneath the frame.
- Before adhering the frame, adhere the aloha/flamingo/leaves by using foam tape on some parts of the flamingo/leaves and the rest with adhesive. *note: you want a layered look, so the frame fits nicely around things without making it bulge.
- Adhere frame, slightly angled.
- Using the 5817-01D Tropical Birds and Leaves dies, make the ‘little flowers’ using white cardstock.
- Use the same blending brushes as prior (pink/yellow) and blend remaining ink on brushes to flowers.
- Add flowers to the card/frame and add a gem to the center of each flower.
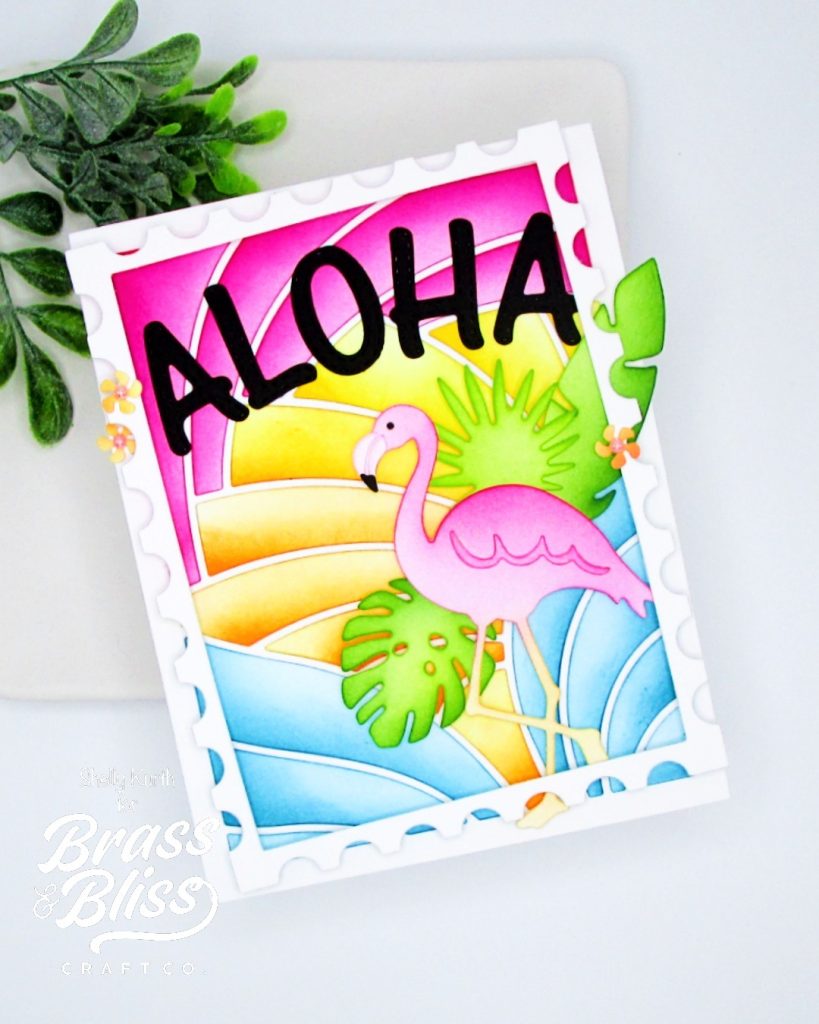
Products used: 5747-03D Sunrays-Stained Glass die, 5140-01D Upper Case Alphabet die, 5817-01D Tropical Birds and Leaves dies, 5003D Nested Rectangle die set, 5806D Postage Stamp Nested die, Color Fuse Ink Set #1, #2, #5, #9, #10, and #11, Large Blending Brushes 4 pack.