
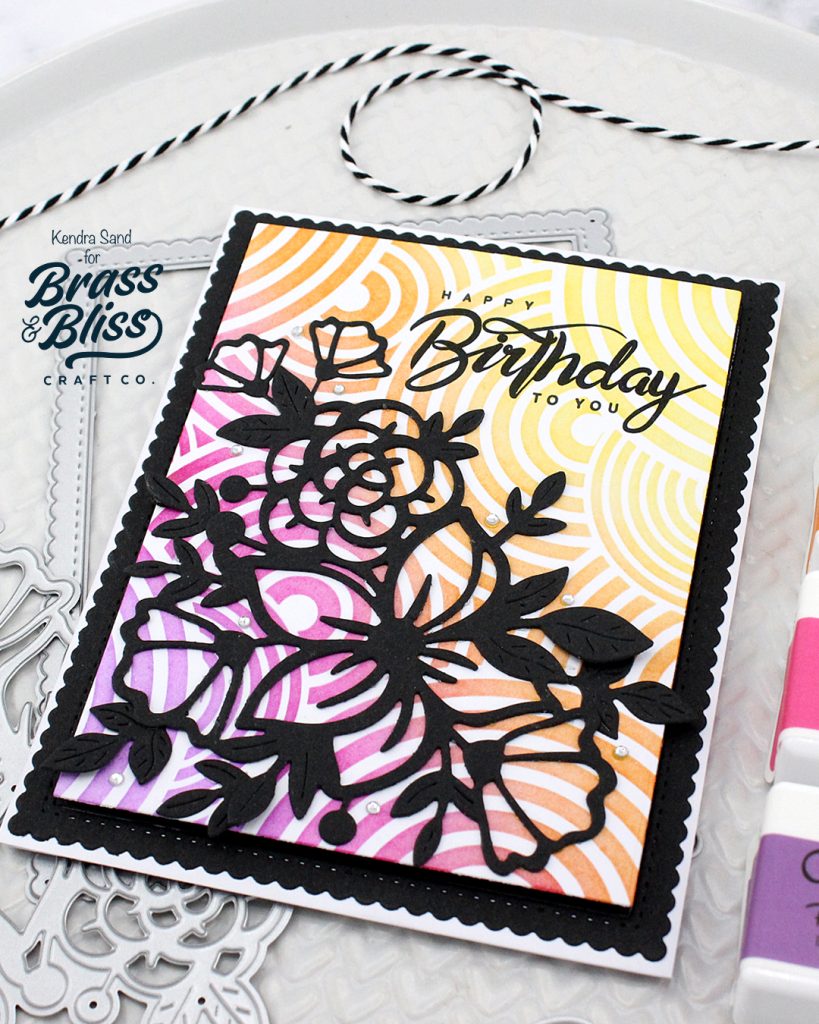
Bold dies cuts are great to be used die cut from black cardstock and placed on a pretty brightly inked background. Check out this card tutorial for inspiration.
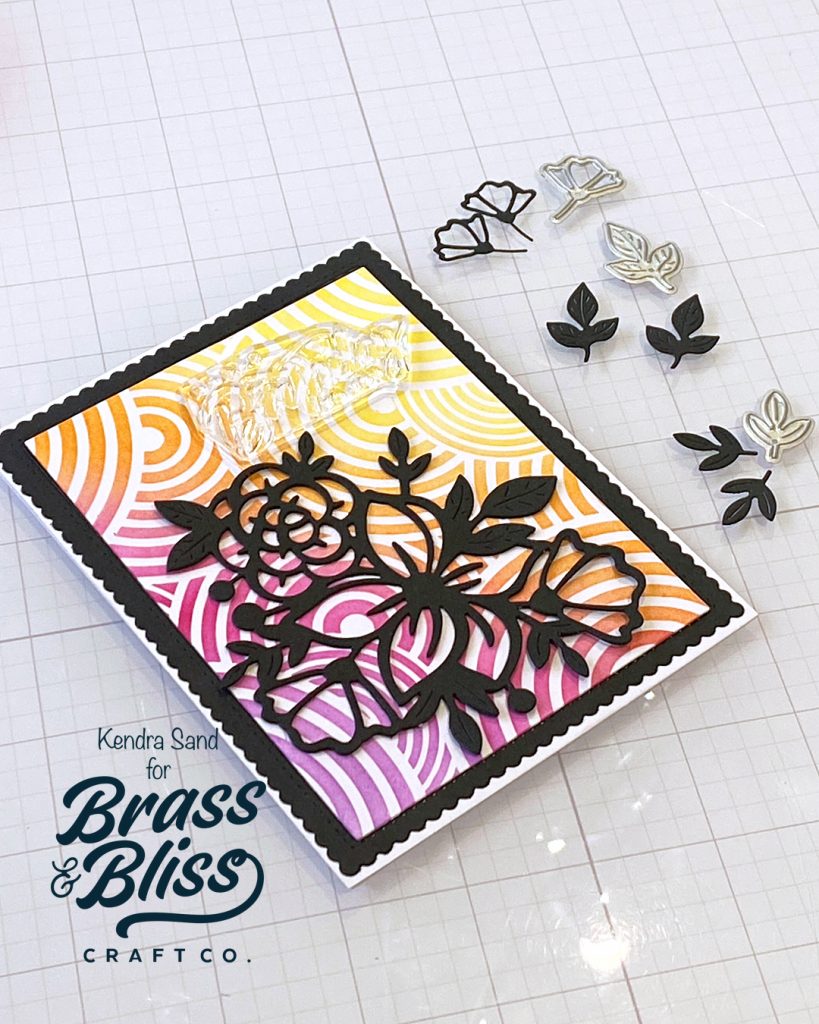
Today’s colorful card comes from our designer Kendra, who created a fun die cut silhouette that pops! We love the mixture of stenciling and die cutting used on this project, and how fun it must have been to create. Follow along as Kendra shows us how to recreate this bold die cut project.

- Kendra started by creating an A2 sized card base from white cardstock.
- Die cut largest scallop rectangle from ‘5500-02D Outside Scallop Frame Die‘ once from black cardstock and once from white cardstock. Adhere black layers to card base. White scallop layer can be saved for another project. Kendra only used the white center piece.
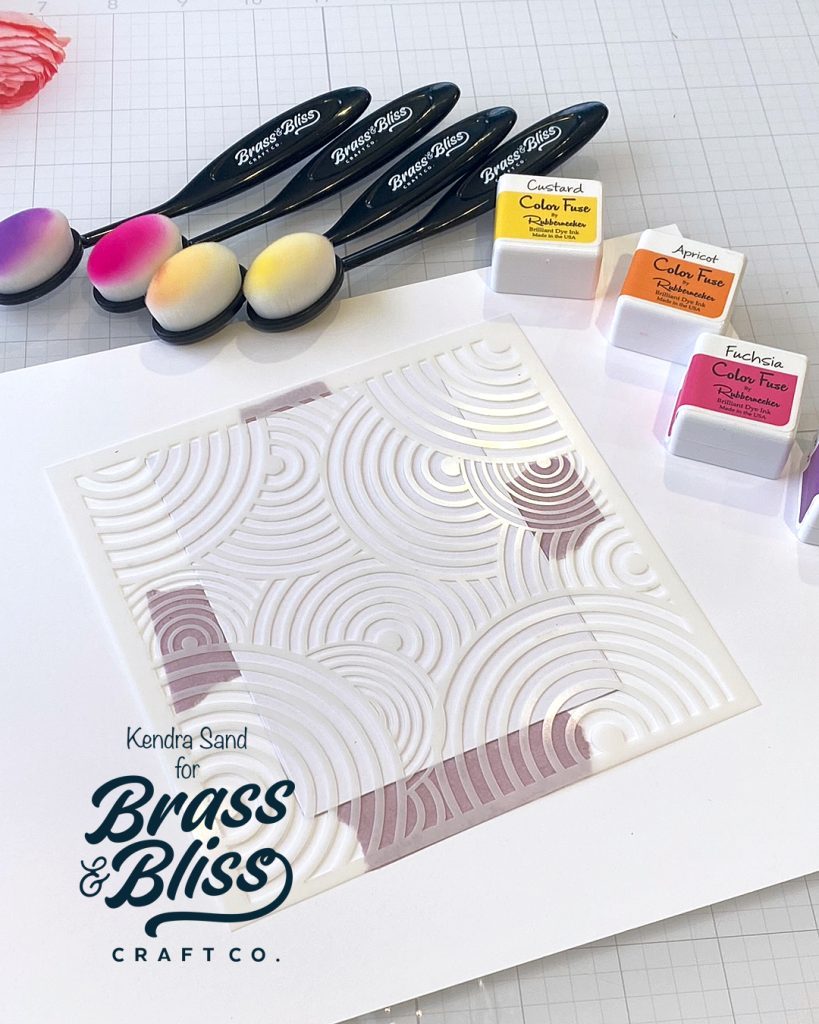
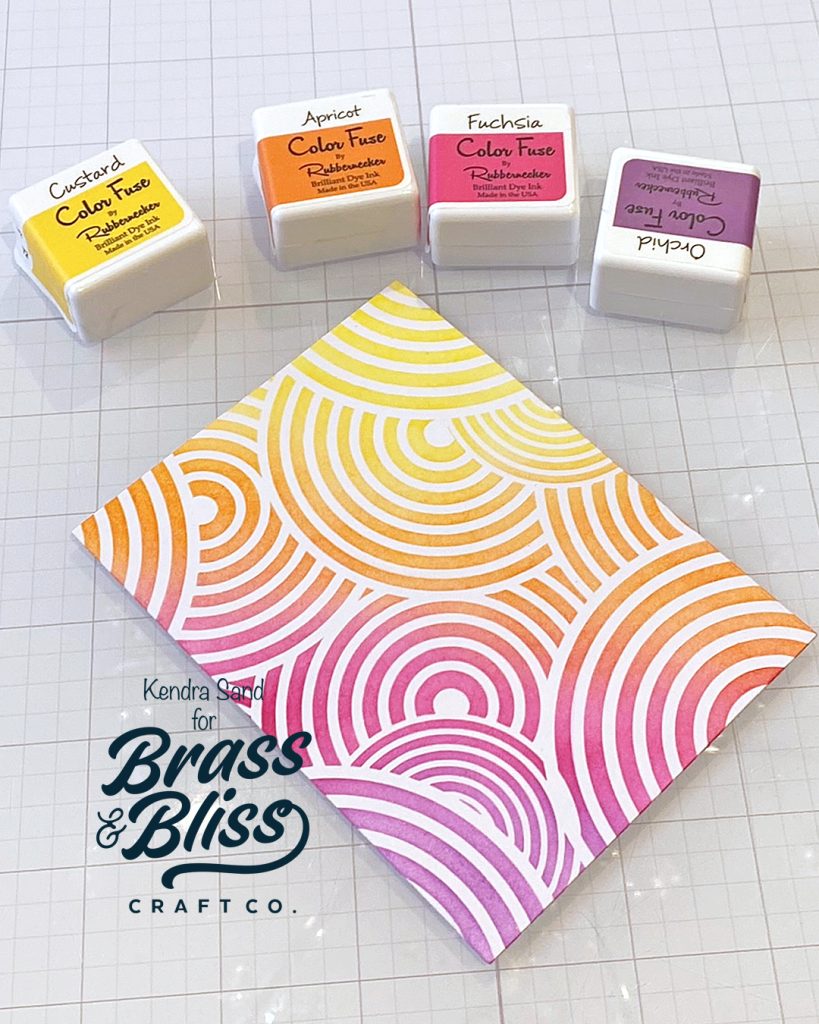
- Ink white piece with ‘4403 Abstract Circles‘. Kendra used Color Fuse 1 – Custard, Color Fuse 2 – Apricot, Color Fuse 5 – Fuchsia and Color Fuse 6 – Orchid.
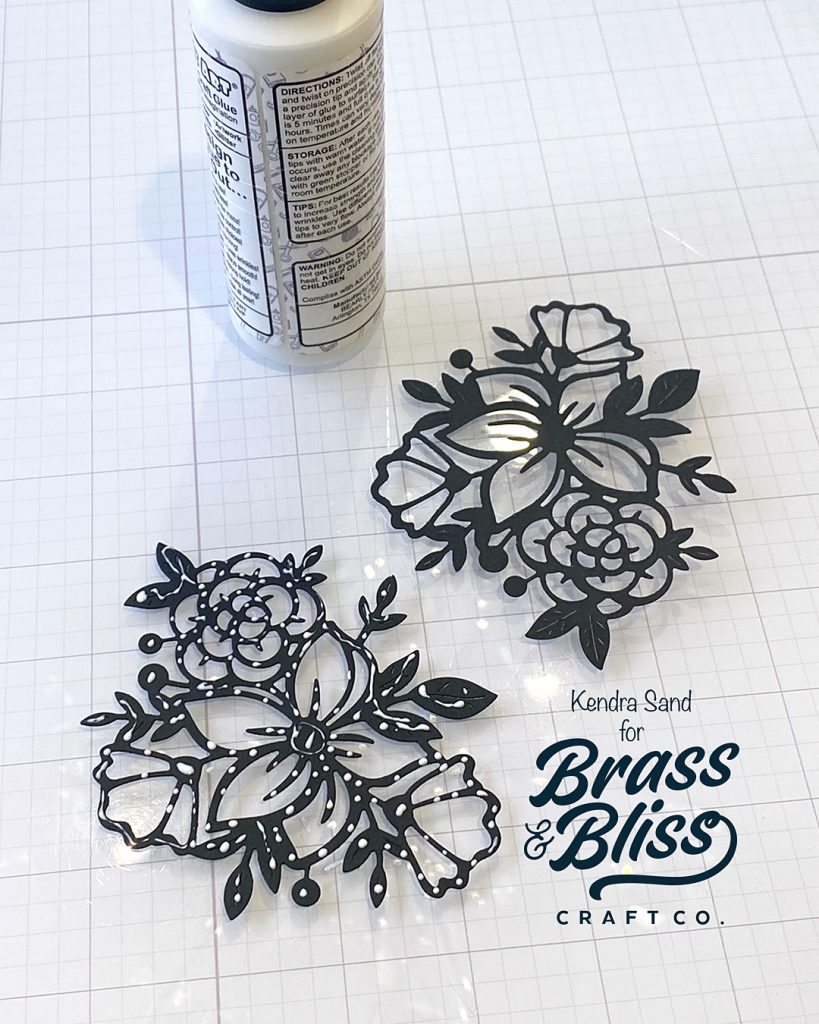
- Die cut large floral image from ‘5800D Flower Bouquet Die‘ from black cardstock. You only need to do once if you’d like, but Kendra cut twice and adhered the layers together. It gives a nice added dimension.
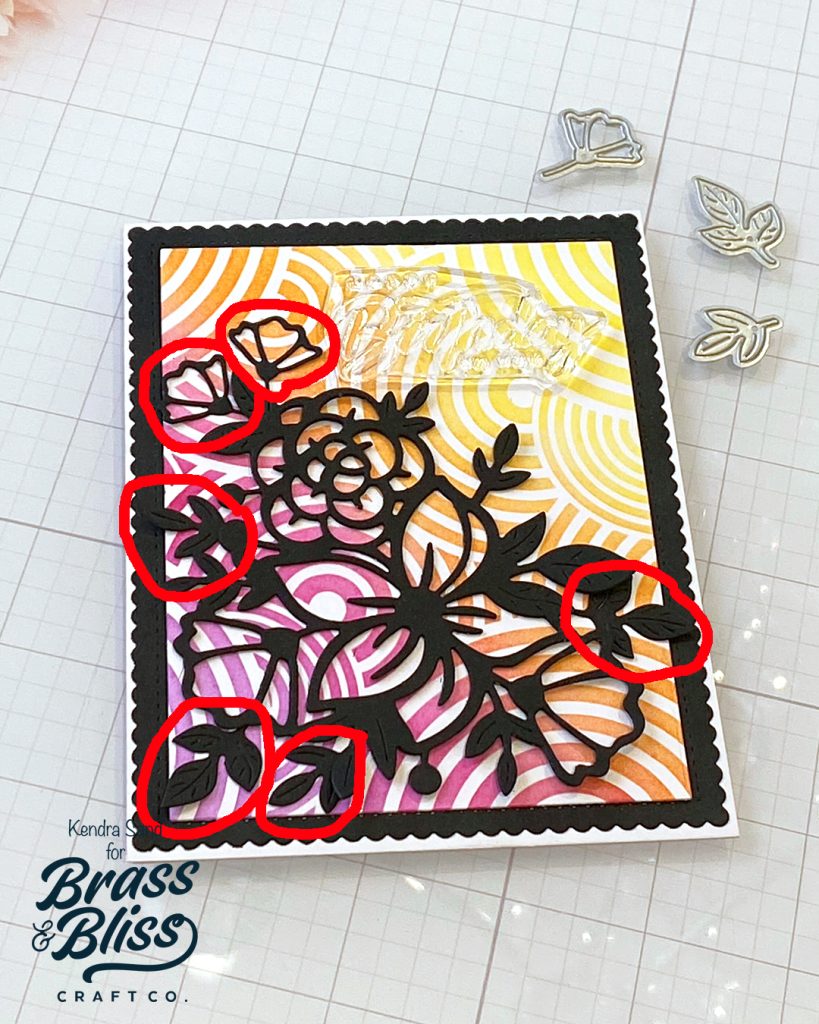
- Don’t adhere layers yet but place the stenciled background on card base along with die cut flower. Also place the ‘Happy Birthday to you’ from ‘36063 Poppy Field‘. Move around to your liking.
- Die cut the small flower and two leaves from the ‘5800D Flower Bouquet Die‘ from black cardstock two times each. Kendra decided not to double layer these pieces but rather use each of them as is to add around the larger die cut to cover a little more area and fill in some spaces. (You don’t have to do this step if you don’t like. Kendra just likes the extra coverage it gives. Kendra circled the added elements in the photo to show where she placed.) Carefully adhere pieces behind main floral piece.
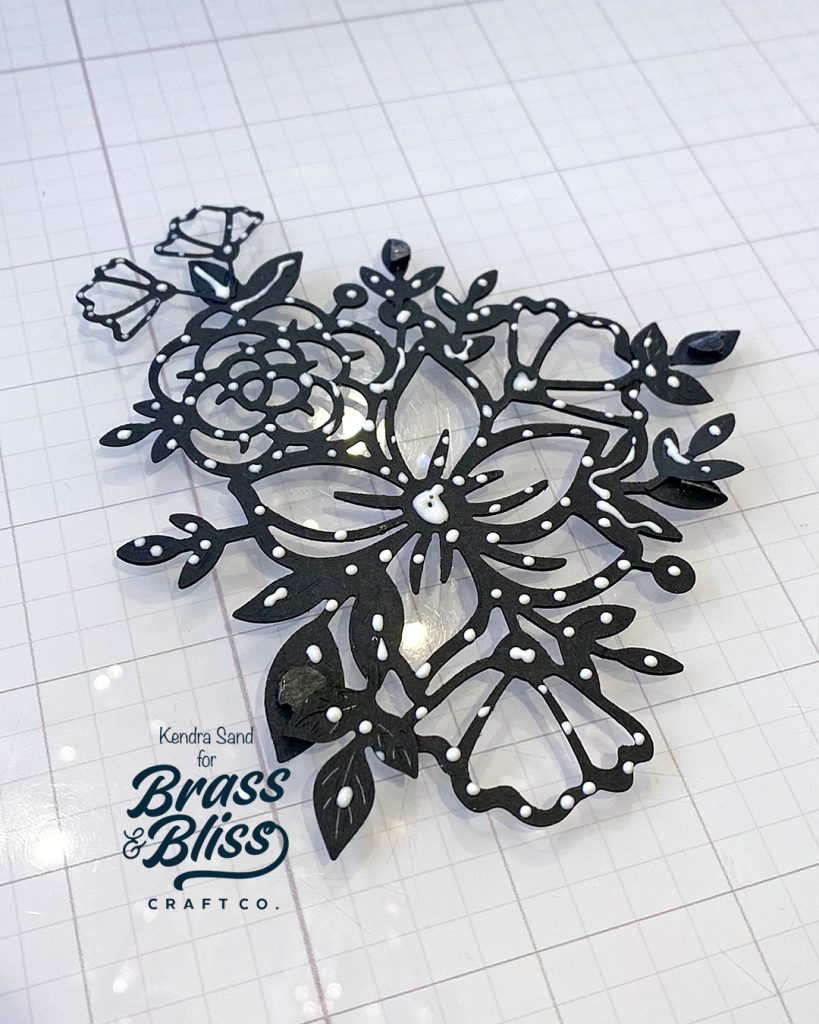
- Flip die cut over. Kendra added pop dots to a few of the leaves to add a little dimension. Then add glue to back and adhere to card base.
- Stamp birthday sentiment with black ink.
- Adhere layer to card base with pop dots.
- Finish card by adding rhinestones around die cut.

We. Are. Obsessed.
This project is so fun and the impact of that black cardstock against those bright inks is truly stunning. We hope you feel inspired and love this project as much as we do! If you love this Flower Bouquet Die, be sure to check out these projects for more inspiration!