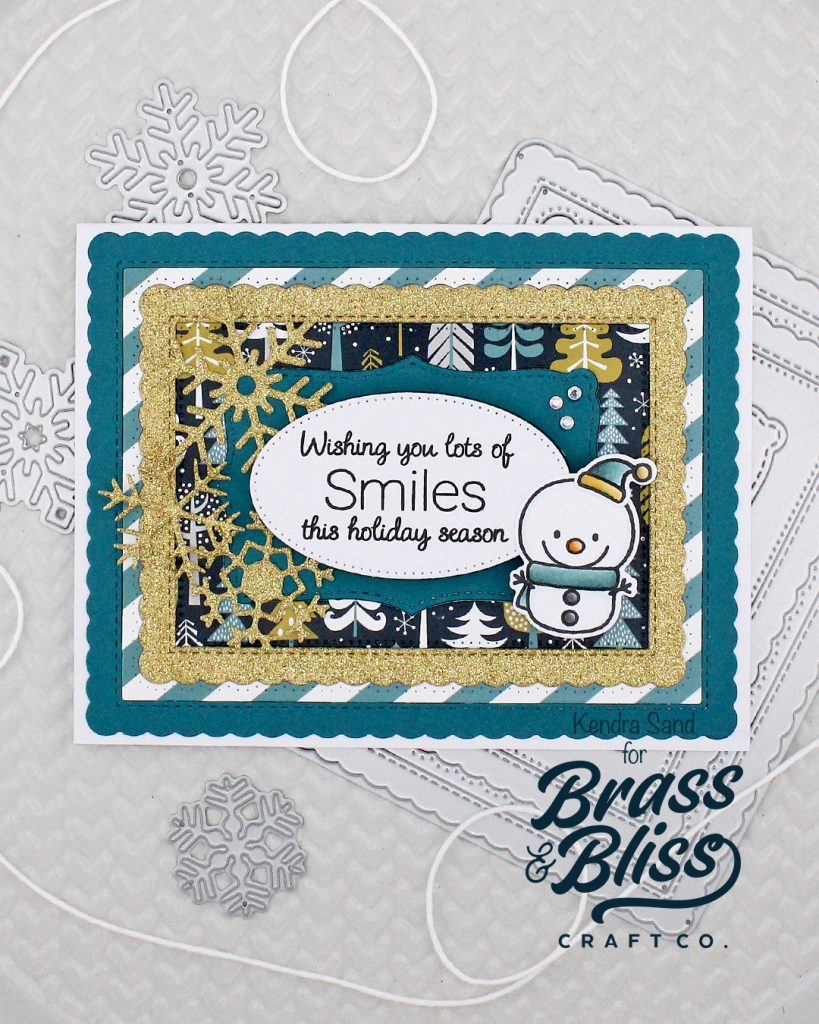
Take your holiday cards to the next level by mixing patterns and textures on different layers. The result creates interesting and unique holiday cards.
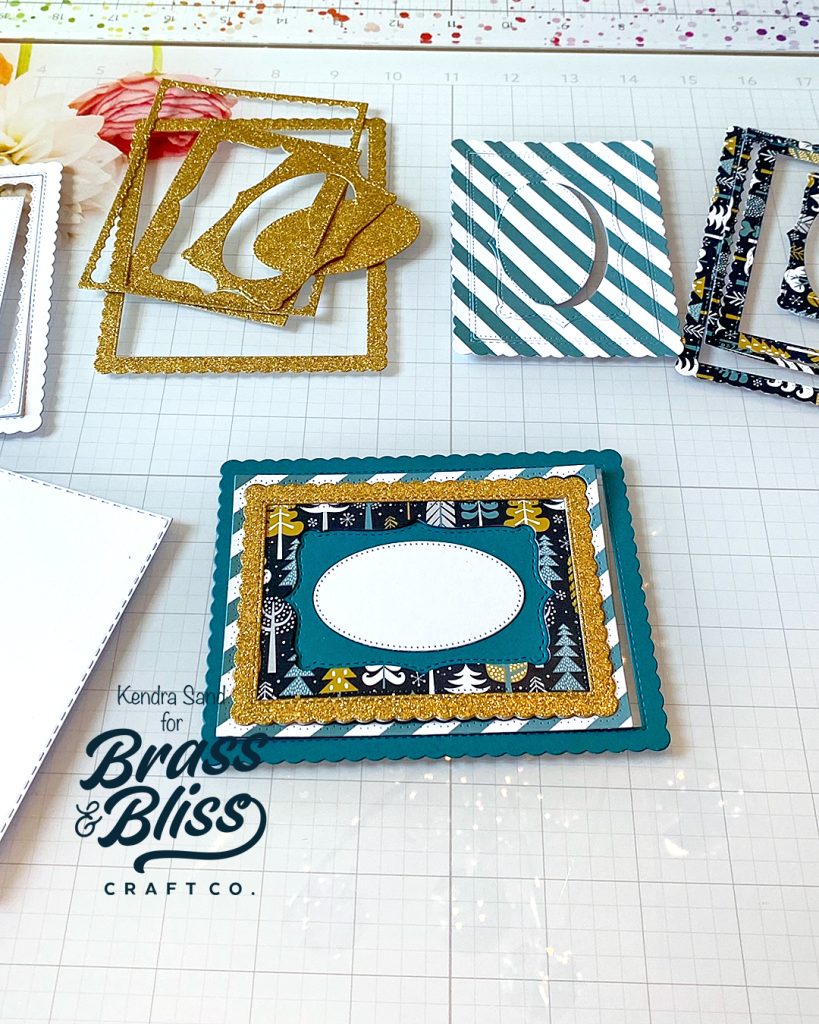
For Kendra’s Christmas card today, she is featuring the ‘5132D Rectangle Combo #2 OPC Die’! The lovely OPC Dies are great for adding a bunch of layers perfectly together! In Kendra’s opinion it makes creating a quick layered card easy and fun!! You can create multiple cards at once, while mixing and matching the papers you used to die cut the die from. This one die can really bring your cards to a whole new level, without putting much thought into all the layers, it’s done for you!!
- Kendra started her card by creating an A2 sized card base, sized 5.5″x4.25″.
- Die cut the 4.875″ x 3.625″ rectangle from the ‘5013D Nested Rectangle Small Stitch Die Set‘ from white cardstock. Set aside. This piece will be used for your ‘backing’ to adhere all your layers to. (This step doesn’t have to be done; you can add your layers right to your card.)
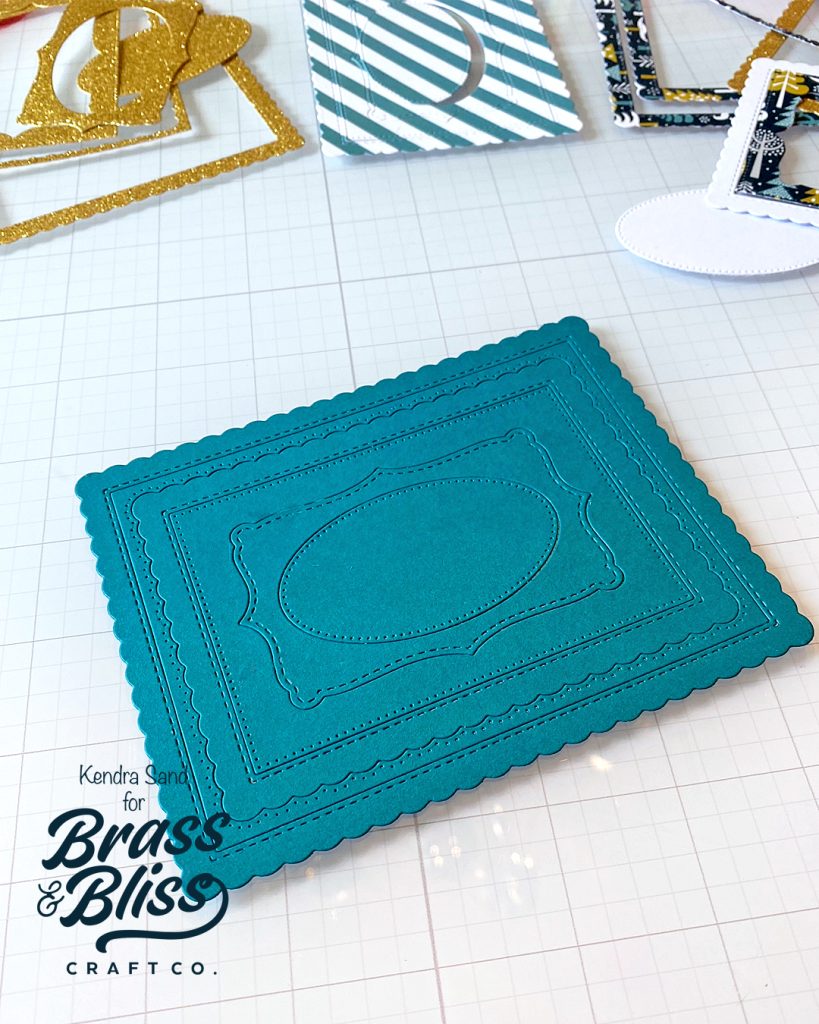
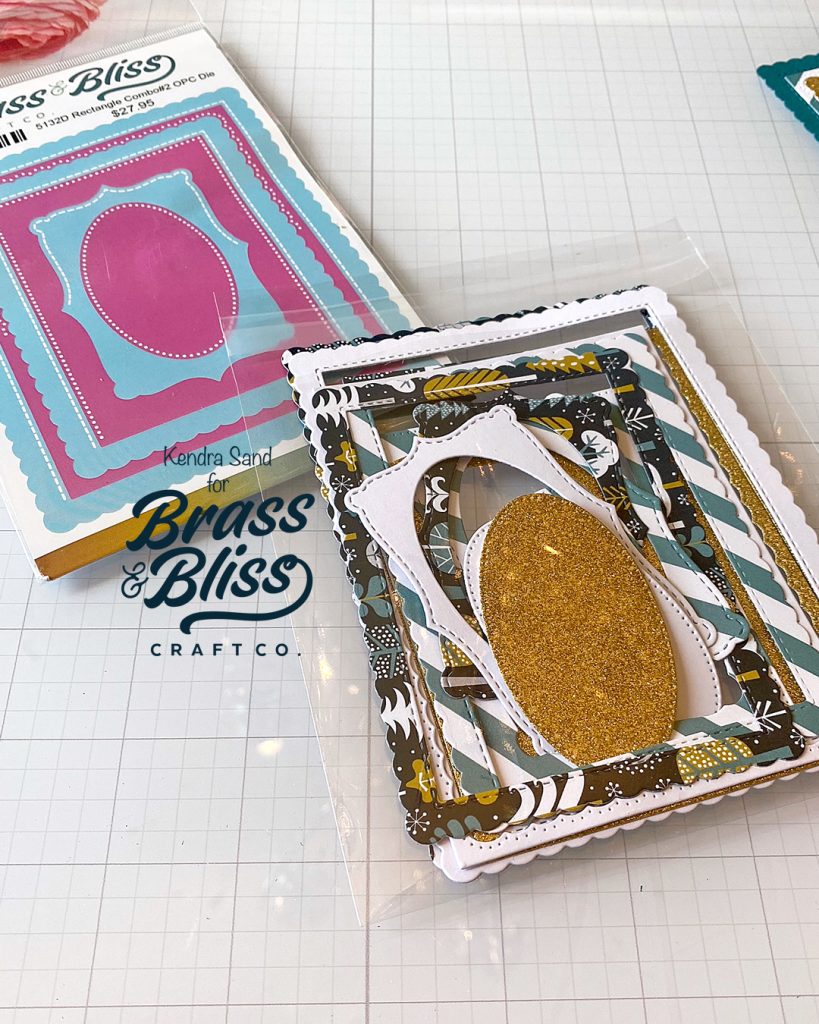
- Die cut the ‘5132D Rectangle Combo #2 OPC Die’ from teal cardstock, white cardstock and glittery gold paper. Also die cut from a piece of teal and white striped pattern paper and tree pattern paper from the ‘2009 Wintery Woodlands‘ paper pad. Keep all these pieces.
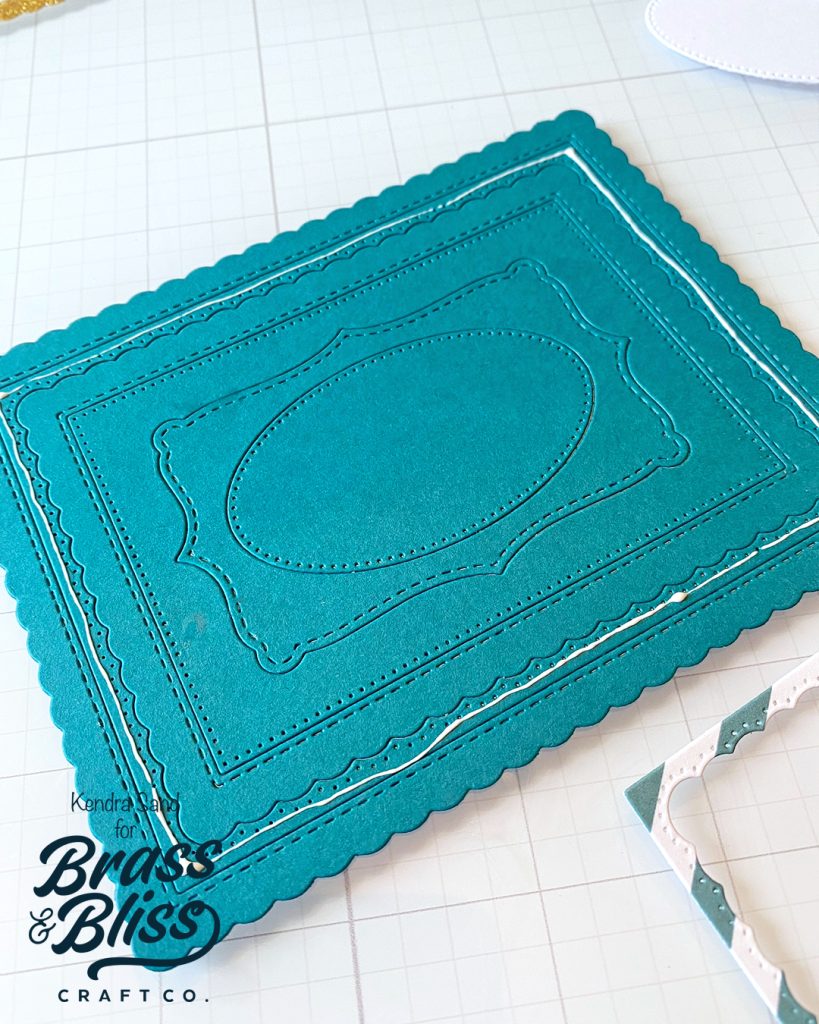
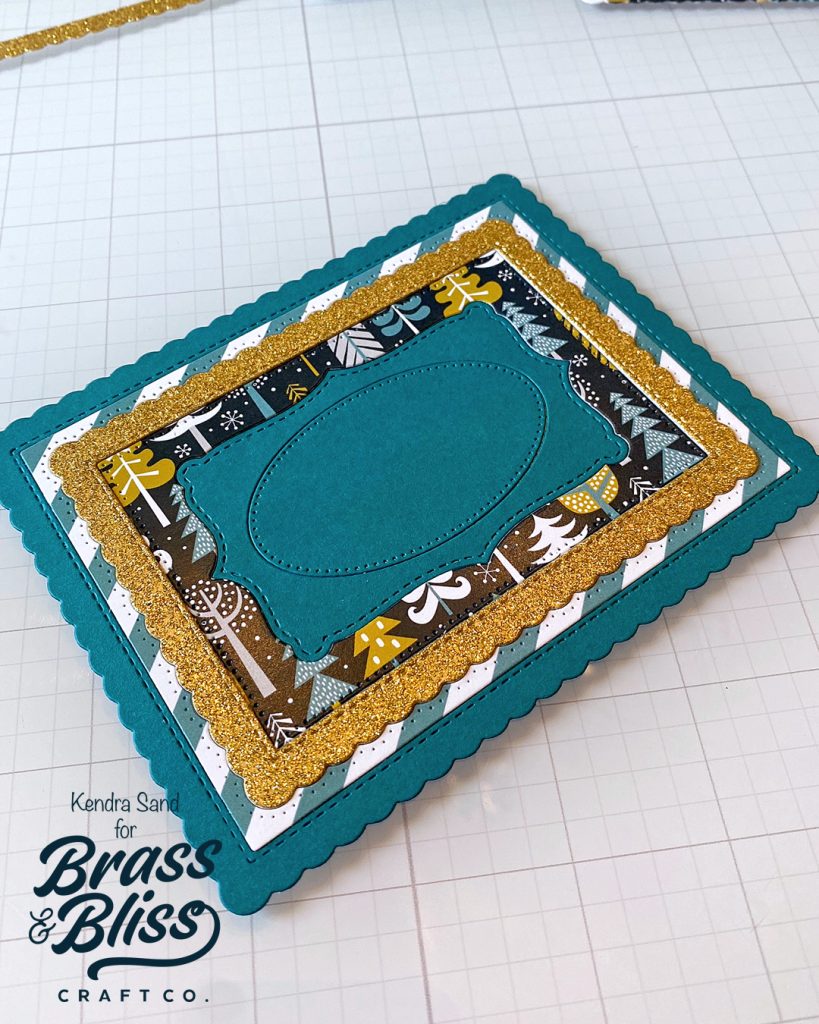
- Add adhesive to your white cardstock rectangle. Adhere all of the teal cardstock layers.
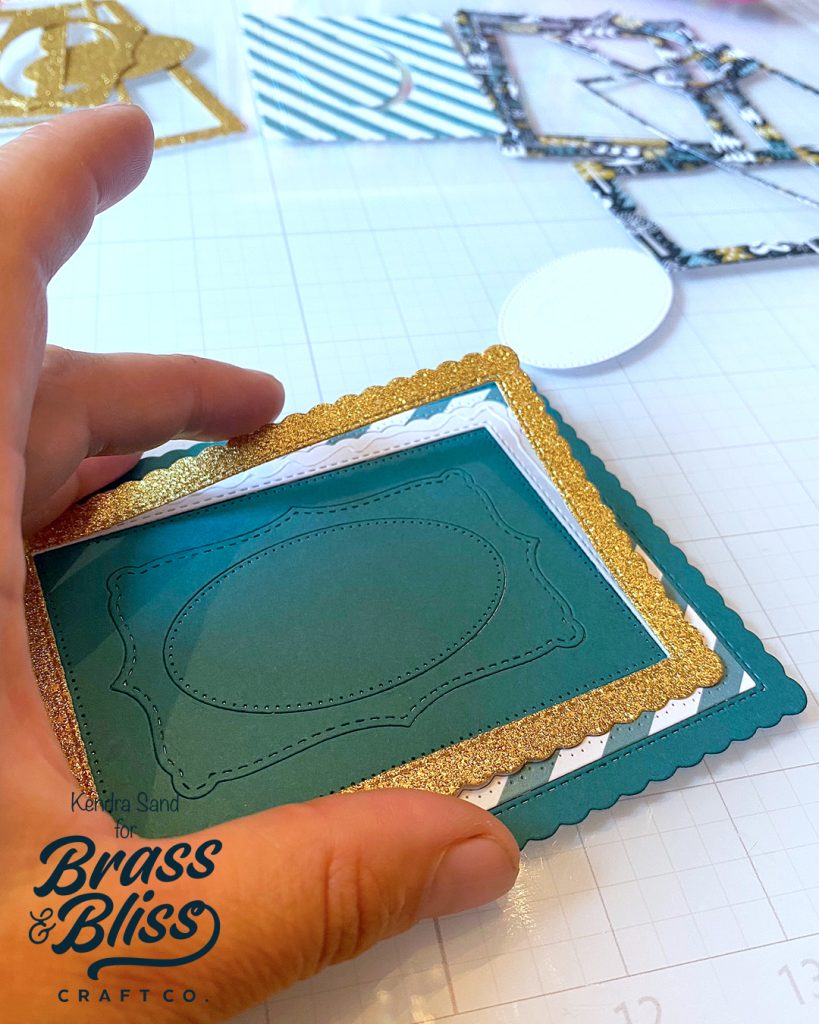
- Add glue to the second from outside layer and adhere the teal and white striped pattern layer.
- Add glue to the third from outside layer and adhere the white matching layer. The add glue to the top of the white layer and adhere the gold matching glittery paper layer. A great way to add a little dimension instead of using foam tape.
- Add glue to the next inside layer and adhere the tree pattern paper matching layer. (Kendra put all the remaining layers in a clear package that she will store with the die so she can use them another time)
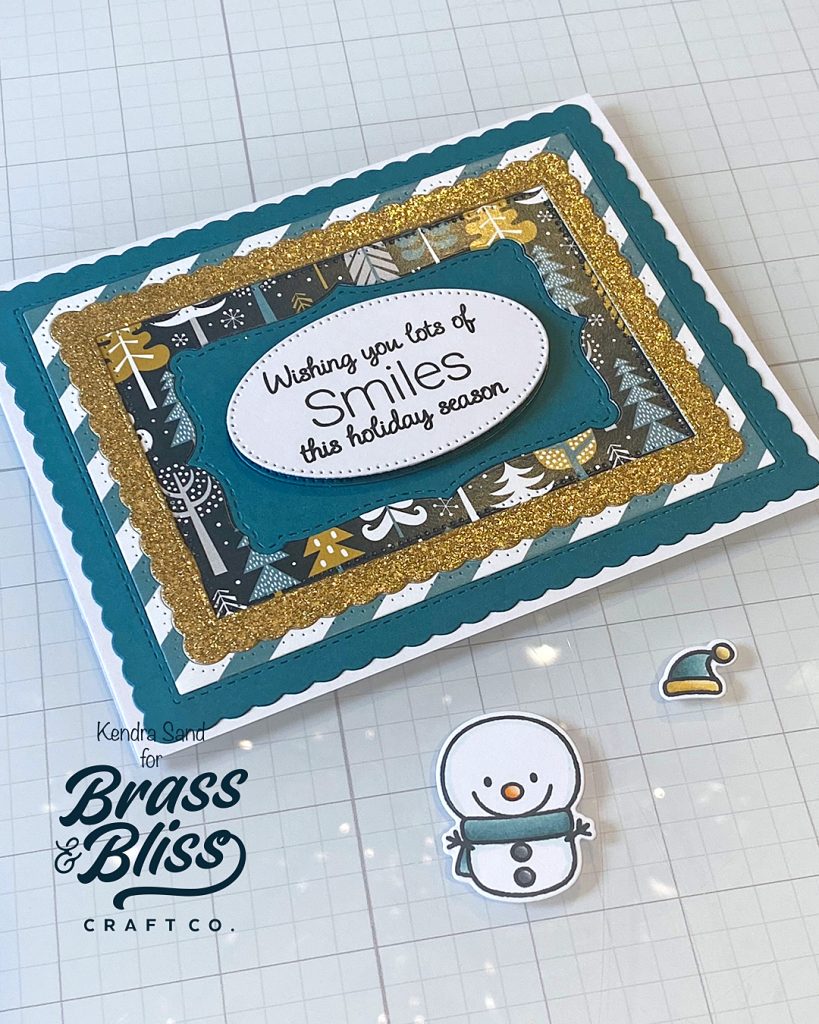
- Stamp the ‘Wishing you lots of smiles this holiday season’ sentiment from the ‘35041 Winter Birds‘ on the white oval layer. Adhere with foam tape to oval layer on center of base.
- Adhere layered pieces to card base.
- Stamp the snowman and a hat from ‘3332 Christmas Inchies‘. Color with alcohol markers. Die cut images with ‘3332D Christmas Inches Coordinating Die‘. Glue hat to top of snowman’s head. Adhere to card base to the bottom right of the sentiment.
- Die cut one medium snowflake from the ‘5716-02D Large Snowflake Die‘ and two small snowflakes from the ‘5513-07D Snowflake Dies‘ from glittery gold paper. Adhere to the left side of the sentiment oval to your liking.
- Finish card by adding clear rhinestones.