
Love seeing more than one way to use each die? Check out this fun Martini glass done up for two different celebrations!
Merry Christmas to all from the Brass & Bliss family. We hope you’re enjoying your celebration, and we want to continue on this note with two celebratory cards. Marla is up on the blog today sharing two more celebratory cards using our 5843 Martini Glass and Shaker die. First up is a birthday card.


- Die cut the martini glass and flowers using our 5843 Martini Glass and Shaker die and 5808-02 Build a Bloom Clematis dies from Bristol Smooth cardstock.
- Color the images using the watercolor medium of your choice. Marla used Tombow Dual Brushed Pens in shades of gray, pink. green, red and brown for the martini glass and pink, blue, purple and yellow for the flowers.
- Assemble the martini glass, swizzle stick and olives.
- Assemble the flowers.
- Using a white gel pen, add highlights to the martini glass and flowers.
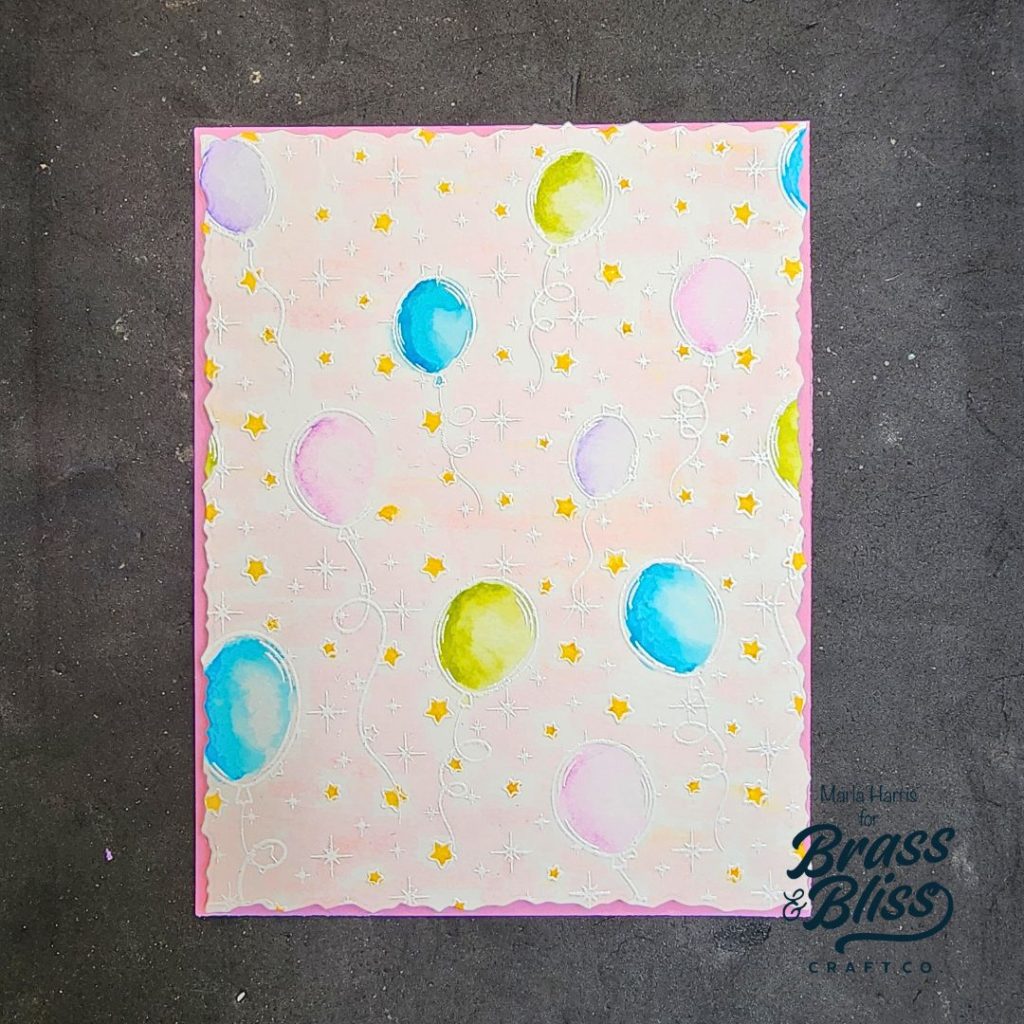
- Cut a piece of Bristol Smooth cardstock to 4.25″ x 5.5″ and add anti-static powder over the top of the panel.
- Ink our 37006 Birthday Balloons stamp using Versamark Ink and stamp onto the cardstock.
- Add white embossing powder over the top and heat set.
- Color the background using the watercolor medium of your choice.
- Die cut the background using our 5176D Nested Deckle Rectangle die.
- Adhere the watercolored background to an A2 coordinating colored cardstock base.
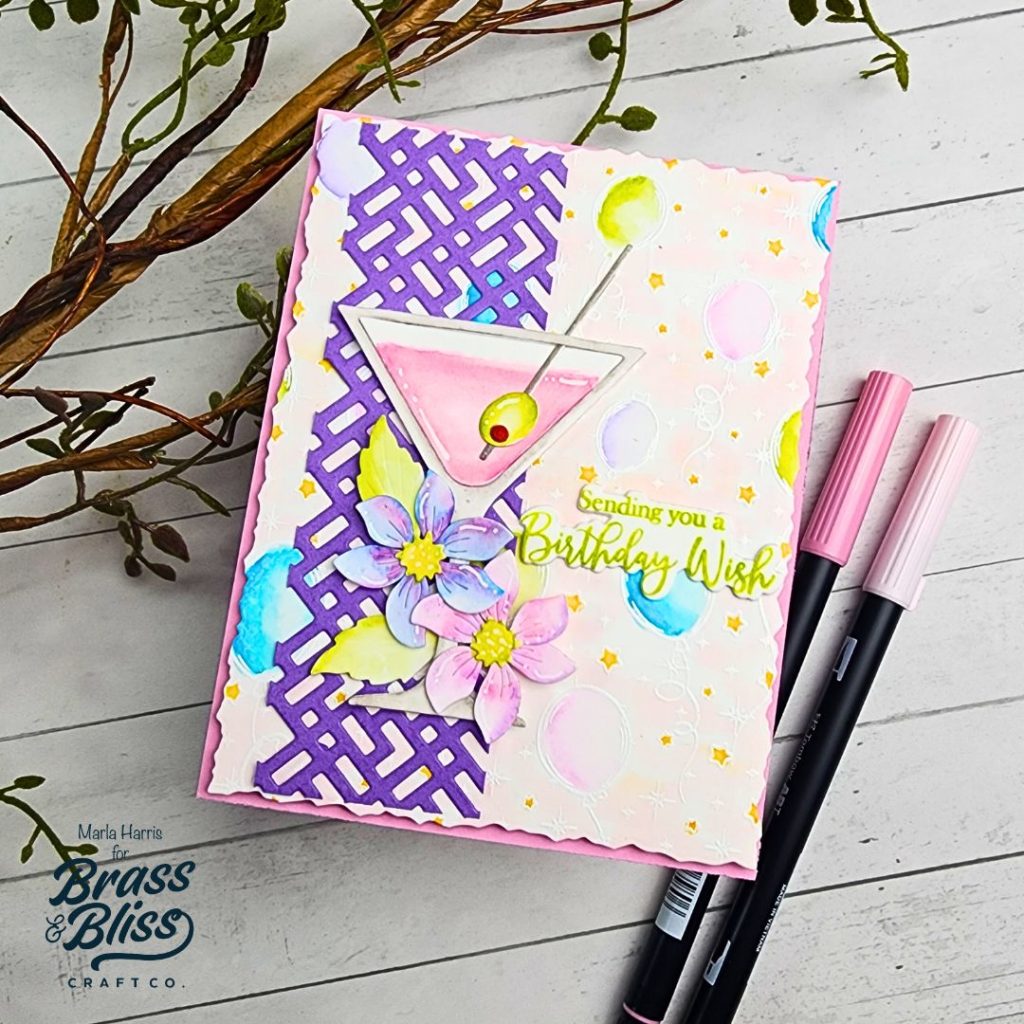
- Die cut a piece of coordinating-colored cardstock using our 58370-1D Tiered Rectangle Half Panel die.
- Trim the die cut piece down to 4″ x 1.5″.
- Adhere to the top of the watercolored panel.
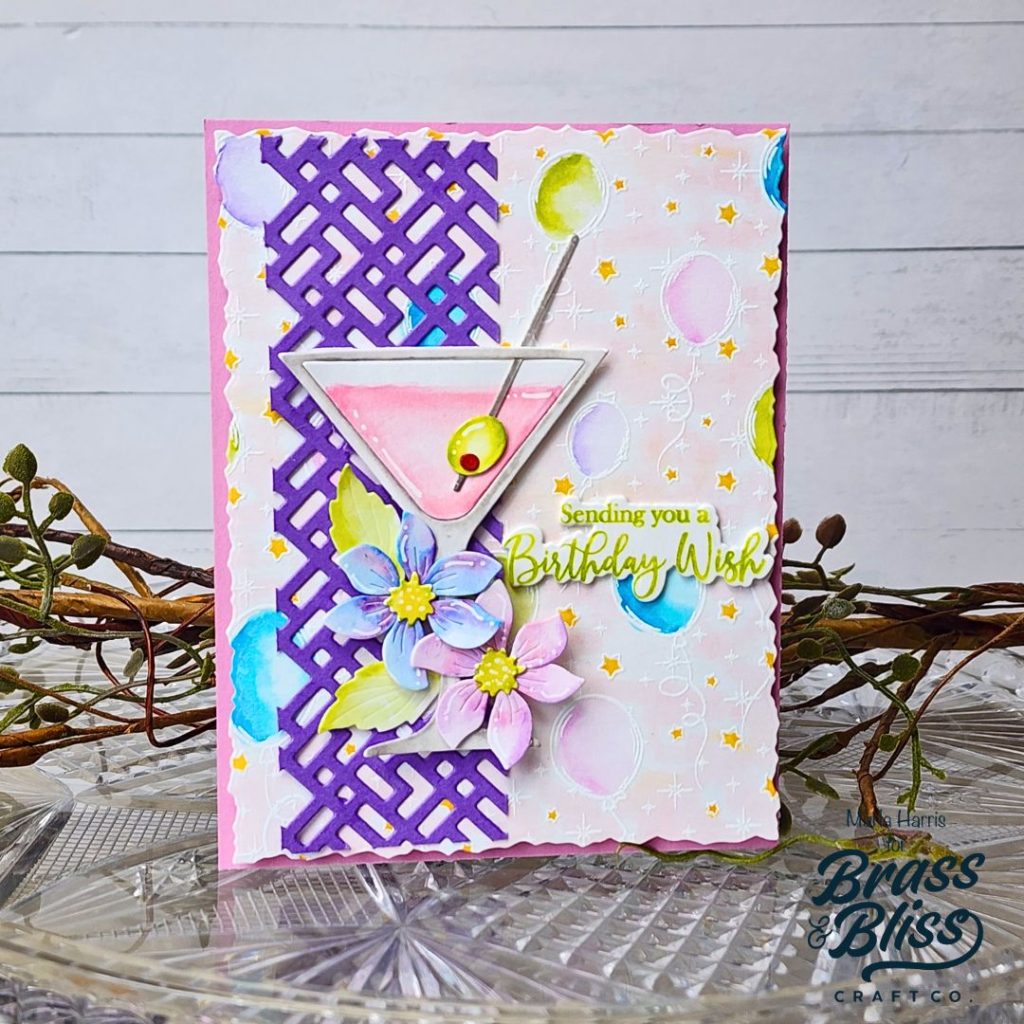
- Add foam tape to the back of the martini glass and flowers.
- Stamp the sentiment from our 37014 Hellebore Floral stamp.
- Use the coordinating die to cut the sentiment three times.
- Adhere all three layers together for dimenstion.
- Finish the card by adhering the martini glass, flowers and sentiment.

Next, we’re ringing in the New Year with a festive card in shades of blue and silver. Let’s jump into the tutorial.
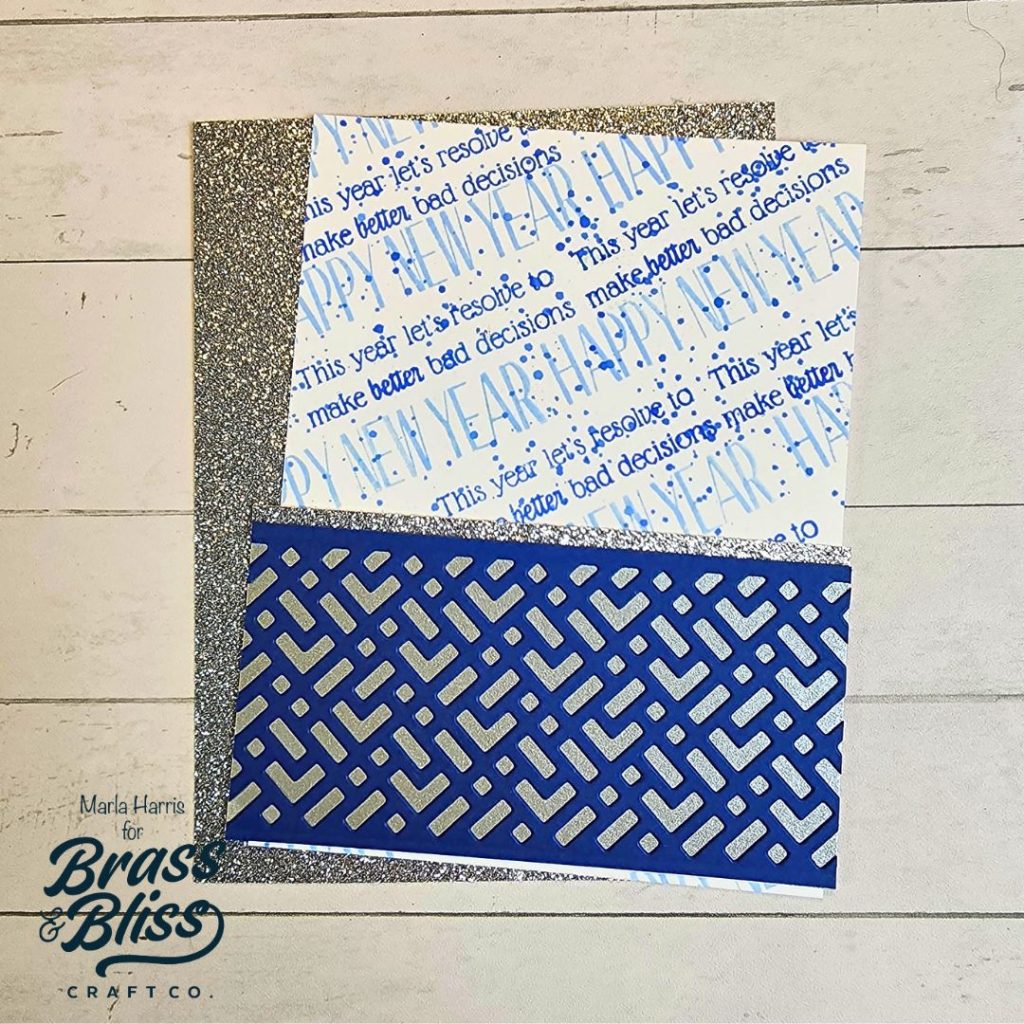
- Cut a piece of silver glitter cardstock to 4.25″ x 5.5″.
- Cut a piece of white cardstock to 4″ x 5.5″.
- Using two shades of blue ink, stamp the sentiments, from the 37045 Cheers to That stamp set, at a diagonal.
- Use the darker of the two inks to add splatters to the panel and set aside to dry.
- Cut a piece of silver matte cardstock to 4″ x 2.5″.
- Cut a second strip of silver glitter cardstock to 1/4″ x 4″.
- Cut a piece of navy cardstock using our 5837-01D Tiered Rectangle Half Panel die.
- Trim the die cut rectangle to 2.5″ x 4″ and adhere to the silver mat cardstock.
- Adhere the 1/4″ silver glitter cardstock to the top of the decorative panel.
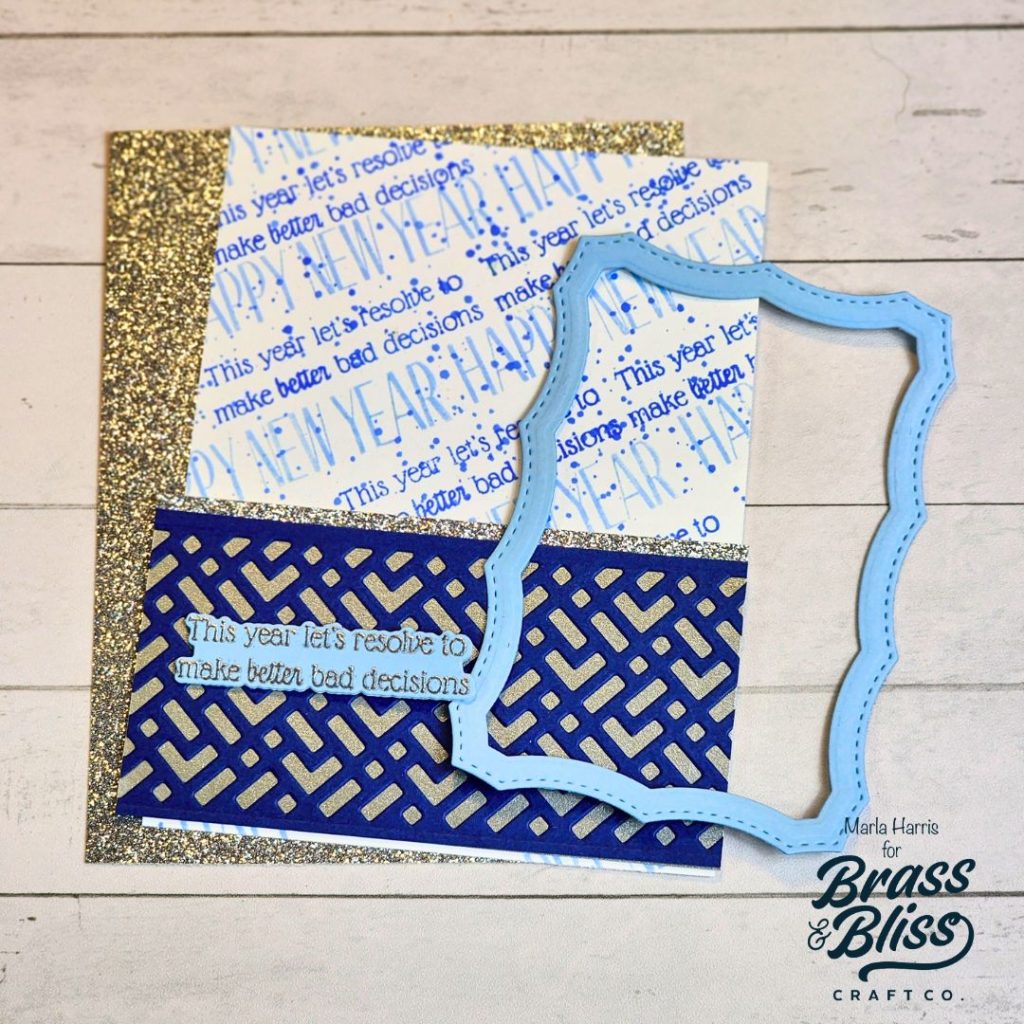
- Cut a frame using our 5852-01D Framed Scallop w/Stitch Die
- Stamp and heat emboss the sentiment onto the same colored cardstock using Versamark ink, our 37045 Cheers to That stamp and silver embossing powder.
- Die cut the sentiment using the coordinating die.

- Die cut the martini glass twice. Once from white cardstock and once from holographic cardstock.
- Color the interior of the martini glass with dark brown ink. Think espresso martini.
- Add Glossy Accents and clear glitter to the inked interior and set aside to dry.
- Cut the swizzle stick using silver glitter cardstock.
- Cut the bows, garland pieces and gingerbread using our 5813-05D Farmers Market Winter Add-On die.
- Finally, die cut the flowers for your swizzle stick using our 5811-03D Sunlit Blossom die
- Assemble the flowers adding splatters of white paint and rhinestones to the center.
- Finish by assembling the card.

Thank you so much for stopping by today.